Logic Pro X Tutorial – Stem Mixing Step-by-Step
As our tutorial looking at stem mixing in Logic Pro X continues Mark Cousins presents the second part of our step-by-step… 7: To put the reverb’s aux fader into the stem, you’ll first need to create an accompanying arrangement track – Options > Create Tracks for Selected Channel Strips. Once created, the aux fader can […]
As our tutorial looking at stem mixing in Logic Pro X continues Mark Cousins presents the second part of our step-by-step…
7: To put the reverb’s aux fader into the stem, you’ll first need to create an accompanying arrangement track – Options > Create Tracks for Selected Channel Strips. Once created, the aux fader can be dragged into the stem on the arrange area.
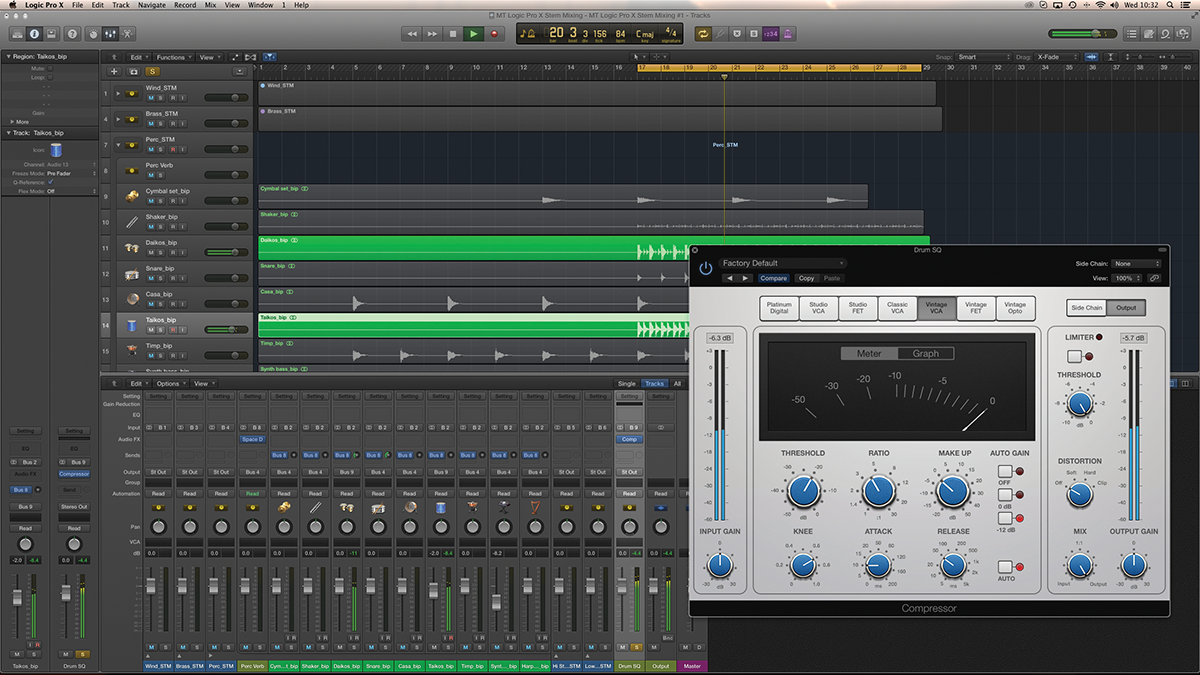
8: As with reverb and delay, any sounds that you want to compress together have to all reside in the same stem. With the percussion stem, for example, we can route some low percussion through to a bus, which we then compress.
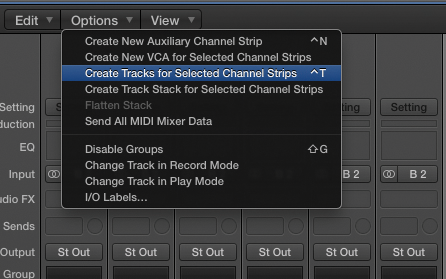
9: Keep the compression bus floating at the top level of the mix (remembering to route its output to the corresponding bus), or using the Options > Create Tracks for Selected Channel Strips to place it in the folder.
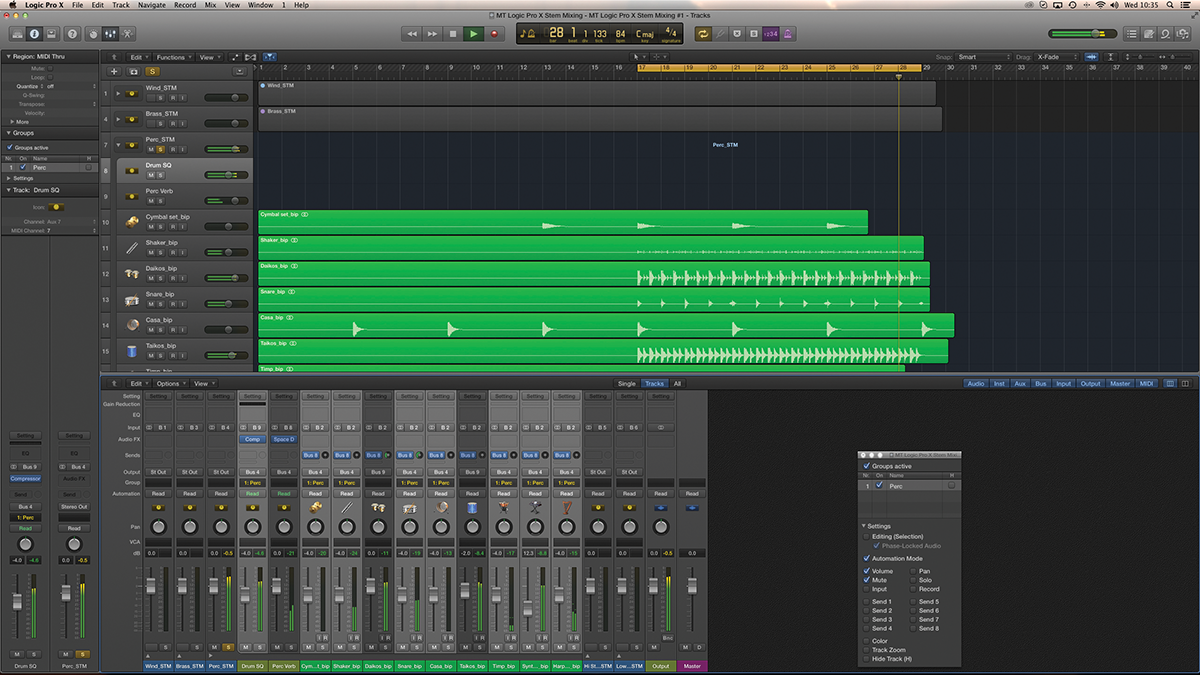
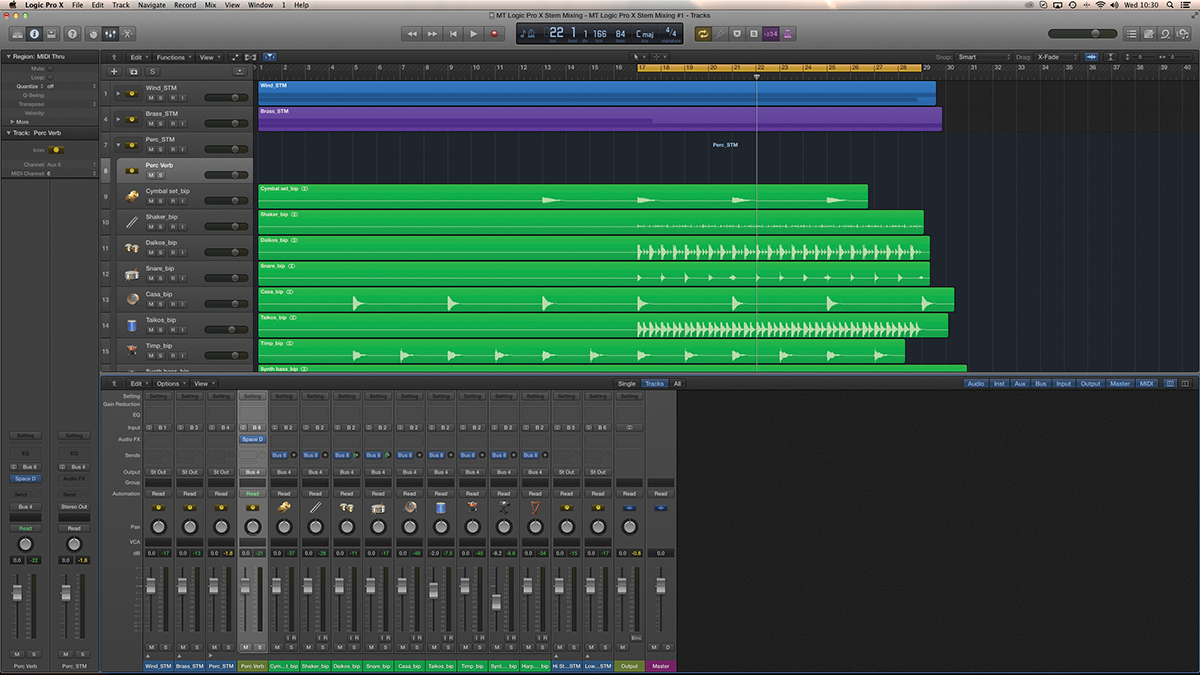
10: If you intend to keep the stem faders at unity, you might need to do some level control using a fader group. We’re setting a group for the percussion stem, only grouping instrument channels that feed the stem directly.
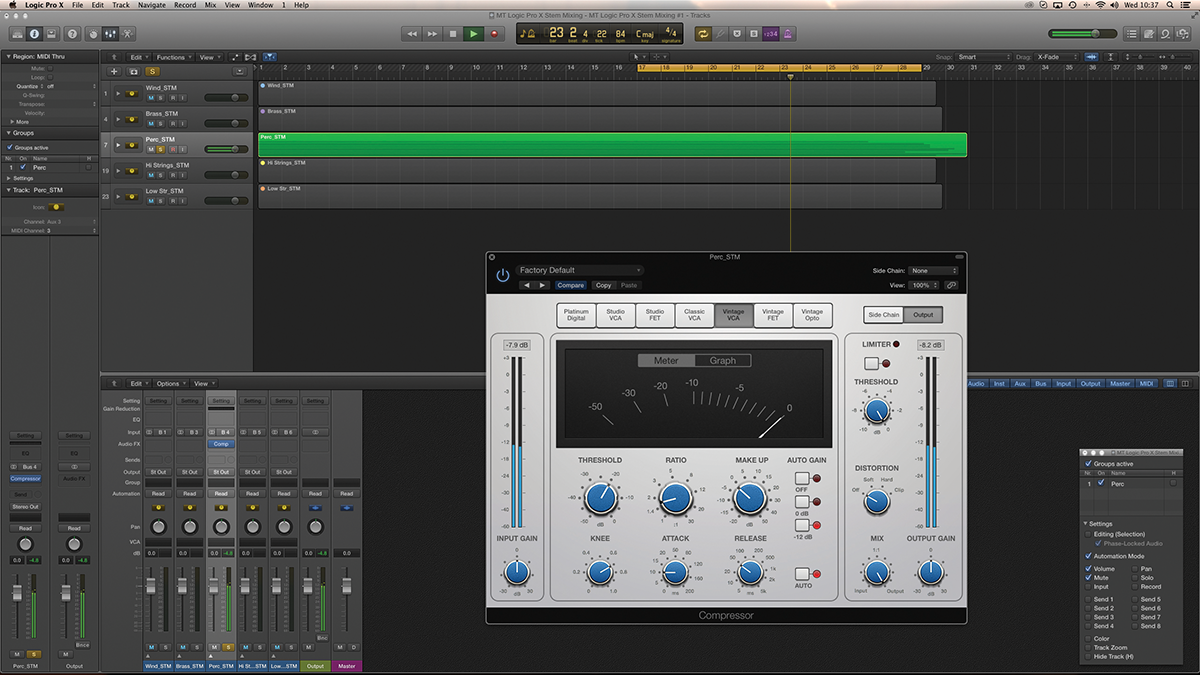
11: Treat the stem fader like the main output fader in Logic. A purist will leave it at unity, but you could choose to apply a small amount of ‘stem glue’ using a low-ratio compressor, yielding at 2 to 3dB of gain reduction.
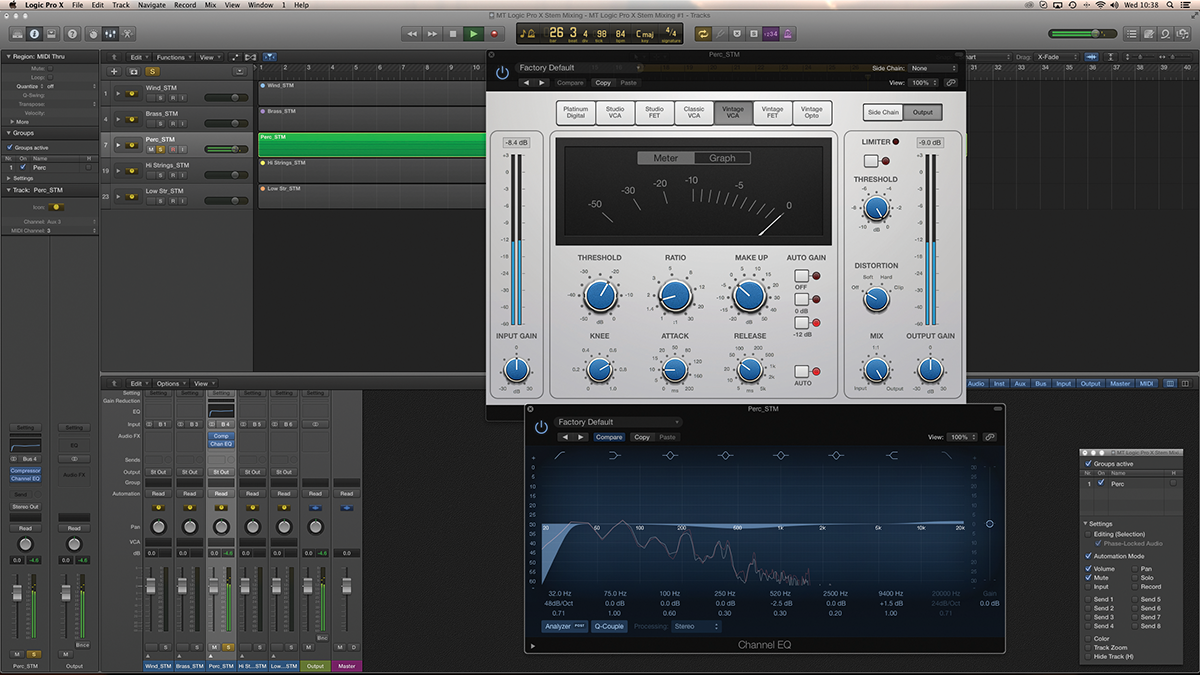
12: Along with the compression, you can also apply some stem-sweetening EQ. Approach the EQ as if you’re mastering – in this case, applying some bass roll-off, following with a broad mid-frequency dip and air lift.

13: You can leave the stem faders at unity, but should you wish to rebalance the mix, you can use the stem faders as a form of macro control. This is especially important for large mixes, where hundreds of single faders can become unwieldy.
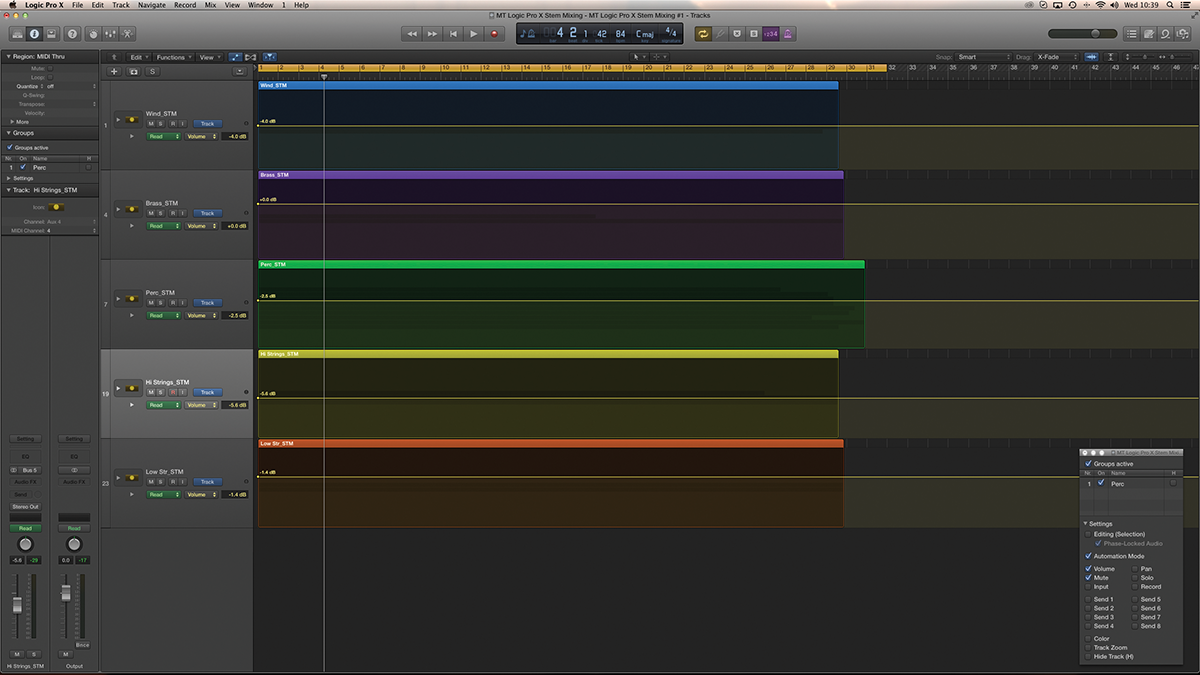
14: If you do adjust the stem-fader levels, it’s important that you write the static-fader level in as an automation node, irrespective of whether the levels changes throughout the track. If the faders are at unity, skip this step.
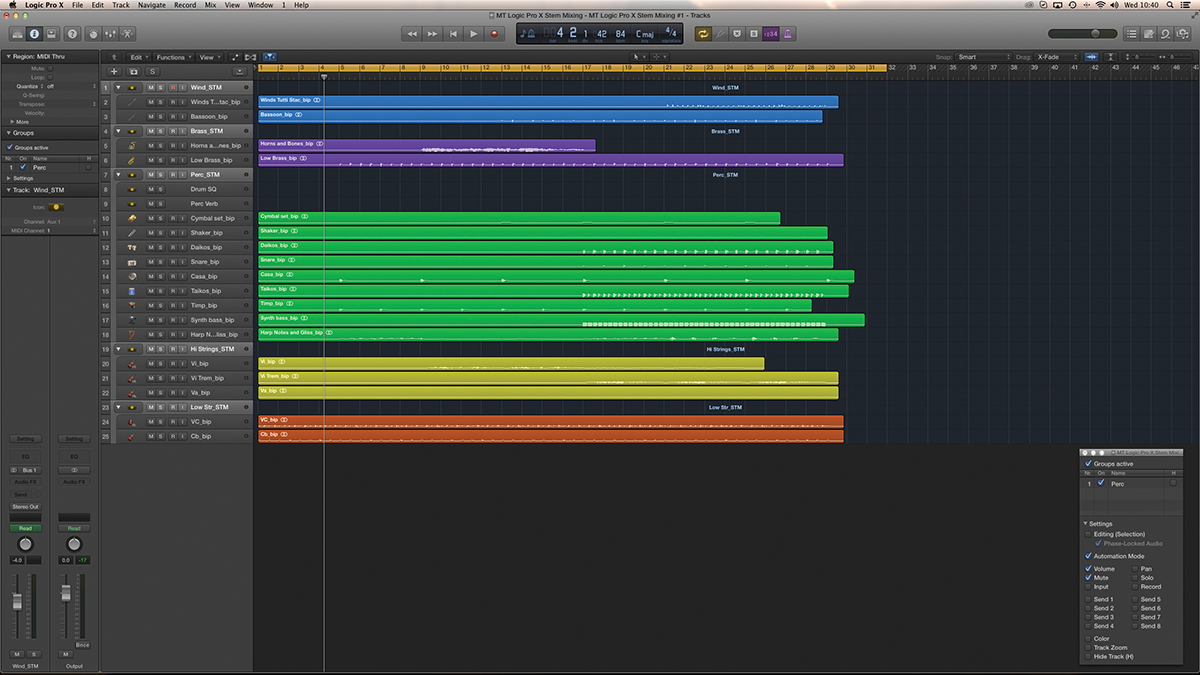
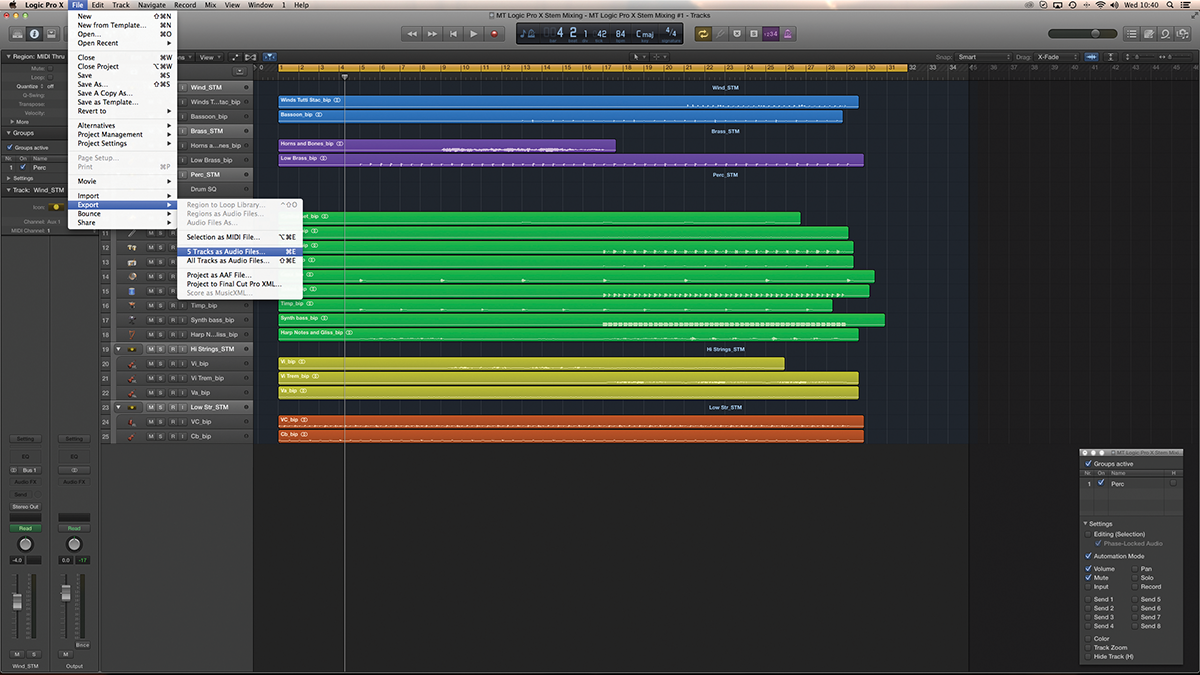
15: To print the stems, you’ll need to use Logic Pro X’s Track Export feature rather than the Bounce button. Start by expanding all the stems, but then only select the stem master faders in the track list.
16: Since version 10.2.1, Logic has featured a Selective Track Export feature. Go to the File menu and select Export > 5 Tracks as Audio Files. This will allow you to print the stems in one pass, rather than having to print them separately.
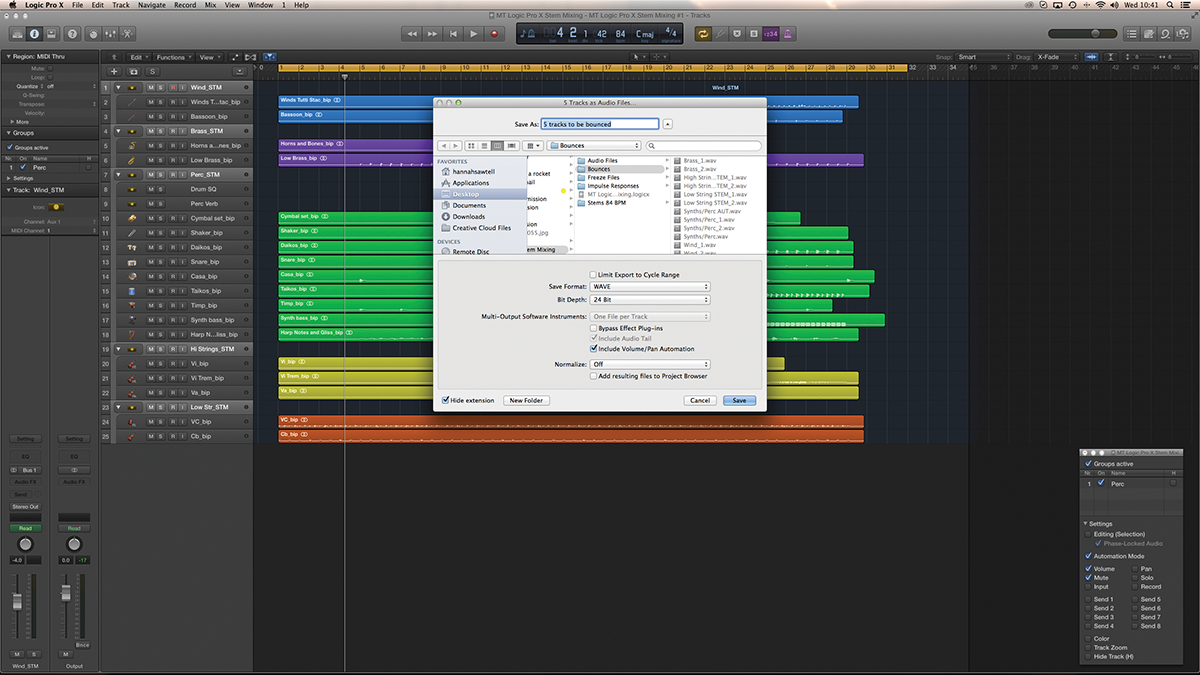
17: In the dialogue box, ensure you haven’t checked the Bypass Effect plug-ins option (otherwise the stems will be printed pre any plug-ins), as well as enabling the Include Volume/Pan Automation if you’ve adjusted the stem faders away from unity.

18: As a final check, it’s well worth creating a new project and importing the stems, which should have been placed in the Bounces folder. Balancing all the faders at 0dB should recreate the full stereo mix, complete with the FX.
This tutorial is endorsed by Point Blank. With courses in London, online and now in LA, Point Blank is the Global Music School. You can study sound to picture on their Music Production Diploma courses, with pro industry tutors.
