Logic Pro X Tutorial: Become a Power User Part 8 – Perfecting Vocals With Flex Pitch
When it comes to remedying a range of pitch-based problems, few solutions are better than Logic Pro’s Flex Pitch technology. Mark Cousins hits the right notes. Under the exacting conditions of the recording studio, even the greatest performer can deliver the occasional dud note. For less experienced musicians, of course, it’s highly likely that an […]

When it comes to remedying a range of pitch-based problems, few solutions are better than Logic Pro’s Flex Pitch technology. Mark Cousins hits the right notes.

Under the exacting conditions of the recording studio, even the greatest performer can deliver the occasional dud note. For less experienced musicians, of course, it’s highly likely that an engineer has to struggle with a recording that’s plagued with poor intonation or notes that completely fail to reach their intended pitch. It’s no surprise, therefore, that a range of techniques have been developed to cope with poor pitch and intonation, although it’s arguably Melodyne and Logic Pro’s Flex Pitch that offer the best and most flexible solution to the refinement of tuning.
Flex Pitch was introduced in Logic Pro X as an addition to the existing Flex Time functionality. Whereas Flex Time offered Logic users unprecedented tempo- and time-based flexibility over their audio, Flex Pitch offers the same degree of elasticity in relation to the pitch of a performance. As you’d expect, Flex Pitch ‘bolts on’ to the existing Flex Time functionality, with Flex Pitch effectively being an additional Flex mode, in addition to the existing Flex Time modes. Beyond this, though, all comparisons end, given the unique and powerful new set of features Flex Pitch offers.
As with all current pitch-correction technologies, it’s important that you’re clear from the start about what you can and can’t achieve with Flex Pitch. The assumed source for Flex Pitch is a monophonic recording – such as a vocal, upright bass or lead guitar – rather than an instrument that produces chords. Providing the source material is clean, you’ll enjoy a surprising degree of freedom, from the ability to correct poor intonation through to completely re-pitching a melody; you can even control aspects such as vibrato and formant positioning.
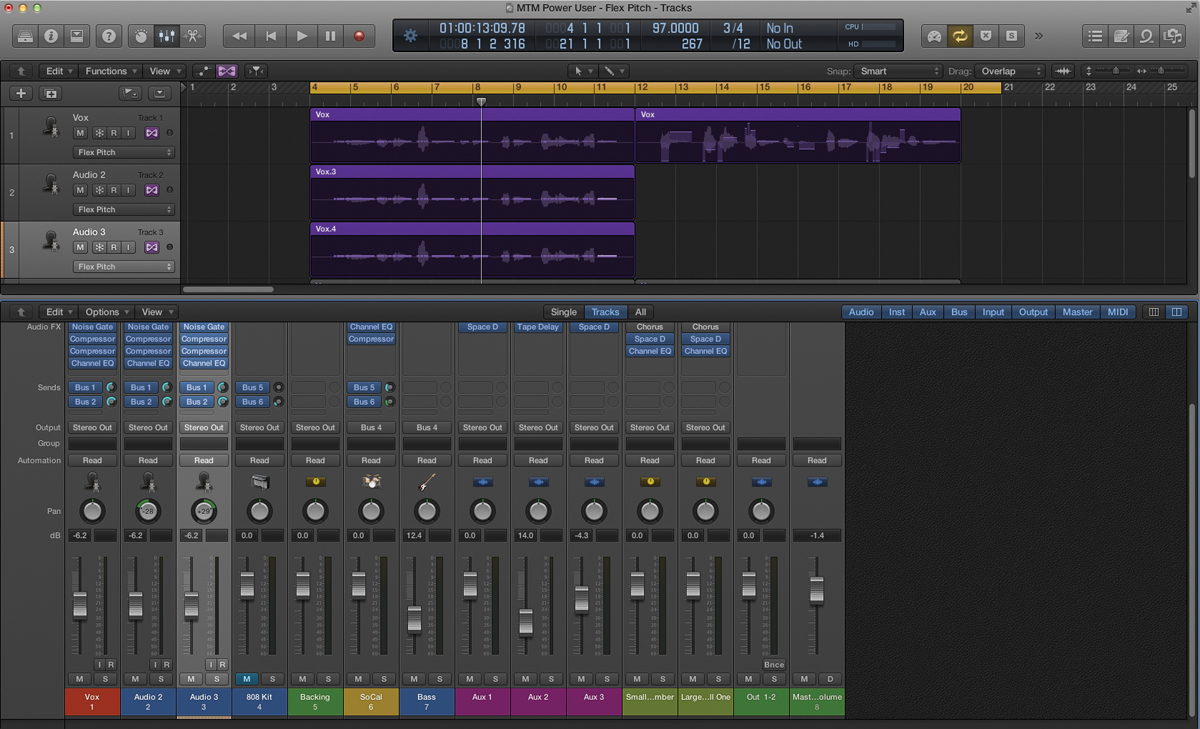
Given the importance of Flex Pitch in terms of correcting a vocal performance, therefore, this tutorial looks specifically at the task of editing and refining a vocal track. Beyond basic pitch-correction, we’ll also explore some of the creative possibilities of Flex Pitch – in this case, creating a complete series of multitracked backing vocals from a single vocal performance. As you’ll see, Flex Pitch is both a surprisingly intuitive and powerful musical tool, and well worth closer exploration.
Perfecting Pitch
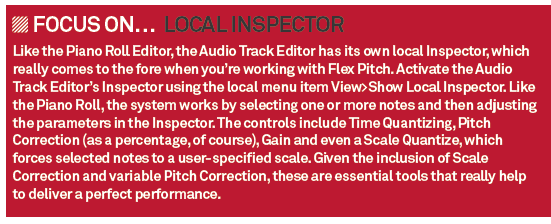
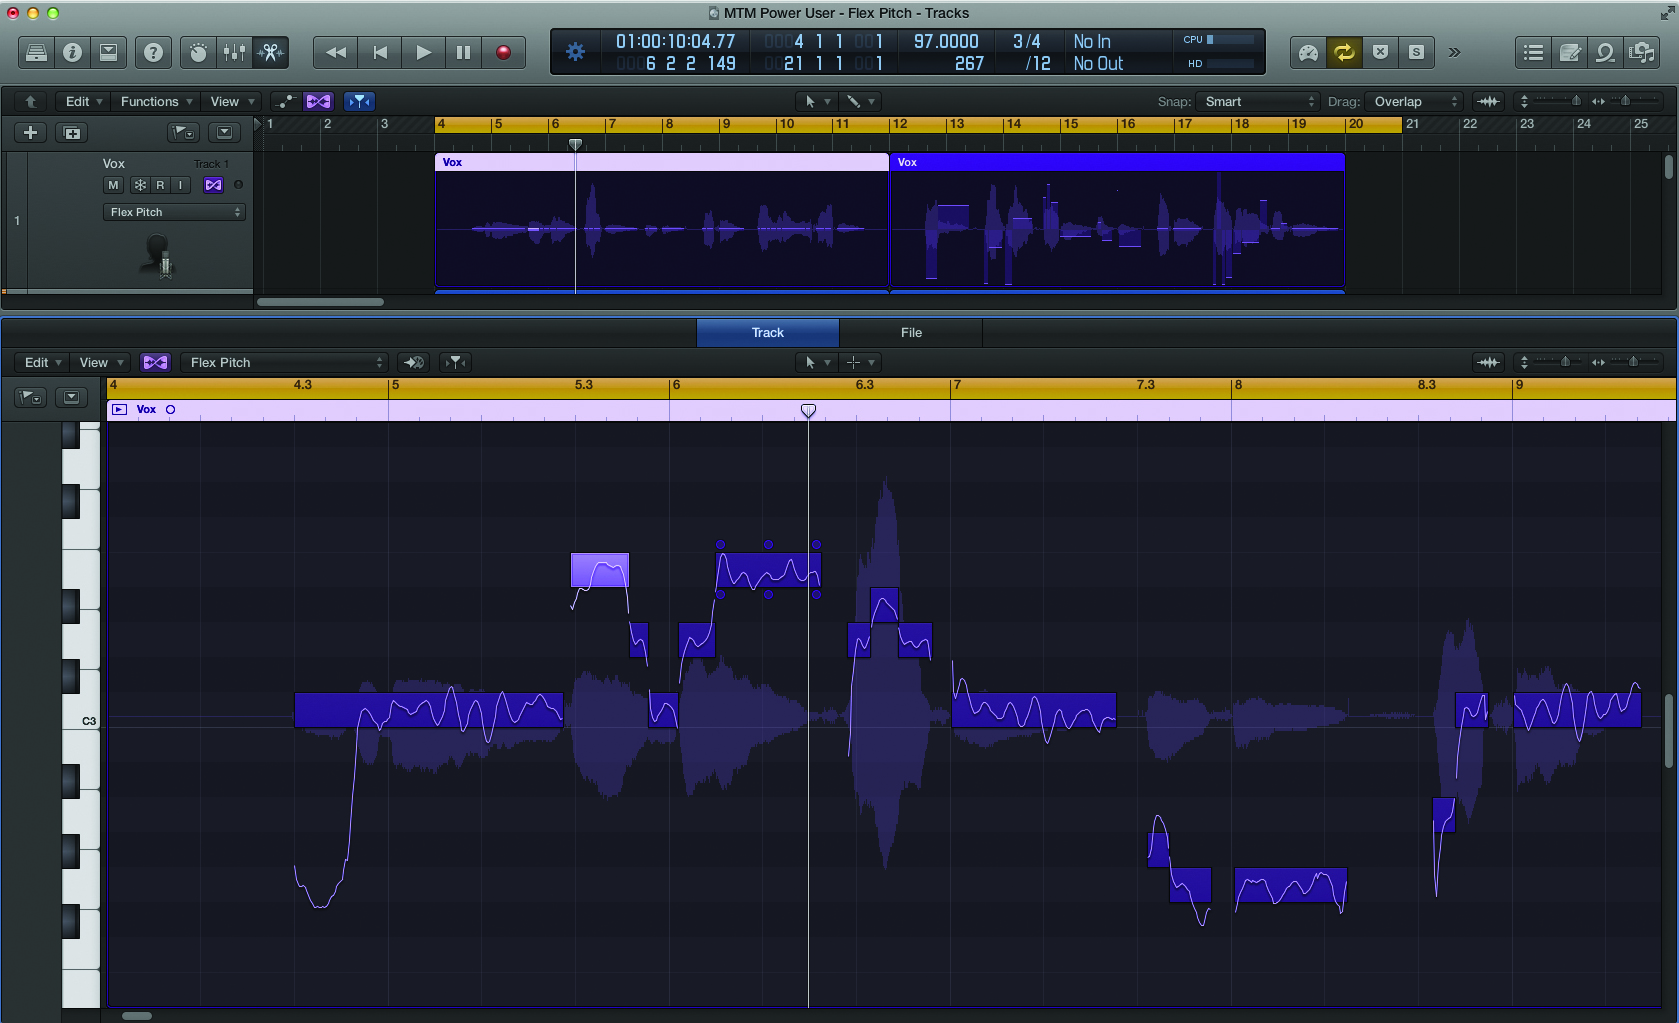
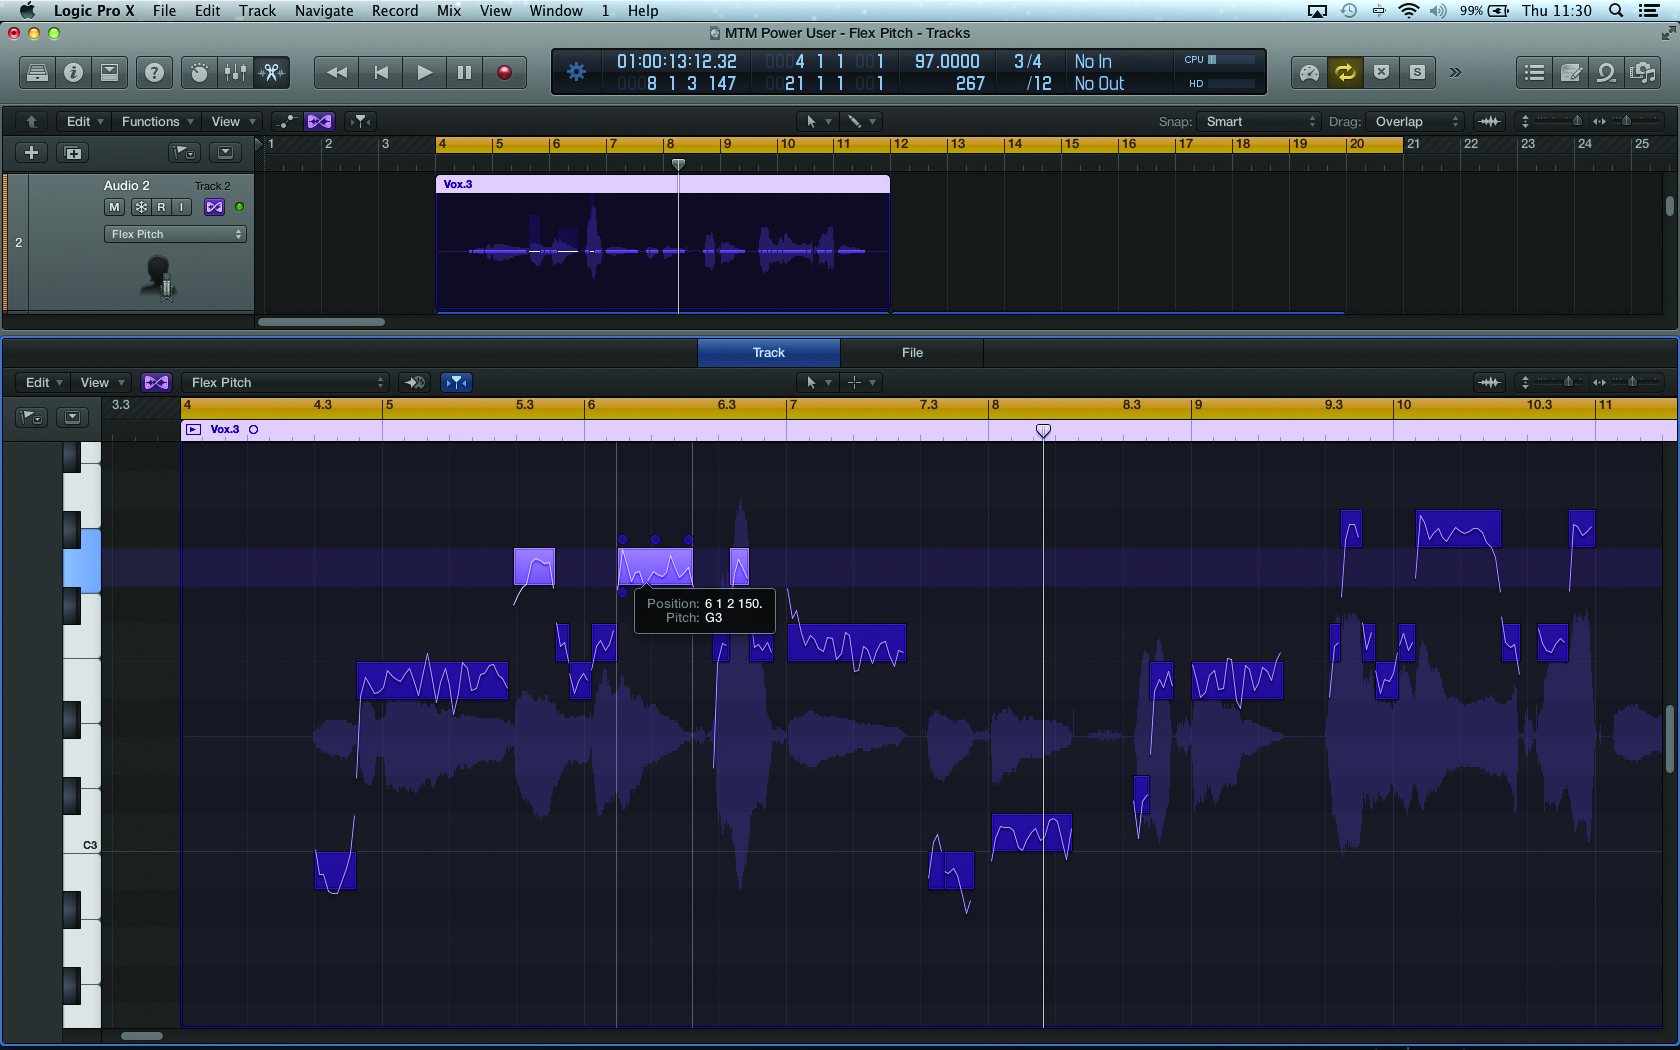
1: Before we can initiate any Flex Pitch edits, we need to activate the Flex View, using either the icon towards the top of the tracks area or the menu option Edit>Show Flex Pitch/Time from the tracks area’s local menu. You’ll also need to enable a Flex Time/Pitch mode for the vocal track – in this case, select the Flex Pitch option.
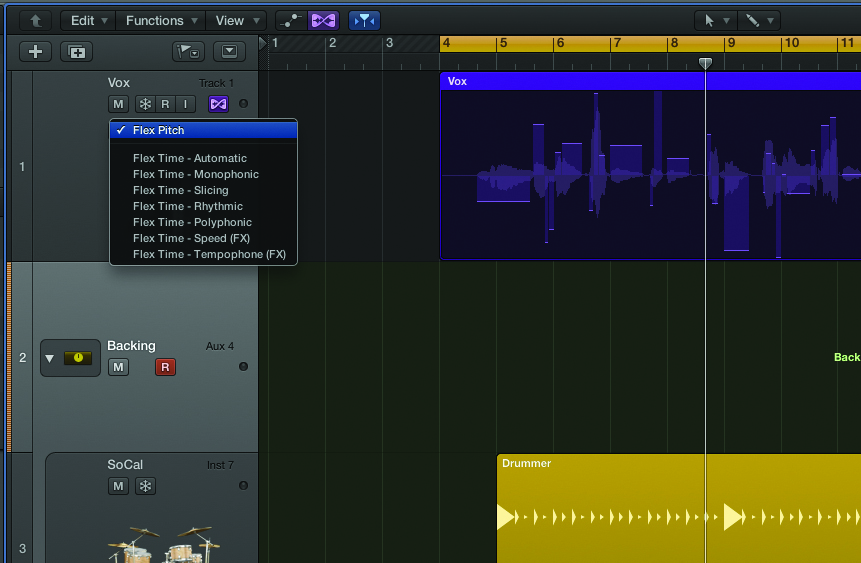
2: With Flex View enabled, the tracks area displays some basic information in regard to the pitch of the vocal. What the display illustrates is the relative intonation – lines above the centre axis are sharp in relation to perfect pitch, while lines below the axis are somewhat flat. It’s also worth noting a unique contextual menu, which is activated by [Ctrl]-clicking on the region.
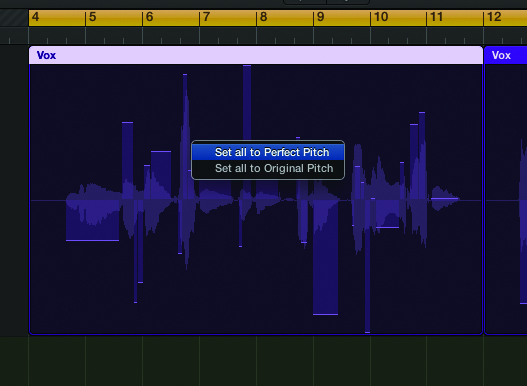
3: For a more in-depth view of the vocal (and to access the complete set of Flex Pitch editing tools) you’ll need to open the Audio Track Editor. What we see here is an amalgamation of a Piano Roll Editor (that you’d usually find in a MIDI region) and the traditional waveform view associated with an audio track.
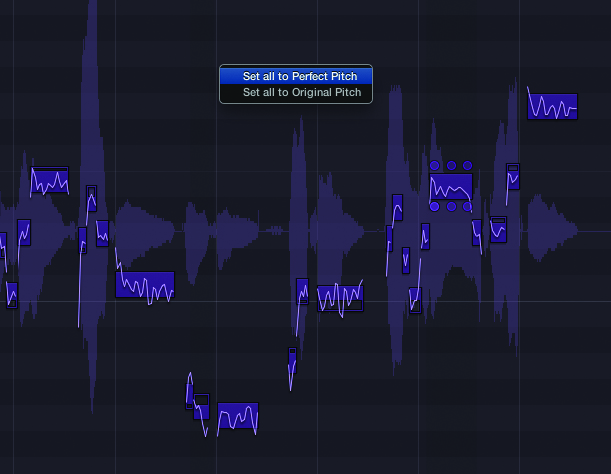
4: One of the quickest and most effective tasks you can carry out with Flex Pitch is the option to Set all to Perfect Pitch. You can initiate this command by [Ctrl]-clicking anywhere in the note display and selecting Set all to Perfect Pitch from the contextual menu. Observe how the notes jump to quantized pitch positions.
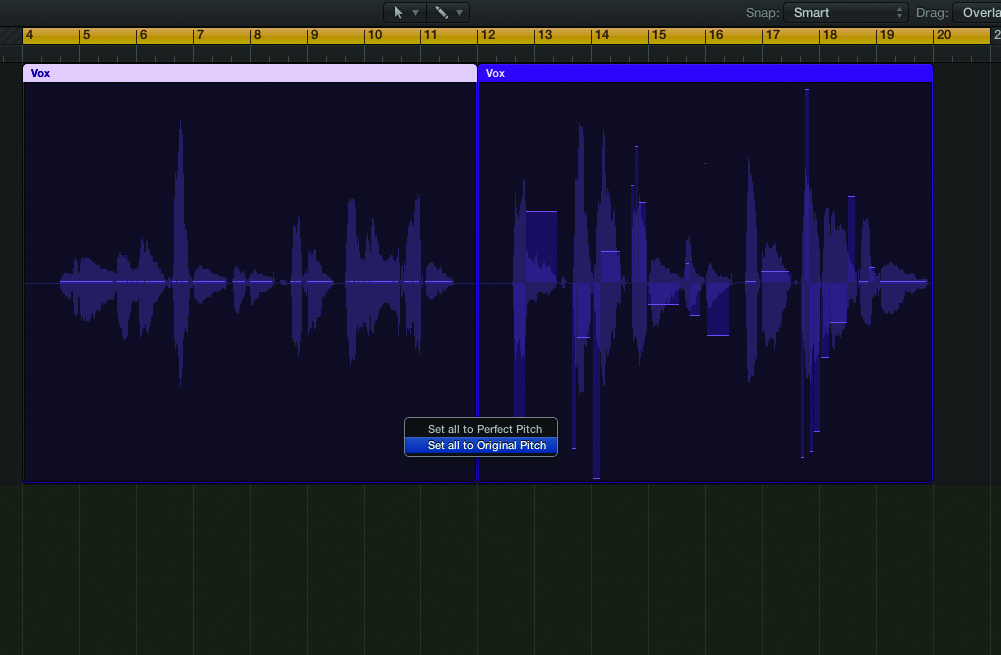
5: Moving out of the Audio Track Editor for now, note how the recent Flex Pitch changes have been reflected in the track’s area. The flat line indicates all notes are at perfect pitch. If you want to return the vocal to its initial state, it’s worth noting the Set all to Original Pitch contextual menu item.
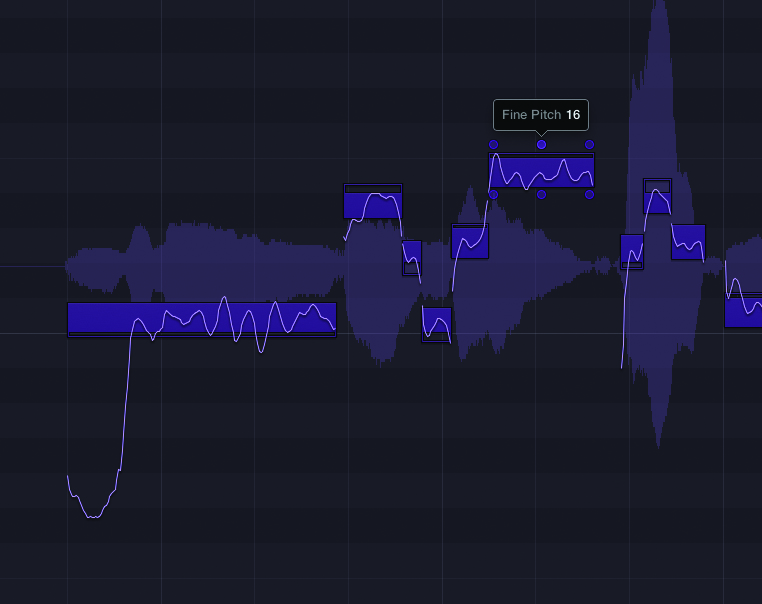
6: As we’ll see in a minute, any auto-correction system isn’t flawless, especially if the pitch of the source is ambiguous. As an alternative, consider using the top middle node on each note as a means of manually re-pitching the worst-offending notes. Look carefully and you’ll see the amount of offset required to move it to perfect pitch.

7: To be completely clear about Flex Pitch’s behaviour, it’s worth exporting its note analysis to a new MIDI track. Where analysis errors have occurred, mistakes will be made in the subsequent correction, so it’s worth keeping an eye on. To do this, go to the local Edit menu and select Create MIDI Track from Flex Pitch Data.
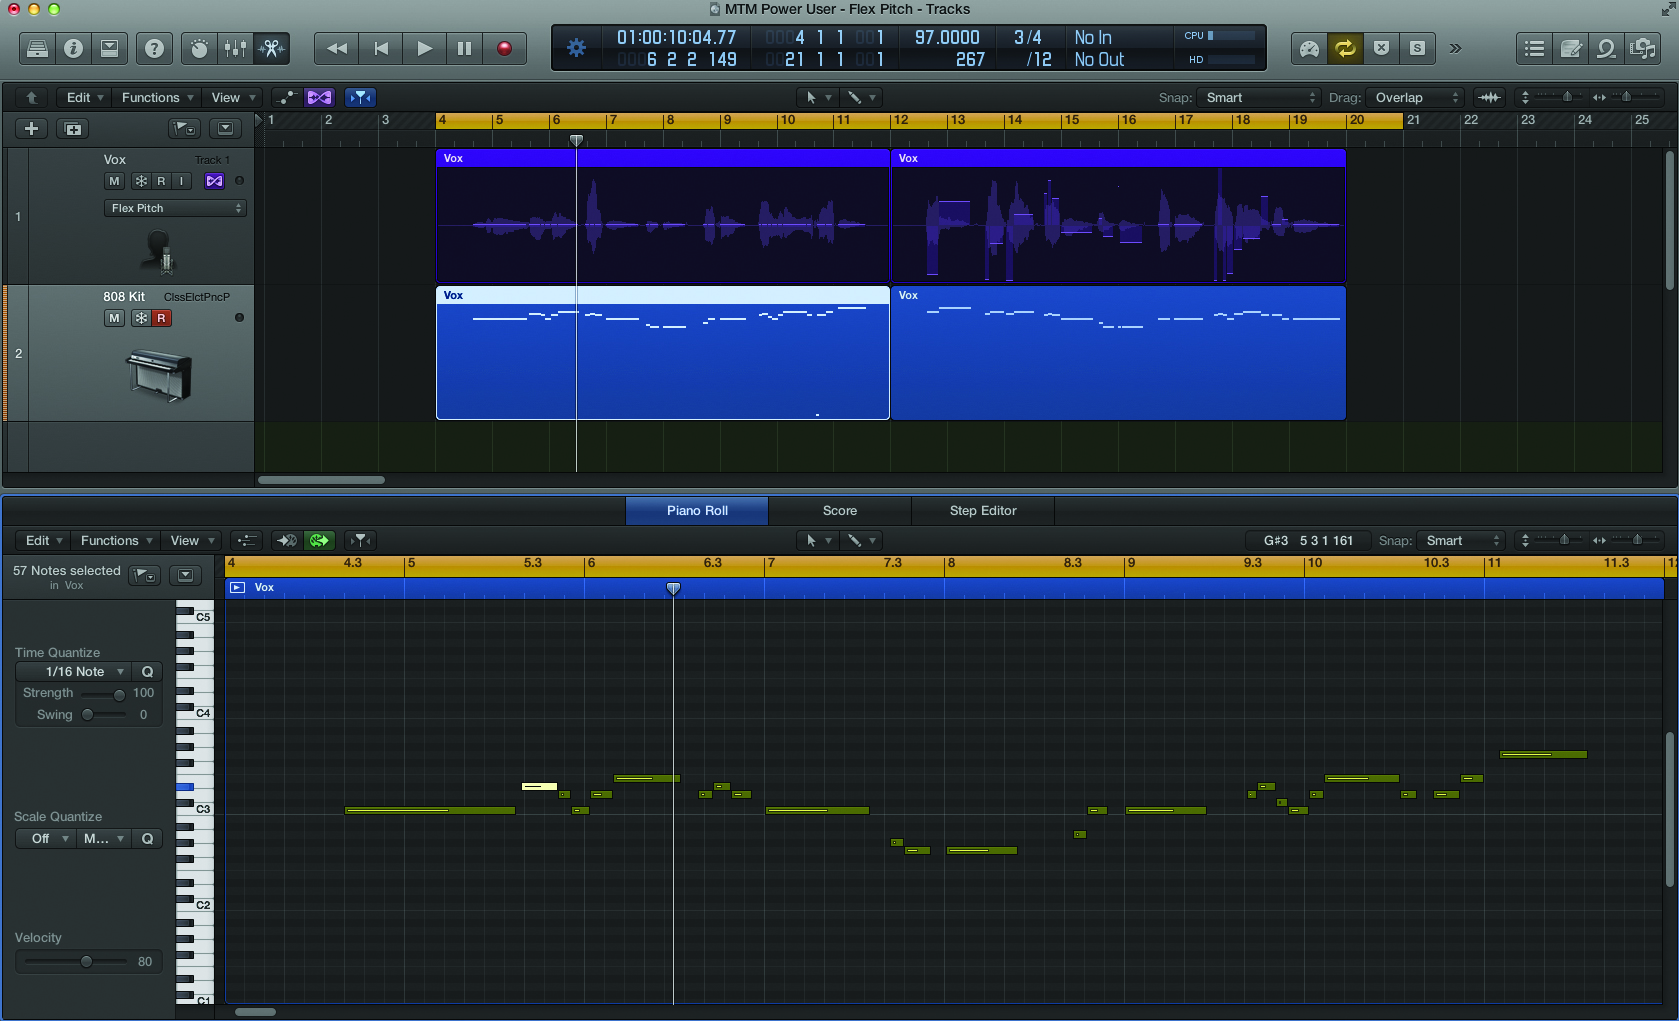
8: Here we can see the MIDI region created by Flex Pitch being played along with the vocal. Given the expression in a vocal, it’s worth noting some of the minor analysis errors. Firstly, the initial notes, including a G and C, have been identified as one long note. Secondly, there’s some ambiguity in the use of E and Eb in bars 5 and 9.
9: Taking some of points we’ve learned from the MIDI export, we can start to refine aspects of the performance. One area to look at is the aforementioned Eb in bars 5 and 9. By clicking and holding on a note, we can re-pitch in coarse semitones – in this case, just pushing up to the E rather than the Eb.
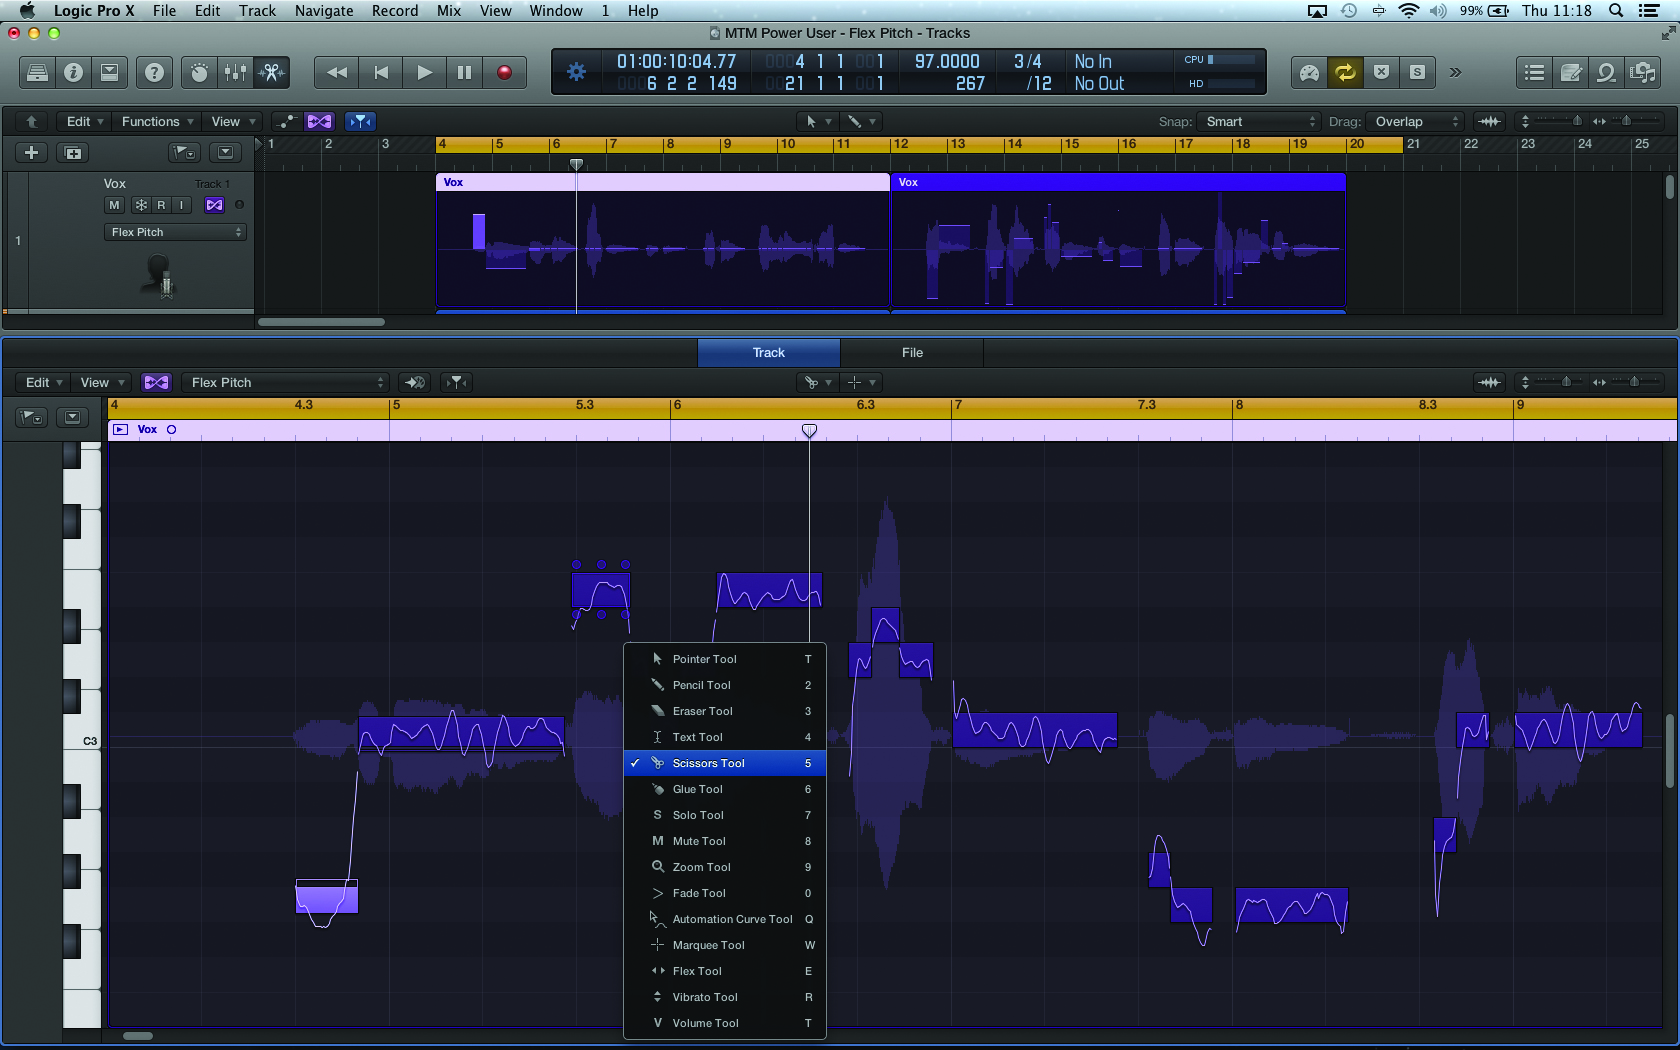
10: Where Flex Pitch has lumped notes together (this is the case for the first two notes before bar 5) we can use the Scissors tool to divide the note accordingly. With the note correctly divided, you can see how the ‘averaged’ assessment of the note’s pitch has changed – the G is sharp and the C is slightly flat.
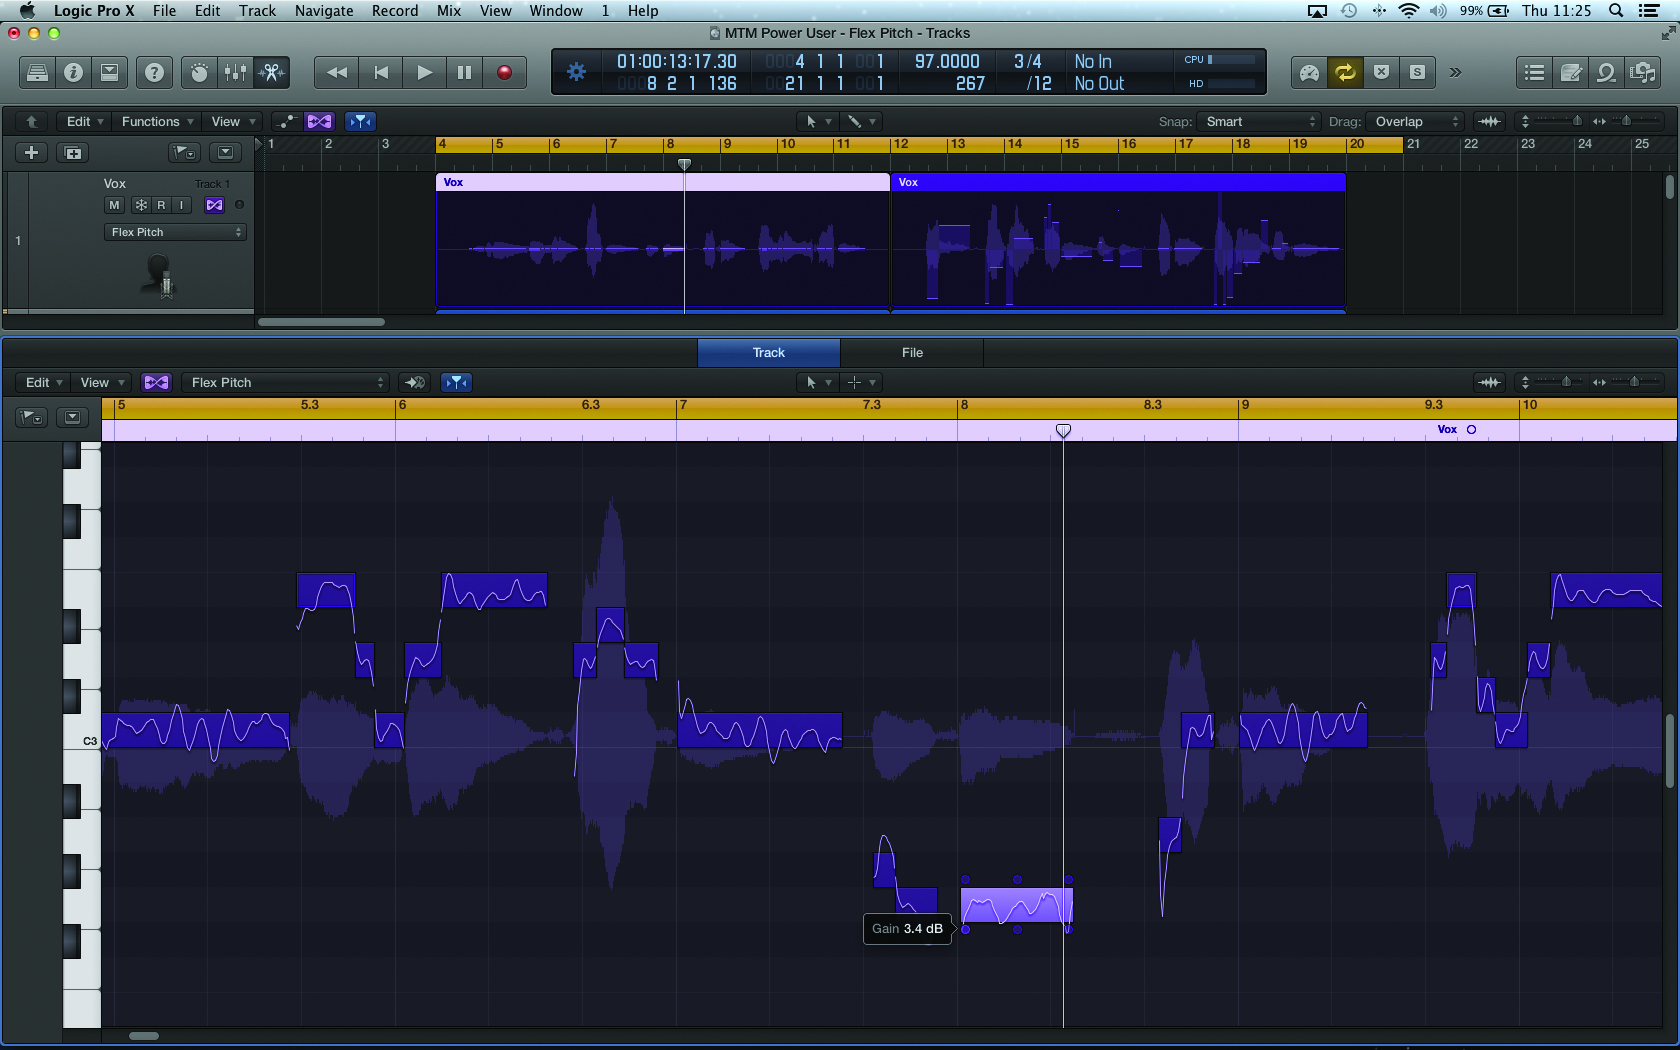
11: As you can see, each of the six nodes surrounding a note has a different role to play, and each can be adjusted to create the perfect performance. A surprising feature is the ability to adjust gain using the node in the lower left corner. This is a great tool for smoothing out dynamics, before the vocal hits the compressor.

12: With the core process of Flex Pitch under our belts, it’s now time to start exploring some of its creative potential. One of the best applications is the task of ‘faking’ backing vocals when you’ve got just a single main vocal line to play with. Start by creating a duplicate of the vocal track and copy the existing region onto the duplicate.
Building Backing Vocals
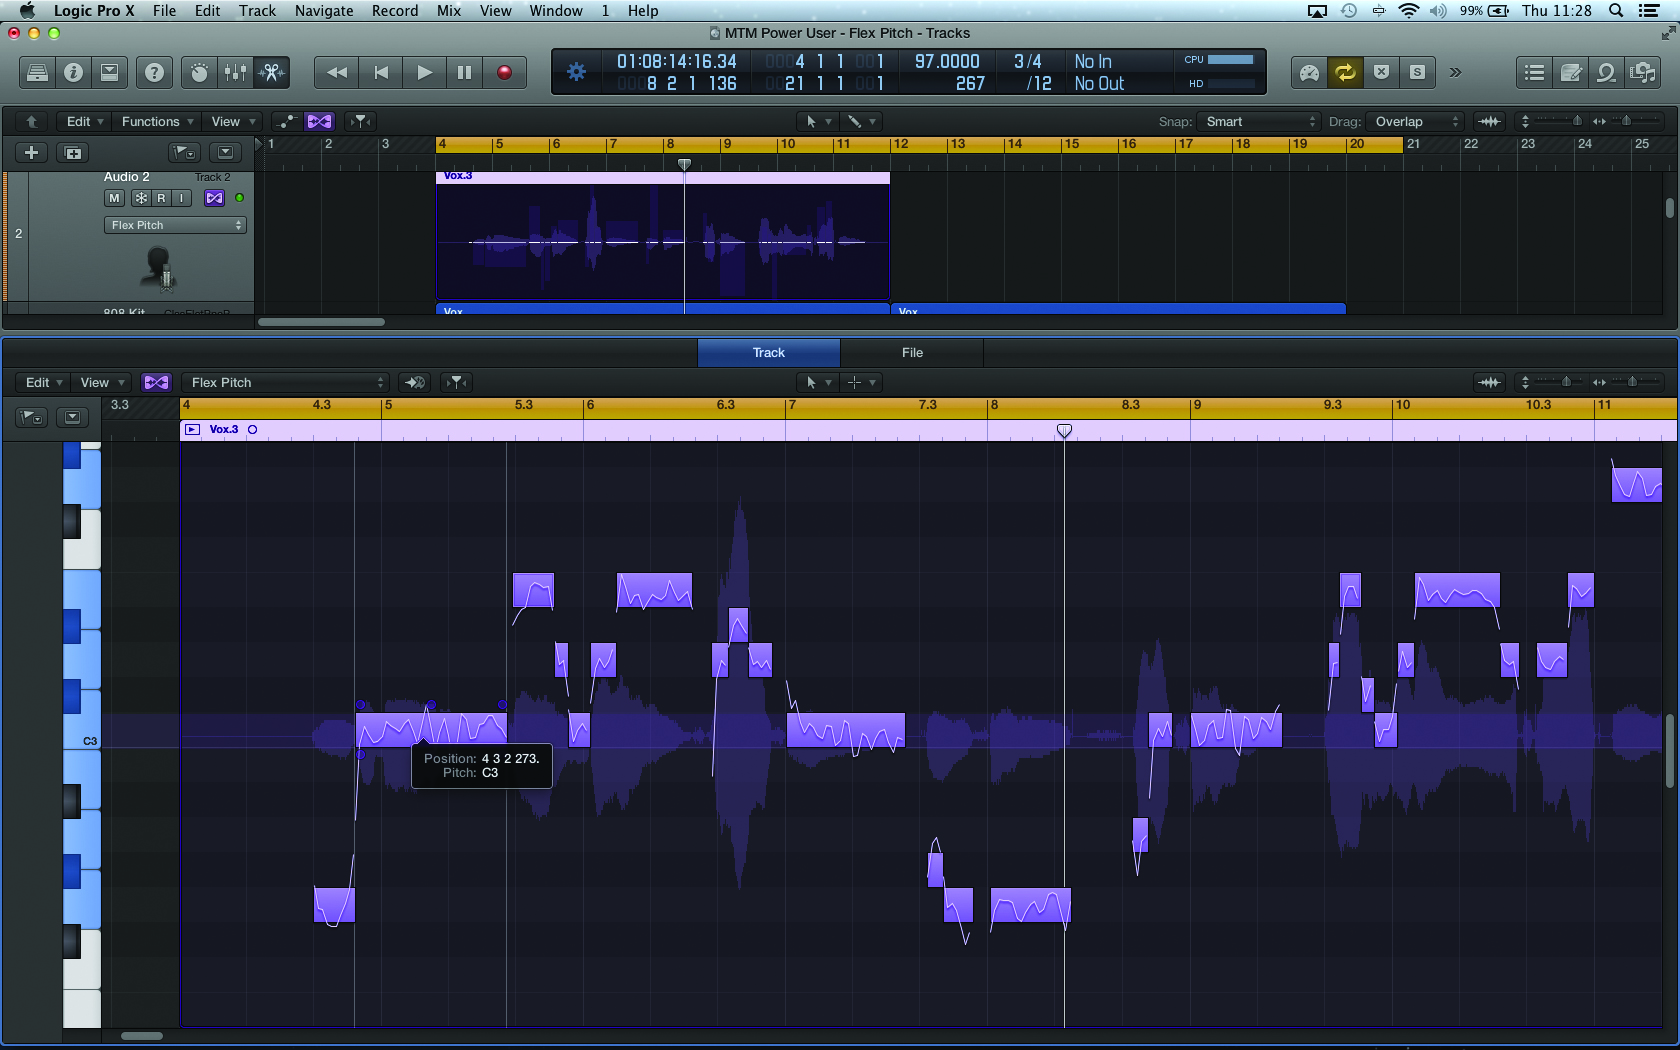
1: Open the Audio Track Editor on the duplicate vocal and select all of the notes. To make the harmony, shift the vocal up by four semitones, so that notes on a C, for example, rest on an E. Musically speaking, the backing vocal isn’t correct at the moment, as it has shifted key into E major, so there are a few awkward clashes.
2: Although it’s possible to apply scale correction, I find it’s better to manually work through the vocal and tweak the offending notes; that way you can also move the occasional note away from just being a third up, maybe adding suspensions or sevenths where the music permits. I often keep the main vocal muted, but retain the MIDI guide as a pitch reference.
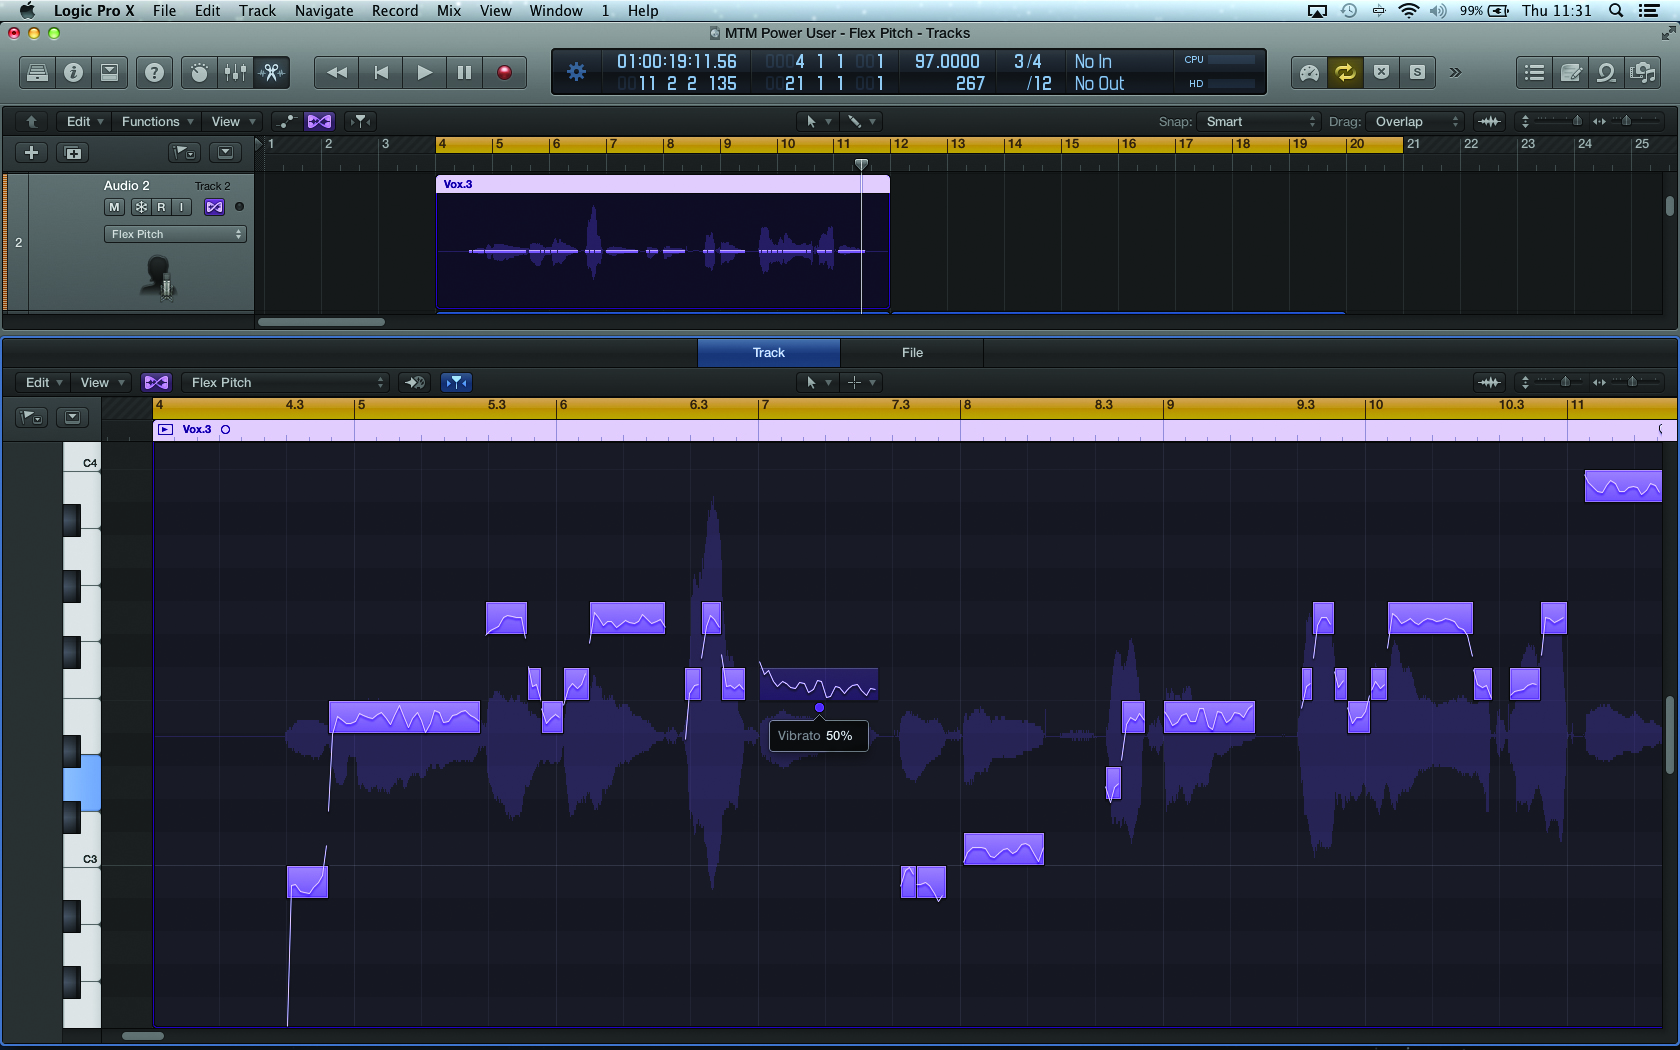
3: One of the tricks with backing vocals is to try to make each part distinctive, otherwise the results can just sound like an overdose of pitch-shifting! A good place to start is vibrato, making the backing vocal less expressive so that it sits behind the vibrato-rich main vocal. Select all of the notes and click on the lower middle node to adjust.
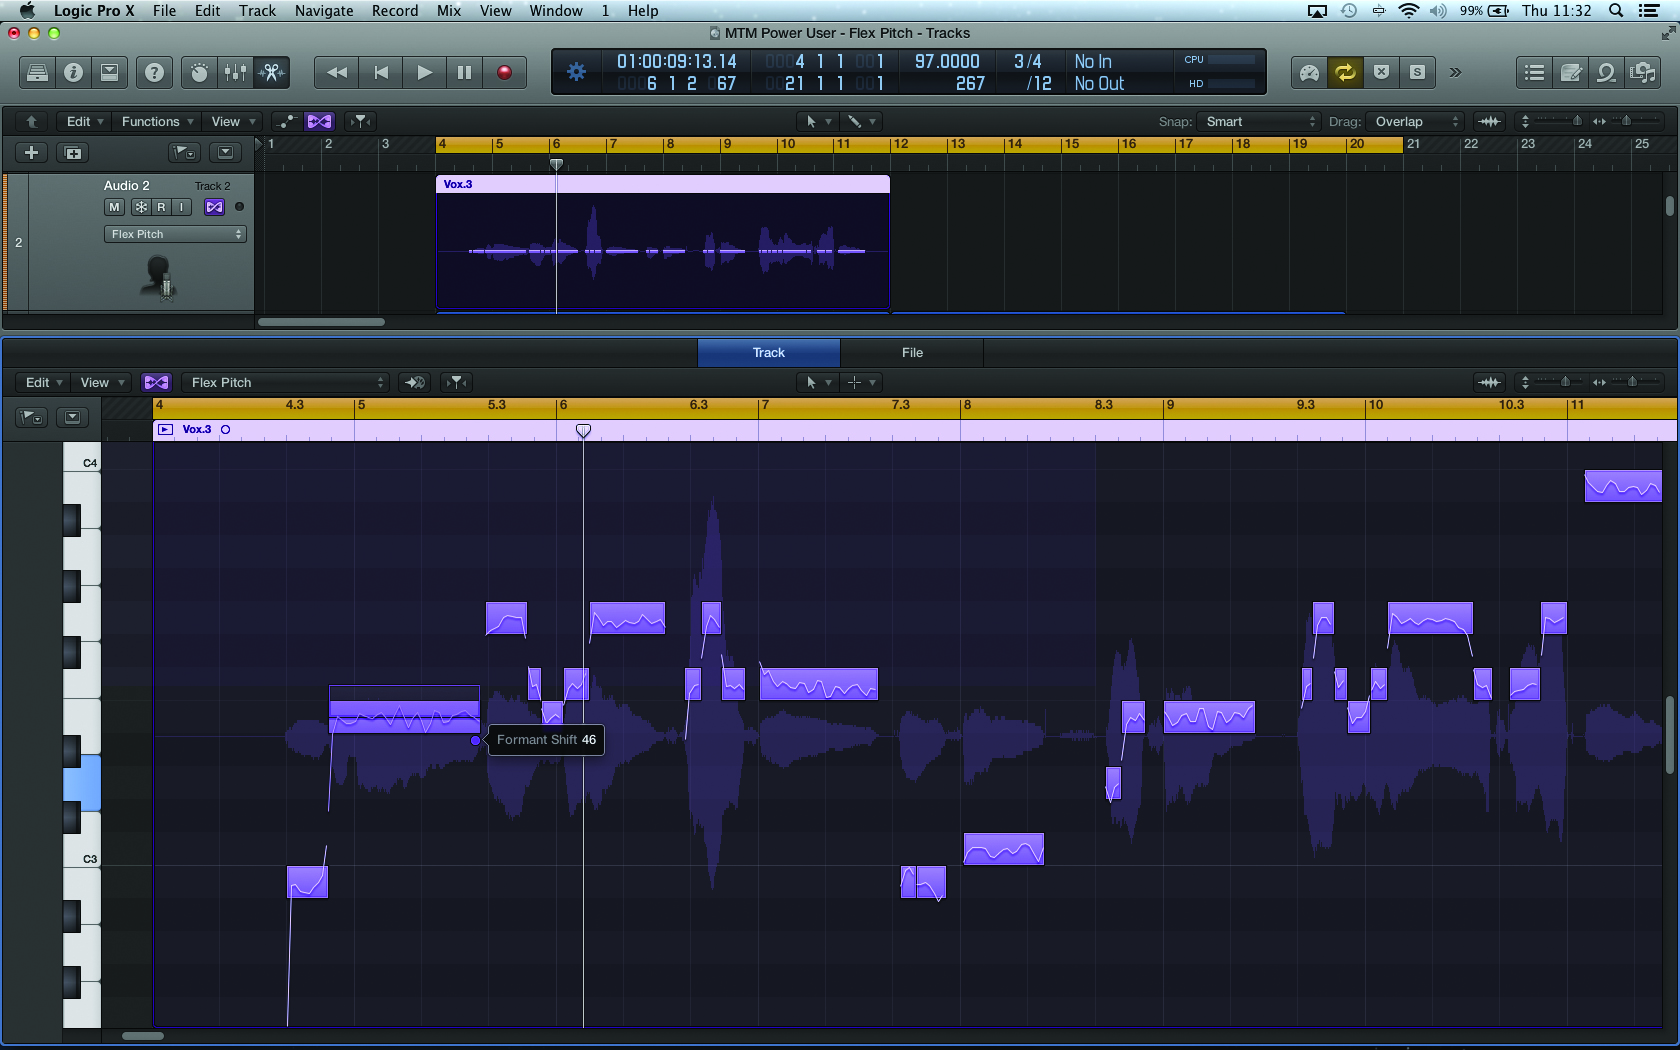
4: Another interesting option to create a discernibly different vocal is that of formant-shifting. Again, select all of the notes, this time using the node in the bottom right-hand corner to move the formants up a little. The formant shift changes the character of the vocal slightly, almost making it younger, or more feminine, as the parameter is raised.
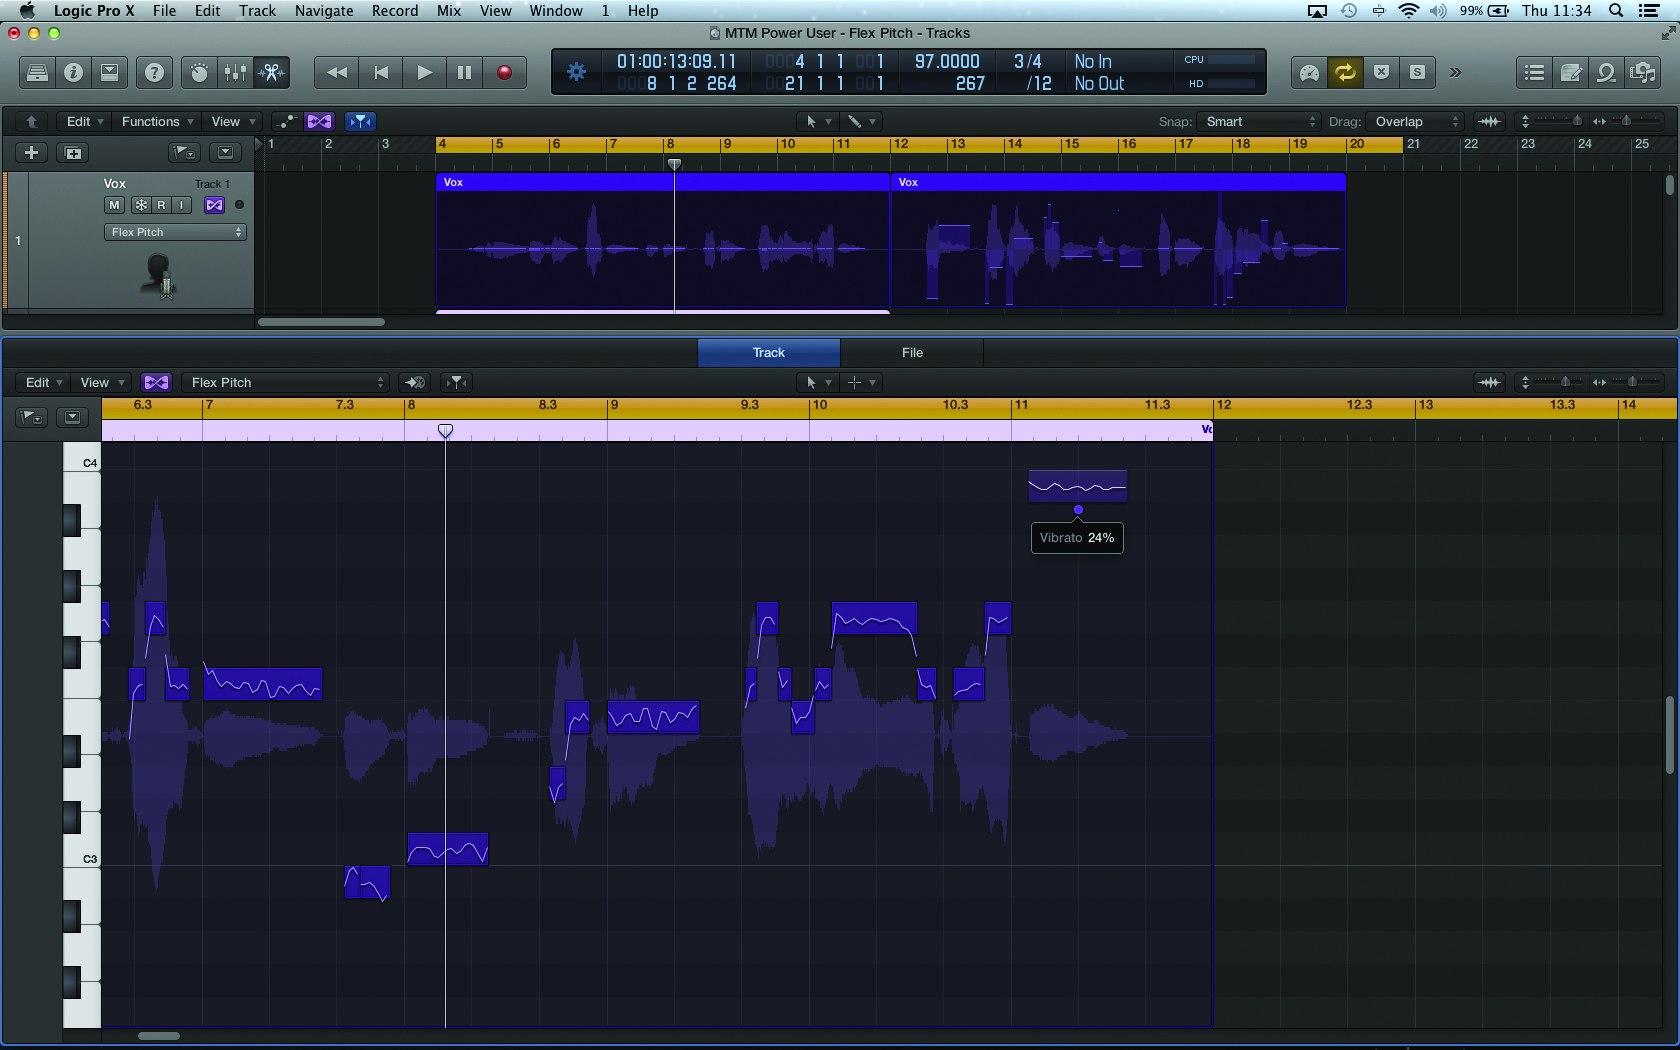
5: Even with the basic vibrato and formants changing, it’s well worth appraising the performance on a note-by-note basis, trying to bring out the best musicality at its given pitch. Looking at the last note in the sequence, for example, it’s interesting to selectively reduce its vibrato even further, lending it a purity that works really well with a high-pitched note.
6: Having perfected a harmony that’s a musical third higher, try exploring another version a fifth lower (so that a C would become a G). Again, vary aspects such as vibrato, pitch-drift and formants to create an individual sound for each part. When it comes to the mix, you can also position each of the vocal tracks in a slightly different position on the soundstage.