Make an 80s super synth rack with DiscoDSP OB-Xd and free effects plug-ins
Use a selection of free plug-ins to make your lushest synth sounds yet.
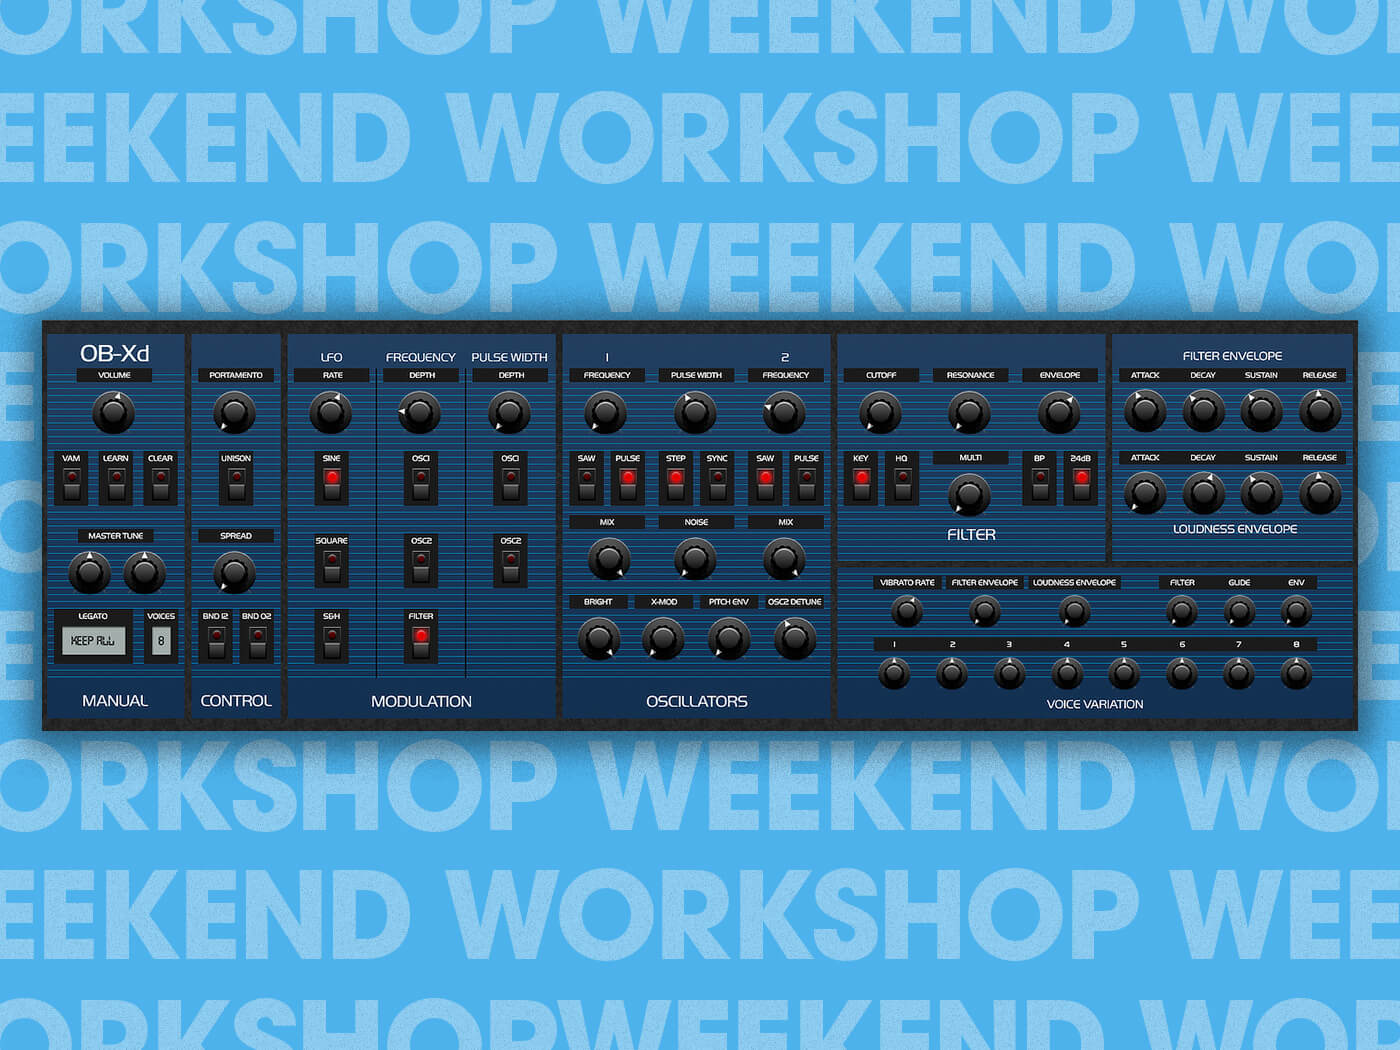
OB-Xd synth
With the powerful audio and MIDI routing capabilities afforded to us by DAWs, it’s possible to use vintage-emulating synths and effect plug-ins to create sounds that go beyond what was possible with their hardware inspirations.
In this Weekend Workshop, we’re going to use three vintage-flavoured free plug-ins to make some larger-than-life sounds: DiscoDSP’s Oberheim OB-X emulation OB-Xd, TAL Software’s software version of the Roland Juno-60 chorus effect TAL-Chorus-LX, and Voxengo’s early digital reverb-inspired OldSkoolVerb.
We’re going to use Ableton Live for this tutorial, and you can download the completed Live Instrument Rack file here to compare your progress. We’ll also explain how to get the same results in other DAWs, so you can follow along, no matter your taste in software.
What you’ll need
- A DAW
- DiscoDSP OB-Xd – don’t worry about the ‘buy’ button, the free version can be downloaded by clicking the desired format icon to the left. But do consider paying to support development
- TAL Software TAL-Chorus-LX
- Voxengo OldSkoolVerb
1. Basic signal generation in OB-Xd
Start by loading OB-Xd onto an instrument track. You’ll notice that its interface is a little confusing, but fear not as we’ll cover some of its idiosyncrasies in this guide. If you fancy doing some further reading on the instrument you can find DiscoDSP’s manual for the synth here, and the manual for the original OB-X here.
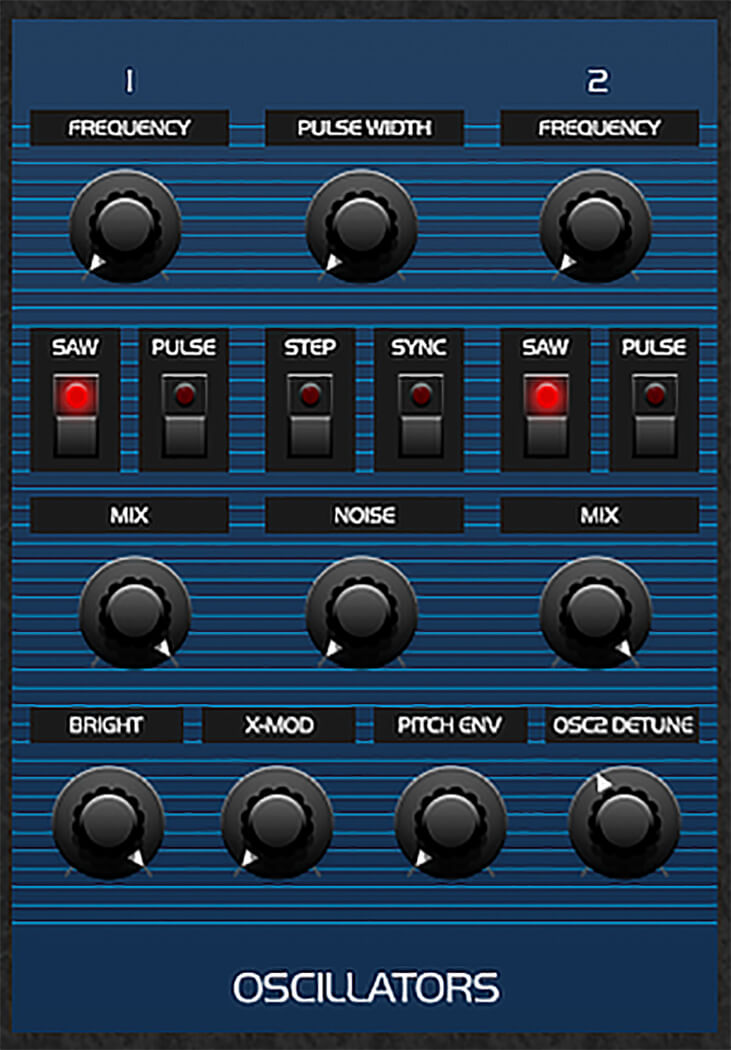
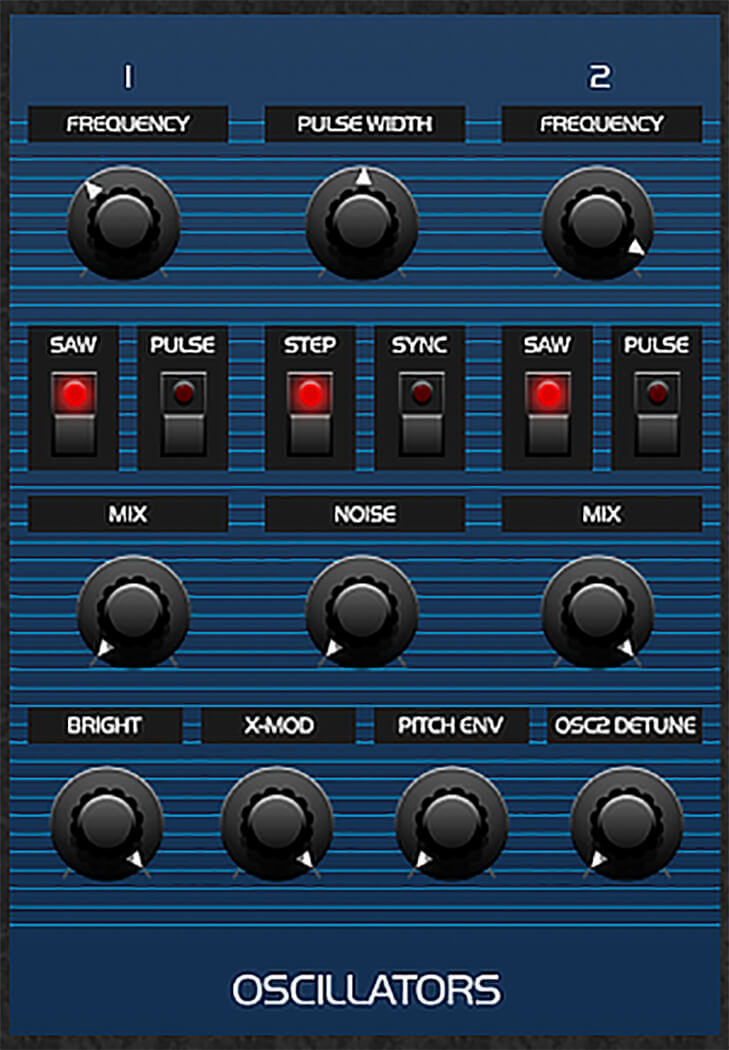
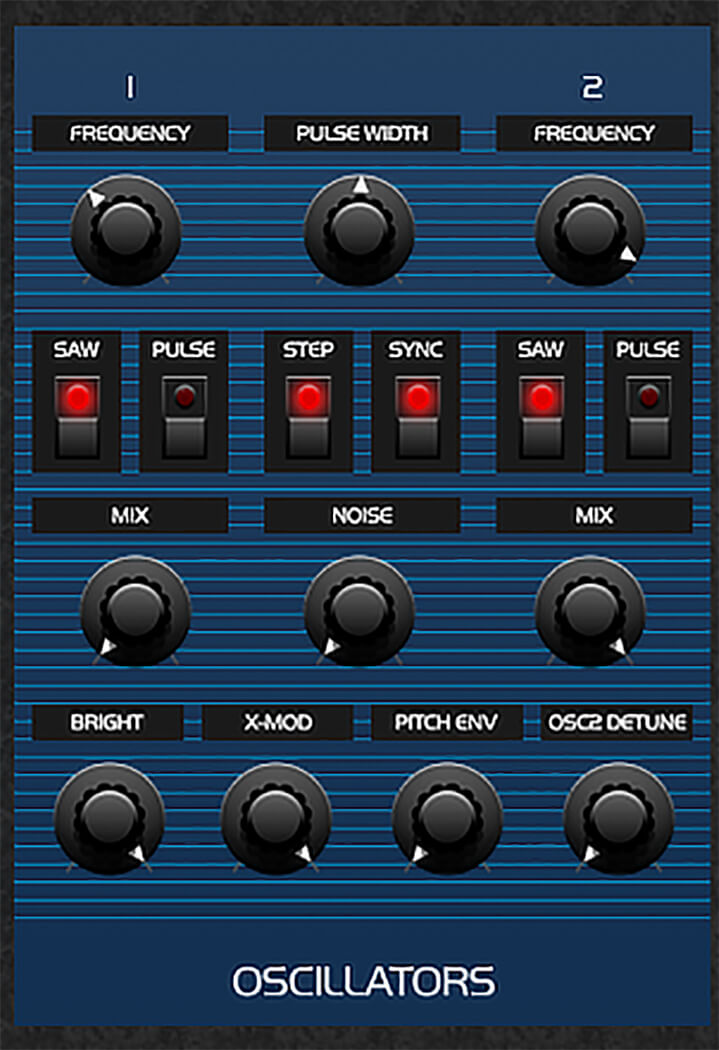
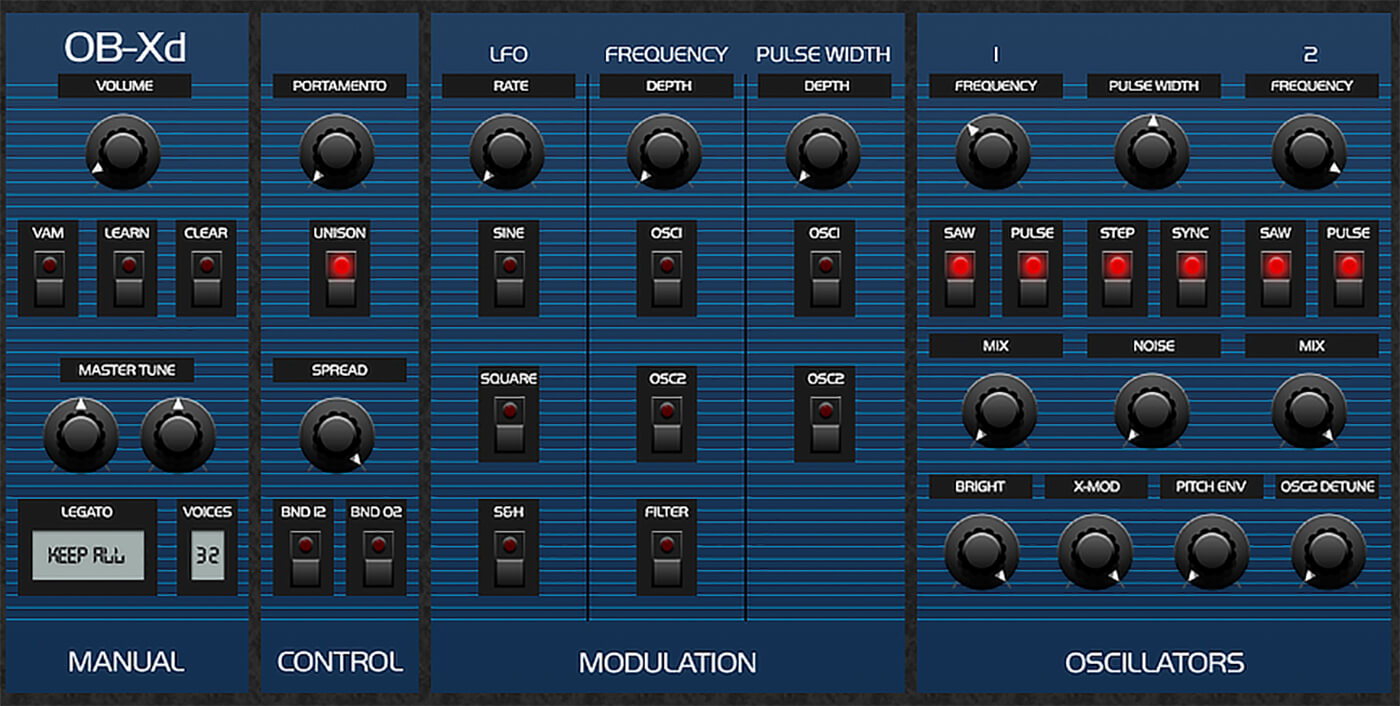
OB-Xd’s sound generation occurs in the Oscillators panel at the centre of the display. The synth’s initial preset is a full-bodied synth brass, but we can access a properly initialised patch by right-clicking the interface and selecting Banks > 001 Init Bank.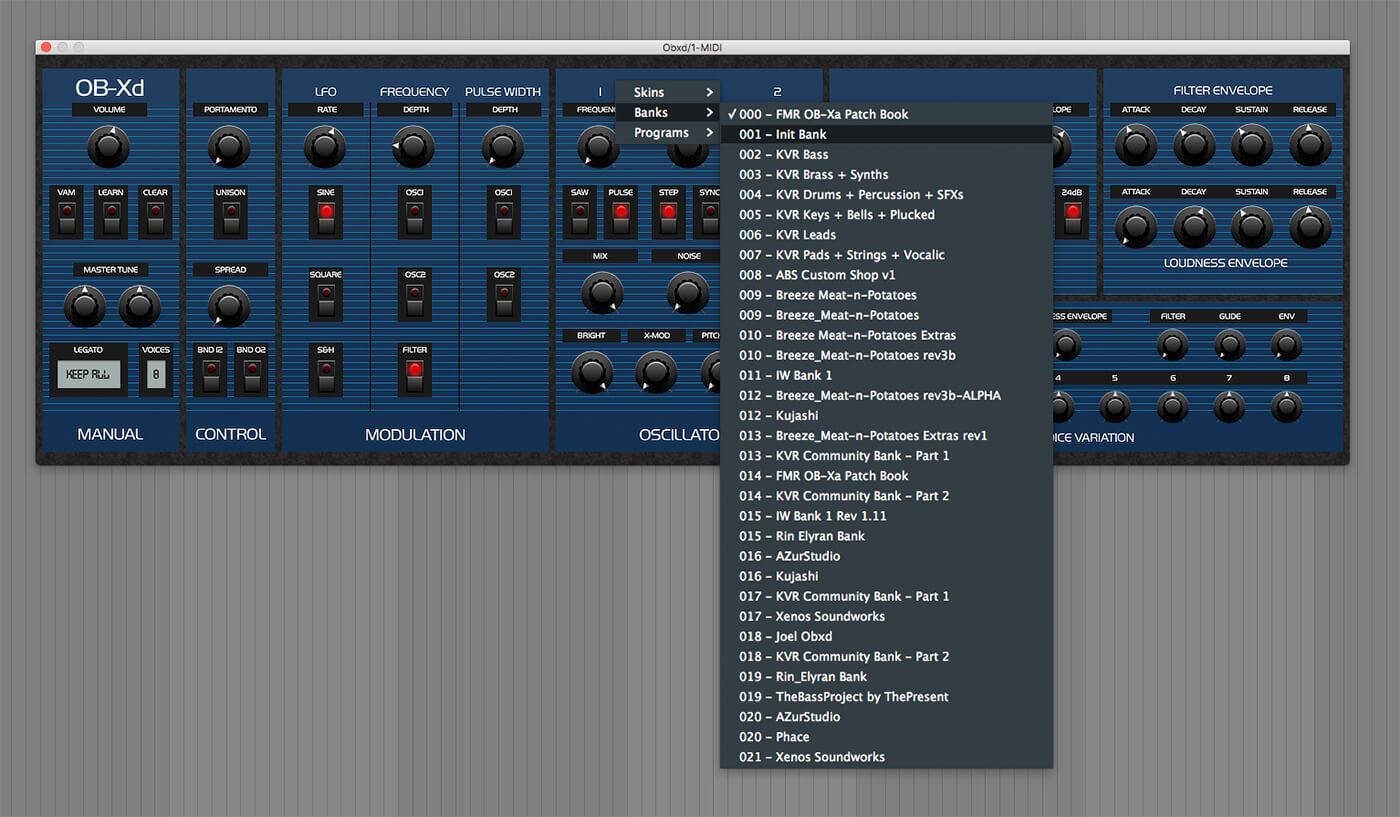
This gives us a muffled sawtooth tone, muffled because the Cutoff knob in the Filter panel is set to 12 o’clock rather than fully open.
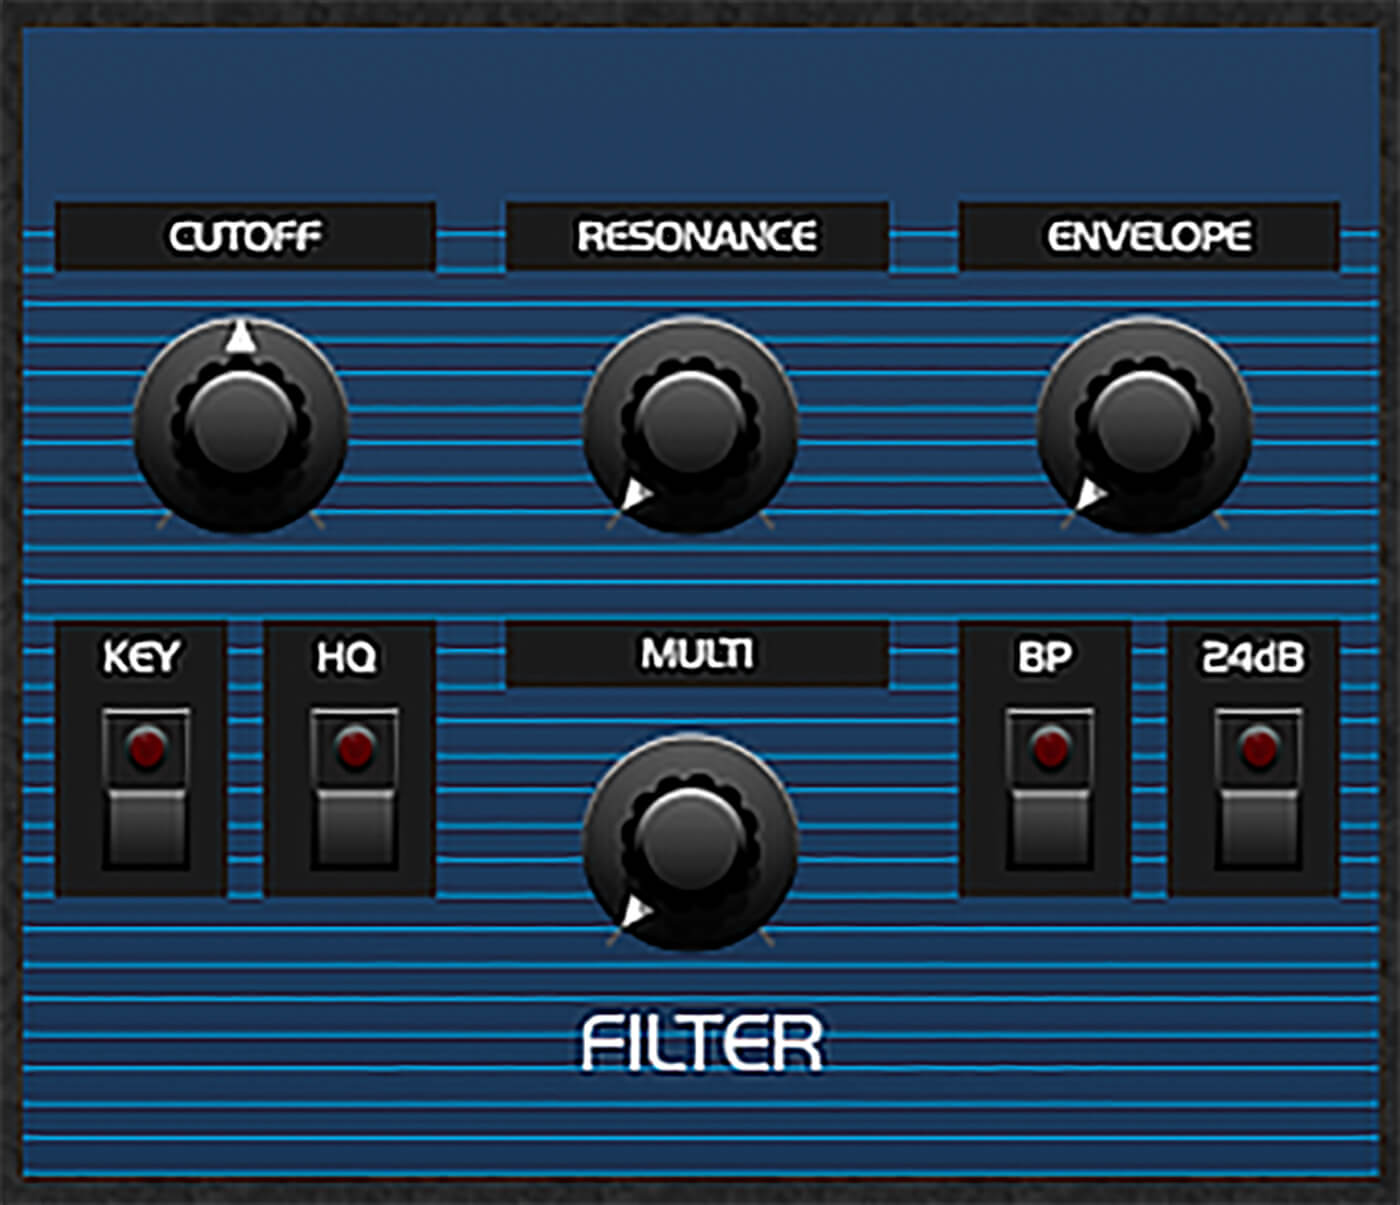
Let’s open that bad boy up and hear those saw oscillators in all their unfettered glory.
OB-Xd has two oscillators, and you might notice there’s a bit of movement going on the sound. This is because the Osc2 Detune knob in the Oscillators panel is turned up.
Turn the Osc2 Detune knob all the way down and the movement is greatly reduced, but if you rapidly play a note you’ll hear a slight phase difference with each note which gives it a pleasing analogue-style movement.

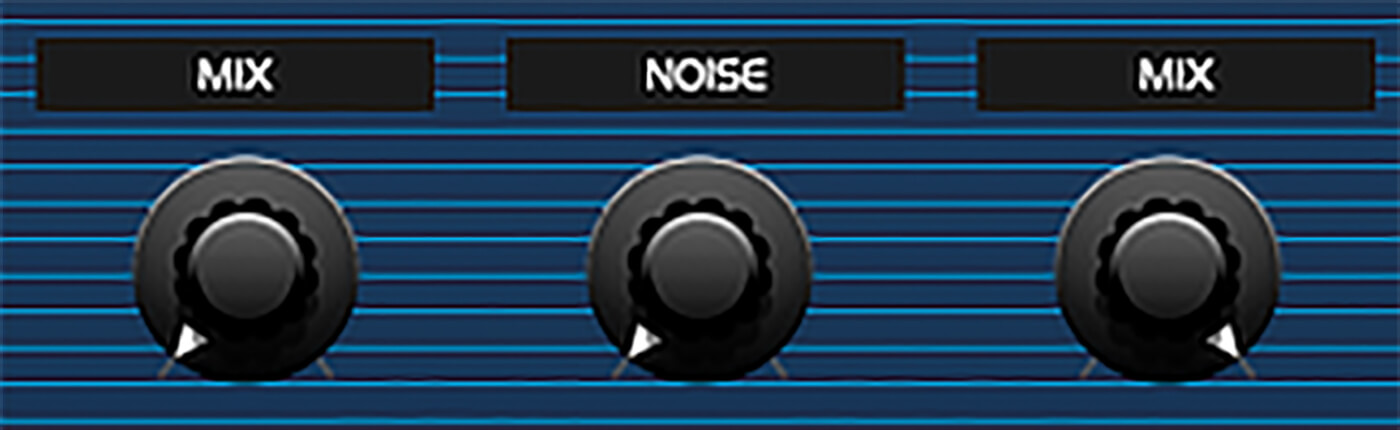
Let’s turn down Oscillator 2’s Mix knob so that we can focus on a single oscillator.
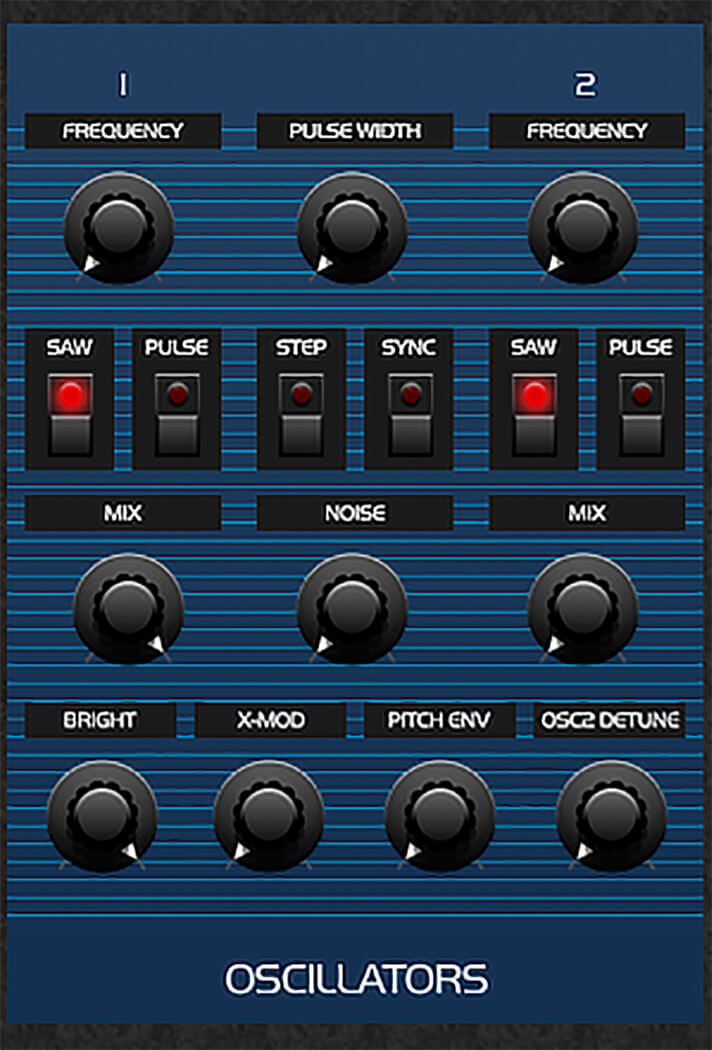
OB-Xd’s oscillators have two shape switches, Saw and Pulse, and using these two controls we can set the synth to one of four shapes. Currently Oscillator 1’s Saw switch is active, which gives us a saw tone.
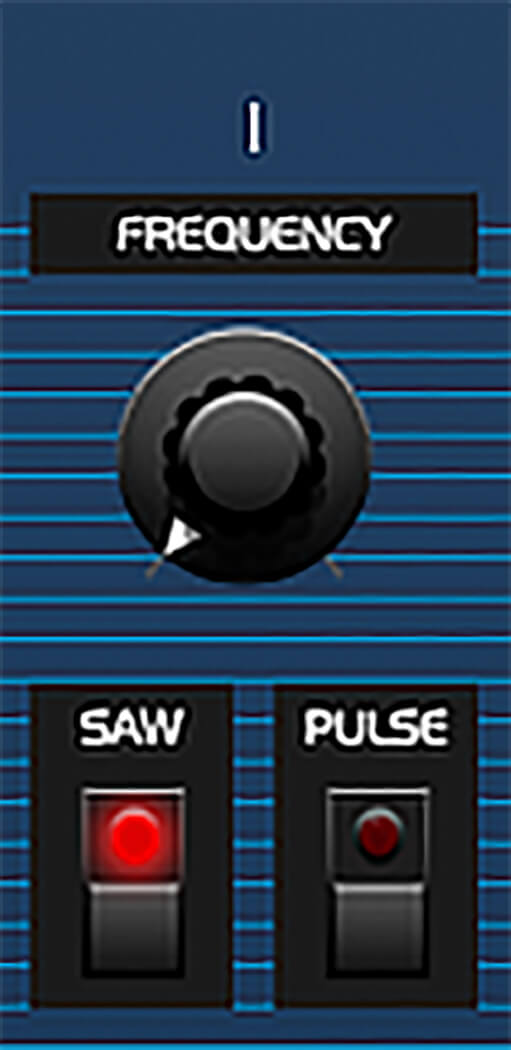
If we deactivate the Saw switch, we get a triangle tone, which has fewer harmonics.
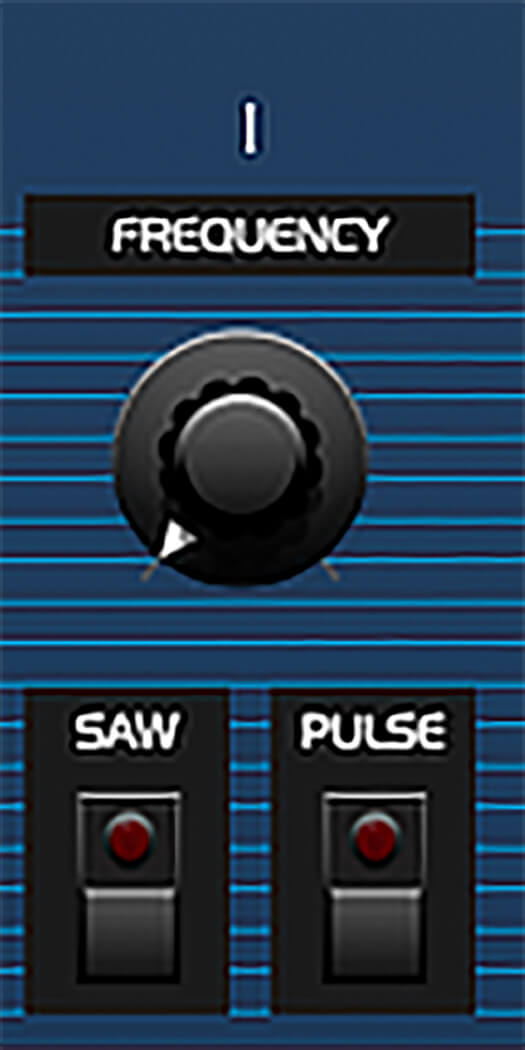
Activating the Pulse switch gives us a pulse tone.
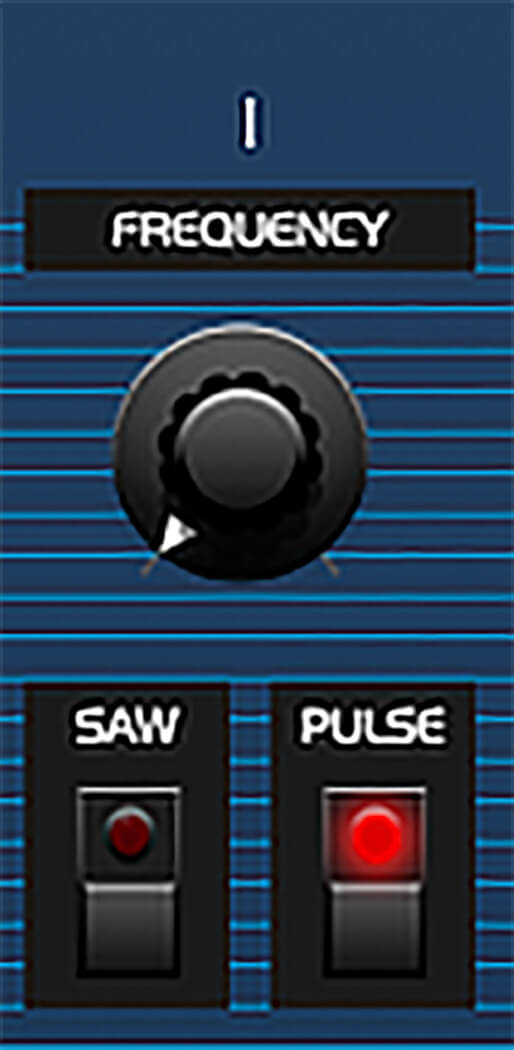
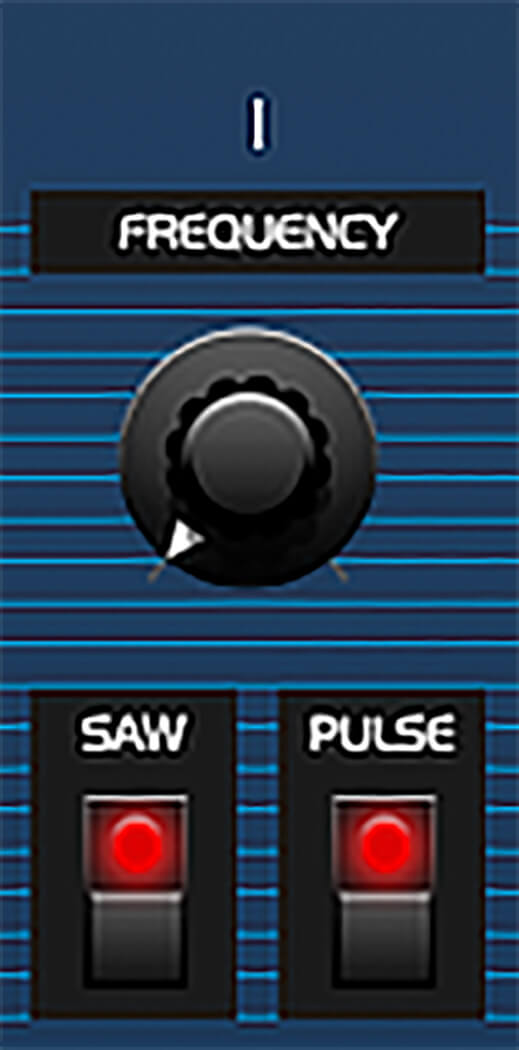
Finally, with both switches active we get a combination pulse and saw. It’s similar to the pulse, but a little weightier.
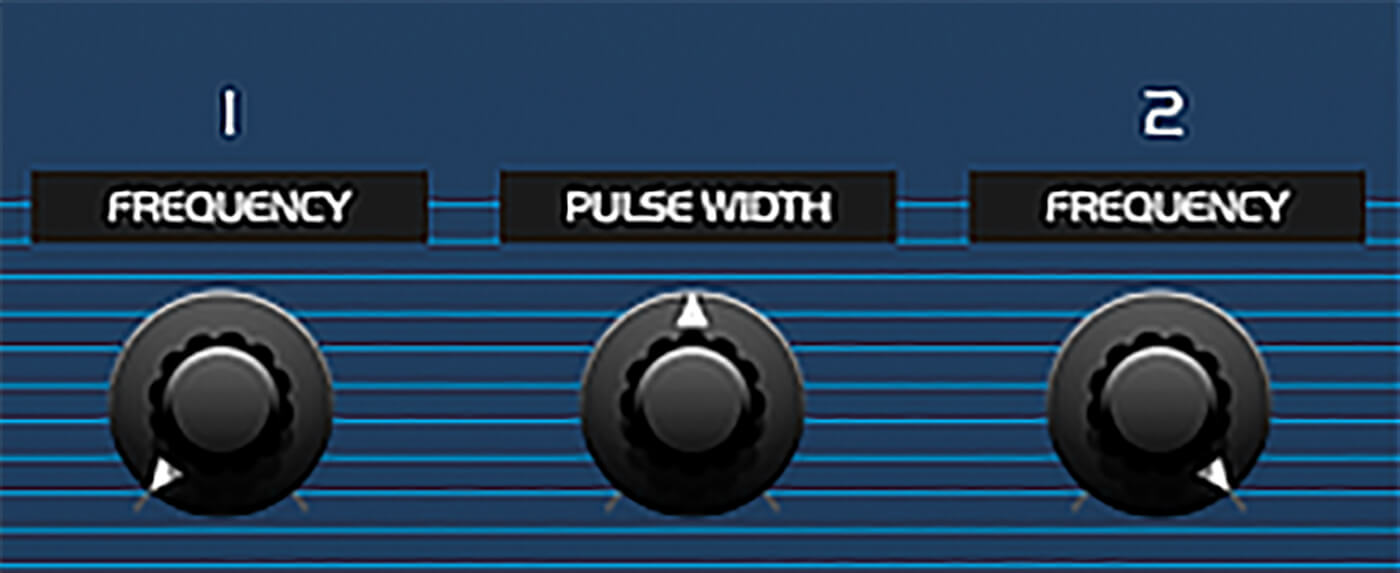
Sweeping the Pulse Width knob adjusts the width of the pulse oscillator.
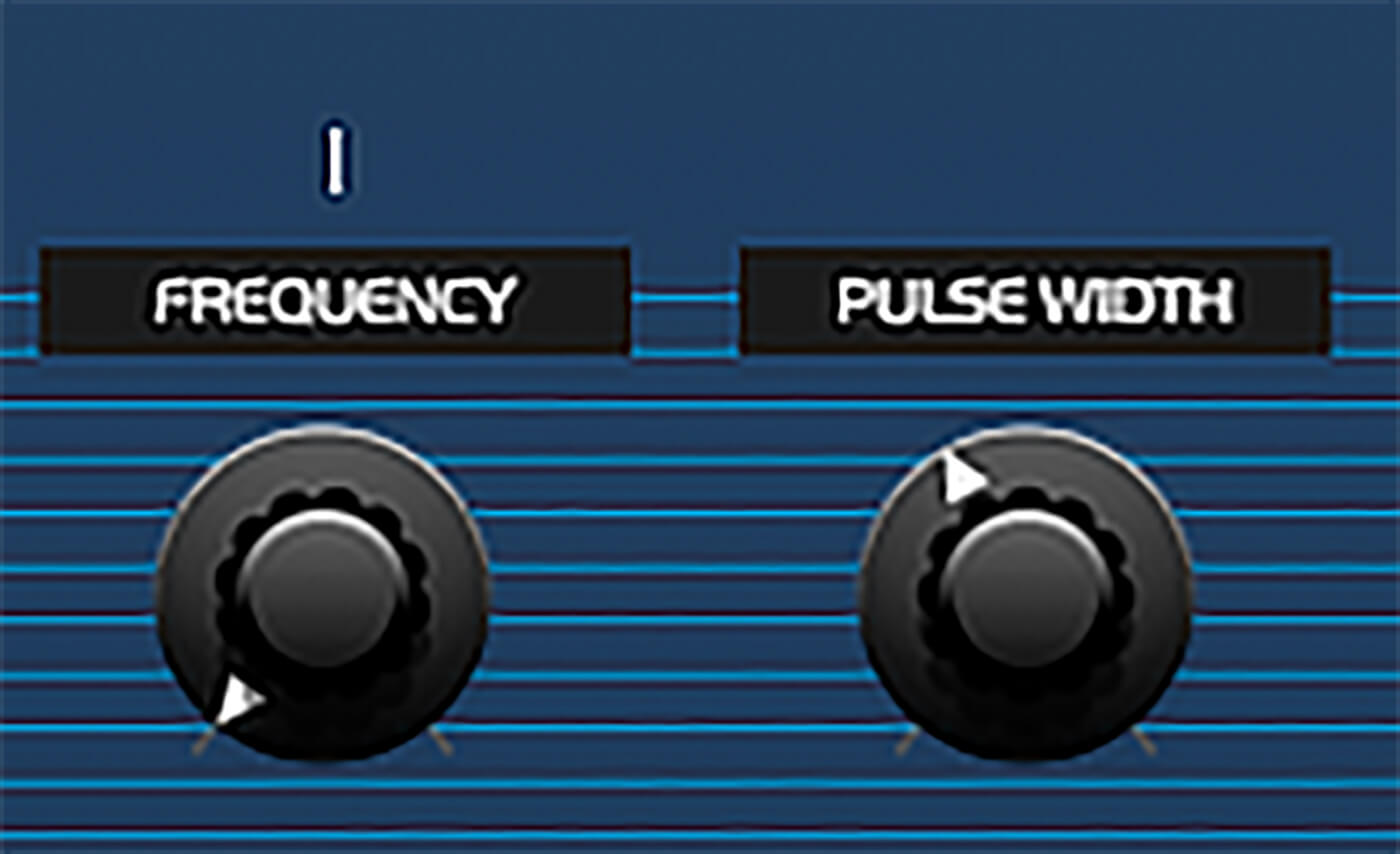
Combined with a little low-pass filtering this can create a powerful sense of dread.
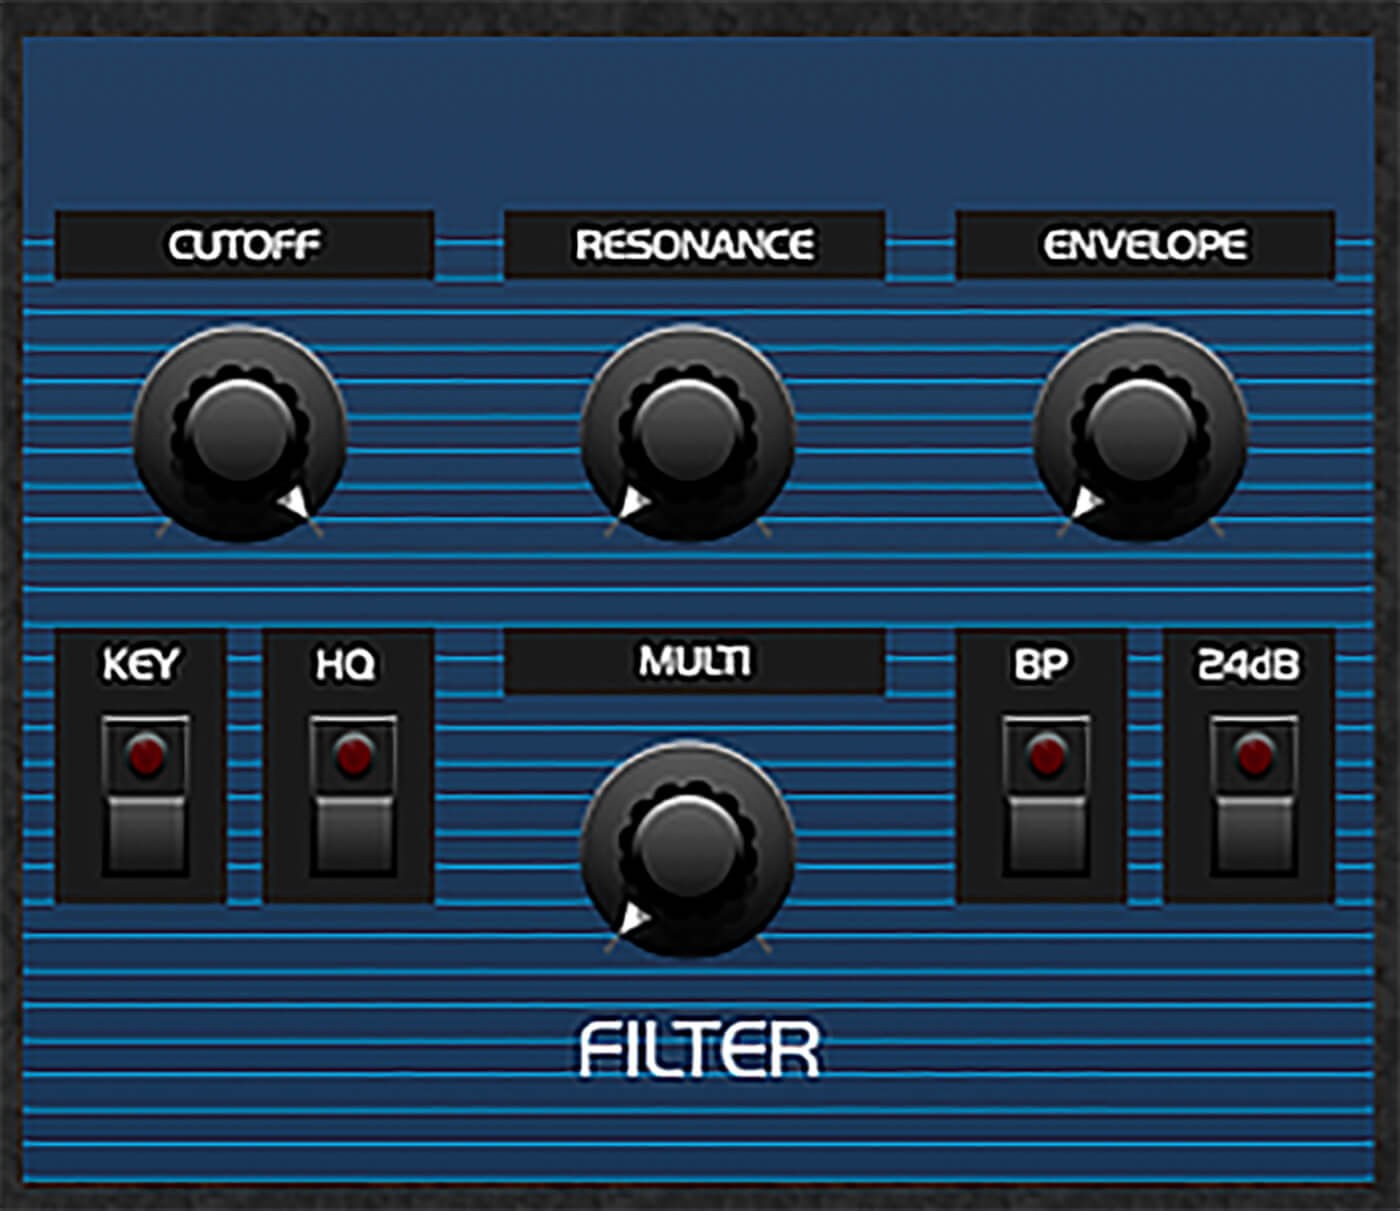
Let’s return the Cutoff knob to open, and put the Pulse Width at twelve o’clock.
2. Cross modulation
One of this synth’s most powerful sonic tools is its cross-modulation capability. Unlike the OB-X, OB-Xd’s cross-modulation works by Oscillator 1 modulating Oscillator 2, which means that Oscillator 2 has to be turned up in order for the effect to be heard. We don’t want to hear the modulating oscillator, so turn Oscillator 1’s Mix knob all the way down, and Oscillator 2’s Mix knob all the way up.
Set both oscillator’s shape switches to Saw only, and as you turn up the X-mod button you’ll hear the output getting harmonically richer and, frankly, nastier.

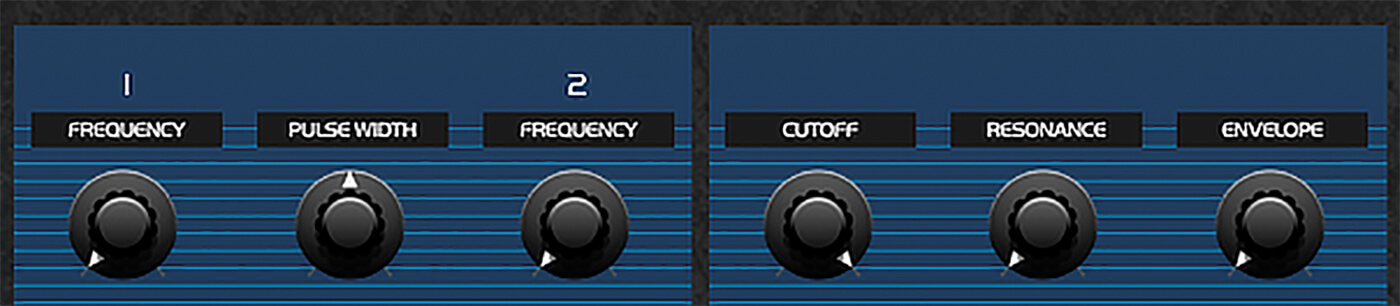
You can change the timbre created by the cross-modulation effect by adjusting the Frequency knobs of both Oscillator 1 and 2. Let’s try keeping Oscillator 1’s Frequency at its minimum value, and sweep Oscillator 2’s Frequency from the highest to lowest possible values.
This creates a dramatic but smoothly morphing effect. By activating the Step switch we can force the Frequency knobs to snap to semitone values. This makes it easier to achieve properly tuned tones for creating chromatic patches. For example, this setting gives us a satisfyingly crunchy and rhythmic timbre.

According to the OB-X’s manual, activating the Sync button “causes Oscillator 2 to lock onto a harmonic of Oscillator 1”. In practice, this can be used to give us a cleaner sound, for example, here’s a cross-modulation setting without Sync.
Here’s one with sync.
It’s possible to detune the synth relative to standard tuning with these knobs, so you might find it helps to check your patches against a tuned (or un-detuned) synth before you save them to make sure they’re tuned correctly and will sit against other elements in your track.
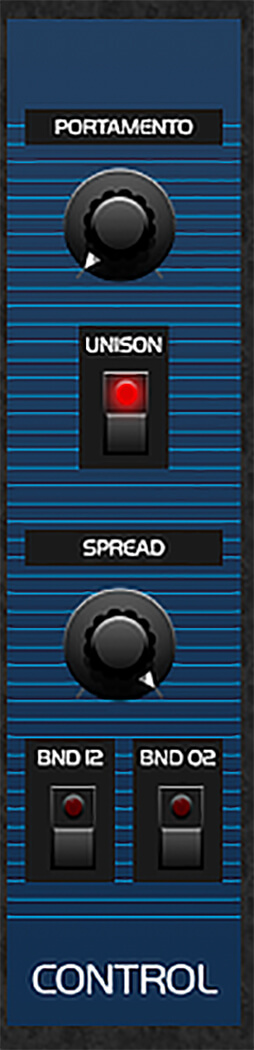
3. Unison detune
We can get an even more dramatic effect when we combine cross modulation with OB-Xd’s unison detune capability. To activate unison detune, head to the Control panel and activate the Unison switch. Then, turn up the Spread knob to add movement to the tone.
The unison mode uses the Voices parameter in the Manual section to determine the number of unison voices used, and you can select up to a whopping 32 voices. Let’s get the biggest tone possible by activating the oscillator Pulse switches as well. It’s recommended you turn down the Volume knob at the top left-hand corner of the synth otherwise the patch’s output will clip the master.
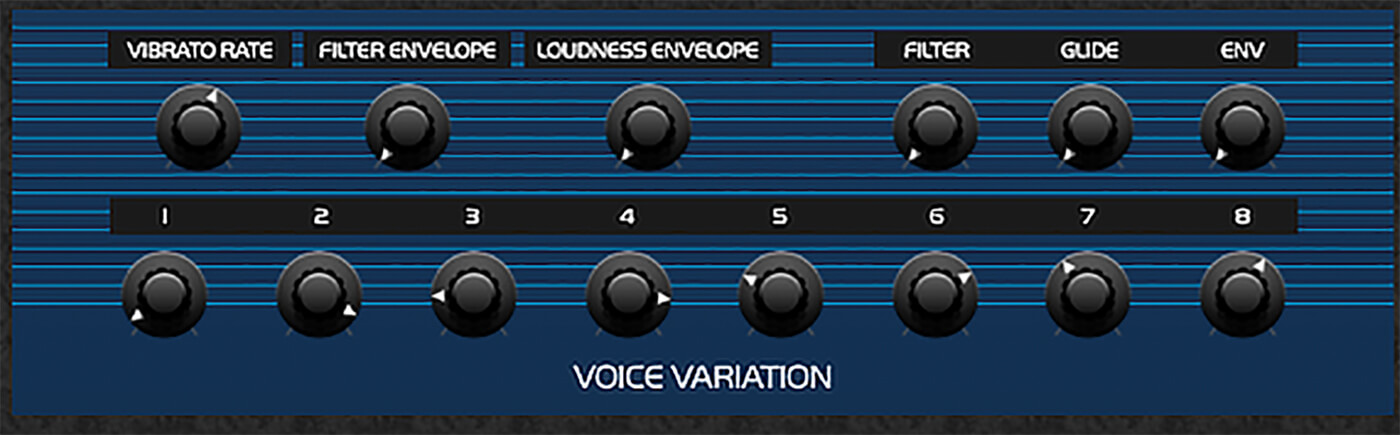
Even though we have a big tone now, it’s still entirely mono. We can make the sound stereo using the array of eight knobs in the Voice Variation panel at the bottom right-hand corner of the synth. These control the stereo panorama of the unison voices, so let’s pan them around a bit to get a wider stereo signal.
4. Reverb with OldSkoolVerb
We’ve got some stereo movement now, but the patch is still extremely dry-sounding. Let’s remedy that with reverb. Add Voxengo OldSkoolVerb as an insert effect, then click the triangle button to the left of the Preset button and select Factory ROM > Smooth Reverb.
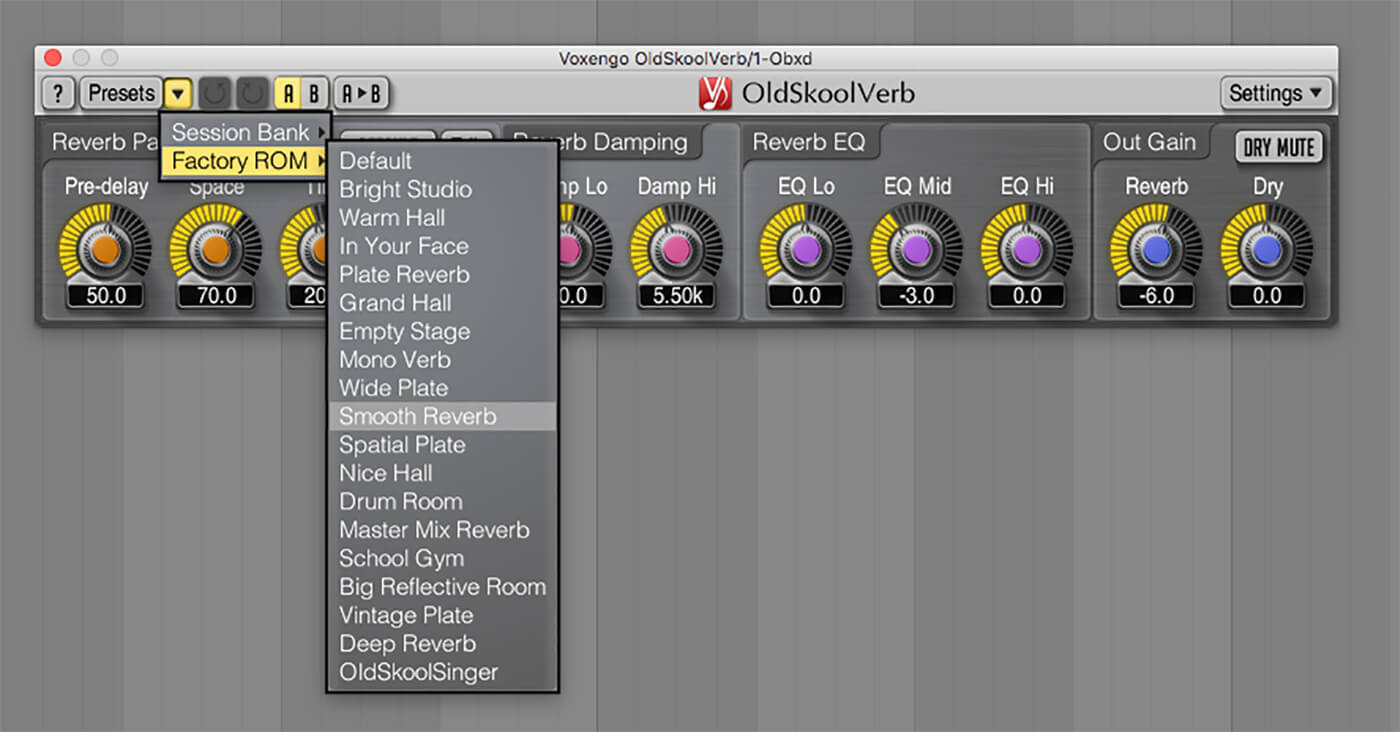
The Reverb knob in the Out Gain panel is used to control the wet level of the signal, and the main parameters for controlling the quality of the reverb effect are the Space and Time knobs in the Reverb Parameters panel. Time controls how long the reverb takes to dissipate, and Space controls the size of the virtual space. This can be used to create some interesting combinations, for example a low Space and high Time setting places our patch in what sounds like a giant, reverberating metallic container.
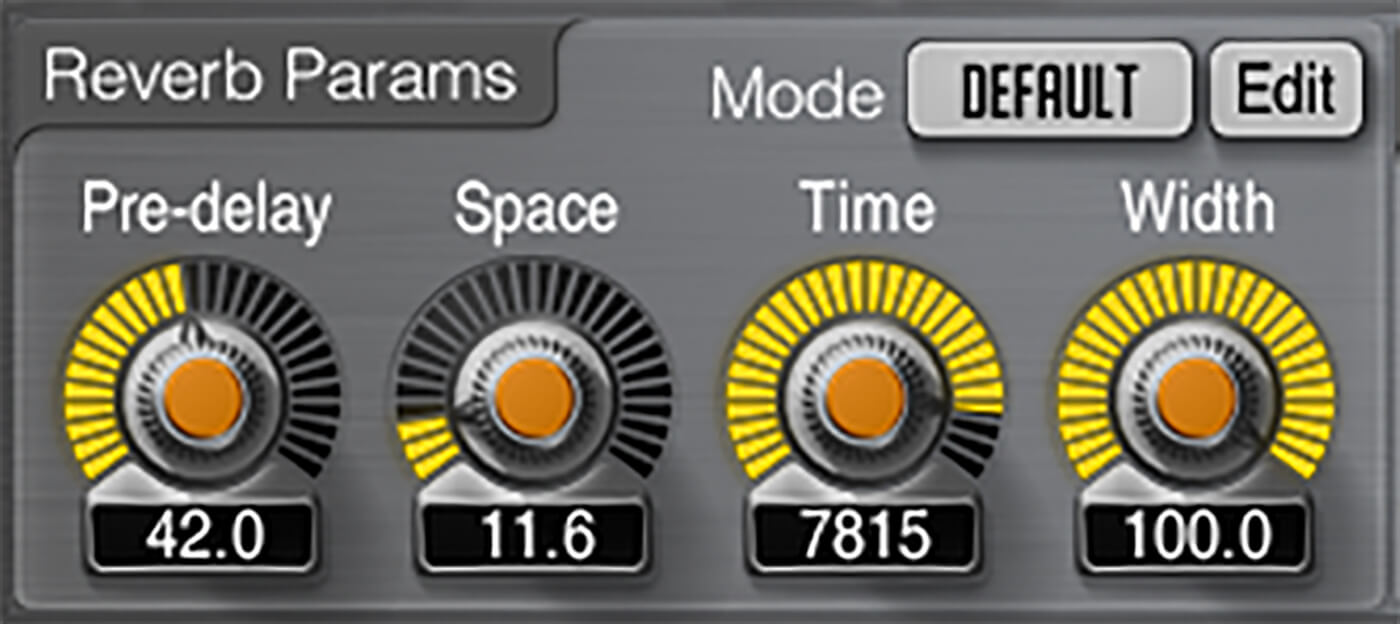
For a cleaner-sounding but still obviously reverbed feel, let’s set Space to 120 and Time to 2000. This gives us a plate effect that’s vibey but short enough not to out-stay its welcome. [P25 – With a plate reverb effect]
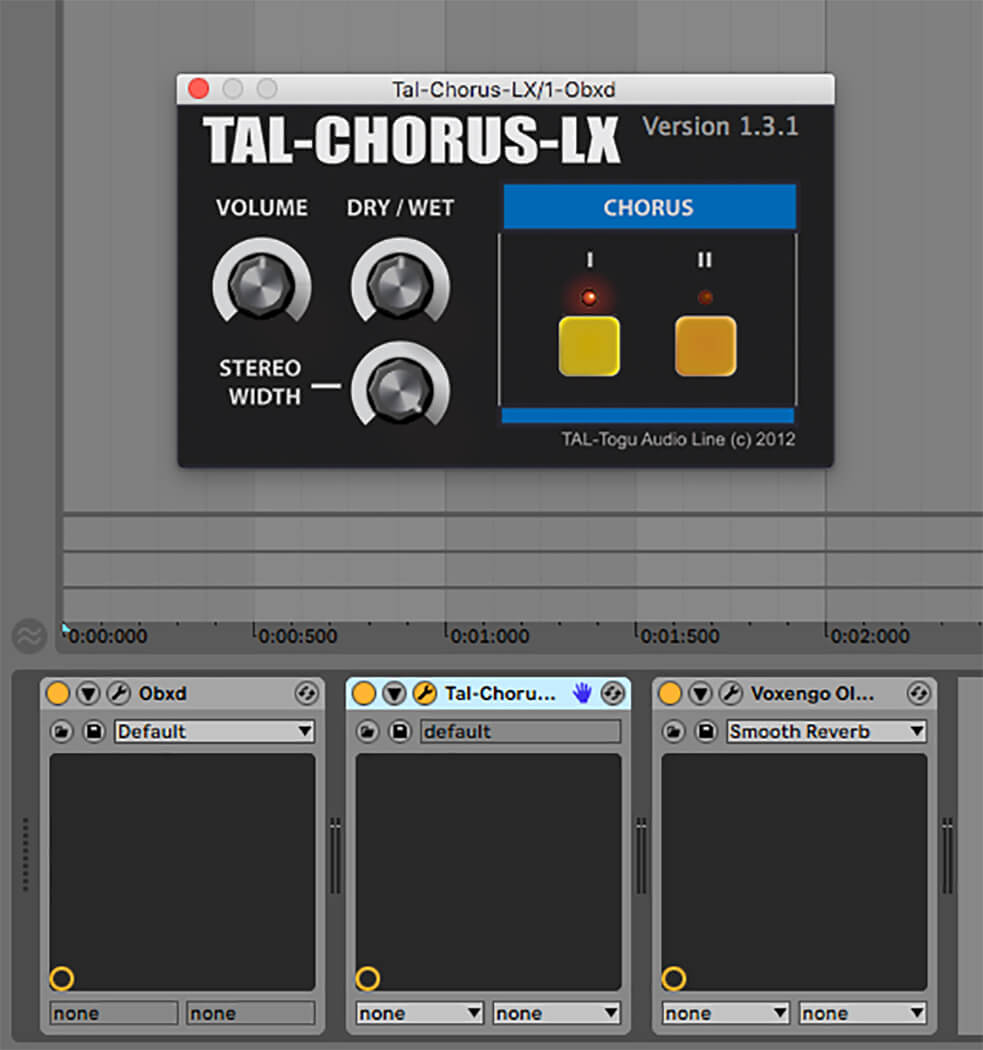
5. Chorus with TAL-Chorus-LX
Let’s add more stereo width with a modulation effect, specifically TAL Software’s excellent freebie TAL-Chorus-LX. Add this to your effect chain before OldSkoolVerb, and that’s it! The effect does offer a couple of chorus algorithms that can both be activated at once, but in this case, just using Chorus I is enough to give our sound the extra depth we need.
6. Polyphonic unison detune
We’ve now created a setup where we can make some extremely large synth sounds with relative ease, but there’s one small issue with using OB-Xd’s unison mode: it’s monophonic. This means we can only play one note at once, so we’re going to have to come up with a workaround, otherwise, we’ll lose that chunky unison goodness when we start playing chords.
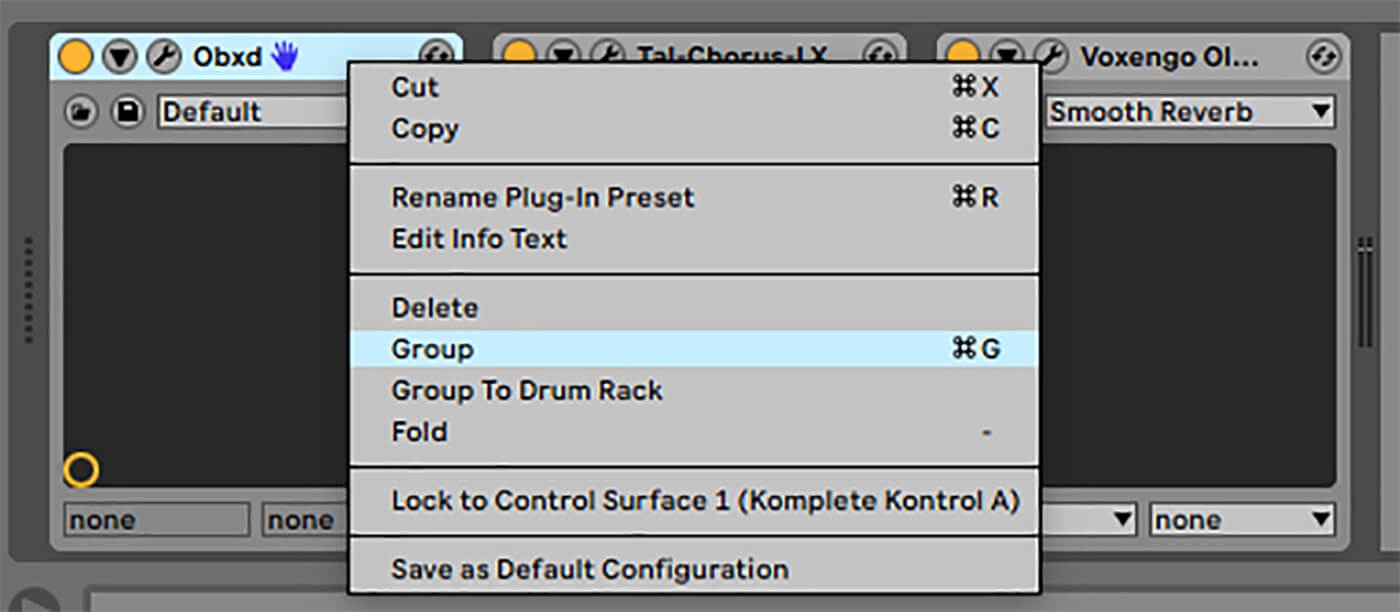
In Live we can quickly stack up multiple synths tuned to different pitches to create a ‘chord memory’-style patch that will elicit some authentic vintage techno vibes. To do this, right-click OB-Xd in the rack, and select Group. If you’re using another DAW, skip to point 7.
This puts the synth in an Instrument Rack. To see the chains currently in the rack, click the Show/Hide Chain List button.
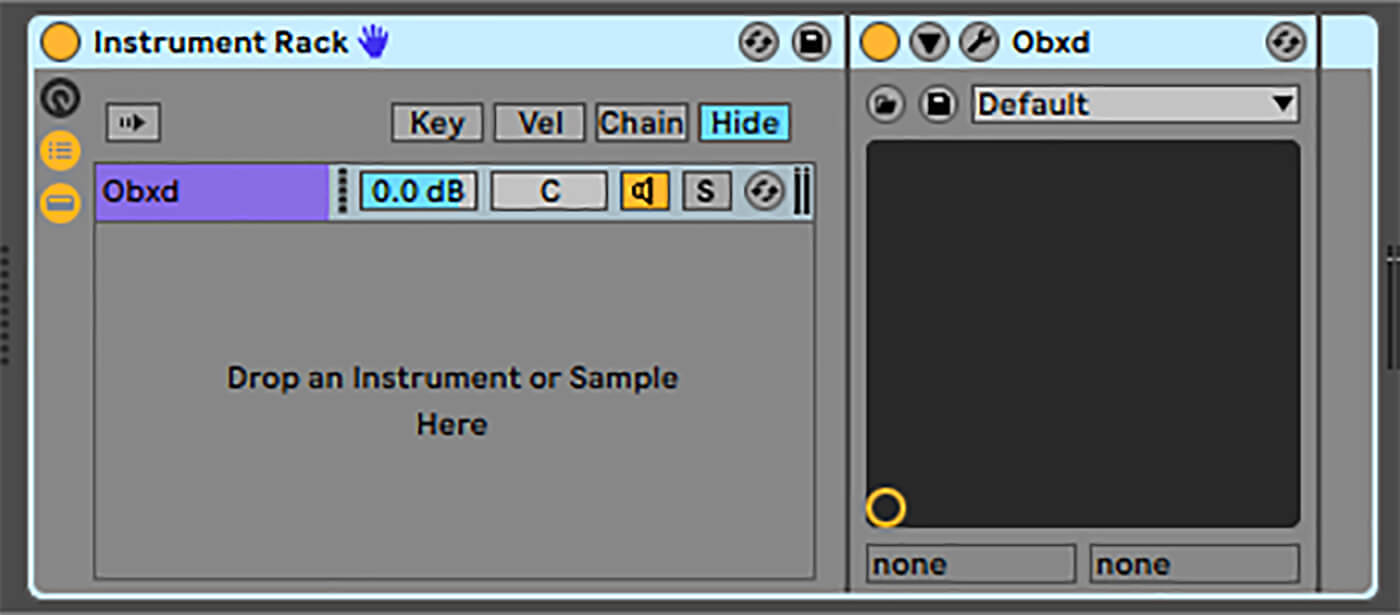
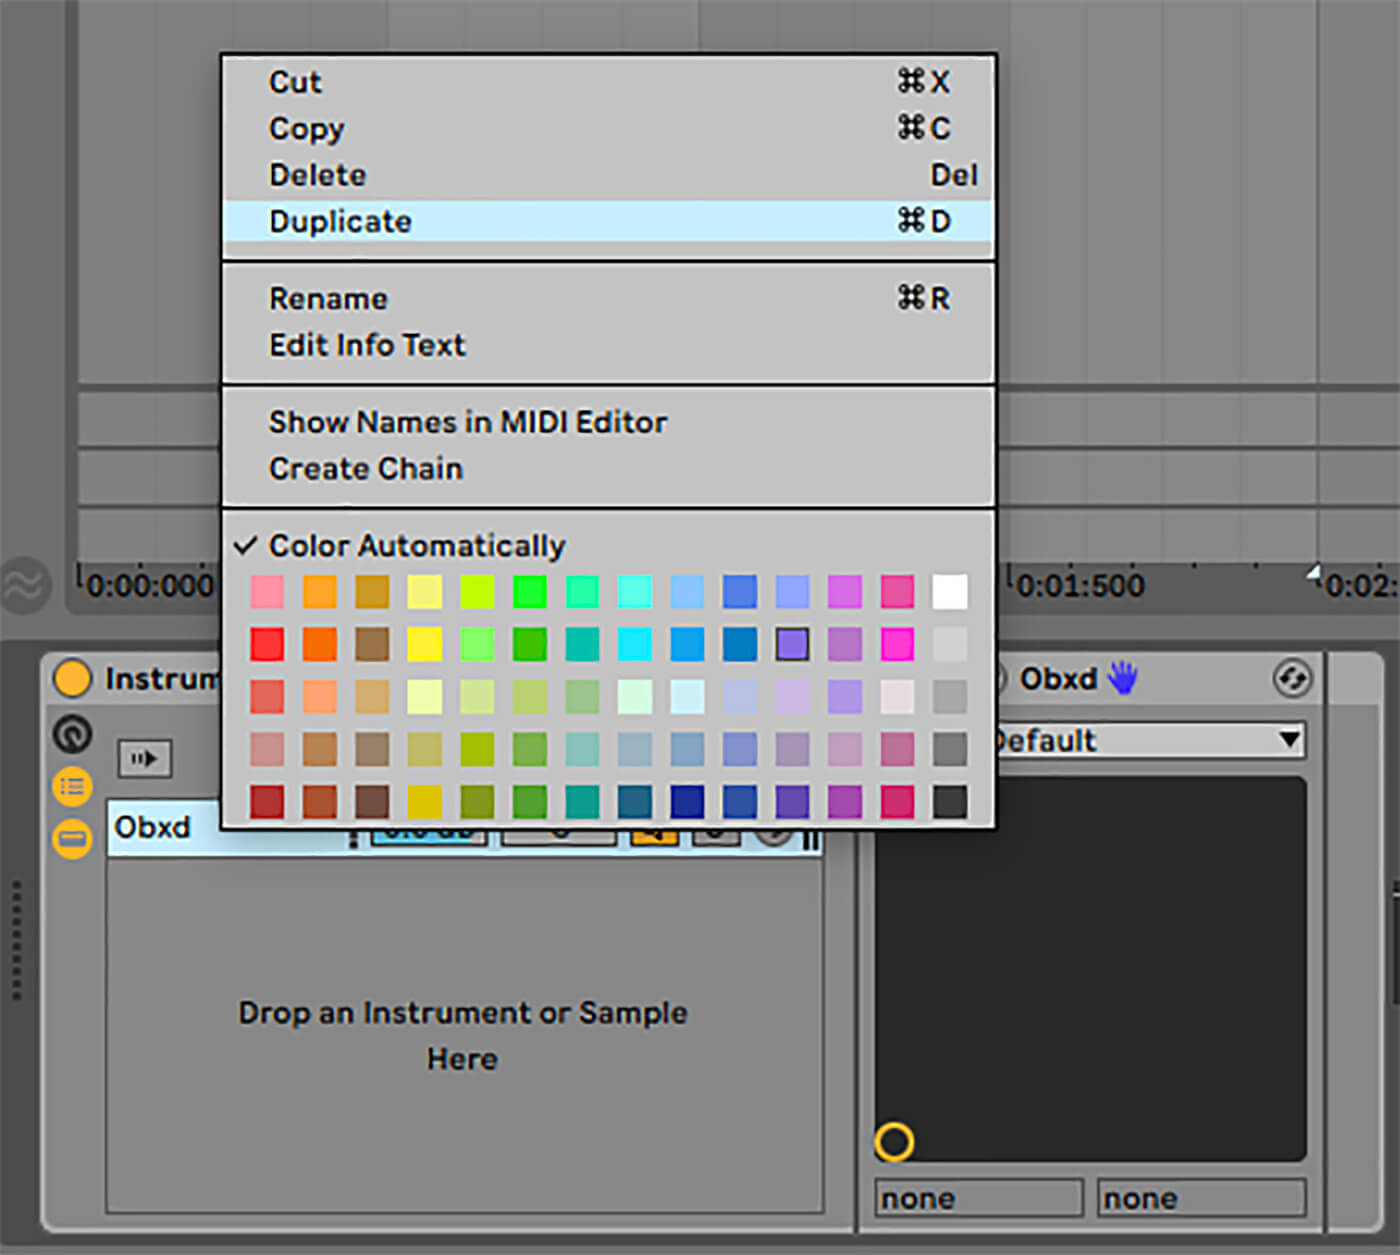
This shows that we have a single chain in the rack. Right-click the chain and select Duplicate to give us a copy of the chain.
To transpose this chain, drag Pitch from Live’s MIDI Effects onto it, and set the effect’s Pitch parameter to +7 semitones. You’ll now get a fifth interval when you play a single note. If the dual synths are clipping the master, you can add a Utility from Live’s Audio Effects before the insert effects, and use its Gain knob to attenuate the synths’ output.
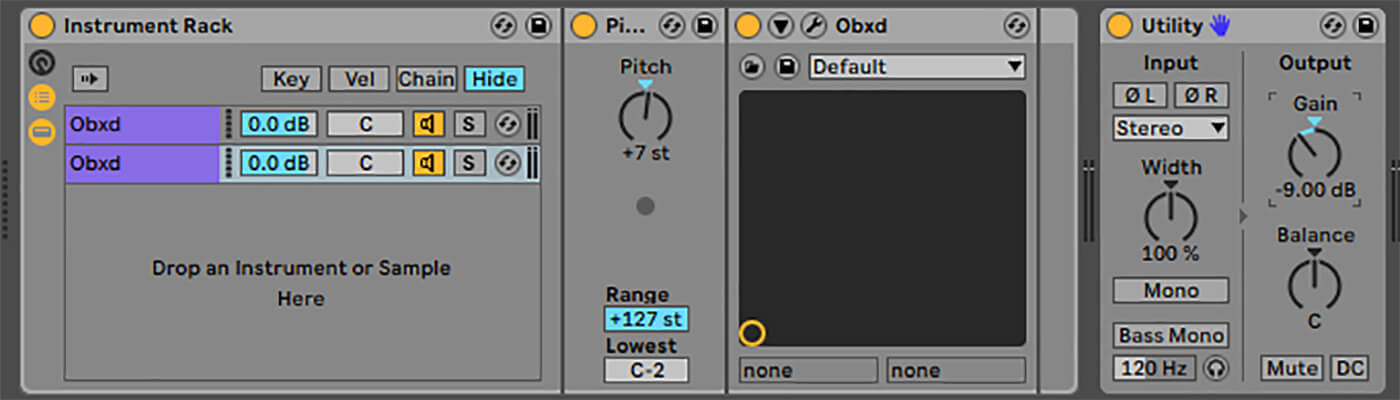
For more complex chords, you can simply duplicate the chain with the Pitch effect on it, and adjust the Pitch’s tuning. Because we’re not relying on a single instance of OB-Xd and its associated polyphonic limitations we can add as many notes to the chord as we like.
7. Getting the same results in an alternative DAWs
If you’re using a DAW other than Live and it doesn’t offer the same powerful layering capabilities you can still get the same results in a slightly more roundabout manner.
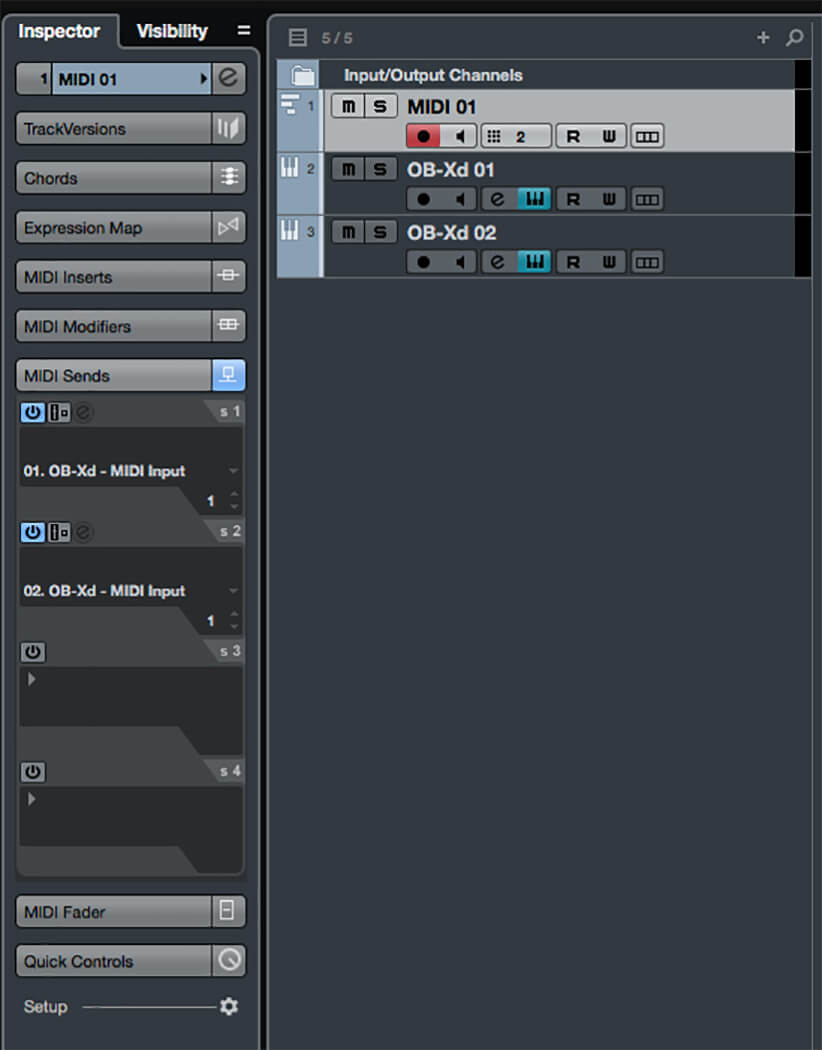
This can be achieved by creating an instrument / MIDI track for each instance of OB-Xd you want to use, and using your DAW’s transposition feature to tune each one to the correct note. You can then route a MIDI track to each OB-Xd track, allowing you to play them all simultaneously.
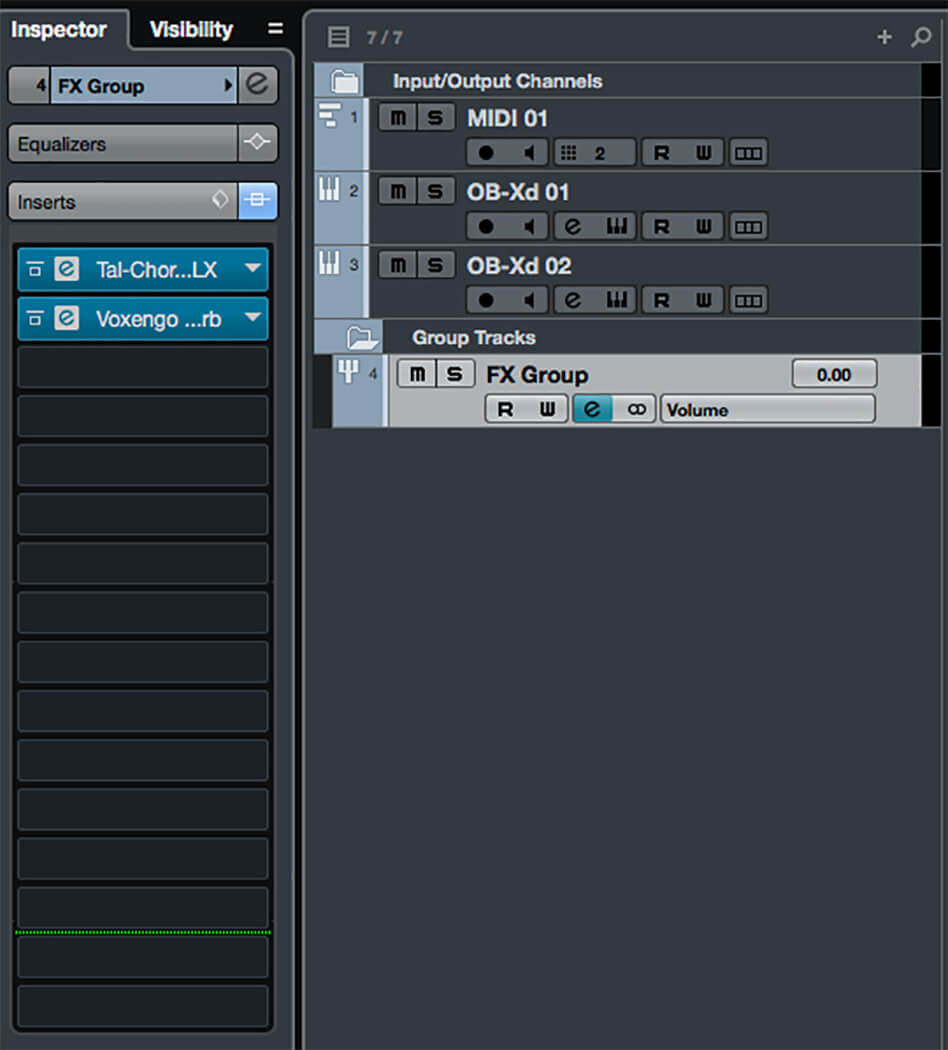
Rather than adding instances of the chorus and reverb to each channel, you can either group the OB-Xd together and add the effects on their bus, or add them as return effects and simply use the same send level for each OB-Xd track.
8. Further inspiration
Now you’ve made your rack, you can use it to create a wealth of sounds. Here are some Instrument Racks that you can use in Ableton now. Download them here.
Minor Stab is a three-note minor chord with clean pulse oscillators and a tight reverb and a type II chorus.
Vocal Hit is a triangle-based sound which features synths tuned and octave and a fifth apart and a subtle chorus, which gives us a vocal ensemble-like character.
Big Rave uses detuned saw oscillators and synths tuned an octave apart.
Buzz Voice is a triangle-based, cross-modulated stab that plays a major chord plus a seventh.
These tones were all created without using any filtering or modulation features we haven’t looked at in this tutorial, and they should give you some idea of the creative power of the OB-Xd. If you enjoy using OB-Xd you can support its continued development by buying a license, and both Vonxego and TAL Software offer commercial products too.
Happy synthesising!
Right now, we’re running a competition to win £900 worth of Sonnox plug-ins. Head over to our previous Weekend Workshop to find out more!
To share your Weekend Workshop creations, head over to the private the MusicTech Creator Community Facebook Group.