Mastering: Part One – Wrangling! – Step-by-Step
Mike Hillier continues the first part of a new mastering series with a step by step… 1: Fall starts with a solo acoustic guitar, and slowly builds up to a more full arrangement as it progresses. There is very little sub-frequency information at all, but a build-up of low-end around 100-200Hz. 2: With no kick […]
Mike Hillier continues the first part of a new mastering series with a step by step…
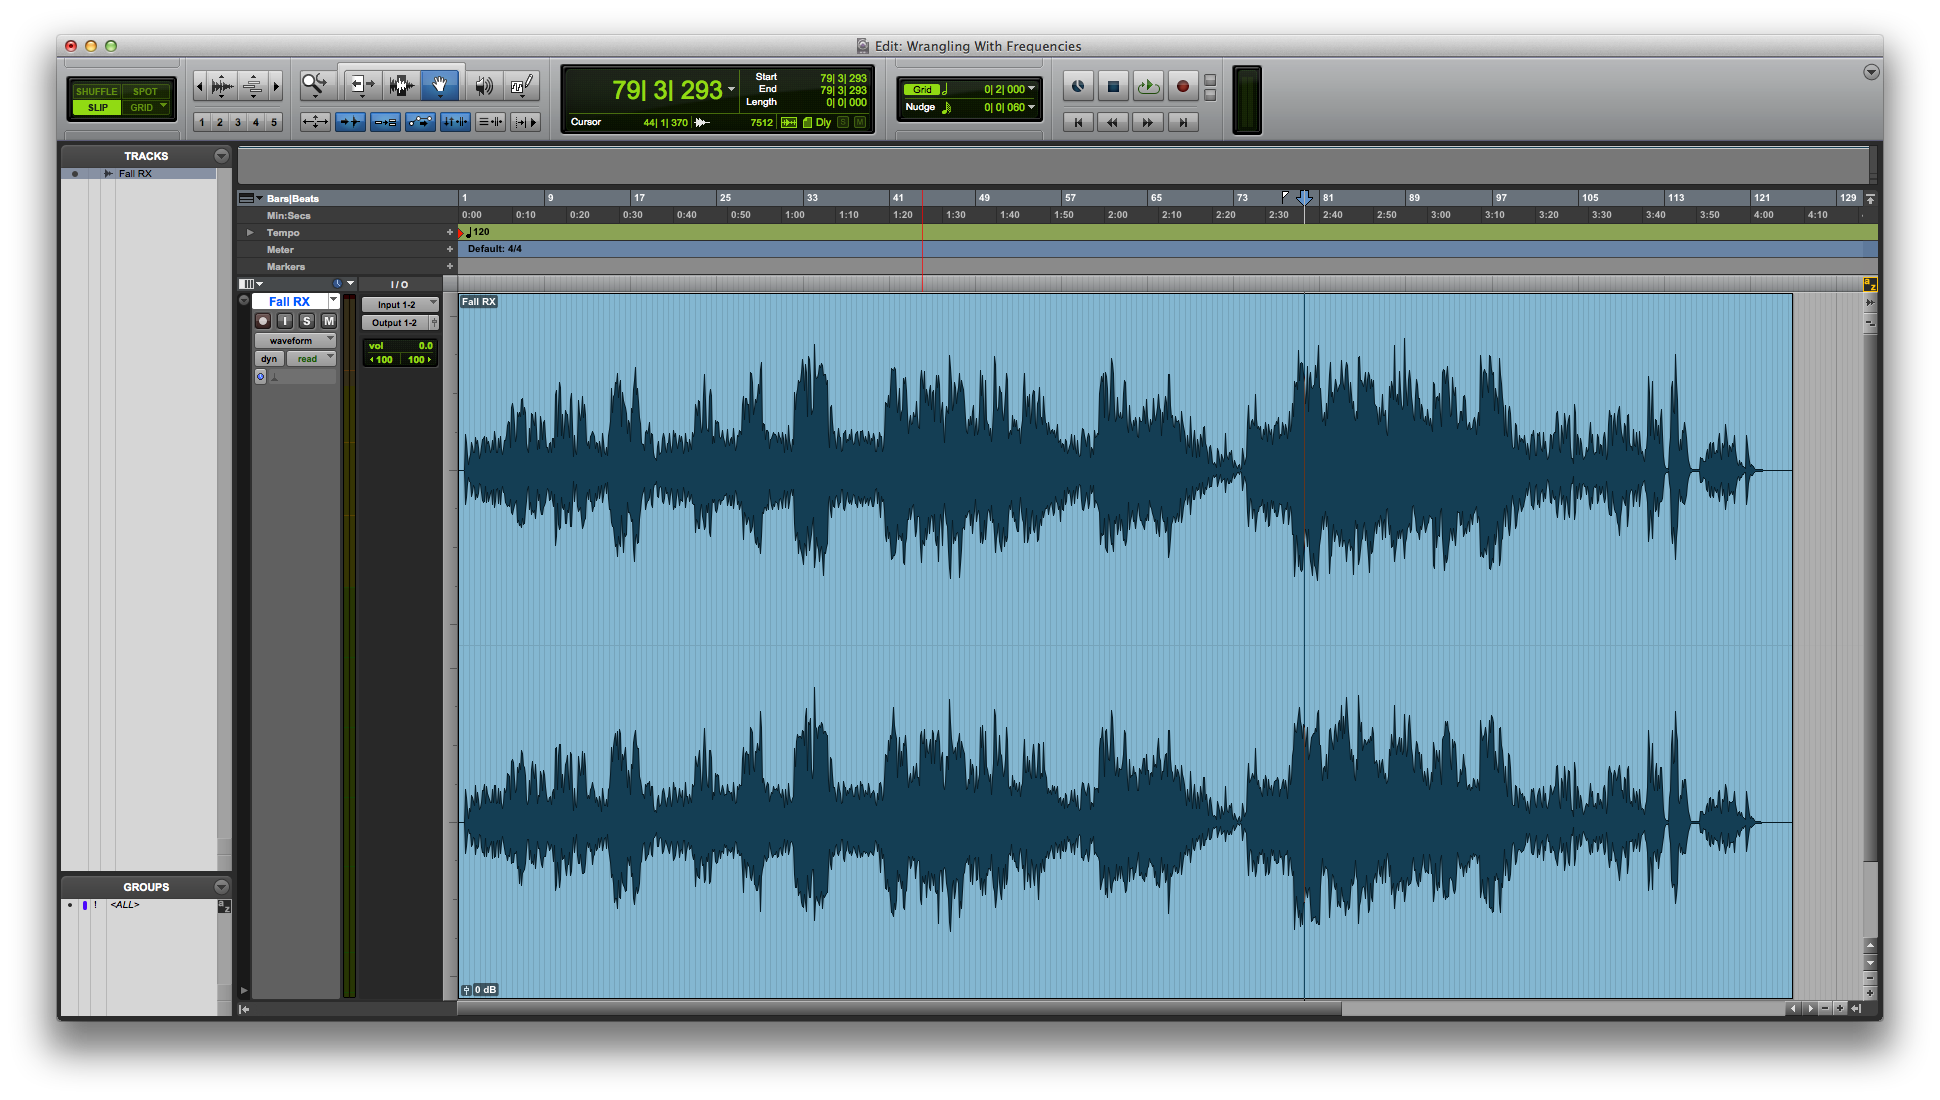
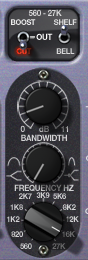
1: Fall starts with a solo acoustic guitar, and slowly builds up to a more full arrangement as it progresses. There is very little sub-frequency information at all, but a build-up of low-end around 100-200Hz.
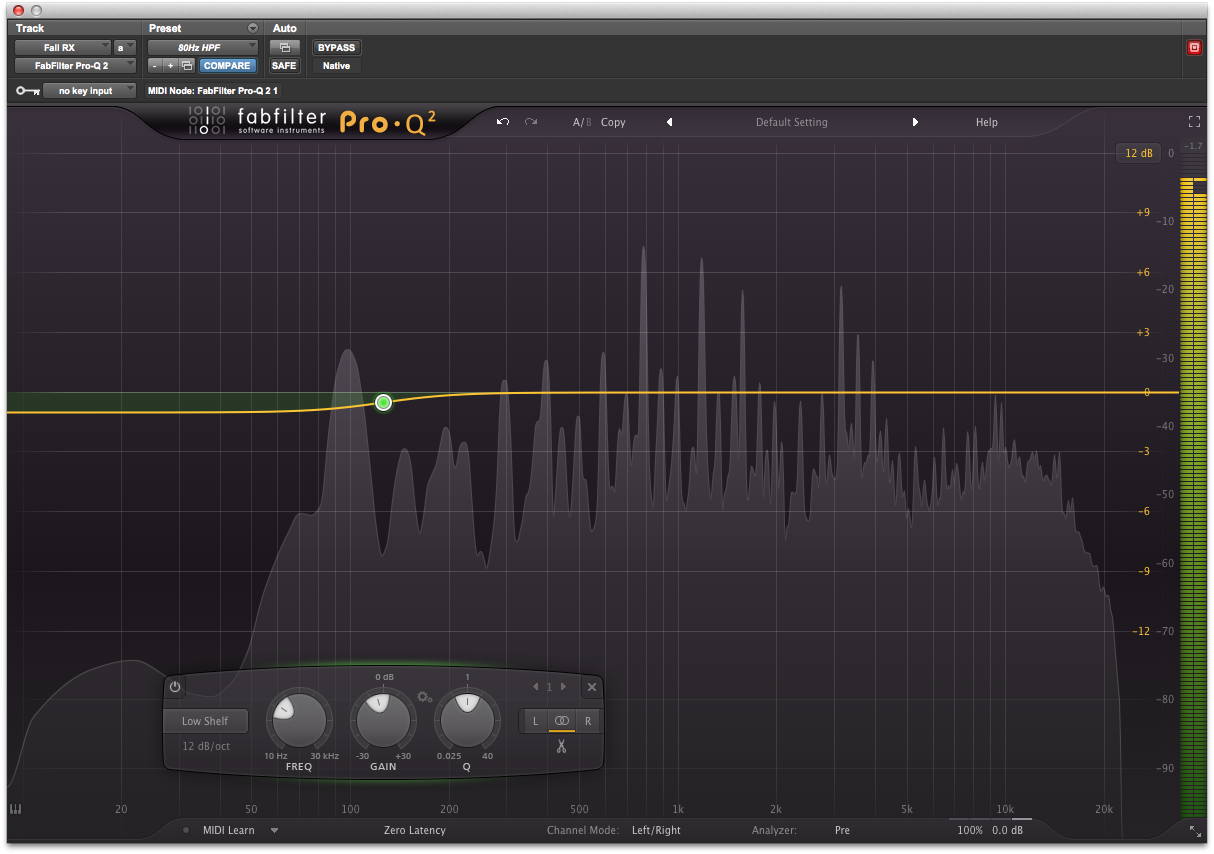
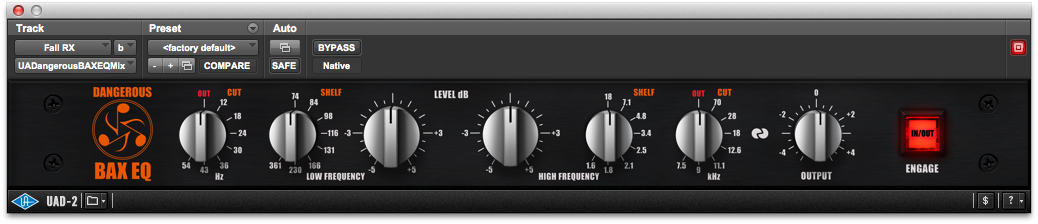
2: With no kick drum to occupy the low end, the guitar can fill out the bottom, but it gets a little overbearing, particularly when the arrangement builds up, and the guitar has to share spectrum with the cello. Try controlling this bottom end with a low-end shelving EQ.
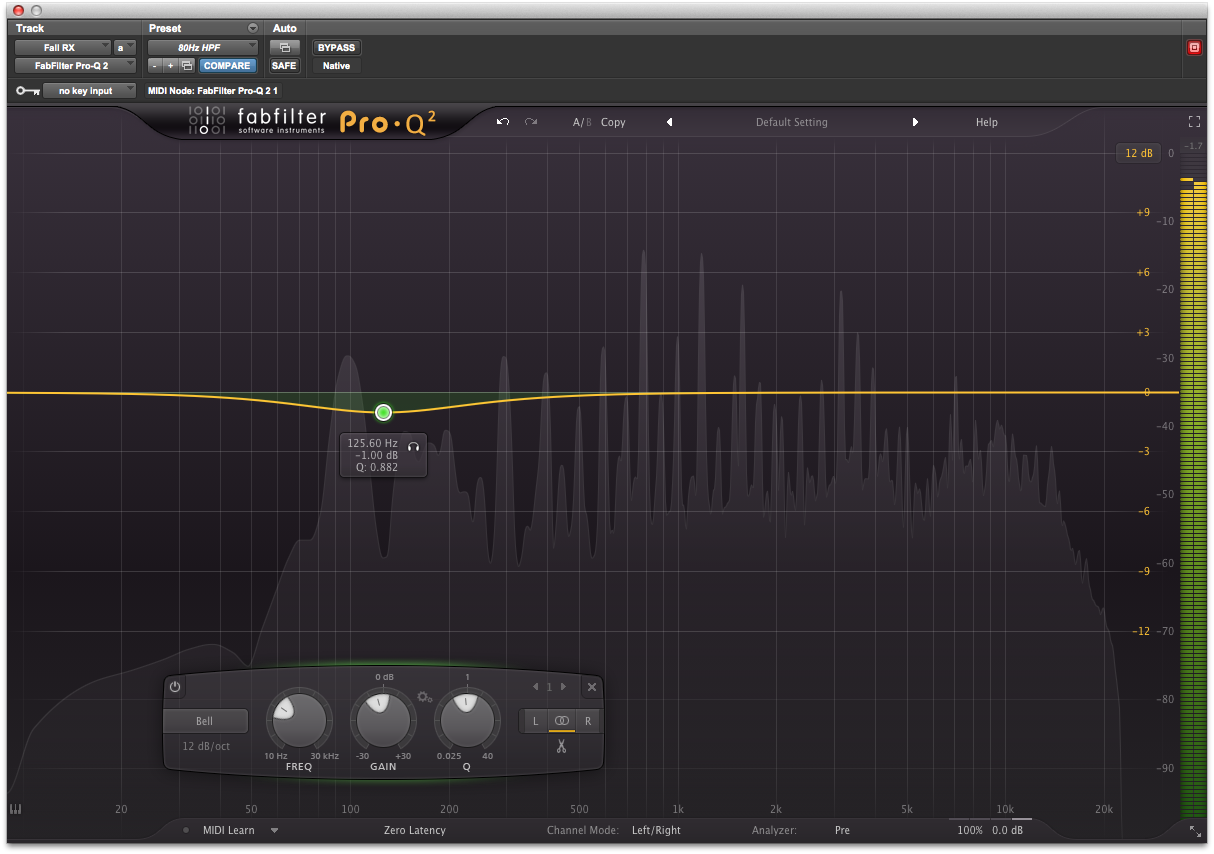
3: The shelving EQ works on the guitar, but also pushes down the cello, especially when it occupies the bass frequency range. Instead, try a bell-shape curve, to pull down the fundamental frequencies of the guitar without affecting the bottom of the cello.
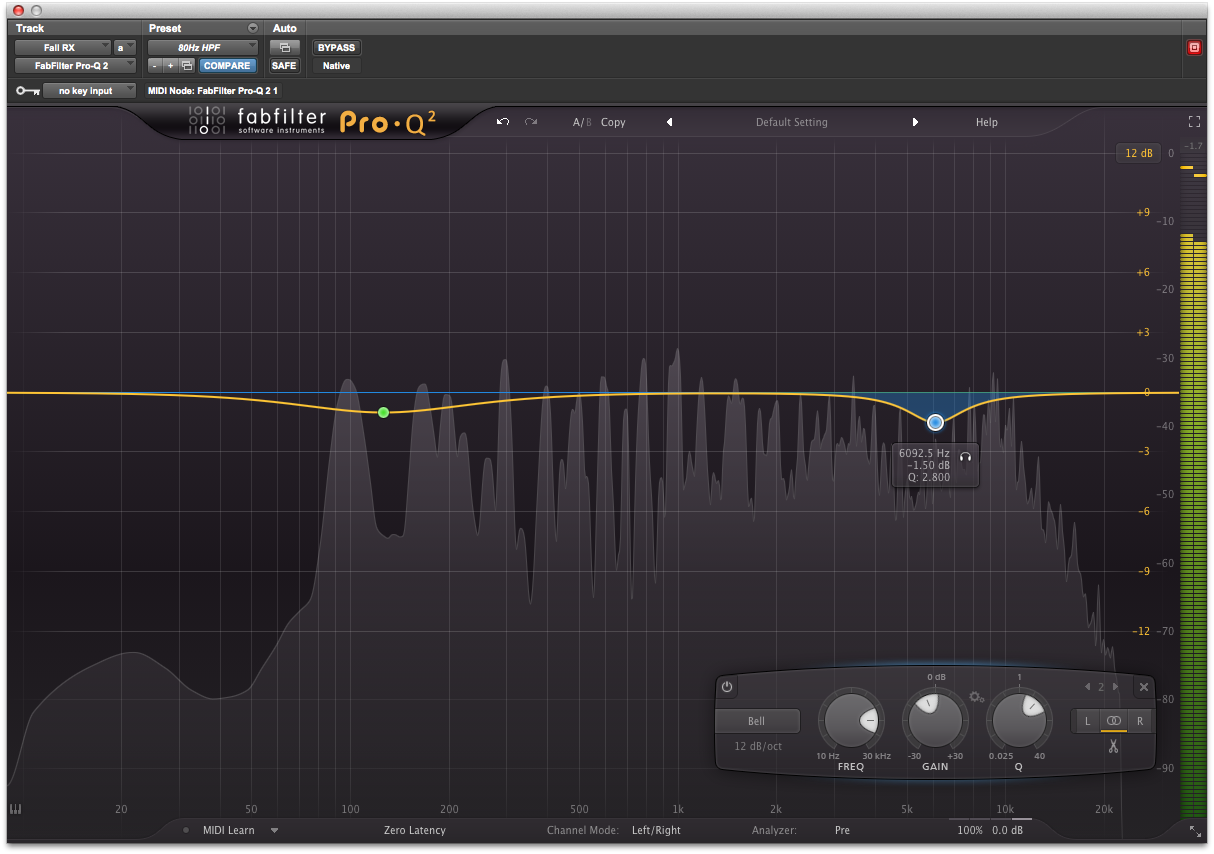
4: With the bottom end tightened up, a slight metallic ring becomes quite present in the guitar part. A tiny adjustment around 6kHz should help to bring this back under control.
5: We’re going to add the high-frequency shelving EQ now, but leave any adjustments until we can hear what effect the compression has had on the overall tonality.
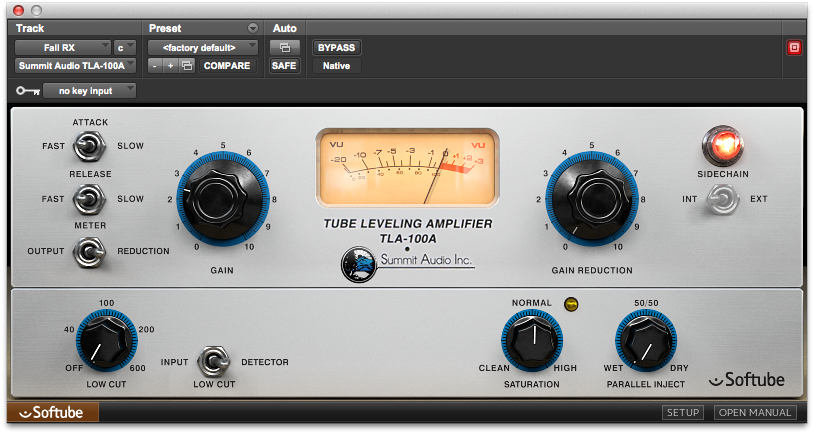
6: This mix doesn’t need much in the way of compression, as the mix already sounds quite controlled, so the compressor isn’t going to do very much work. We may even choose to leave it off entirely, or simply keep it in place for harmonic reasons.
7: Now go back to the high-boost EQ and make any necessary changes. This will also help you to get an idea of how the compressor is going to respond to the boost.

8: The final compressor we’re going to add is going to have a fair amount of colour for shaping the final EQ curve of our master. The UAD Manley Massive Passive Mastering Edition is one of our favourite tools for this task.
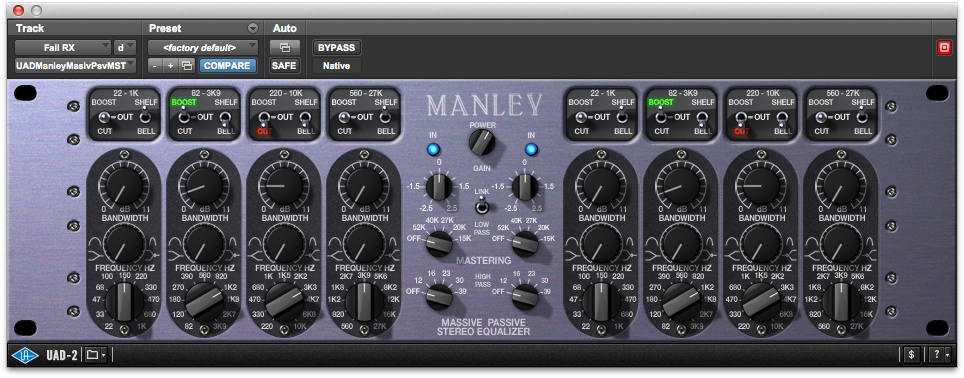
9: The midrange on the Massive Passive is incredible, capable of massaging just about any mix into shape. One or two small adjustments between 800Hz and 3kHz can make an enormous difference to the final tonality.
10: Sometimes a second shelf cutting above the boost of the first shelf can help to lift the upper harmonics without adding too much air, and will really help to bring that elusive warmth to a mix.
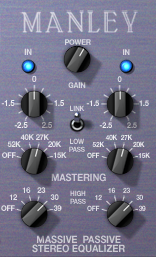
11: Finally, we’re going to compare the various filters on the Massive Passive to see if they help to bring any focus to the mix. There isn’t much sub-frequency energy, so the bottom end won’t make much difference here.
12: EQ can be incredibly difficult to get right, and often you may think you are improving a mix when you are, in fact, simply making it louder, so be sure to always check your master against a level-matched unprocessed version.
