Pro Tools Tutorial: Cutting Edge Production Techniques: Aligning Multi-Track Recordings
When it comes to recording with multiple mics there’s one aspect that you may not have considered. Mike Hillier looks at how to keep your tracks in line… Recording a drum kit is a complex task. It often involves positioning a dozen or so microphones, each of which has to be checked to ensure it […]

When it comes to recording with multiple mics there’s one aspect that you may not have considered. Mike Hillier looks at how to keep your tracks in line…
Recording a drum kit is a complex task. It often involves positioning a dozen or so microphones, each of which has to be checked to ensure it has the same polarity as the others, and each has their own attendant preamp, EQ and compression decisions.
Then, with everything recorded, comes the editing stage. Digital audio workstations have made it possible to shift around each individual hits on the grid, comping in from different takes to cover mistakes and tidying up sloppy performances by dragging hits onto the grid. One extra task that you may not have considered, however, is aligning each of the tracks so that no smearing occurs between, for example, the Kick In and Kick Out mics.
The difference in distance from the source of the sound to each microphone results in a slight time delay. This may only be a few milliseconds or less, but it can have the result of smearing the attack of each signal, and even create some comb-filtering as a result of the slight phasing between each channel. The resulting sound is similar in many ways to the effect created by small amounts of plug-in latency, such as that found on systems without automatic latency compensation. This is also one of the reasons that drums tracked with fewer mics often sound bigger than those with many mics.
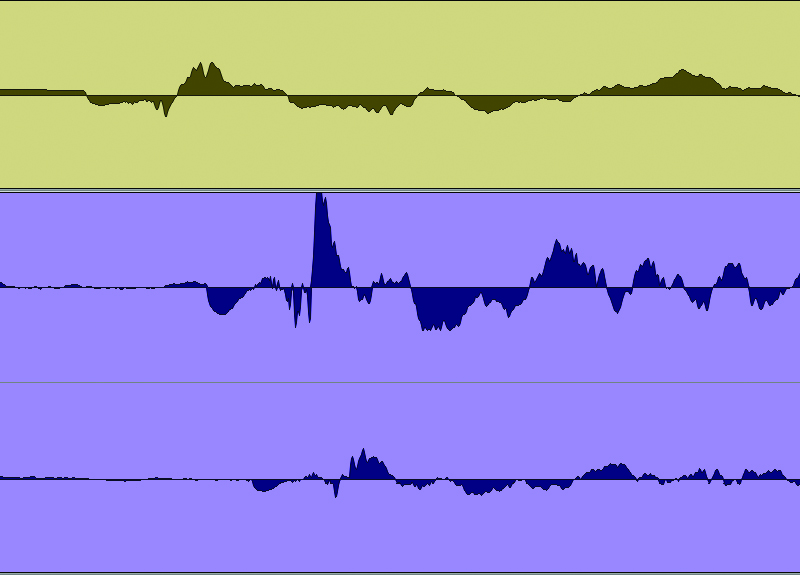
If you zoom into the waveform you should be able to see this delay, as the transient from a kick drum hit will reach first the Kick In, then the Kick Out, then the Overheads and finally the Room mics (which we will ignore for now). It will also reach the other mics as bleed, however we can also ignore this.
Trying to time-align for bleed is futile, as each time you correct one signal you will be putting other signals out of alignment. Instead, time-align each drum’s close mics to the overheads. Hopefully the bleed will be sufficiently quiet in comparison to the close signal as to be unimportant. Which also goes to show that none of this can correct for poor mic’ing technique.
Line up in Line
After aligning the various kick mics to the overheads, go ahead and align the various snare mics, again to the overheads, and then each of the remaining kit pieces – again, always to the overheads.
The reason we don’t align the room mics is that the delay in time from the initial hit to the room mics gives them a sense of space. In reverb terms, this is known as pre-delay. If you have recorded multiple room mics you may choose to align each of these together – we usually choose a strong snare hit to use for aligning room mics. You can even add additional delay to the room mics to make the recording environment sound bigger, or bring them in slightly to shrink the space down.
Try comparing a bounce of your drum track before and after alignment to see how much of an effect this can have on the punch and realism of your drum mix. Listen closely to the attack on the snare, for example, as well as to the purity and weight of the bottom end on the kick drum.
For those who would prefer a plug-in that handled this task automatically, Sound Radix Auto-Align (www.soundradix.com) can automatically detect delay and correct for it in multi-mic’d performances. It can also detect and correct for polarity inversion in the signal too. This can be a time-saver, but the same results can be achieved using the method outlined in this workshop.
It is worth noting too at this stage that while a multi-mic’d drum kit is the most obvious scenario for using this technique it can also be employed on any instrument that has been recorded with more than one microphone.
Highlight
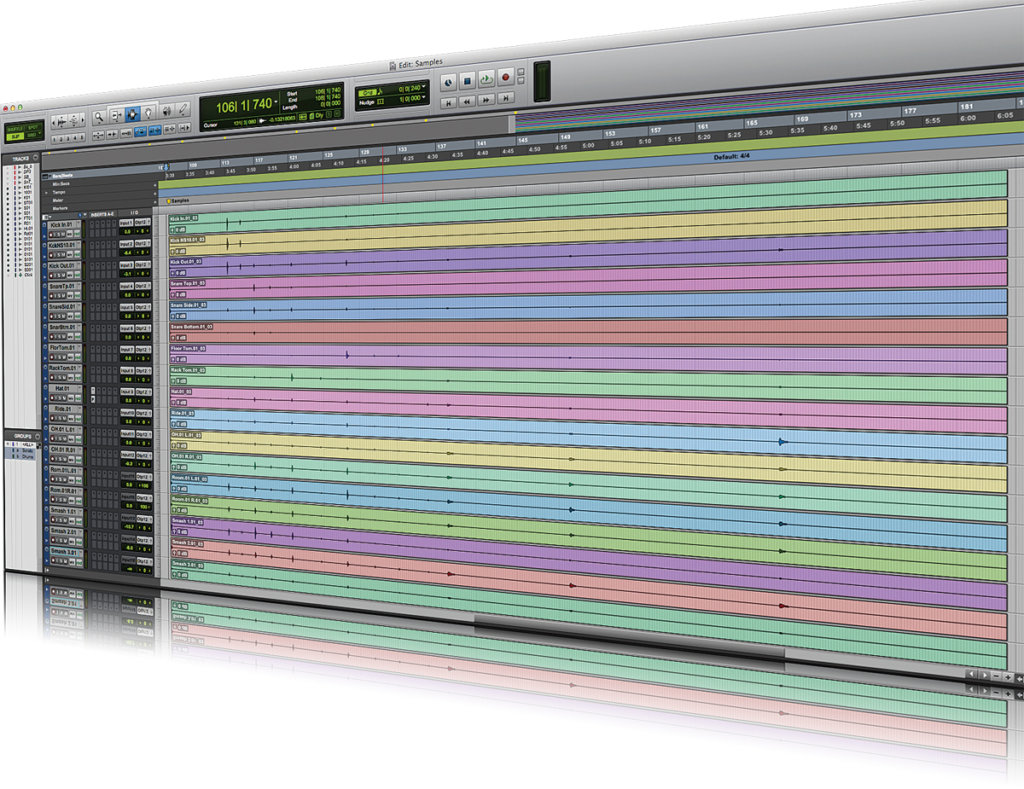
When recording drums it can be particularly useful to capture samples of each instrument in isolation, usually after a recording pass of the full track. This will help later when going through the mix if you feel the need to replace any particular hits or thicken them up to a certain extent, but it can also be useful for aligning your drum mix, since these hits will have very clean performances in the overheads with no masking by other kit pieces. As sample alignment is based on mic distances, unless you move the mics, anything that works for the samples will also work for the main performance.
Sync’ing Drum Tracks
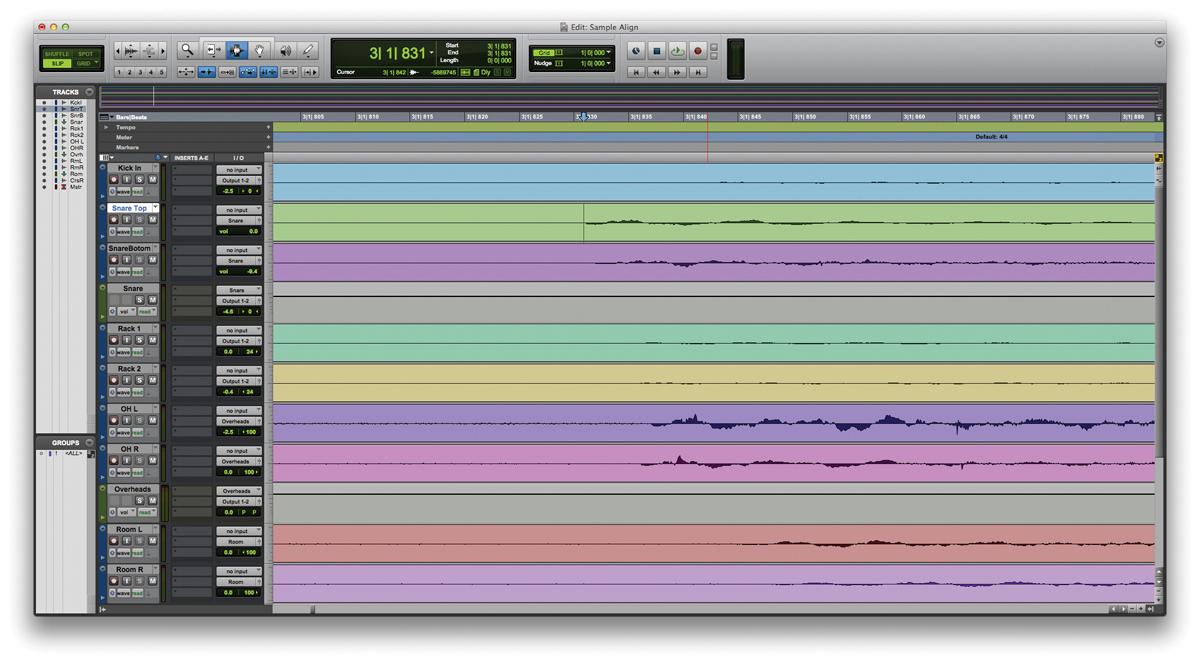
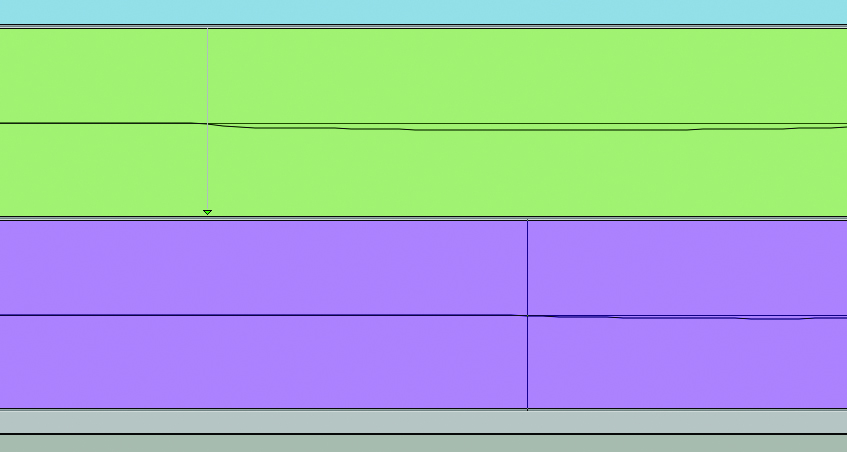
1: By zooming in on the waveform you should be able to see that each hit reaches each microphone at a slightly different time.
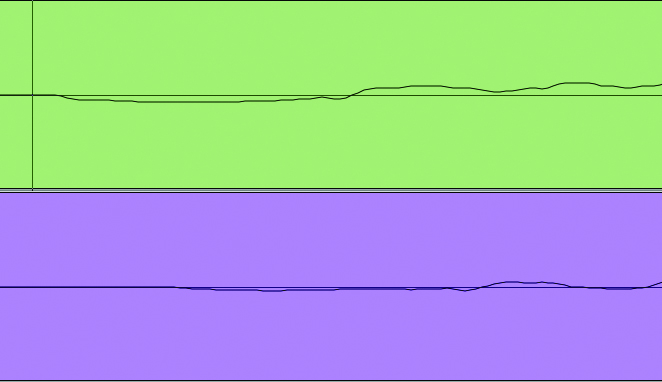
2: Go to bar 3 and zoom in to see the two snare mics – we want to align the attack of the bottom and top parts. They should be close to start with, as the bottom mic is only a few inches from the top mic where the signal begins.
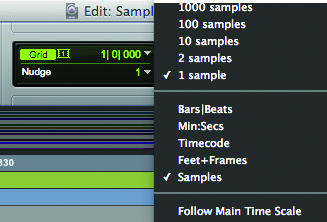
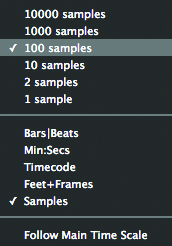
3: One method to move the channels is to use the nudge commands. Set the nudge value to only single samples, unless you’re out by quite a way, and nudge the channel forward [.] or back [,]
4: To use sync points, assign one with either Ctrl+[,] or Cmd+[,]. Align the cursor at the start of the waveform you wish to sync to, and with the Grabber tool enabled hold Start+Shift (PC) or Ctrl+Shift (Mac) and click on the channel with the sync point you want to move
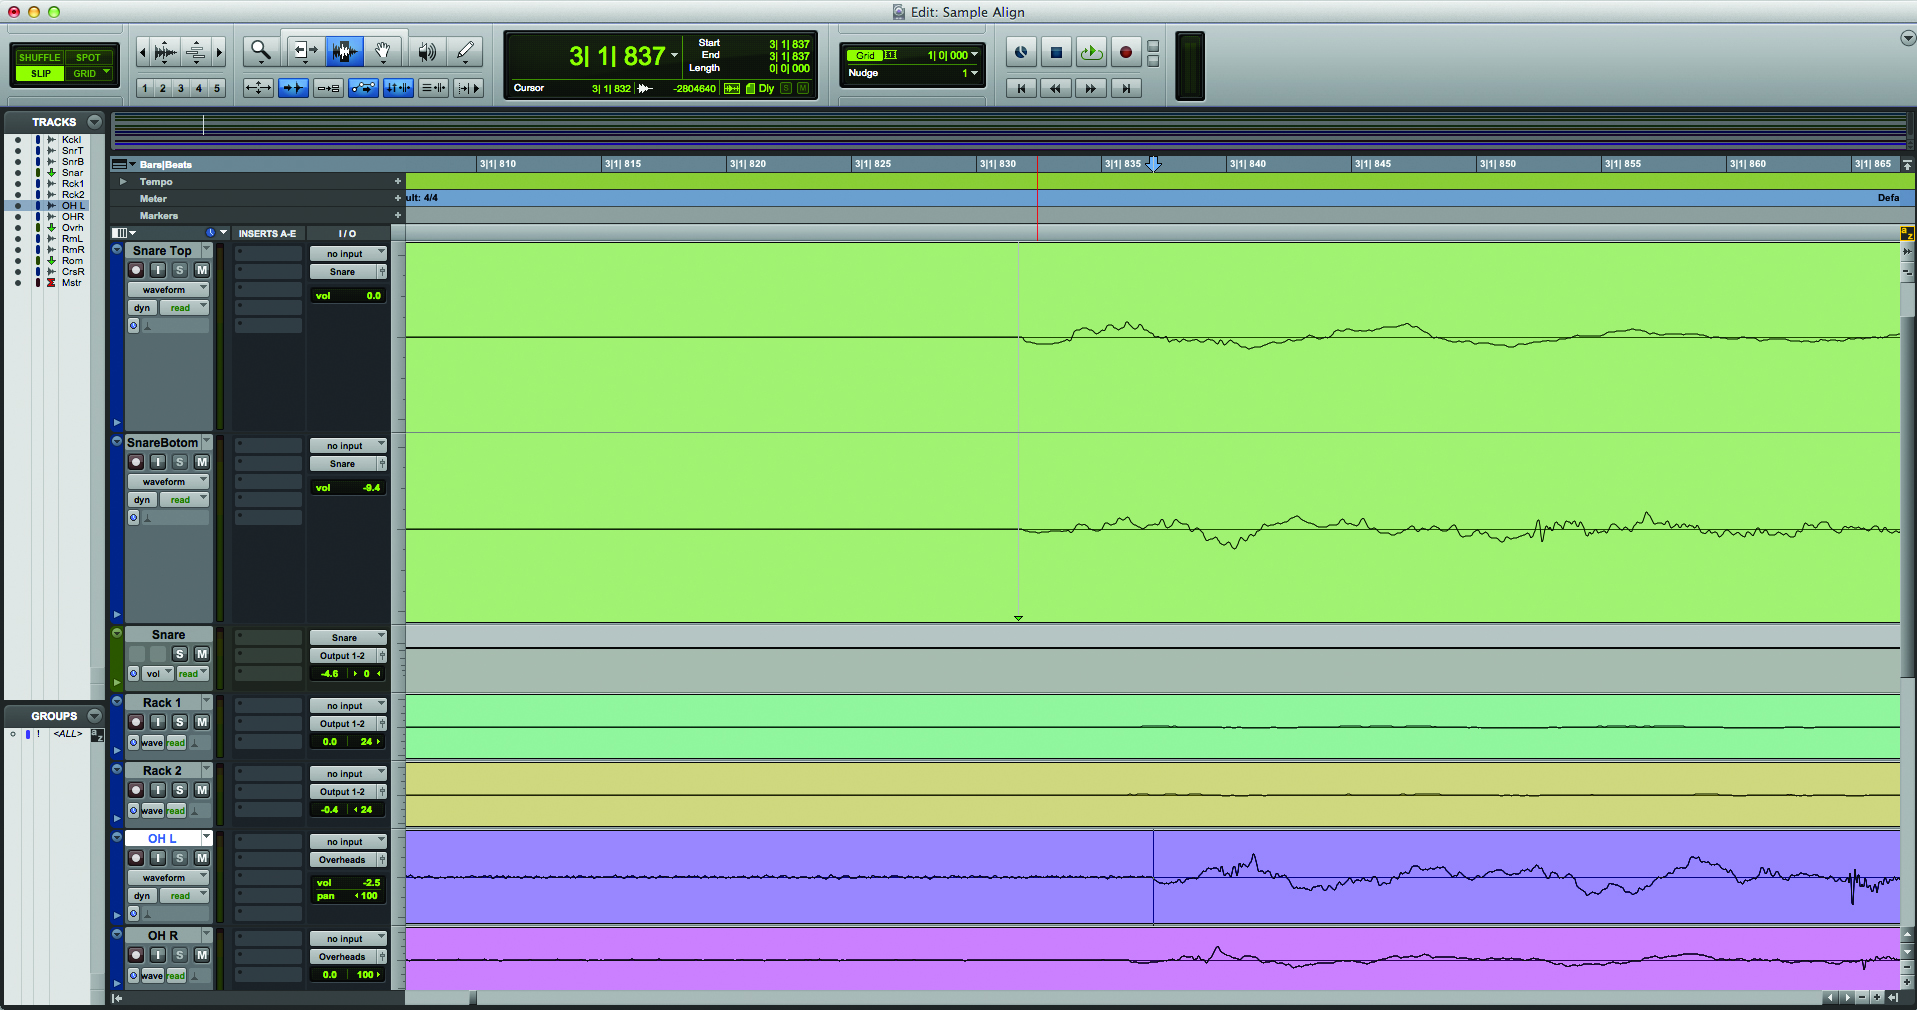
5: This has aligned our top and bottom snare to each other, but we actually want them aligned to the overheads. Group the top and bottom snare together with Ctrl+Alt+G (PC) or Cmd+Alt+G (Mac) to prevent them from sliding apart, and repeat the procedure to move these two channels in line with the overheads.
6: Finding a clean transient in the overheads to place the kick in this drum mix is difficult because of all the cymbal splashes. However, jump to bar 8, and at the end of the bar, on the last eighth note, there is a good isolated kick to work with.

7: Sometimes an instrument will appear in one overhead before the other. In this case it is best to align the close mics to the side that the kit piece is closest to. Eg, a hi-hat would be aligned to the overhead on the drummer’s left / audience’s right.
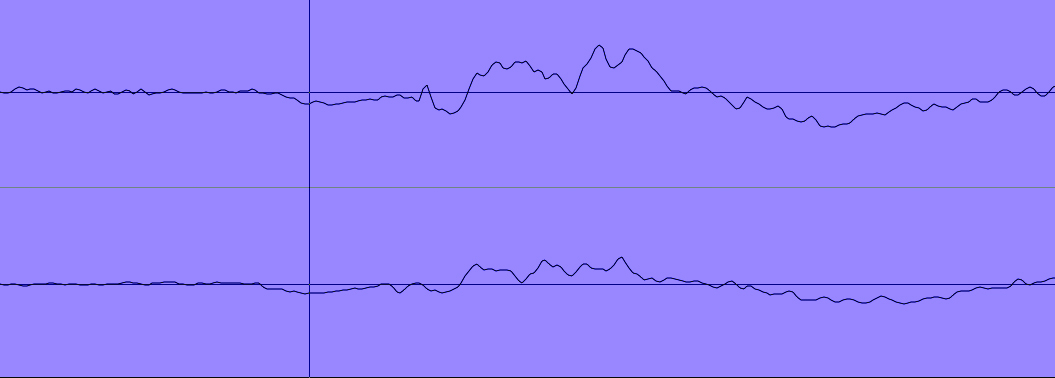
8: The exception to this is that we like to ensure the snare hits both overheads at the same time. We do this by measuring the two overheads from the centre of the snare, but often still align them to each other on a snare beat.
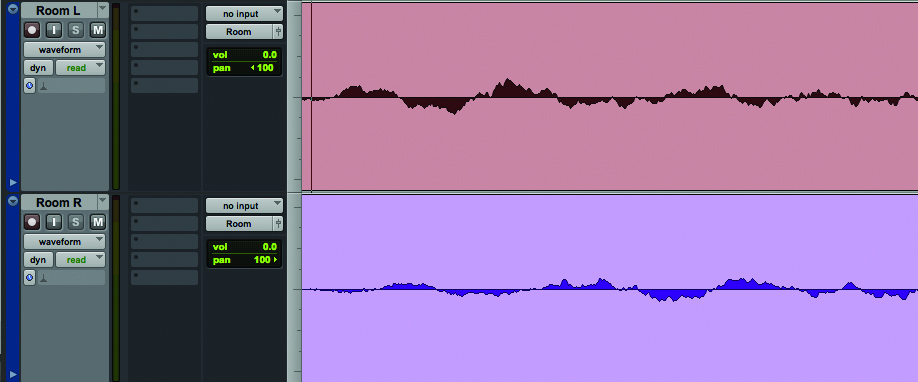
9: With all the close mics aligned to the overheads we can now turn our attention to the room mics and align them to each other on a snare hit. This way the snare sounds as if it is coming from the centre of the mix.
10: With the two room mics aligned, group them together and experiment with closer and more distant positions by simply nudging the room mics with the nudge commands. At 44.1kHz, a nudge of 100 samples is equivalent to 0.8m.
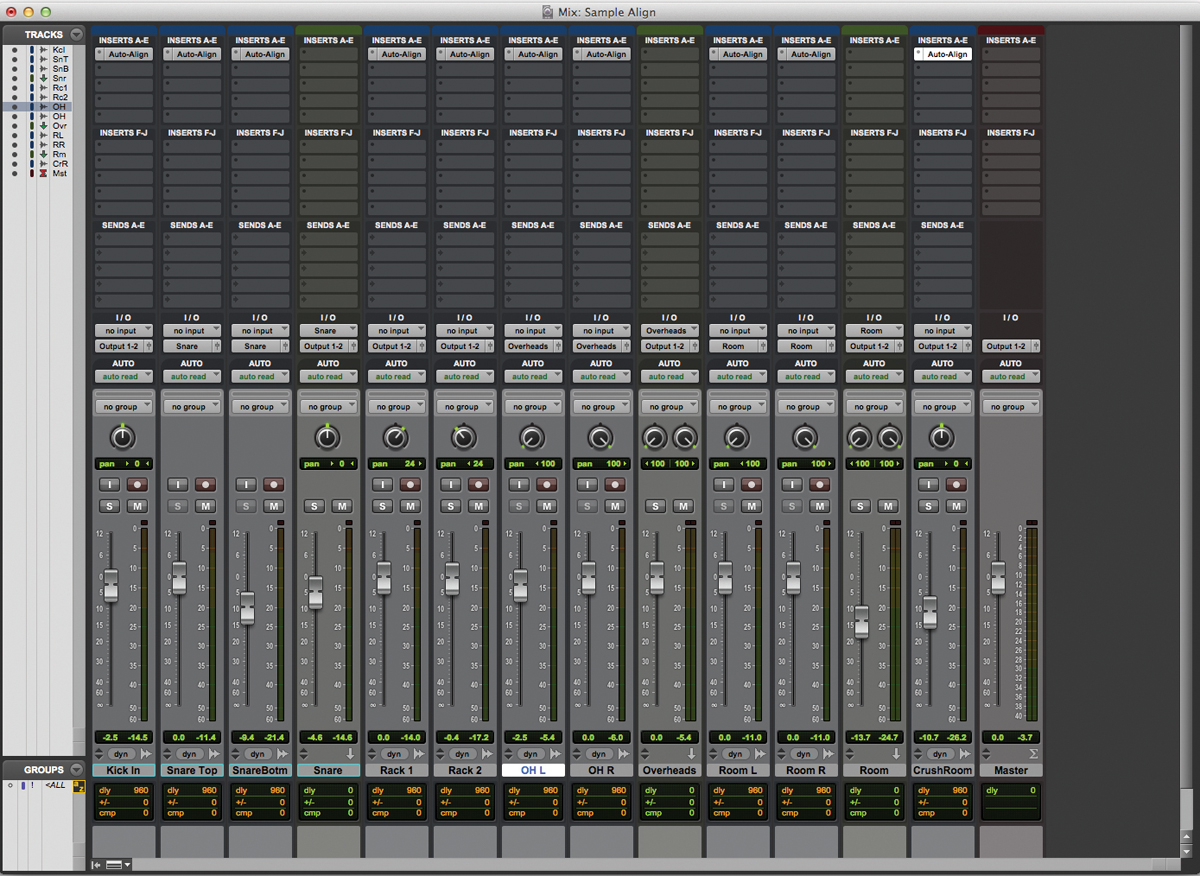
11: To use the Sound Radix Auto-Align instead of manual alignment add an instance of the plug-in to every drum track in your mix. Set the Send buss to channel 1 of the plug-in on the OH L channel, and the receive buss to channel 1 on all the other plug-in
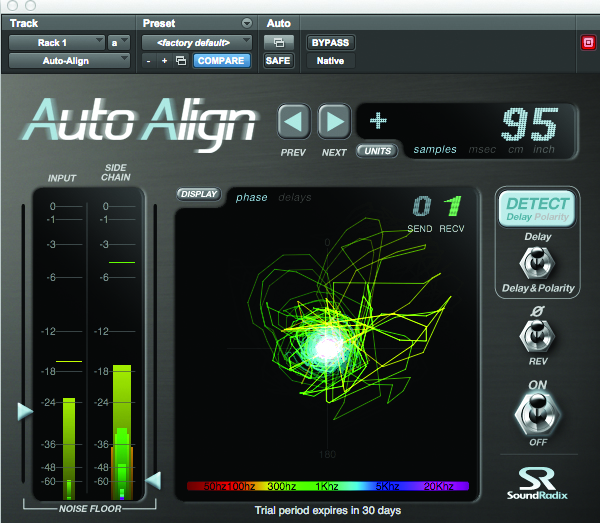
12: Hit play on your mix and press the Detect button on each plug-in, and after a short delay it will auto-align your settings. You can bypass all the plug-ins by holding Cmd+Alt and clicking on one of the plug-ins to hear the difference it makes.

