Mixing with Groups in Pro Tools
A problem shared is a problem halved. In this tutorial, we take a look into sharing functions across channels with Groups in Pro Tools.
We often discuss working quickly when editing and mixing. This is because keeping a swift workflow enables us to keep our creative ideas fresh in our mind, preventing us from becoming bogged down in the minutiae and not forgetting or losing track of just what you actually want to achieve.
Once you reach a professional level, working quickly also means you are able to work on more music. However, there’s no benefit from simply speeding up if the results end up being shoddy. In fact, if the outcome isn’t every bit as good as when you work slowly, then there is no advantage at all to working quickly.
Smooth operator
The key is not just to work hastily, but to work efficiently. This is the reason why you rarely see professional Pro Tools operators reaching for the mouse, as they make use of as many key commands as possible. Similarly, a good operator will know each of Pro Tools’ features that are designed to speed up your workflow. In this workshop, we’re going to look at the Group features, which enable you to work on multiple channels at the same time in both the Edit and the Mix window.
There are several types of Group in Pro Tools. The first type we’re going to look at is the Clip Group. This type of Group joins a number of clips together to look as if they are all one individual clip. When used on a single channel, you can group multiple edits into a single clip, simply for aesthetic value. Or this can be used across multiple channels, which then enables you to make edits to all of the channels at the same time, maintaining phase coherence throughout the Group. This is a fairly clumsy way of editing Groups, but can be aesthetically appealing and make it easier to navigate large sessions.
Group selection
A more elegant method for editing multiple channels simultaneously is to use an Edit Group. Edits made across channels in an Edit Group are mirrored to all of the other channels, just like with Clip Groups. However, because Edit Groups can be individually toggled on/off, or suspended globally, at any time, it’s much easier to make an edit to a single channel within a group than it is with Clip Groups.
We will often begin with Edit Groups, before creating Clip Groups once we have completed editing. This way, we get to enjoy the aesthetic advantage of Clip Groups and can deactivate any Edit Groups, for the mix phase, knowing that if we do need to make any further edits that the Clip Group is likely to be sufficient.
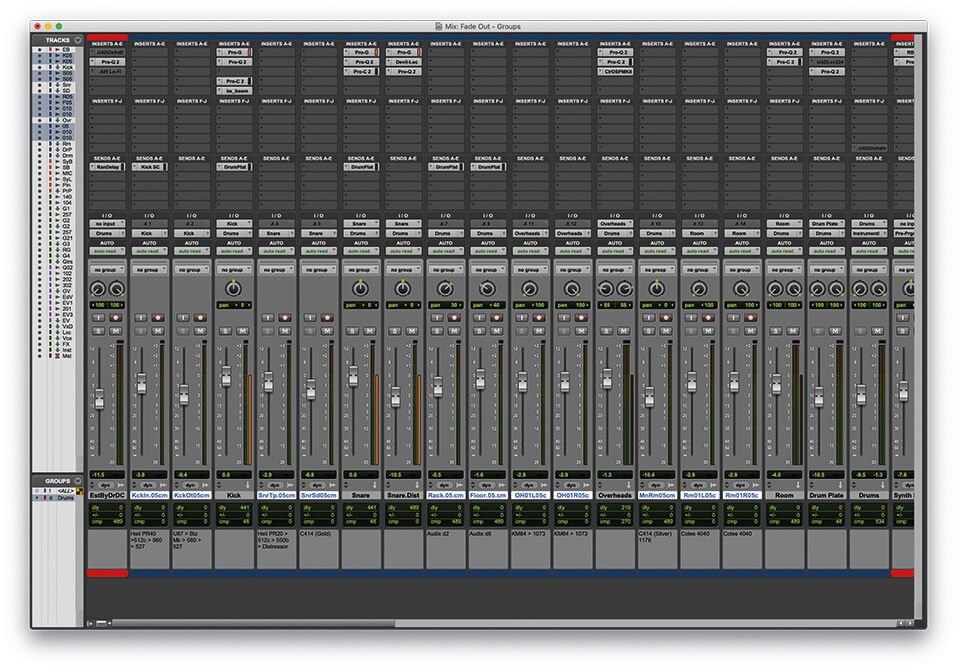
Mix Groups provide a similar function to Edit Groups, in that they allow mirroring of any changes made to one channel onto other channels. However, Mix Groups apply to the Mix Window rather than the Edit Window. By default, Mix Groups are all configured to follow the same set of rules – known as Follow Global Attributes, however, it is possible to set separate rules for each Mix Group. These attributes can include fader positions, solos, mutes, record arm and pan, as well as more detailed parameters, such as inserts and sends.
Time saver
The final group type is an Edit/Mix Group, which combines the functions of both an Edit Group and a Mix Group into a single Group. Most of the Groups we make in Pro Tools end up being Edit/Mix Groups, as it is often quicker to set these up and use them across both windows, toggling each on/off as necessary, than to create only Edit or Mix Groups as appropriate. However, on larger sessions we will often use a combination of every Group type to ensure the quickest and most efficient workflow within Pro Tools.
Navigating groups adds a very powerful set of tools to your Pro Tools workflows, enabling you to perform multiple actions at once. By combining Groups with the ability to quickly suspend and re-enable them, using Shift+Ctrl+G (PC) or Shift+Cmd+G (Mac), we can perform edit and mix changes quickly and efficiently, to both groups of channels and individual channels.
This is such an important part of our editing and mixing process that we usually create all the Edit and Mix Groups we expect to use at the start of the session, alongside other housekeeping tasks, knowing that this will speed up our process considerably, even if some of the Groups we create end up not being used.
Mixing with groups: step-by-step
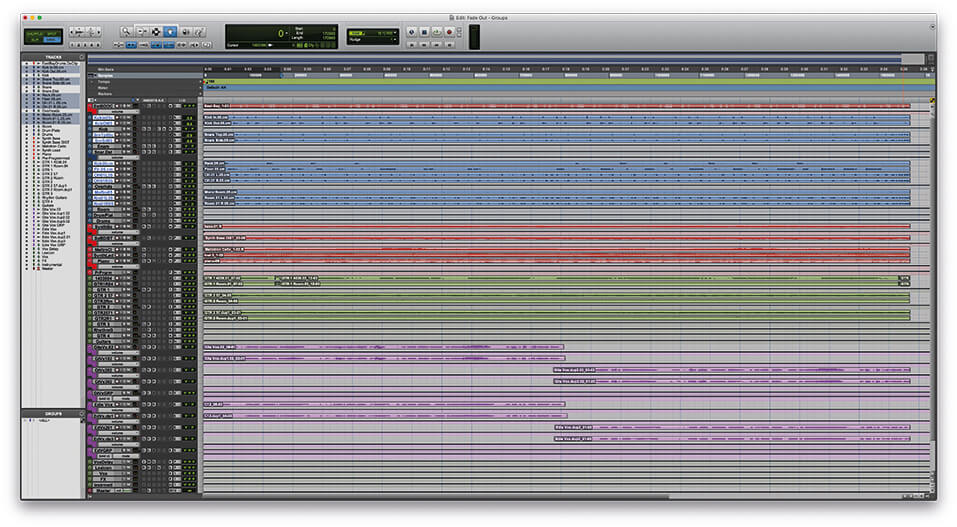
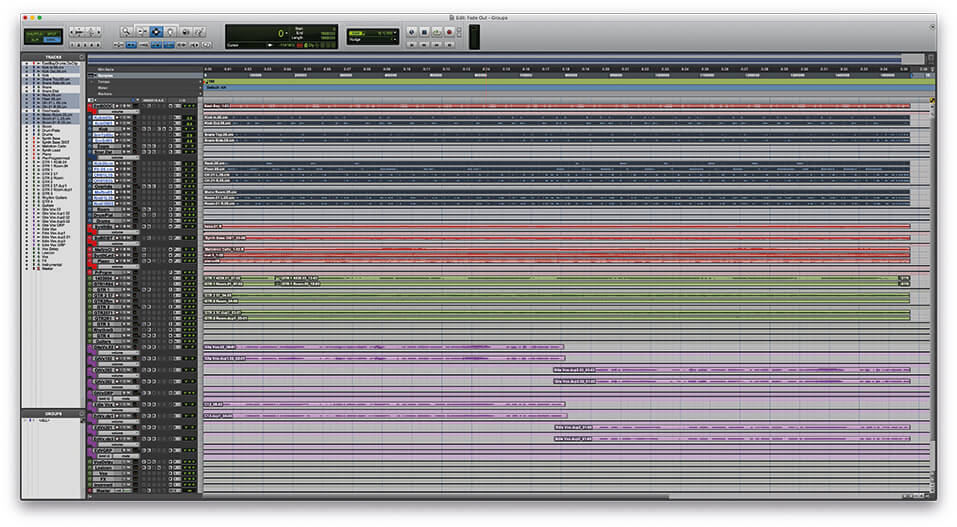
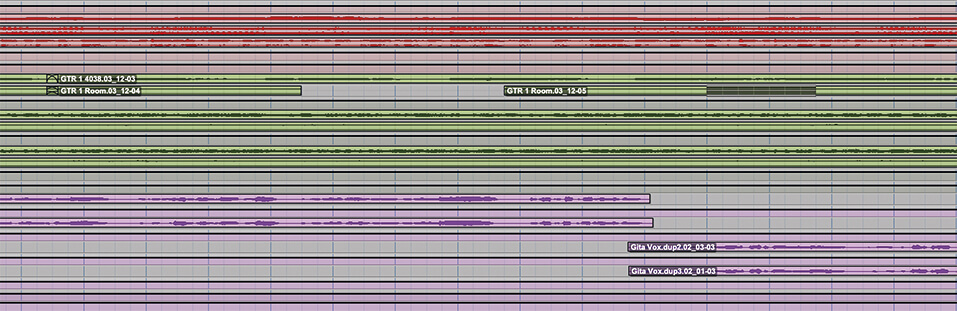
1. Open the Pro Tools Workshop session file. We’ve prepared a session with drums, guitars, synths and vocals. Each is colour-coordinated into groups, but with no Edit or Mix groups in Pro Tools.
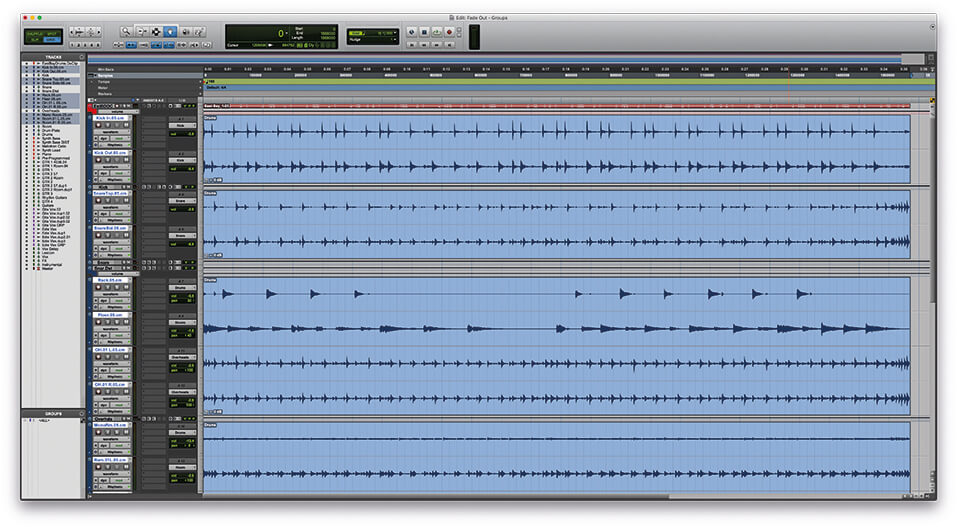
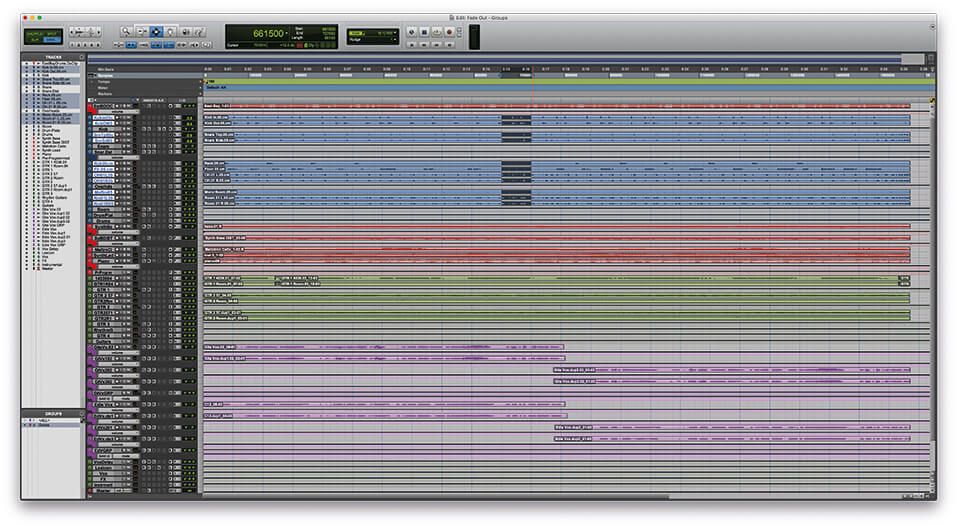
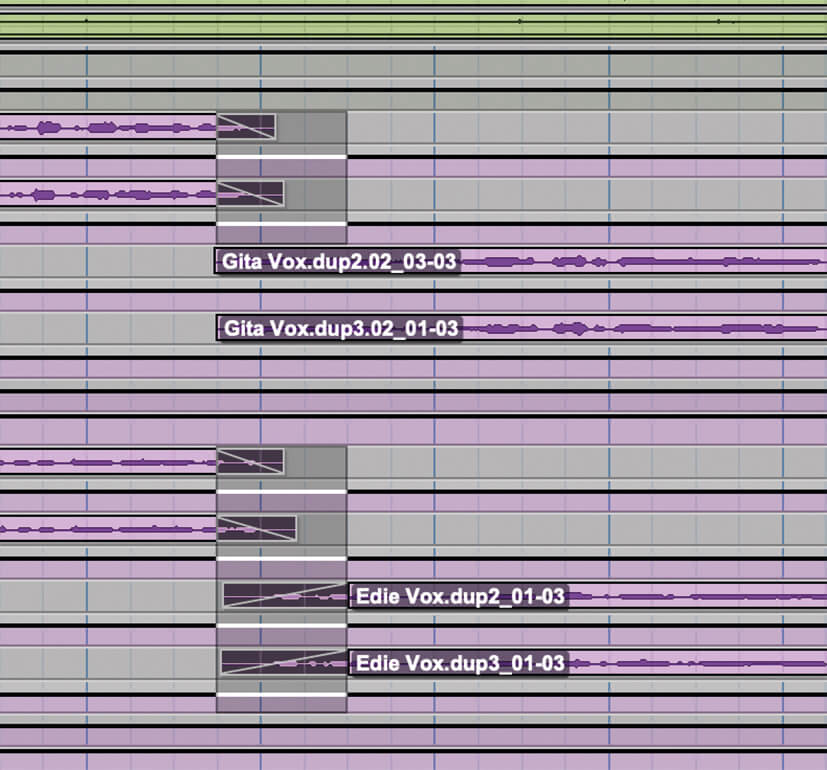
2. From the Edit Window, highlight all of the drum clips and press Ctrl+Alt+G (PC) or Opt+Cmd+G (Mac). This will create a clip group, which you can rename by double-clicking on the clip, and colour in the same way as you would colour a clip. Note: You can’t create clip groups over clips with active fades or Elastic Audio.
3. Now any edits you perform to the Clip Group are performed to all channels simultaneously. This is particularly useful for ensuring any edits to multi-tracked instruments – such as drums – maintain phase alignment between each of the mic channels. However, this is not the only way of achieving this, and you can use Edit Groups to achieve the same thing.
4. Ungroup the Clip Group by Pressing Ctrl+Alt+U (PC) or Opt+Cmd+U (Mac). This will maintain all of your edits and revert the Clip Group back to individual clips.
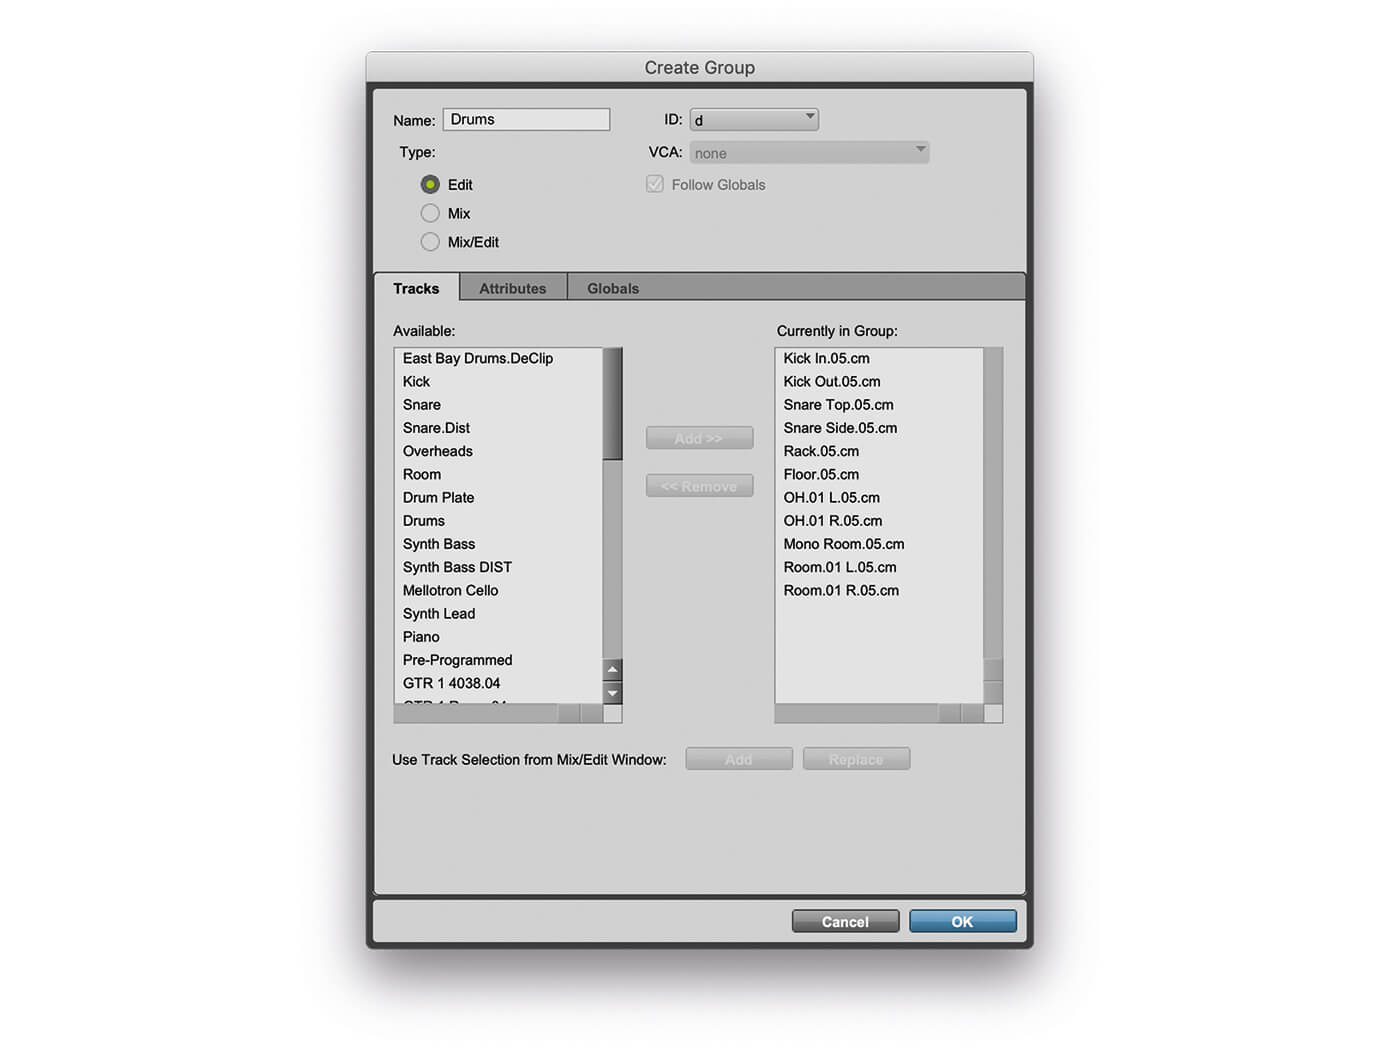
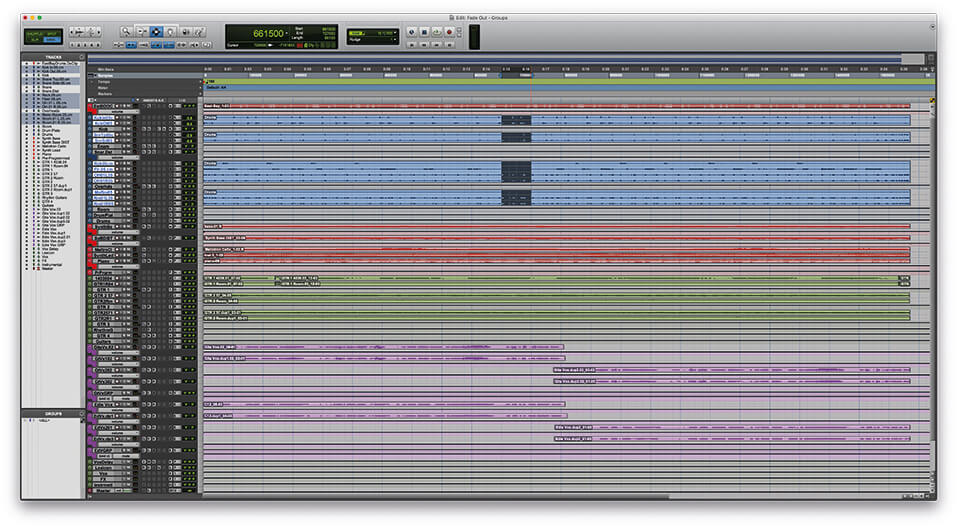
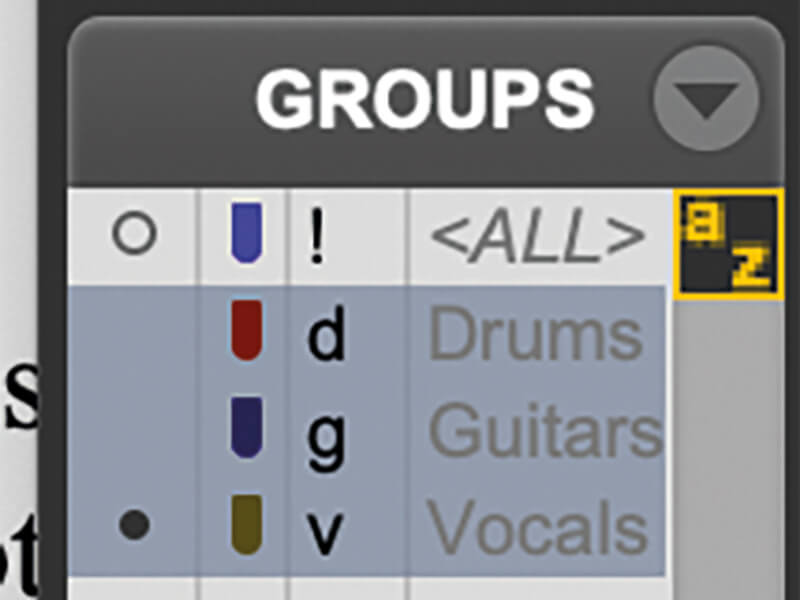
5. Highlight drum channels and press Ctrl+G (PC) or Cmd+G (Mac). This opens the Group menu. We’re going to name this Group ‘Drums’ and, rather than simply use ID = a, we’re going to use ID = d (for drums), to make navigating large sessions easier. If we set this as an Edit Group, rather than a Mix or Edit/Mix Group, we will be able to perform edits on the Group without mix changes being similarly mirrored.
6. As with Clip Groups, any edits that you perform on one channel within the Edit Group are mirrored across all of the other clips in the Group. However, the clips no longer appear as one clip, and you can suspend the Edit Group at any time, to make changes to individual clips.
7. While in the Edit window, any action performed on one channel is mirrored on the clips in the other channels that are in the Group. In the Mix window, the channels behave as if they were unrelated to each other. Any fader rides to a channel in the Edit Group have no effect on the remaining channels.
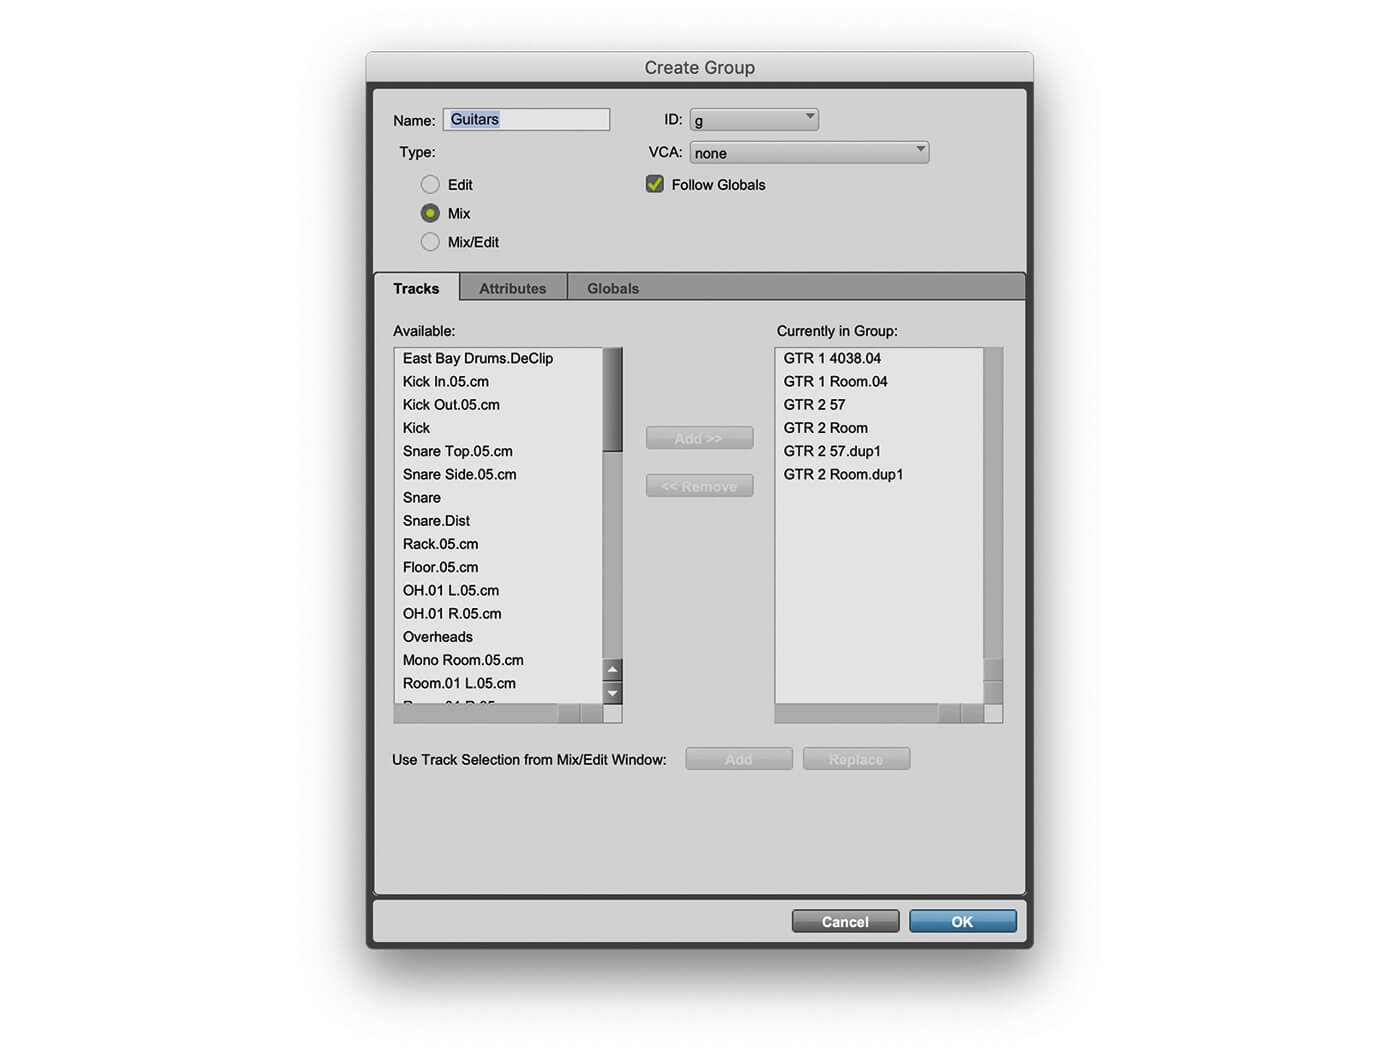
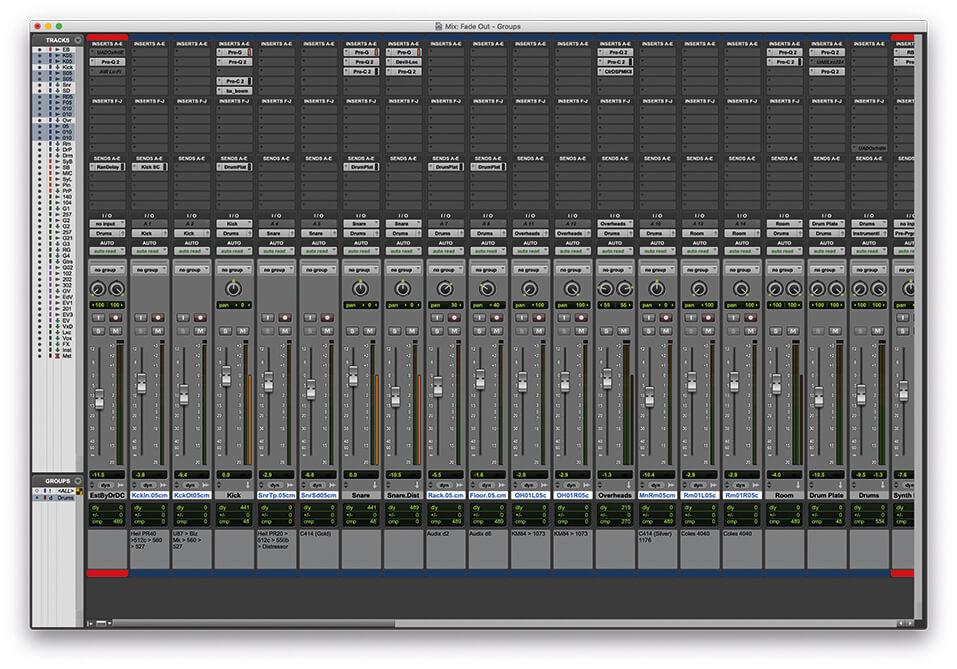
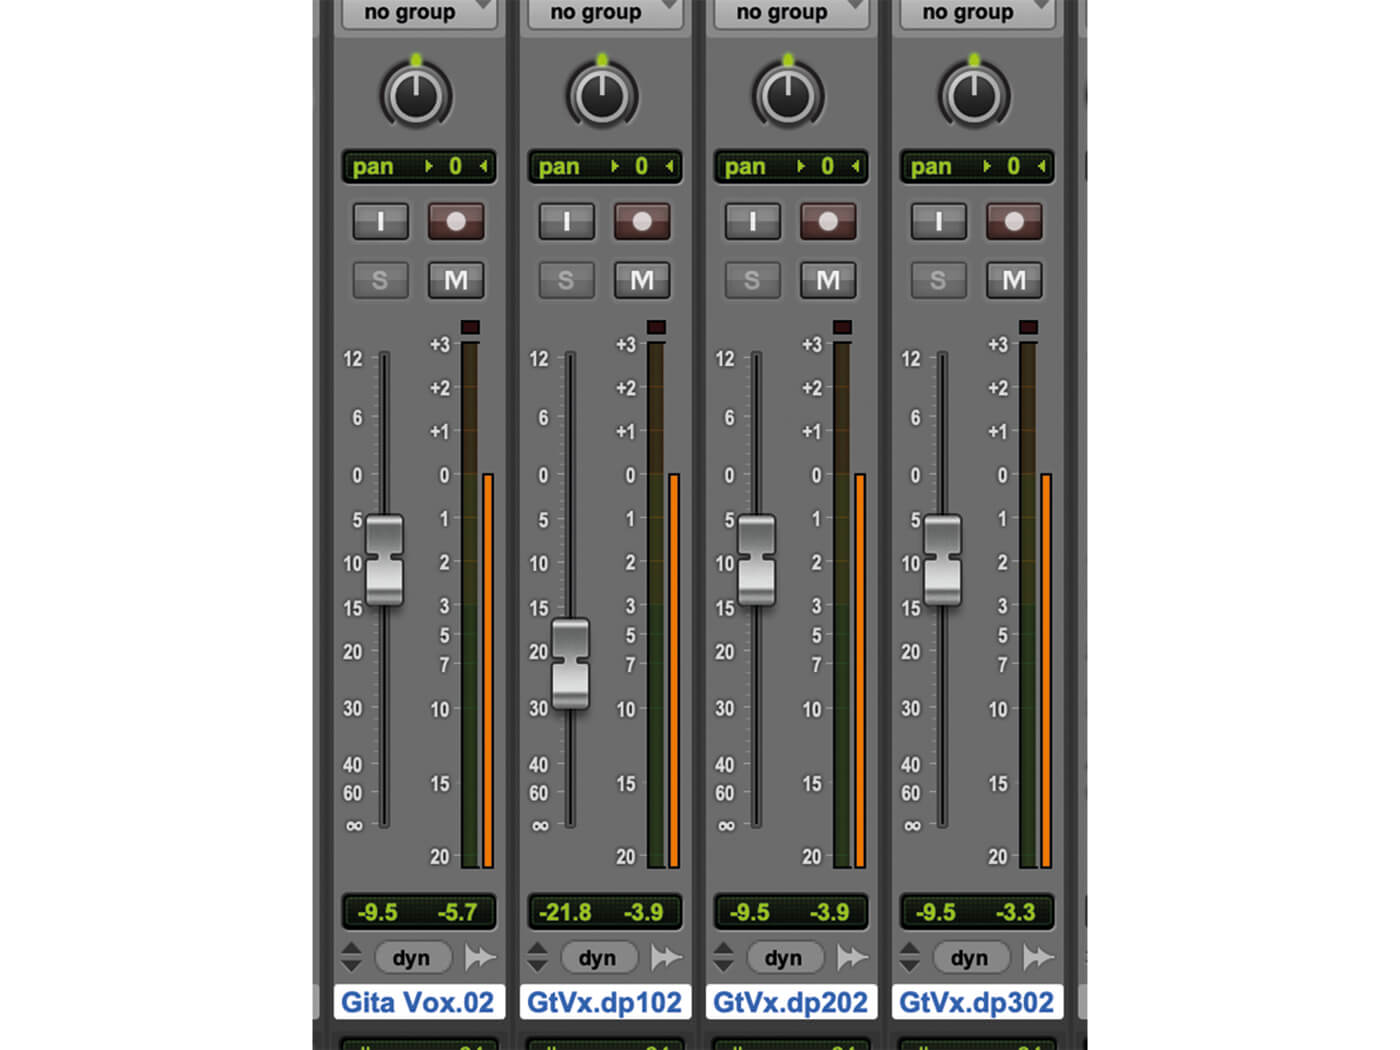
8. Highlight the Guitars channels and press Ctrl+G (PC) or Cmd+G (Mac). Again, this opens the Group menu. However, this time we’re going to create a Mix Group, rather than an Edit or Edit/Mix group.
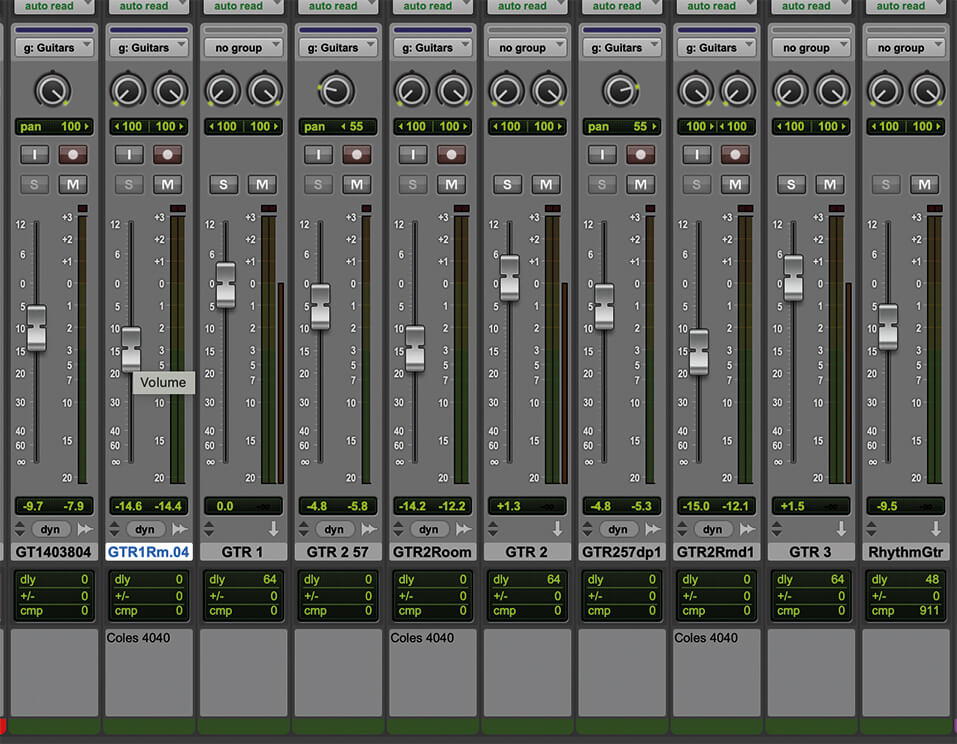
9. Now, whenever we make changes to the fader, solos, or mutes on one channel in the Mix window, it is mirrored across all of the channels in the Group. If the Mix Group includes any Aux Channels used as busses, fades will also be mirrored on these, which can get confusing. So try to restrict channels in the Mix Group to only audio channels, or only busses.
10. In the Edit Window, everything behaves as if there were no Guitars Group at all. You can continue to make edits to individual clips, with no mirroring to the other channels.
11. Rather than use the six audio channels, we could have used the three sub-Group channels for our guitars Mix Group. This gives us greater control over the final mix, without changing the balance feeding into the Aux buss channels.

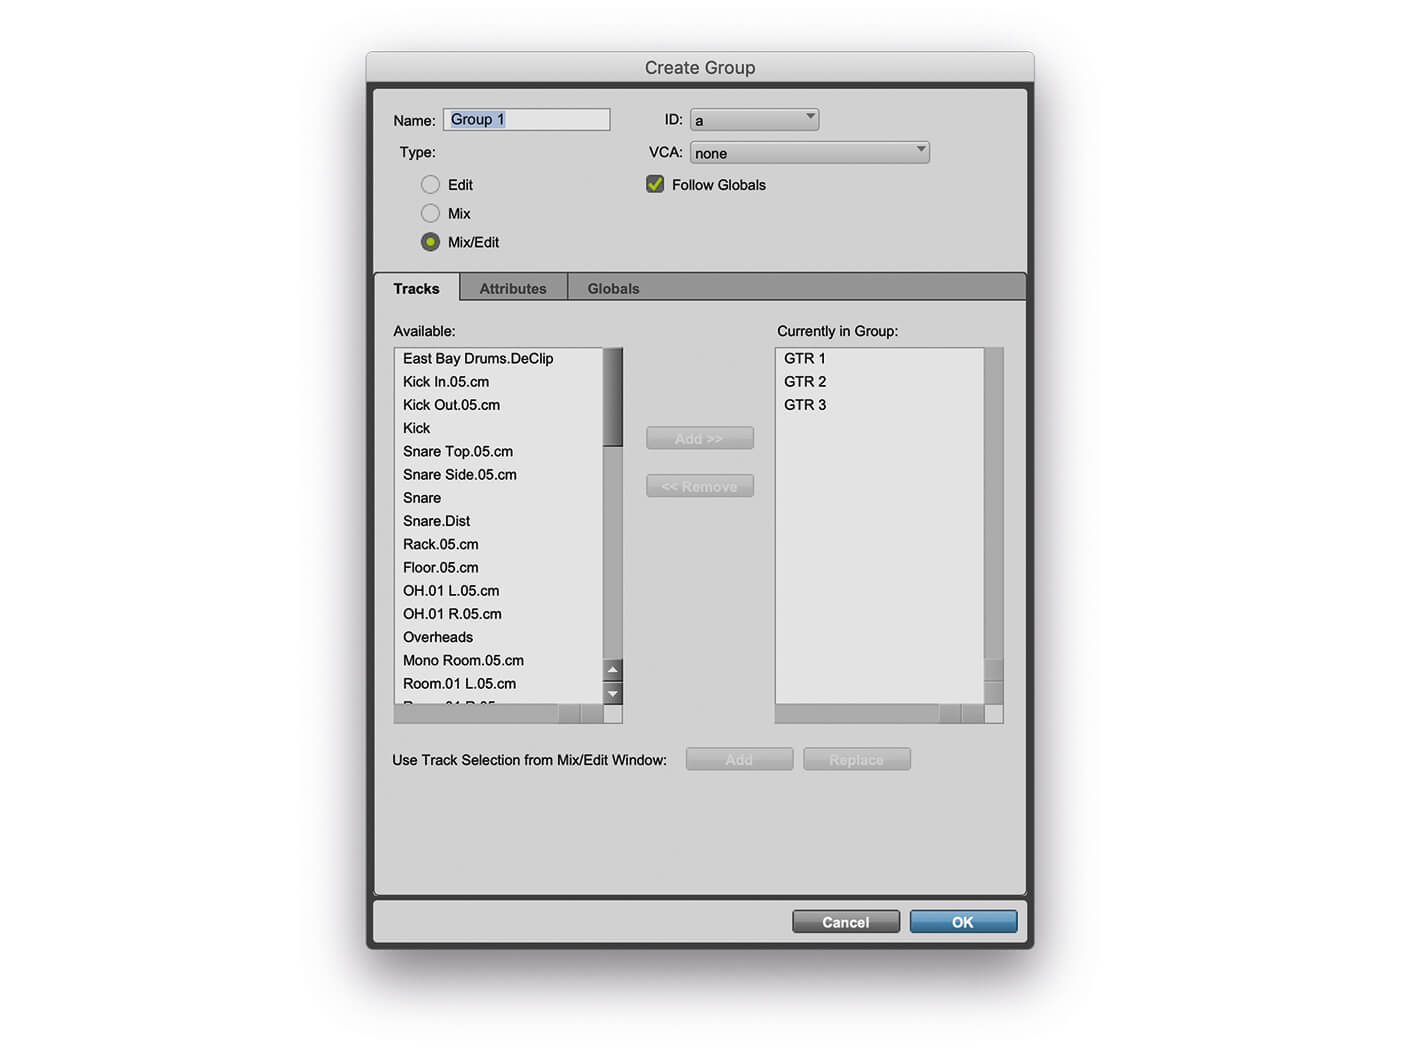
12. Highlight the vocal channels and press Ctrl+G (PC) or Cmd+G (Mac). This time we’re going to create an Edit/Mix group. This type of Group combines the functions of both Edit and Mix groups into a single Group.
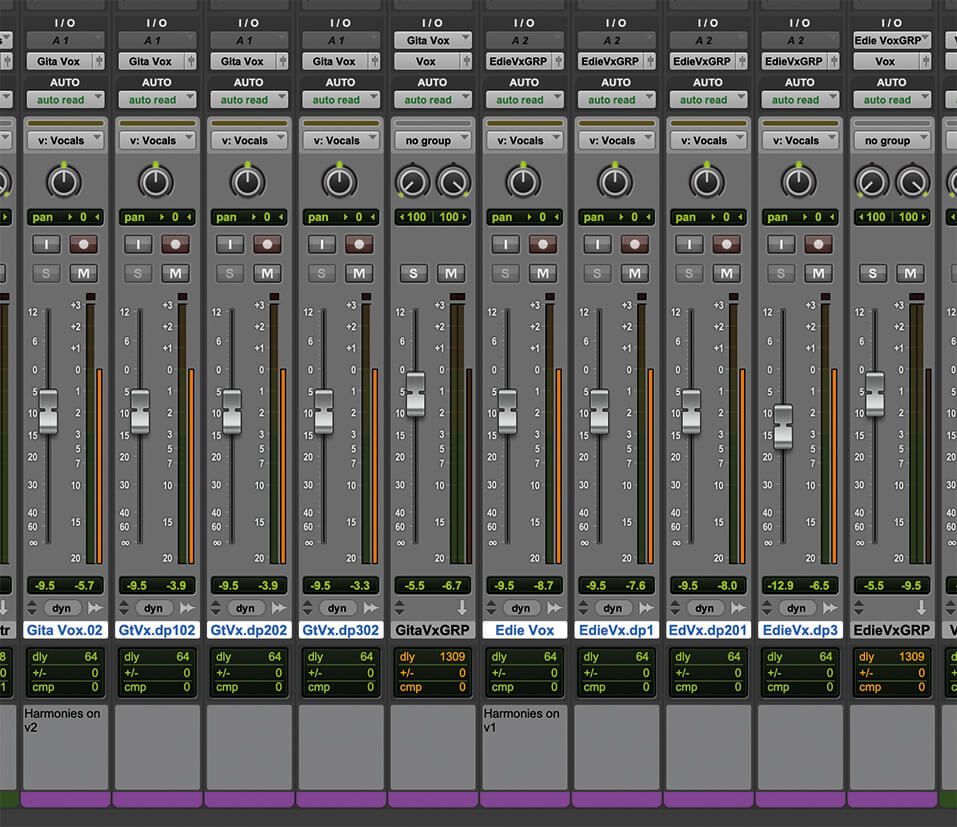
13. With an Edit/Mix Group any changes made in the Mix window will be mirrored across all the channels in the group, just like with Mix groups. And just like with Mix Groups, it’s important to be careful not to include Aux Busses in the same group as the signal sources feeding the Aux group.
14. Similarly, any changes made in the Edit window will also be mirrored across all the channels in the Group, just like with Edit Groups. The Group behaviour is now the same across both Edit and Mix windows.
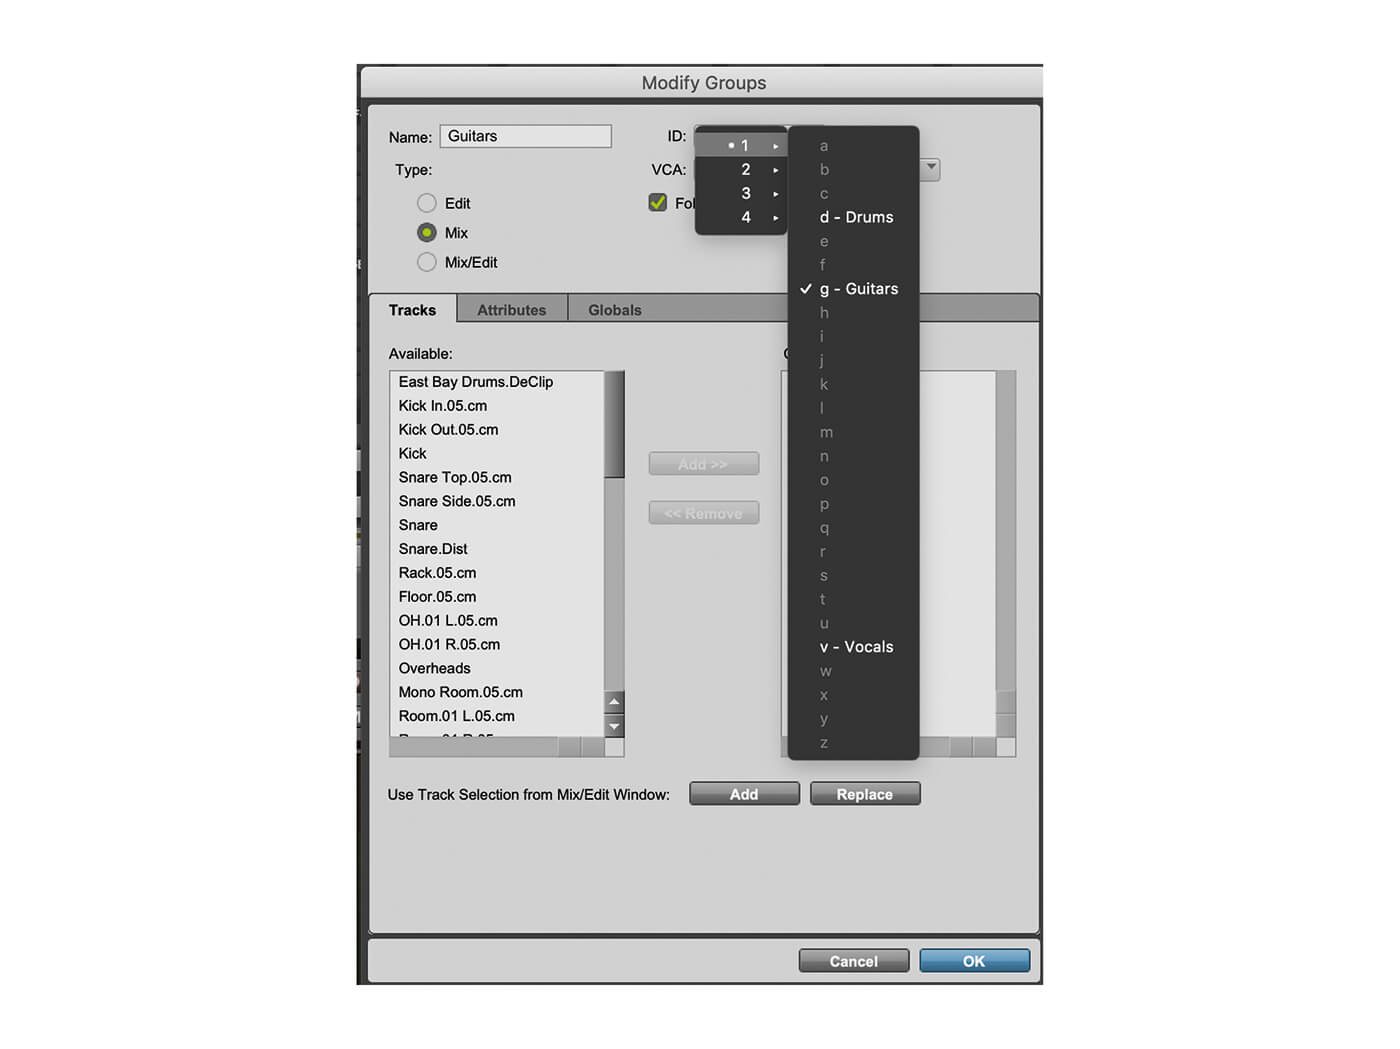
15. By default, only fader rides, solos and mutes are linked in Mix and Edit/Mix Groups in the Mix window. But we can change that from the Group window’s Attribute page. Press Ctrl+M (PC) or Cmd+M (Mac) to modify Groups and select the Guitar Group from the ID selection.
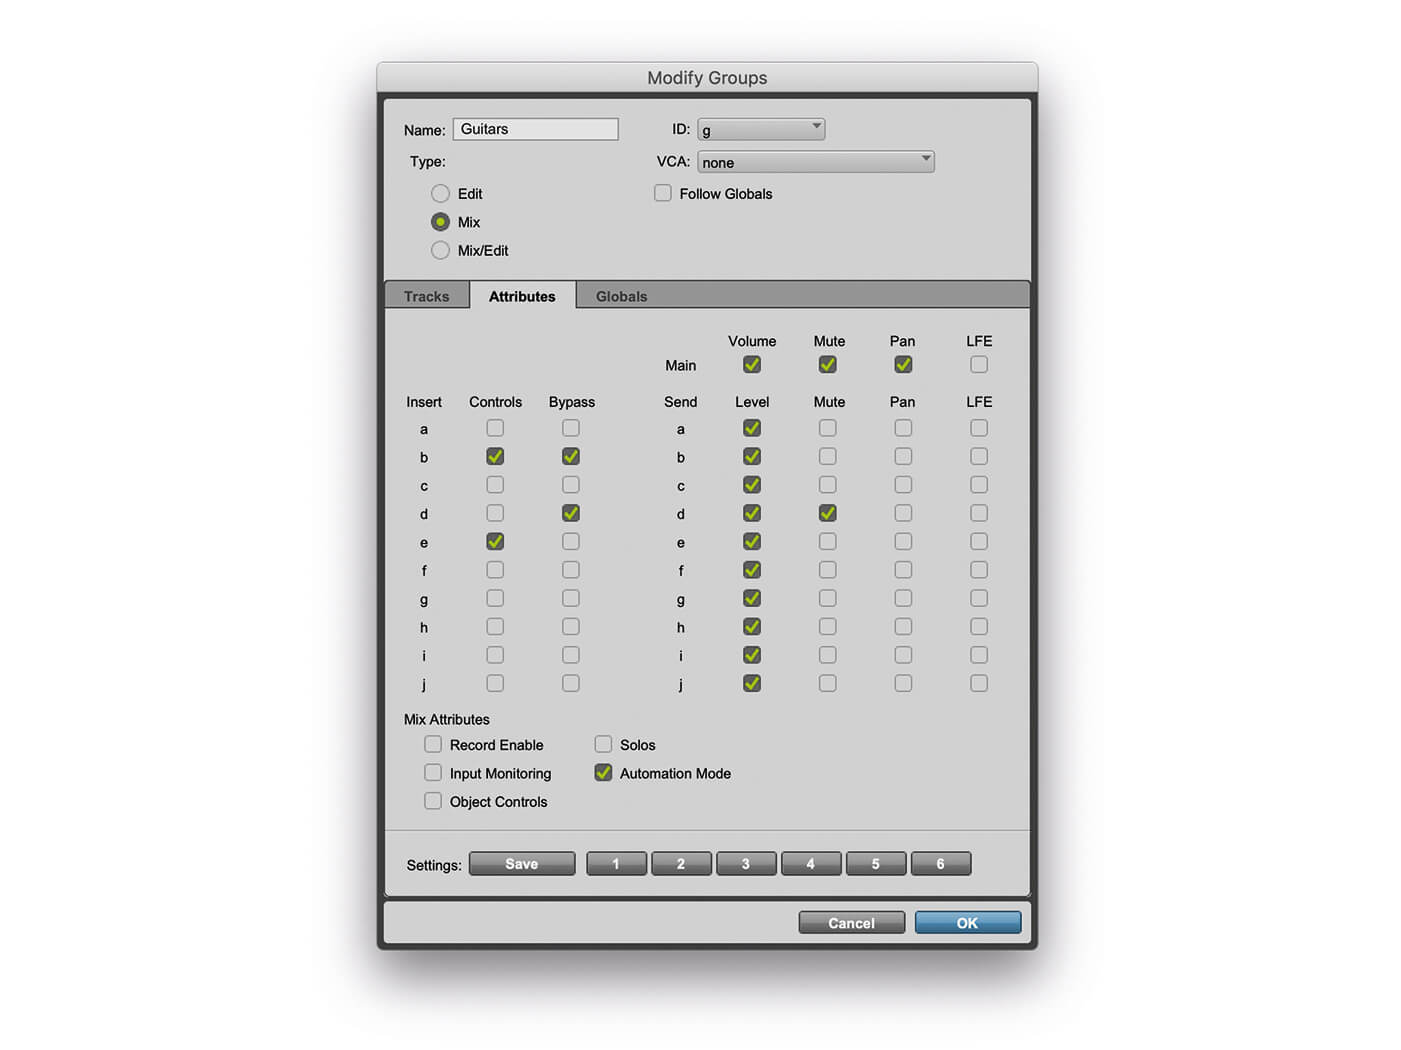
16. Deselect ‘Follow Globals’ and click on the Attributes page. From this menu, you can select which attributes you want to be mirrored between channels on the Guitars Mix Group. We’ve opted for volume, mute and pan as well as send levels (including one send mute), and a couple of insert controls and bypass functions.
17. If you want to make a change to an individual channel within a Group once it’s been added to a Group – such as balancing a fader ride on just one guitar from the Group. You can temporarily suspend Groups by pressing Shift+Ctrl+G (PC) or Shift+Cmd+G (Mac).
18. With Groups suspended, you can now make any fader rides or edits you want without them being mirrored to other channels. To re-enable Groups, press Shift+Ctrl+G (PC) or Shift+Cmd+G (Mac).
For more Pro Tools tutorials, click here.