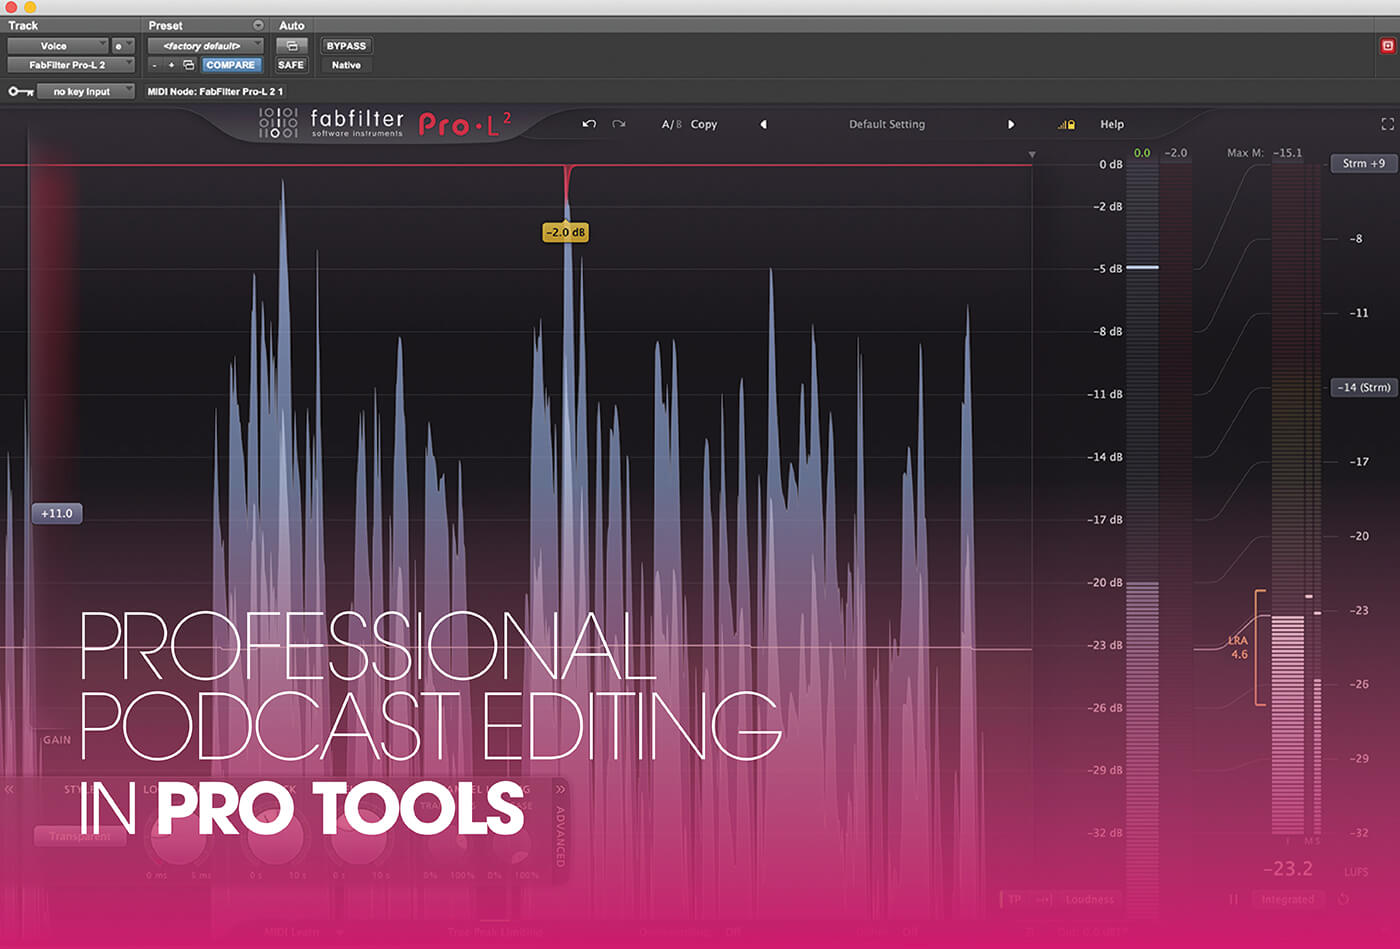
Professional podcast editing in Pro Tools
We explain the art of creating a pro-level podcast recording
Podcasts have grown from a niche interest to a huge market, revolutionising the radio industry in a similar manner to the way that inexpensive DAW software, microphones and other audio equipment has effectively democratised the recording industry.
But just like with recording, putting the tools into the hands of the masses inevitably results in an overload of low-quality end product. What is needed alongside the tools is the skills to use them. In this Pro Tools workshop, we’re going to look at some of the processes we can apply when editing and processing audio for podcasts.
Like anything when it comes to audio production, the quality of what you can get at the end is hugely dependent on what you put in at the beginning. A good-quality script, recorded with a decent mic in a quiet room, will result in a much, much better recording than a poor script recorded in a coffee shop on your phone. If you want to record multiple voices at once, using one microphone per person is going to give you far more control than a single omni microphone placed in the centre.
Once your recording is done, however, there is still plenty of room for further improvement in the edit. We’ve learnt some really useful tricks to speed up the editing process over the years, and a favourite of ours is to make a very loud spike in the recording at any point, usually with one short clap, where you want to make an edit, perhaps for a retake of a line.
The spike puts a simple visual cue in the recording waveform that we can then jump to in the edit. If you are recording directly into Pro Tools, you could of course simply place a marker, by pressing Enter, but often this isn’t possible, as many recordings aren’t done directly into Pro Tools, but rather onto portable recorders.
How loud is too loud?
The loudness war hasn’t hit podcasts yet, and the consensus seems to be to stick with the loudness of radio shows, particularly those found on public radio in the US, or Radio 4 in the UK. It’s important to consider that many listeners are likely to be listening in less-than-ideal situations, such as while commuting, working out, or while busy with another task, so some loudness levelling is important.
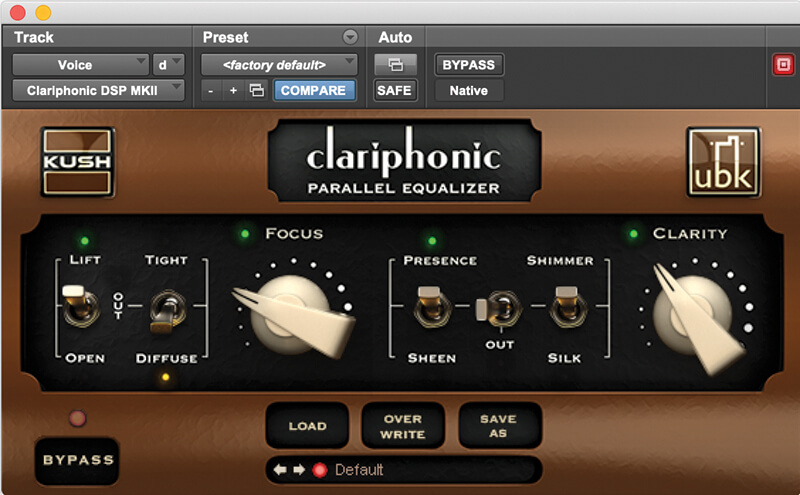
While there are dedicated tools for this, such as the Dialogue Leveler in iZotope RX 7 Advanced, these tools aren’t entirely necessary – often the built-in EQ, compressor and limiter in Pro Tools will suffice. And if you’ve already purchased plug-ins for music processing, these will be transferrable to podcast processing, too.
The most important requirement of a good podcast is that all the voices are clearly audible. This usually means cutting the lows and boosting the mids and upper mids, although some sibilant voices may require a little less upper midrange, or even a little de-essing applied before the compressor. And of course, the specifics of each person’s voice and the microphones used in the session will further alter the specifics of how you approach the task.
Creating a professional-sounding podcast: step-by-step
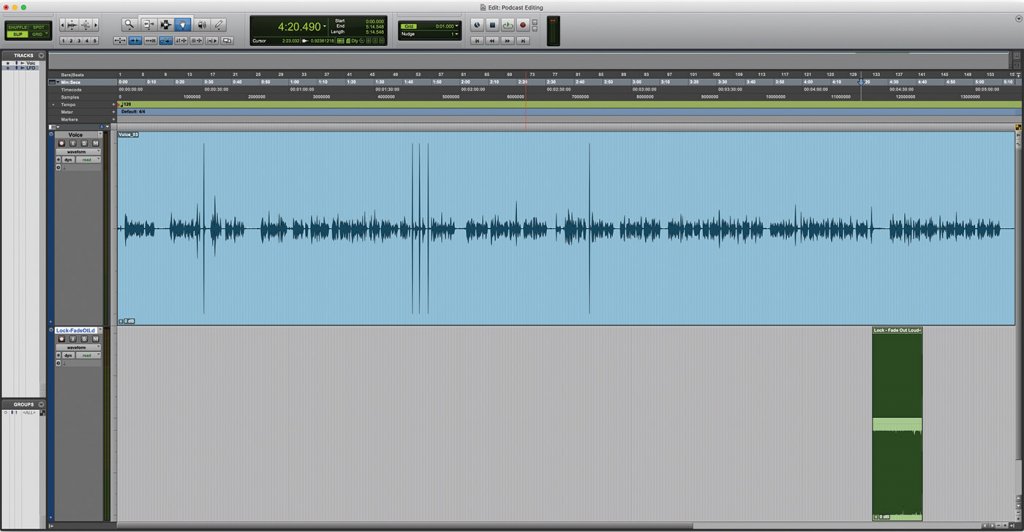
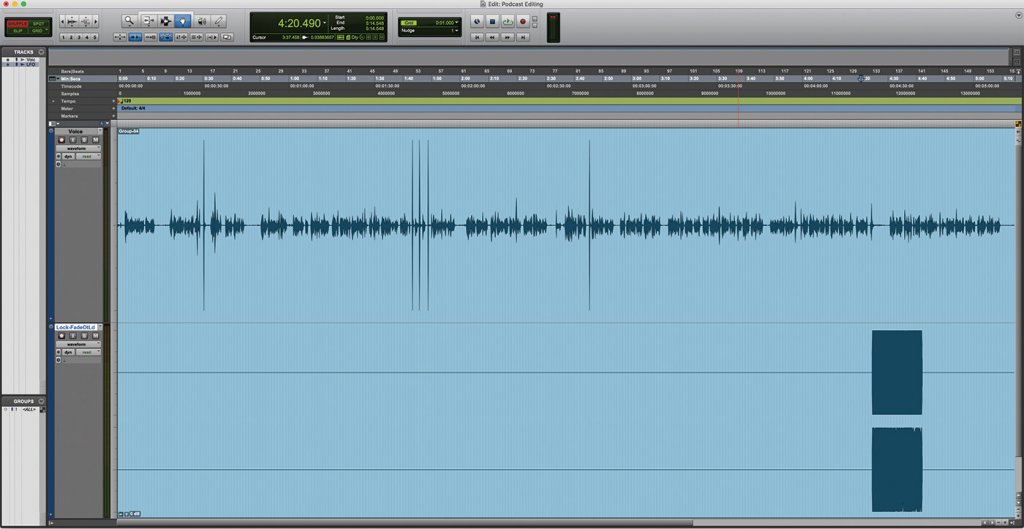
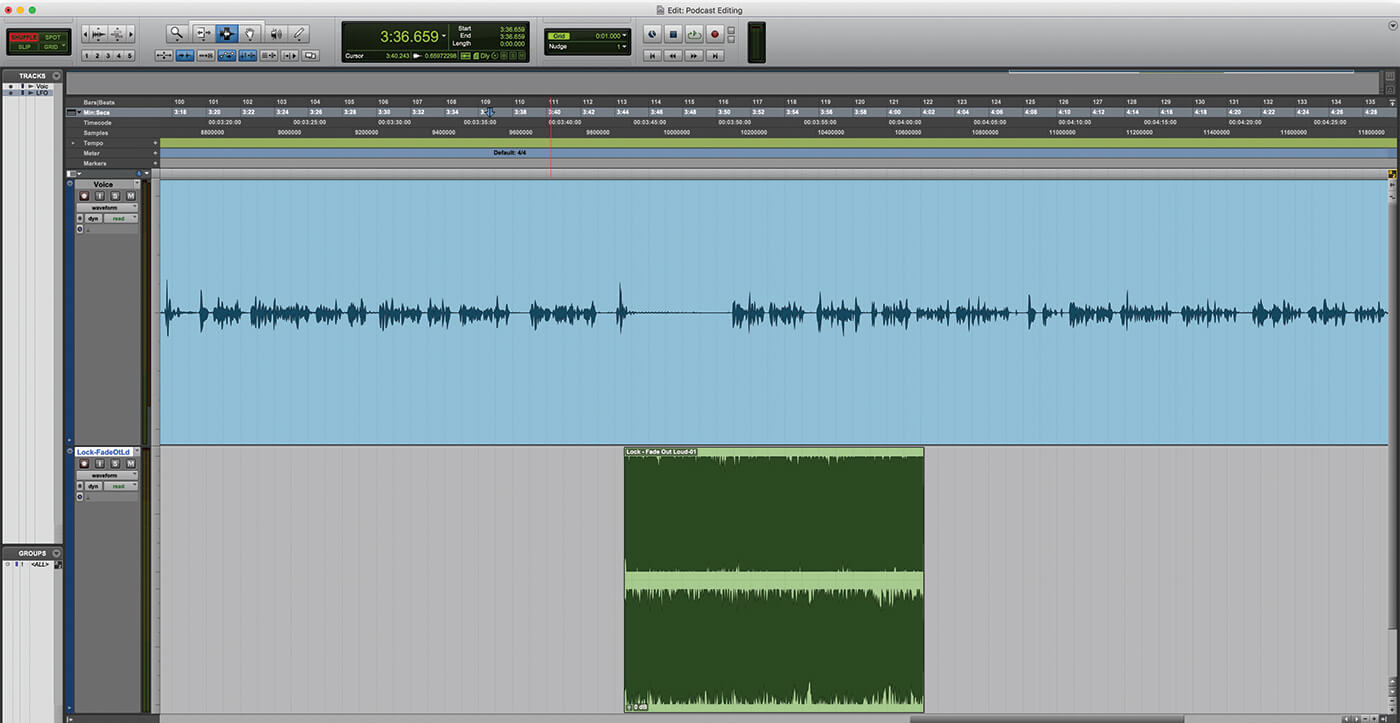
1. The Session file for this project contains a single long reading of this workshop, with numerous deliberate mistakes and extraneous noises. There is also a shorter audio clip on a second stereo channel.
2. The first task should be to go through the recording removing any obvious errors, or retakes. To make it easier to find these in the timeline, we’ve added a loud clap and then a short pause after each error.
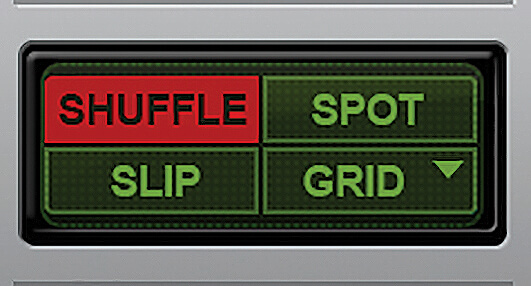
3. While editing the recording, we’re going to use Shuffle Mode. You can put Pro Tools in Shuffle Mode by pressing F1, or alternatively, by clicking the Shuffle button.
4. Before we start editing, we want to group the audio to ensure that any edits made to the voice recording maintain the relationship with the music clip. Highlight both clips and press Ctrl+Alt+G (PC) or Cmd+Alt+G (Mac).
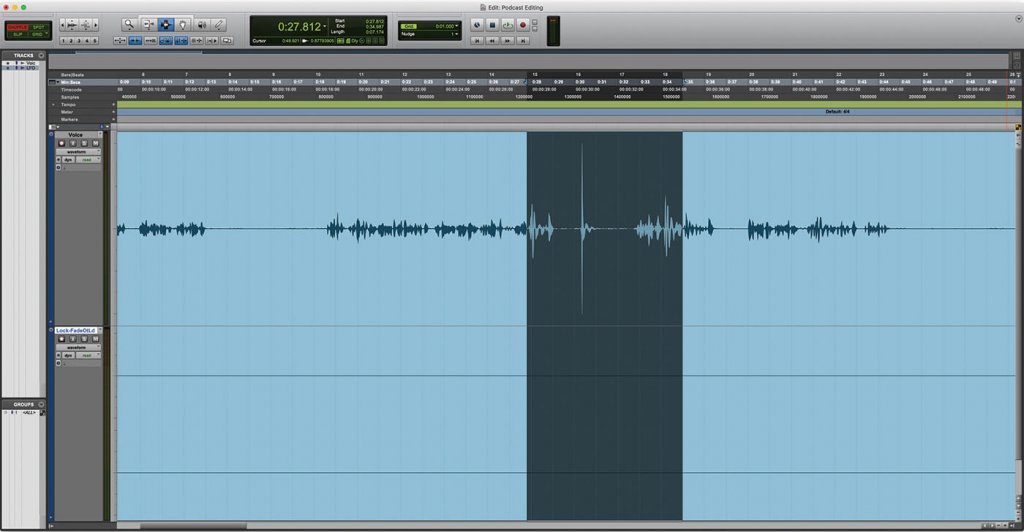
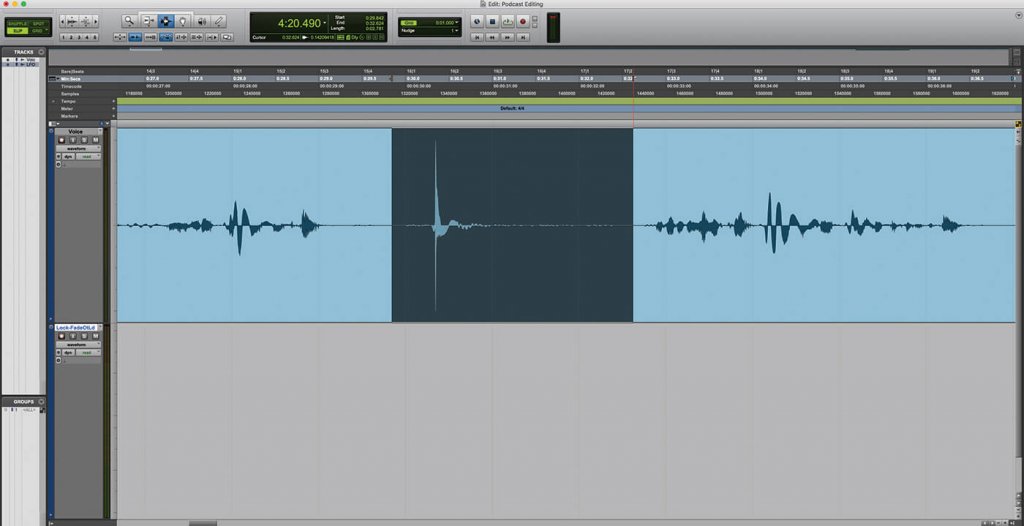
5. Highlight the section of audio you want to remove using the Selector Tool (F7), then hit Del. With Shuffle Mode engaged, any audio to the right of the deleted section will be moved to fill the space cleared by the deleted audio.

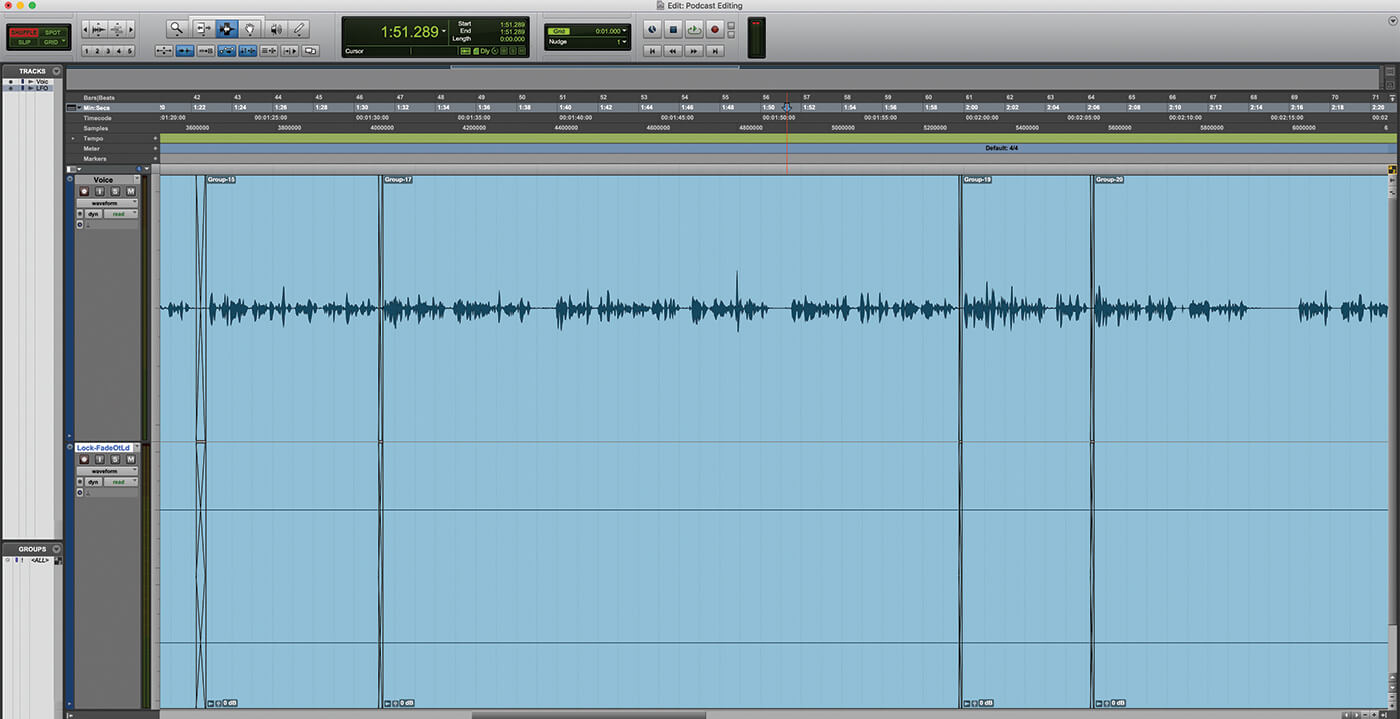
6. We can adjust the edit using the Trim Tool (F6). With Shuffle Mode engaged, the Trim Tool will keep the relative positions of the clips, so shortening clips doesn’t just create a shorter clip, but moves all the audio to adapt to fill the gap.
![]()
AIM YOUR MICS Further improvements in multiple mic’ing can be achieved through smart use of the null points of cardioid microphones – point these at the individual guests so that there’s as little spill from one microphone into another as possible.

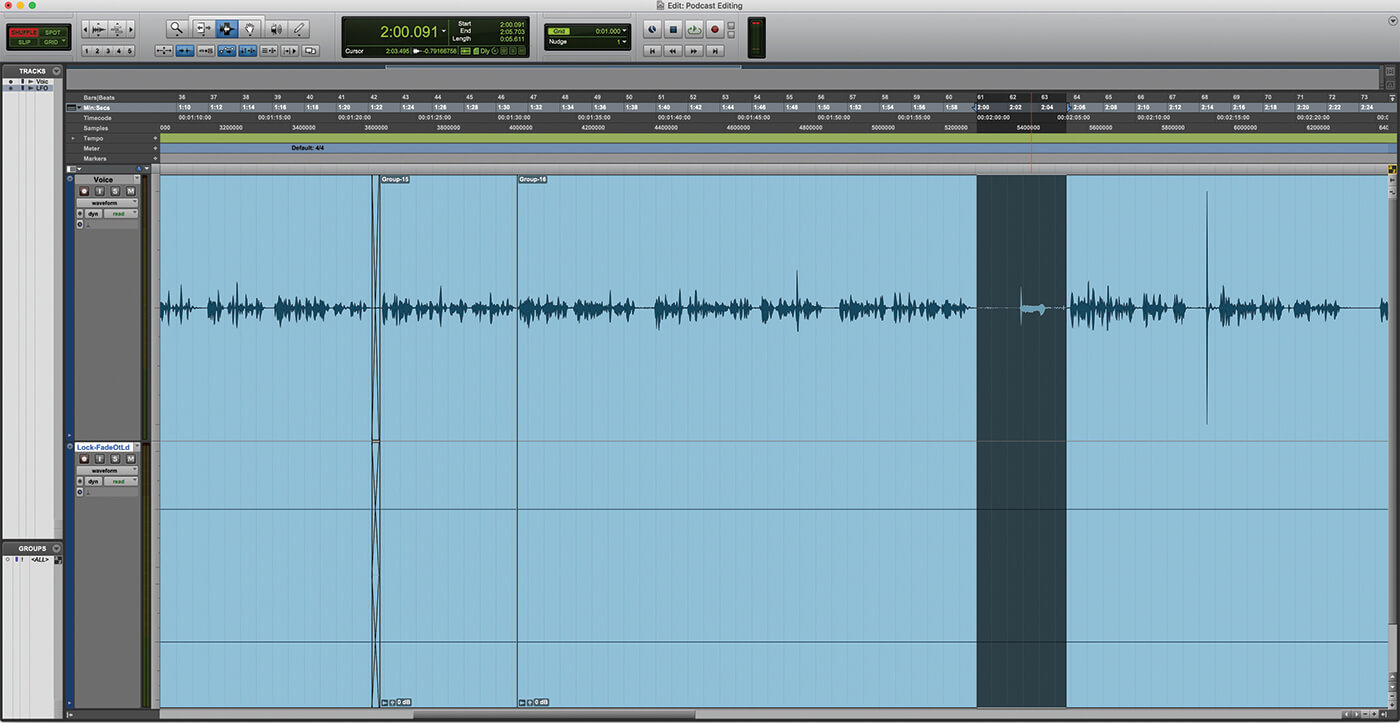
7. With a neat edit, it’s good practice to add a short crossfade. For easy edits, the crossfade can be placed over relative silence (room tone). Once you get further into editing, you may you need to fade between breaths, or words.
8. With the easy edits out of the way, it’s time to listen to the whole recording. Listen for extraneous noises which detract from the listening experience. An occasional “umm” isn’t that bad, but too many of them can become irritating.
9. Remove unwanted pauses or similar the same way as we did in steps 5-7, but be very careful with the fades so as to create the illusion that no edit has taken place.
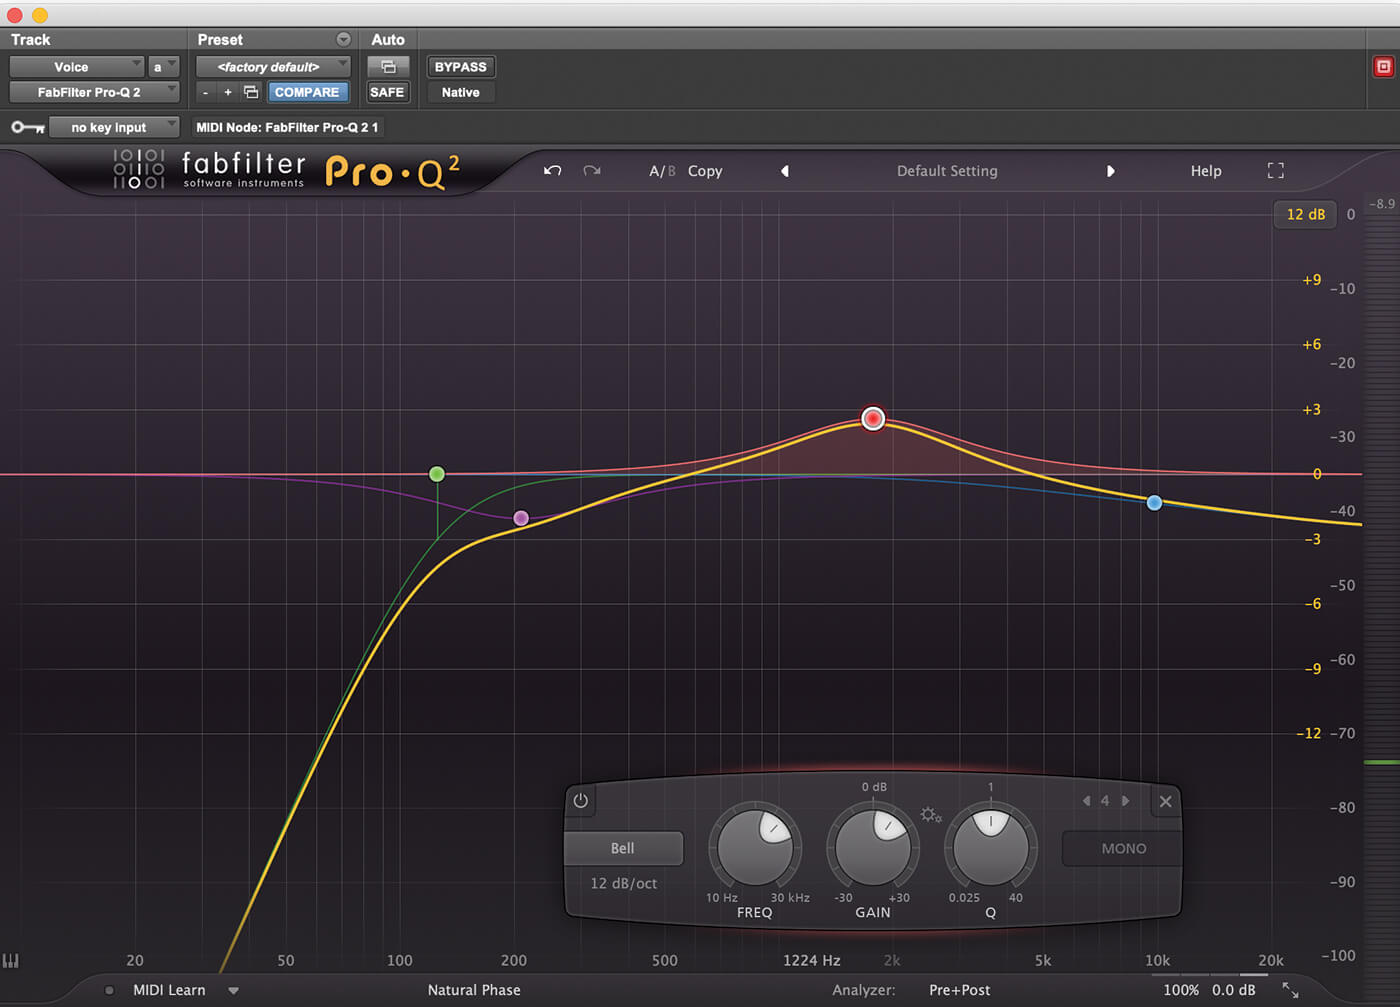
10. Once the audio is tidied up, it’s time to process the voice to make it more audible, especially in loud environments. We add an EQ with a high-pass filter engaged to tidy up the low end, and shape the EQ to enhance the audibility.
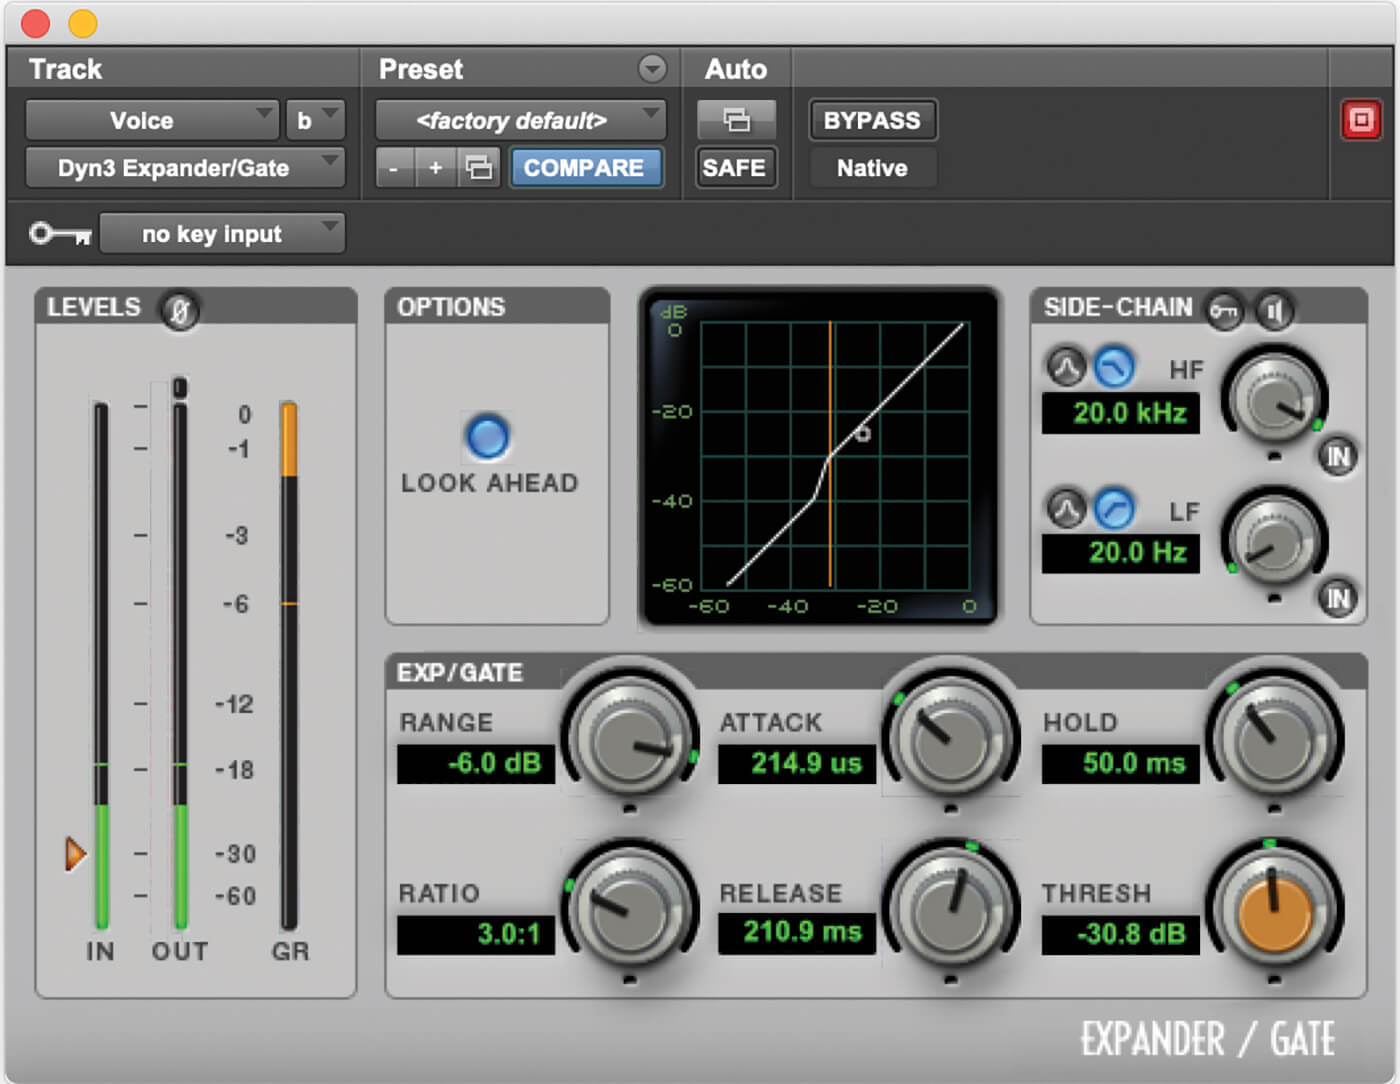
11. Next in our voice chain is a gate. Don’t hit this too hard, particularly with only one active mic, as room tone is important, but if we duck out some quieter breaths and noises, that will help to tidy it up before we bring up the overall level.
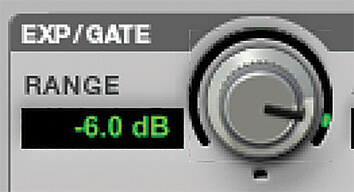
12. To achieve this, we’re going to set the threshold so it opens the gate for the spoken voice, but closes in the gaps, then reduce the range control to 6dB, to control the noise without overly suppressing it.
![]()
TEST THE RESULTS Remember that a podcast is potentially going to be heard through a wide variety of devices and in a range of different environments. Listen to your rough mix through as many different speakers, earphones, computer and car speakers and so on as you can, paying attention to any unclear words, sibilance or mismatched volume levels, then tweak your mix based on the results.
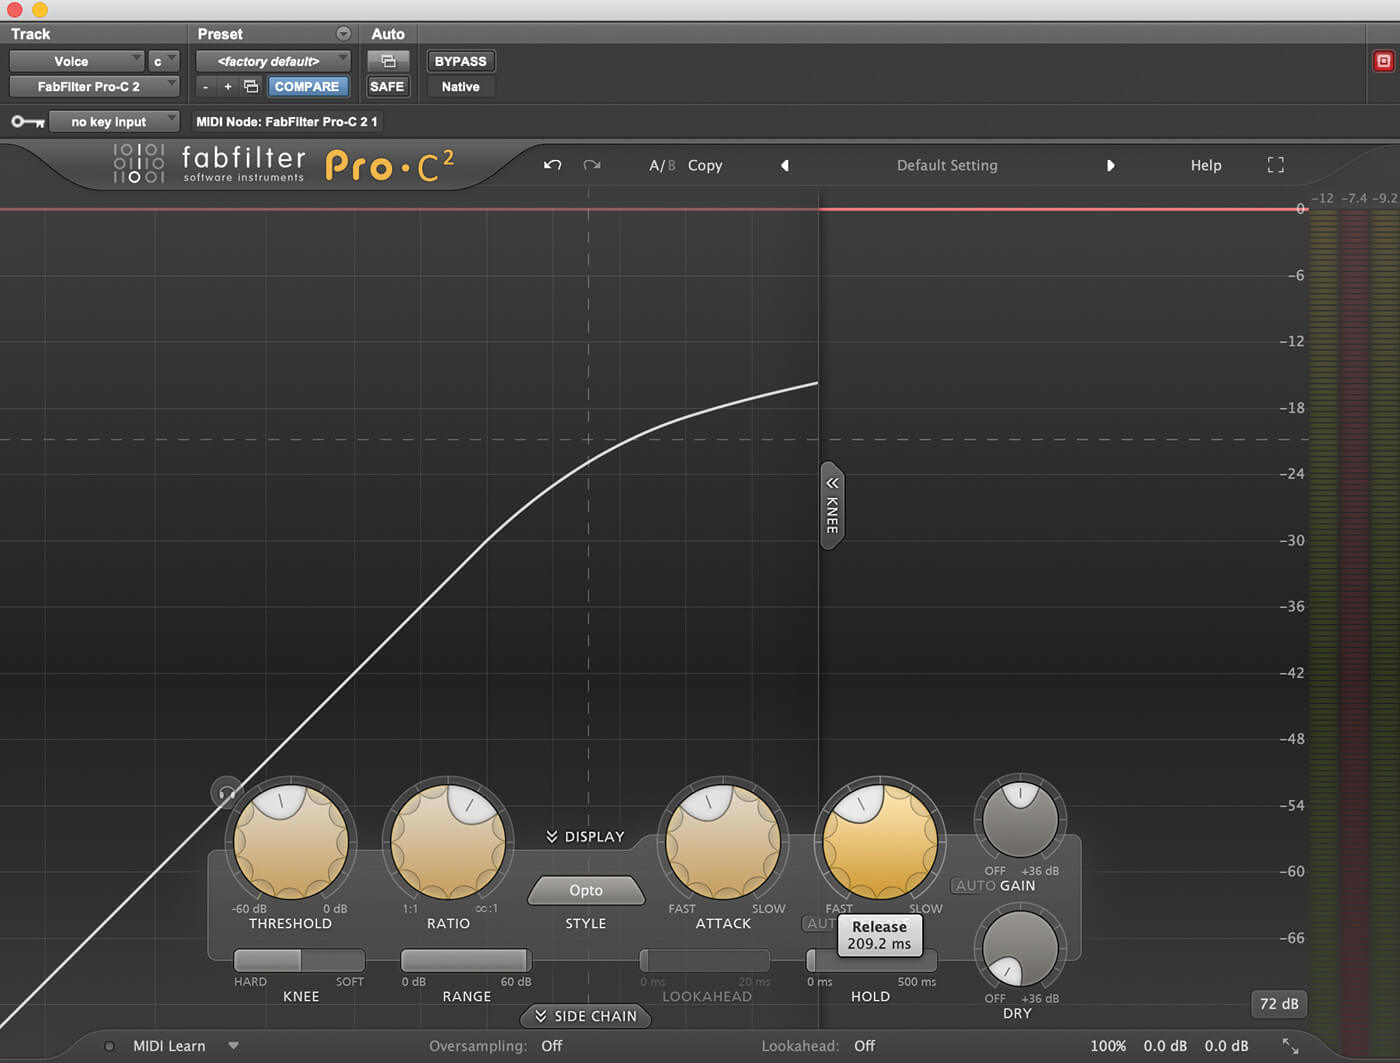
13. After our gate, we’re going to add a compressor to smooth out the peaks. We like to use an optical-style compressor for this task, but any digital compressor will work. Set a moderately fast attack and slow release.
14. We might add another EQ after our dynamics processors if we think the voice needs a little more work, or alternatively, we might go back and further process the EQ pre-dynamics.
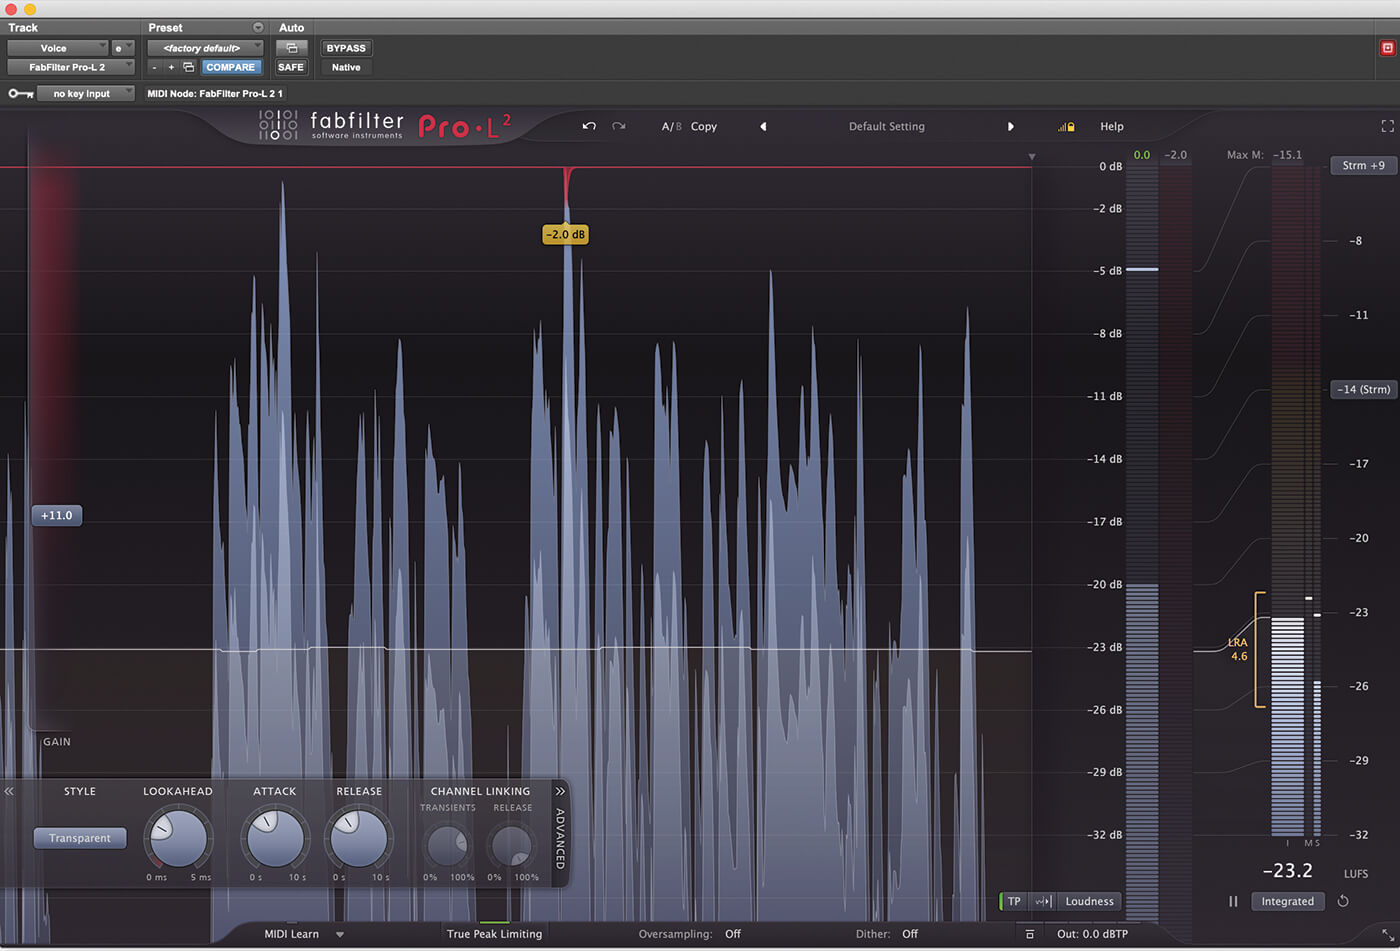
15. Finally, we’ll add a limiter to bring up the level. Many spoken-word podcasts have an integrated loudness around -20LUF. You can drag one of your favourites into another channel and match the loudness by ear.
16. Towards the end of this recording, we’ve added a short music excerpt on another channel. This also needs to be processed to make sure it sits comfortably alongside the voice recording.
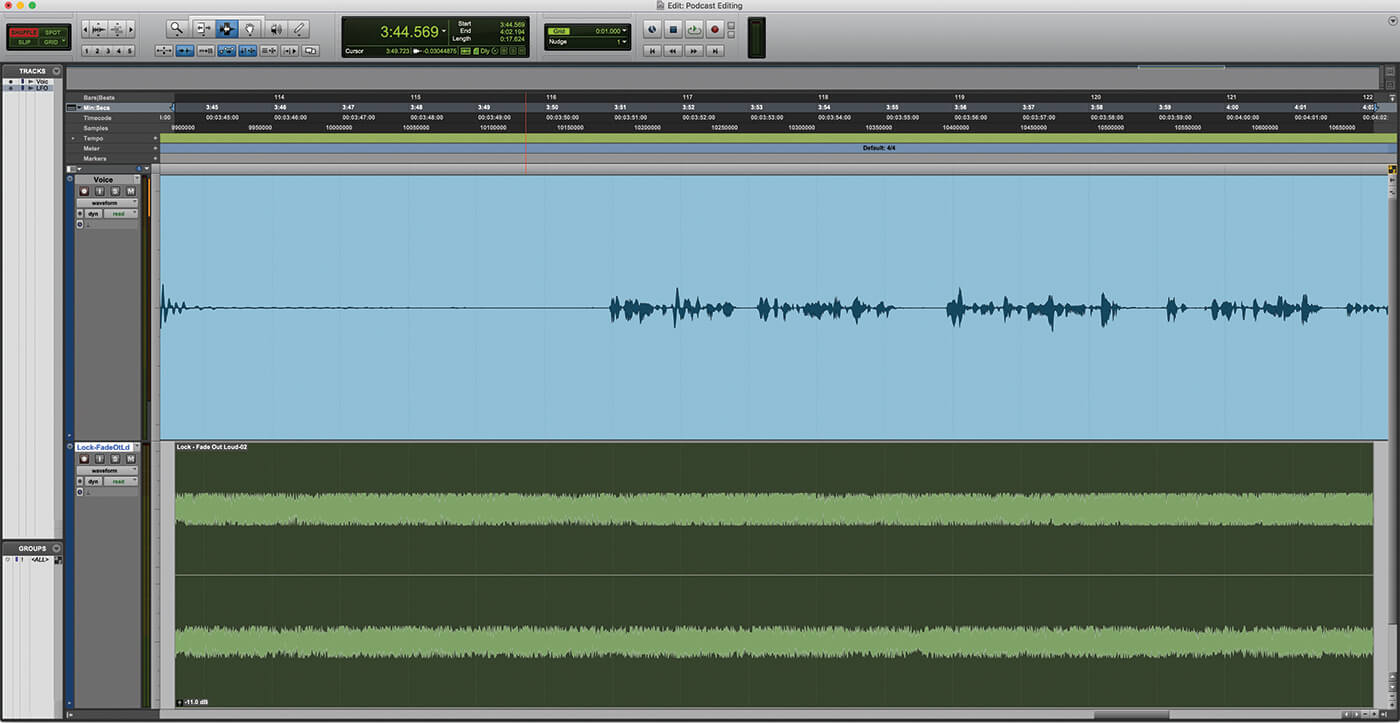
17. If you have multiple clips on the same channel, for instance recorded in from a DJ mixer, you’ll want to use clip gain to match the level of each clip individually. Use Ctrl+Alt+G (PC) or CMD+Alt+U (Mac) to ungroup the clips.

18. Finally, we’re ready to bounce. Pro Tools 2018 can export a full resolution WAV, but many podcast distributors will only accept mp3 files, so export the podcast as an MP3. If it’s voice-only, you can use quite low bit rates.