Recording, Editing and Mixing Vocals in Ableton Live – Part 2
Doing it in the studio is one thing, but it’s a different story migrating your produced voices to a live situation, Martin Delaney clears his throat… In the first part of our Live vocal tutorial, we discussed different ways to process and organise vocals in our studio productions. Now we’re talking about how to do […]
Doing it in the studio is one thing, but it’s a different story migrating your produced voices to a live situation, Martin Delaney clears his throat…
![Recording, Editing and Mixing Vocals in Ableton Live [Part 2]](https://musictech.com/wp-content/uploads/2018/08/Recording-Editing-and-Mixing-Vocals-Pt.2-Hero.jpg)
In the first part of our Live vocal tutorial, we discussed different ways to process and organise vocals in our studio productions. Now we’re talking about how to do it live – translating our vocals to the stage while keeping everything as interactive as possible.
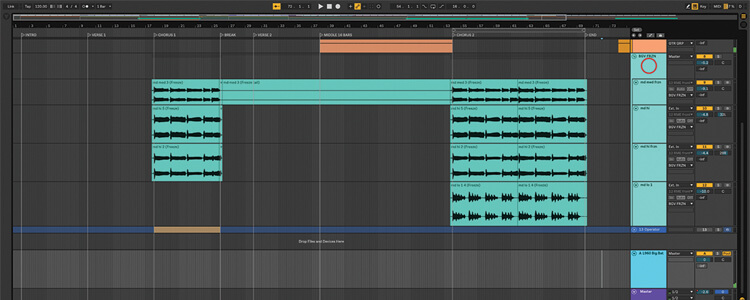
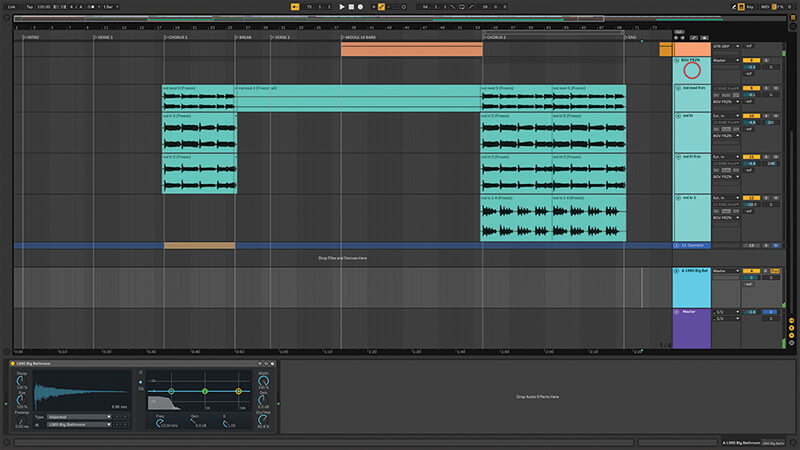
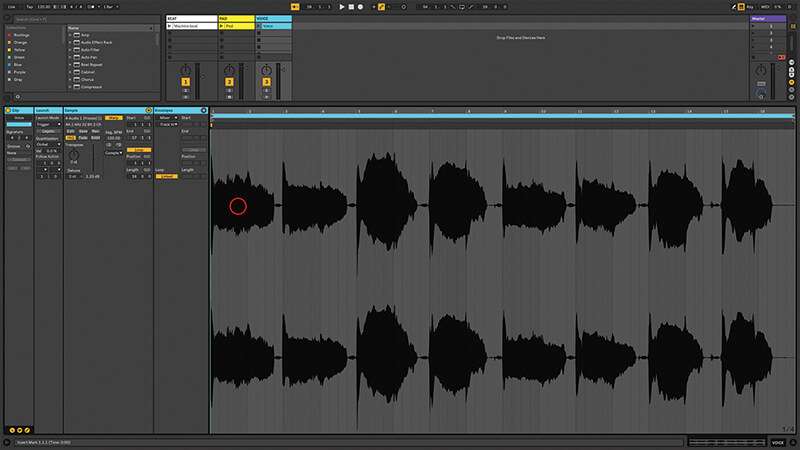
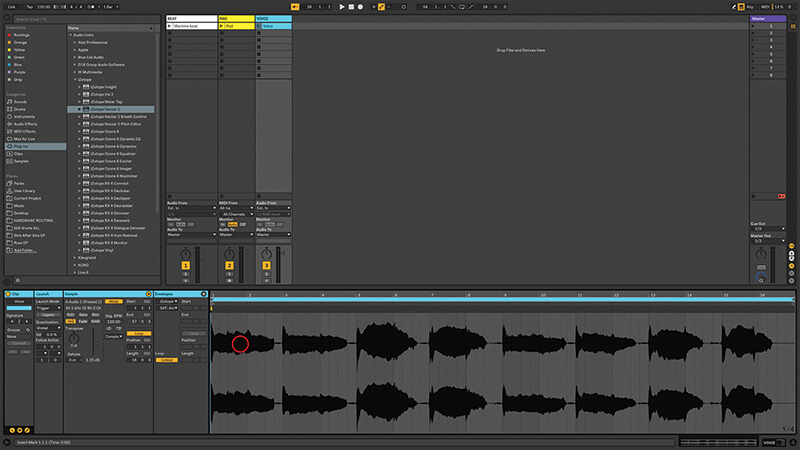
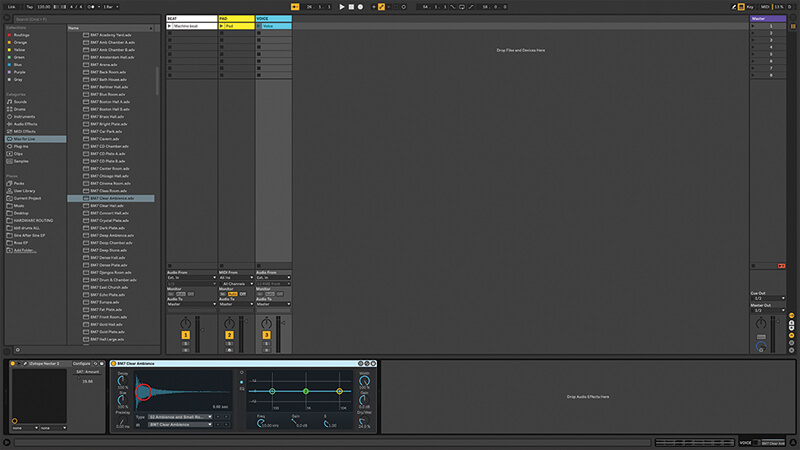
Our example Live set is called ‘live vocals example’, and contains a vocal track which is basically me going ‘oooh’ and ‘aaah’ (aren’t you lucky?). I’ve laid it out in Session View, because that’s where you’re more likely to be working for live performances.
Although some steps in our walk-through requires Live 10 and Nectar 2, both of these are available as demo versions for macOS and Windows, so we’re trying not to be too exclusive. In the walk-through I’ve used iZotope’s Nectar 2 as an example of an all-in-one vocal processor, and, truthfully, I don’t think there’s anything else as fully-featured out there.
Beyond the harmony solutions, you can use any audio effect that you think is cool, naturally, and there are other handy vocal-related plug-ins around, such as Waves Vocal Rider (one of my favourite plug-ins), Waves Tune, and, of course, the classic Antares AutoTune. Nectar’s controls aren’t automatically recognised by Push, but you can use cmd-g to rack Nectar, then assign macros to your most-used controls. If Push is located in a workable position, it’s possible to sing and engage the audience while tweaking presets at the same time!
Living in harmony
A harmony effect can only do that – generate harmonies. If your studio tracks have more evolved vocal parts with different phrases and different sounds, you’ll have to think about mixing in some pre-recorded parts, or else just accept that it’s live and won’t be the same as the studio creation. How you choose your harmonies is up to you; Nectar’s harmon controls allow you to set a root note and scale if you want, otherwise leave it on Chromatic.
If in doubt, just look at the chords you’ve used in your song and base the relationships on the intervals in the chord. Thanks to our old friend MIDI automation, these can change if/when the chords in the song progress.
With any harmoniser, when you wander too far from the original pitch, things can get a little weird and unnatural sounding. But even these sounds can be useful, either in an overt sound effect kind of way, or buried lower in the mix and filling out the more natural tones.
Break the chain
Real-time vocal processing results in more arranged and produced sounding vocals in a live situation without relying on outside gear or people to get it done. You might know Nectar as a harmoniser, but it contains the entire vocal chain, from gate, to pitch correction, to delay and reverb. Instant recall for your entire chain, and MIDI controllable too.
As with any live feed through audio software, there is a risk of latency, but Live has tools to help you deal with that – via the Preferences/Latency section. Latency can usually be dealt with via adjusting buffer size (lower numbers = shorter latency). You might need to read up on plug-in delay compensation, as well.
While testing any live set-up, use exactly the same computer and hardware that you’ll be using for your performance, then lock everything down and don’t change it!
Simpler minds
There are other ways to handle vocals live, beyond using harmony plug-ins. You could use a sample-based solution – a hybrid of fixed backing tracks and live spontaneity. Live’s Simpler instrument is perfect for this.
You can trigger entire warped backing tracks from a keyboard or Push, or work at a more detailed level by sampling vocal tones (more ‘oohs’ and ‘aahs’) into different Simplers and putting them in an instrument rack, triggering them from a keyboard like any software instrument. These samples can be looped if necessary, for longer sustained parts.
The rack format allows mixing between the different parts and processing them as a group, and once they’re housed in Simpler, it’s also possible to introduce MIDI effects.
Nothing can touch Ableton Live really as far as performance software goes, and that’s especially true for vocals. Vocals have some specific requirements though that we hope will be catered for even more as version 10 develops.
Recording, Editing and Mixing Vocals – Taking it to the stage: step-by-step
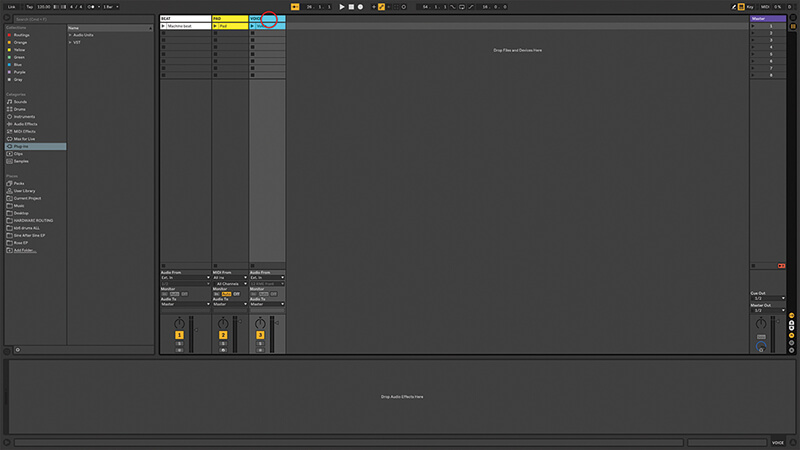
1. We’ve provided an example Live set – ‘live vocals example’; use the Live 10 demo if you haven’t got it already (www.ableton.com), and the iZotope Nectar demo (www.izotope.com) will come in handy too.
2. Go back and read part one of our vocal tutorial for tips on how to process recorded vocals. Here it’s all about performance, and iZotope’s Nectar plug-in is a fantastic all-in-one solution.
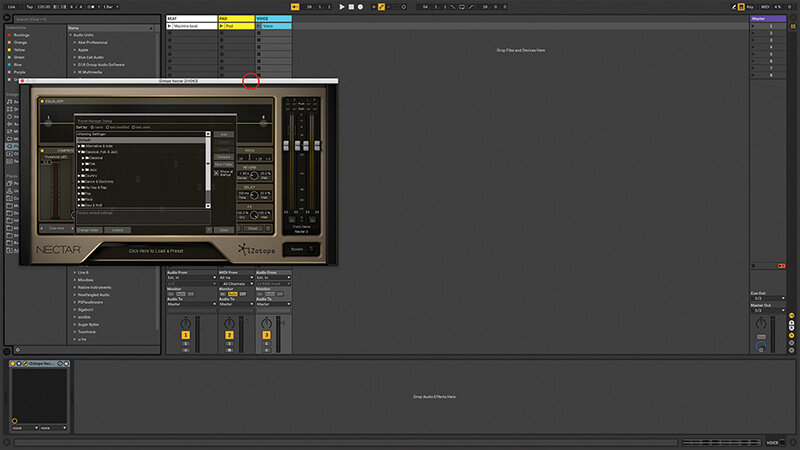
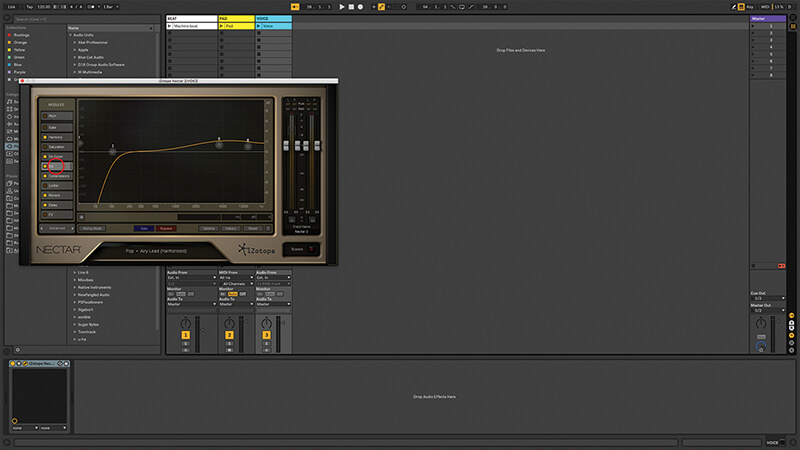
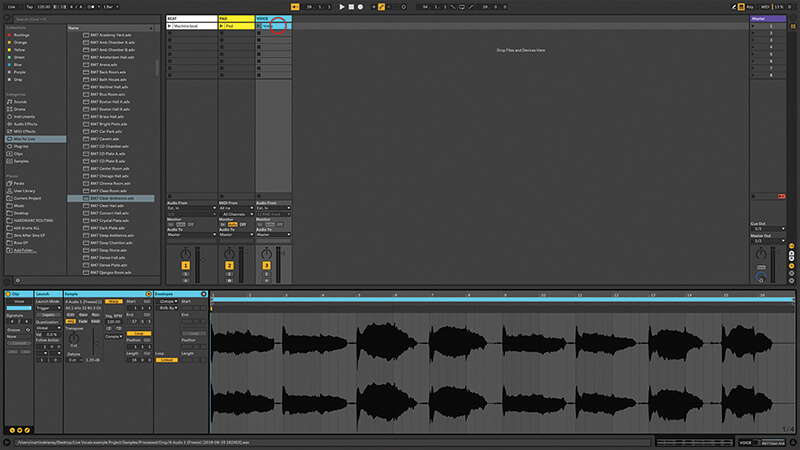
3. Install the Nectar demo if you don’t have it already, and add it to our example Live project – drag it to the audio track called Voice. We have a bit of pre-recorded vocal in there.
4. You can experiment with that clip, or connect an interface and microphone and do it yourself live, as nature intended! Sometimes a looping clip is a bit easier to work with while you’re experimenting with sound design.
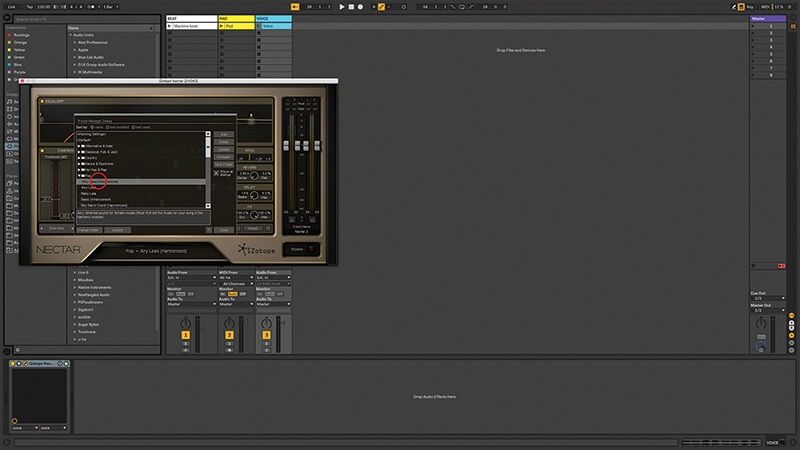
5. Load the Nectar preset called ‘Airy Lead (harmonised)’. This is a good example of what’s possible with this plug-in. The great thing about using something like this is that you’re not restricted to backing tracks.
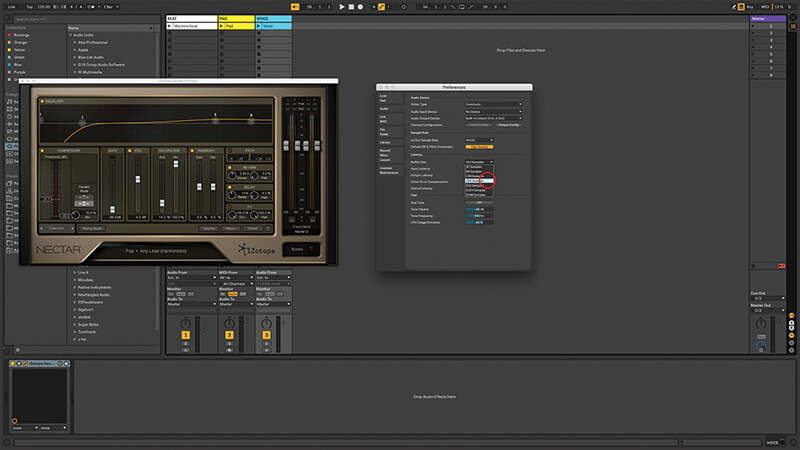
6. You might have to make adjustments for latency as you monitor your live vocals through Nectar, but it should be possible to get a very low latency set-up depending on your soundcard and computer.

Helping hand You can offload some of the vocal processing work to a hardware device if it makes you feel more secure. I’ve seen totally functional set-ups where it’s all done in software, and others where it’s all happening in hardware; it’s about personal preference.
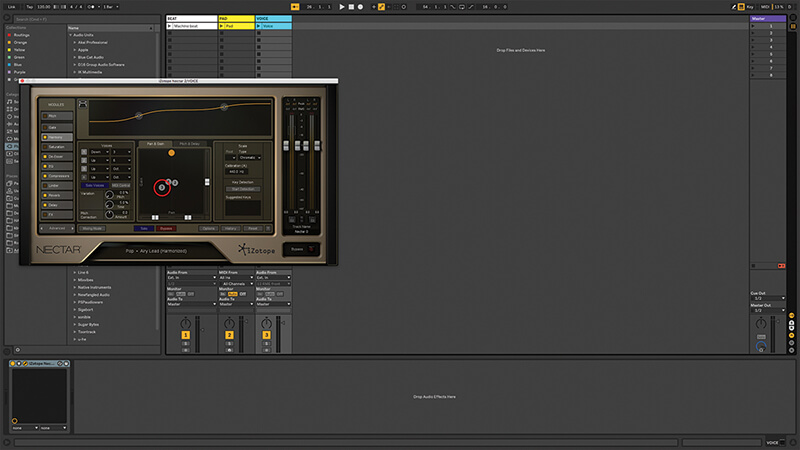
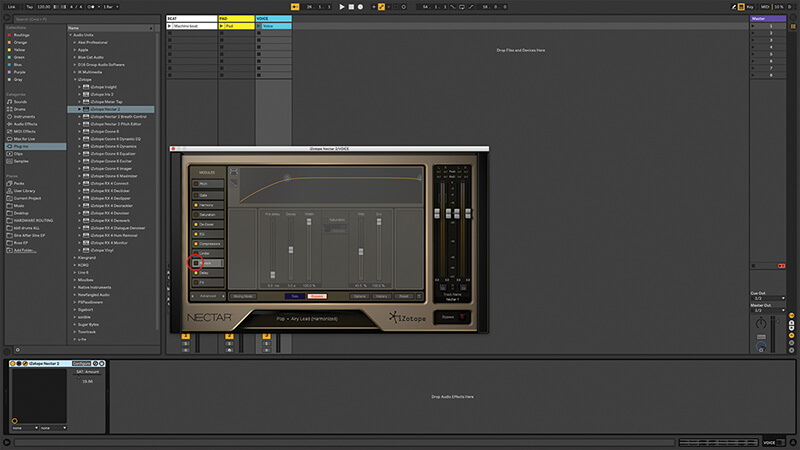
7. Edit the harmonies inside the Nectar preset – turn on voice 3 and change it to Up/Oct (+1 octave), and raise its gain so you can hear that high voice come in.
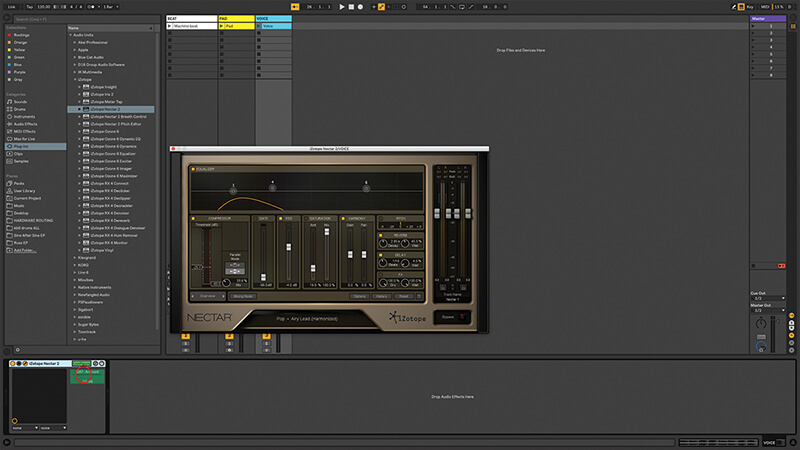
8. Even if you disable the Harmony section in Nectar, you’ll hear other effects in action – that preset also includes De-Esser, EQ, Compressor, Reverb, and Delay.
9. Nectar works great with Ableton Push, although you’ll need to rack it and use macros to create shortcuts to your personal most-used controls for performance situations.
10. The only downside with using harmonisers is that you don’t get the variations in “oohs” and “aaahs”, and different words that you can stack up to great effect in the studio.
11. Even if you’re using a plug-in like Nectar, you could choose to deactivate some of the built-in effects and use Live’s own solutions for reverb etc, if you prefer them.
12. For example, Max For Live’s Convolution Reverb has some fantastic sounds. It’s your call whether you think the better sounds makes enough difference live to be worth the potential extra CPU load.
Stomp Vox TC Helicon’s voicelive 2 is a tool I see on a lot of stages. It generates harmonies, as well as providing tuning, reverb, eq, compression, and gating under MIDI control, and in a stompbox format. If your computer’s struggling under the load, this is the way to go.
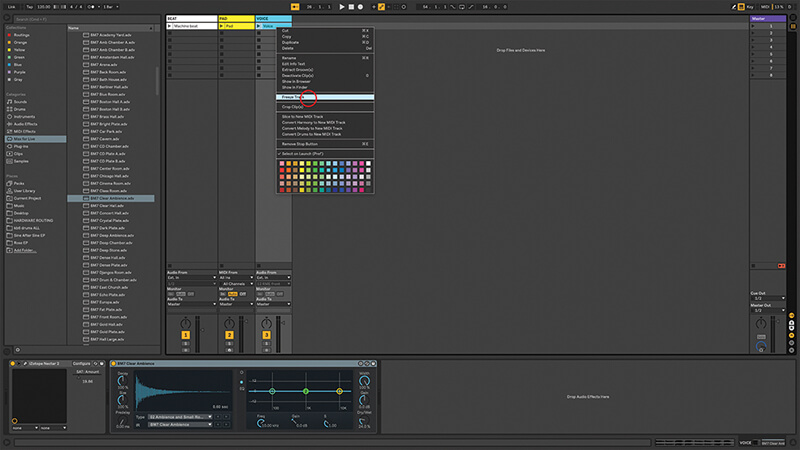
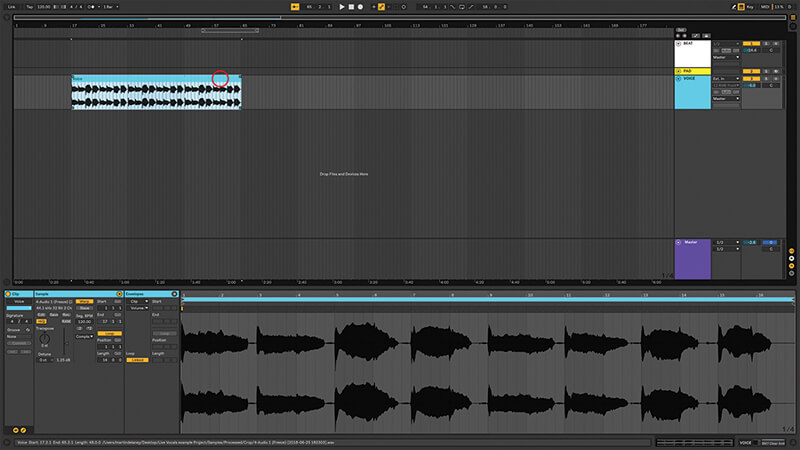
13. You could include the recorded BGVs from your studio project, if you’re happy with that ‘backing track’ feel. You might want to freeze and flatten to embed any CPU hungry effects that were on them.
14. There’s no reason why you couldn’t combine approaches and have some samples playing extra vocals as you sing live on top. I know audiences like to see and hear that you’re doing as much as possible live.
15. There are the usual Ableton-based choices to make about how to present your music live – Arrangement or Session View, or both, being the main decision. But it depends on your material and how you want to interact with it.
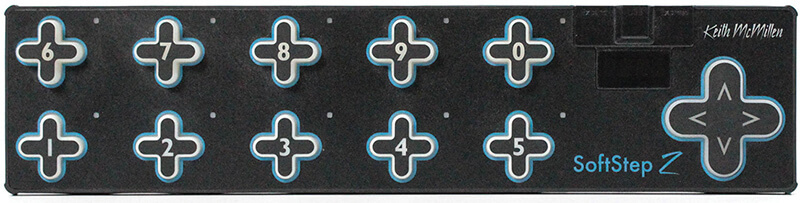
16. If you’re holding a mic or playing an instrument, you could think about using a MIDI foot controller to operate your vocal effects. The Keith McMillen Softstep is probably the most popular example these days.
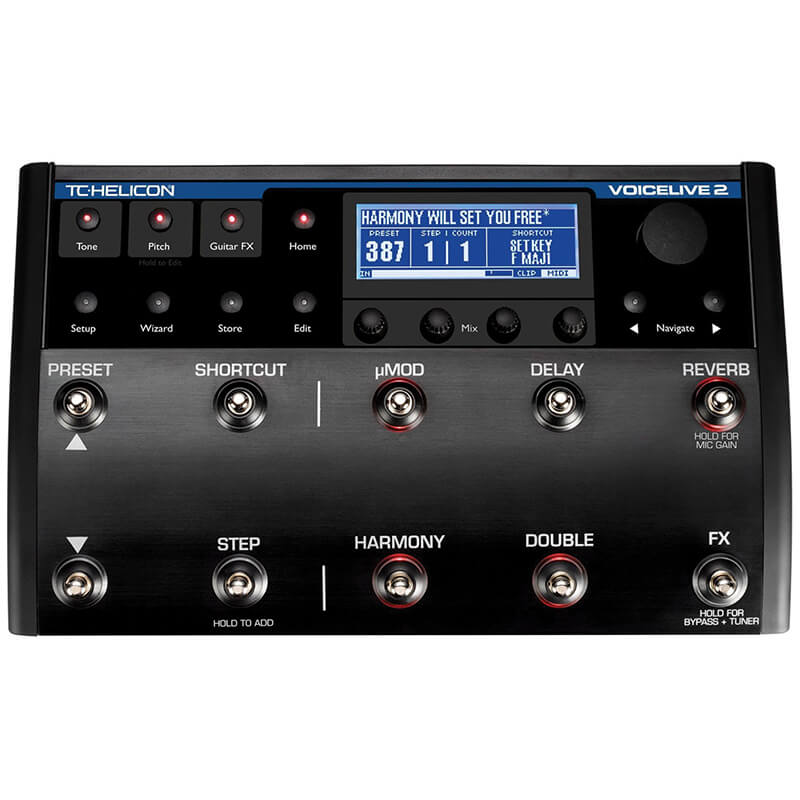
17. With a hardware processor, like VoiceLive, you can control it from Live by sending MIDI messages, so it’ll always load the right presets and change the correct parameters, even if you go off-road during your set.
18. A quick mention of Live’s Looper audio effect, which is designed, as you can tell from the name, for live looping and beatboxing. With practise and a suitable MIDI controller, it’s a great tool for that job.