Recording, Editing and Mixing Vocals in Ableton Live 10
You might not think it, but Live works brilliantly for recording, processing, and organising vocals, including harmonies, which is what we’re mostly talking about here. Martin Delaney explains… Usually when people talk about recording vocals in Live, they focus on warping (time stretching), which is undeniably a big part of what Live’s about. But let’s […]
You might not think it, but Live works brilliantly for recording, processing, and organising vocals, including harmonies, which is what we’re mostly talking about here. Martin Delaney explains…
Usually when people talk about recording vocals in Live, they focus on warping (time stretching), which is undeniably a big part of what Live’s about. But let’s talk about some other aspects of working with vocals, including recording, editing, processing, organising harmonies – and when not to warp vocals at all.
You might not appreciate being nagged about following basic recording techniques, but it’s arguably more important with vocals than any other source. It doesn’t have to be expensive, but a reasonable microphone and soundcard and a quiet room, will make all the difference.
If you want a clean starting point you need a suitable mic and interface. When recording layers of vocals, everything else piles up as well – noise, distortion, headphone bleed, room sound, frequencies that are common across all the tracks – you’ve got to be careful otherwise it’ll end up a smeary mess.
Recording vocals
Live has great onboard EQs, reverbs, compressors and so on, but one thing it doesn’t have yet is any kind of pitch correction device. For now you can use third party plug-ins like Antares Auto Tune or Waves Tune to fix wobbly vocals.
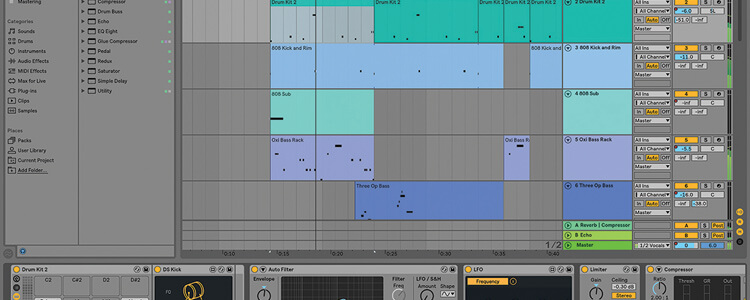
I try to avoid using pitch correction for a single lead, but it’s very useful for keeping a group of four or more backing vocals in line. For vocal recording, it makes sense to use Live’s Arrangement View rather than Session View; it’s helpful to see the vocals take their place in the structure as you record. In Preferences, turn off Auto-Warp Long Samples, and unwarp any clips that have been warped automatically.
In the walkthrough I mention how you can add reverb while recording: personally I prefer to hear the voice dry while tracking and I think it helps my timing as well, but it’s down to preference so do it the way that feels best for you.
Cropping clips is a fast way to shed material at either end of your take. If there are noises or breaths in-between phrases, you can either slice them out, or add clip envelopes to mute those parts (although you’ll need to be working with a warped clip to use envelopes). Live’s Gate effect can help with these issues, but if you’re not careful it can affect the tails of your words.
Some device automation may be required to get the best out of Gate on a full audio track. I always EQ vocal tracks, mainly to thin out lower frequencies. There’s no hard and fast rules, it depends on the nature of the recording – for me it’s mostly about managing the overall bass frequencies.
With harmony vocals you should EQ each voice separately, it’ll help them lock together. I’ve been working on an EP recently which has guitar and vocals but no bass guitar, so it was quite liberating and flexible as far as EQ went.
I add Waves Vocal Rider plug-in to every voice track I record: it reduces the distance between the loudest and quietest parts of the vocal without acting like a compressor, and without requiring automation. It’s a big step towards making your vocal sound more balanced and finished.
Call your friends
Backing vocals sound better with a combination of voices; get a friend to contribute, if possible. Otherwise – or as well as – copy the track and transpose the clip as you prefer, then bury that in the mix with your other vocal tracks.
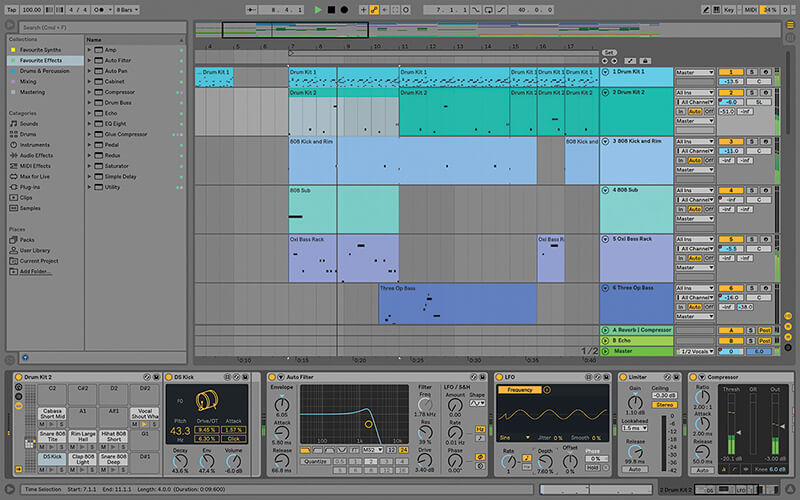
Group tracks in general are key to my personal mixing routines; they’re very convenient for processing and mixing, not least because you get one-finger control of the overall level, against the rest of the mix. On a grouped vocal track I typically have Limiter, EQ Eight and Convolution Reverb. That last step about panning each one is important too: it sounds more natural, but also more expansive and better defined; it’s easier to make each one audible without overcooking the levels.
It’s true that in some ways, Live isn’t a hardcore DAW when it comes to recording vocals. Critically, it lacks the ability to smoothly comp different vocal takes, for one thing. However, it does offer a fast and creative set of options, and it does of course rule the roost when it comes to presenting those vocals in a live format. It’s also very easy to move a Live Arrangement to a performance ready layout.
Come back next issue for the second part of the tutorial, where we’ll talk about how Live can help you get your project, with vocals ready, interactive and sounding good for your next gig.
It’s not just about warping! Recording, editing and mixing vocals: step-by-step
1. For this tutorial I’m using Live 10, but most of the content also applies to Live 9 as well. If you haven’t tried Live 10 yet, you can download the demo from www.ableton.com.
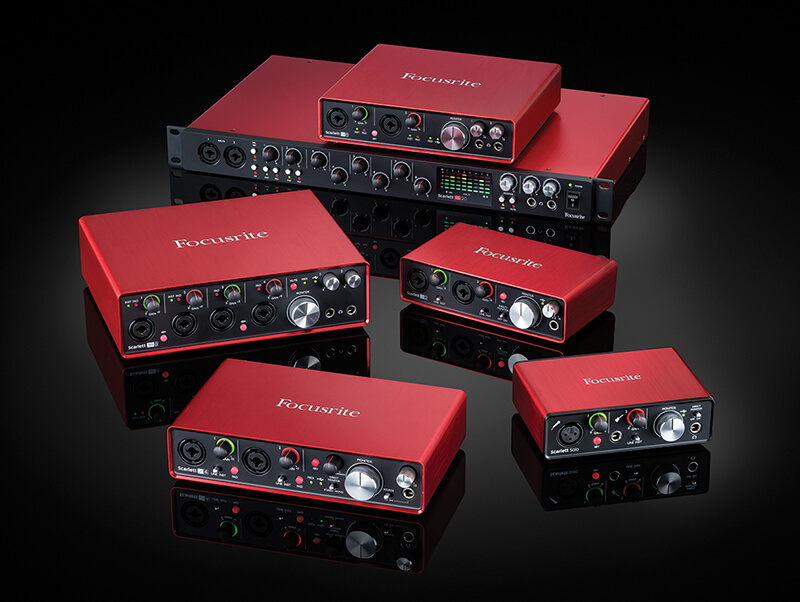
2. Configure your soundcard and microphone as usual. A noise-free setup is critical if you’re stacking up vocal tracks. Having said that, I have been known to do vocals into a MacBook’s built-in mic!
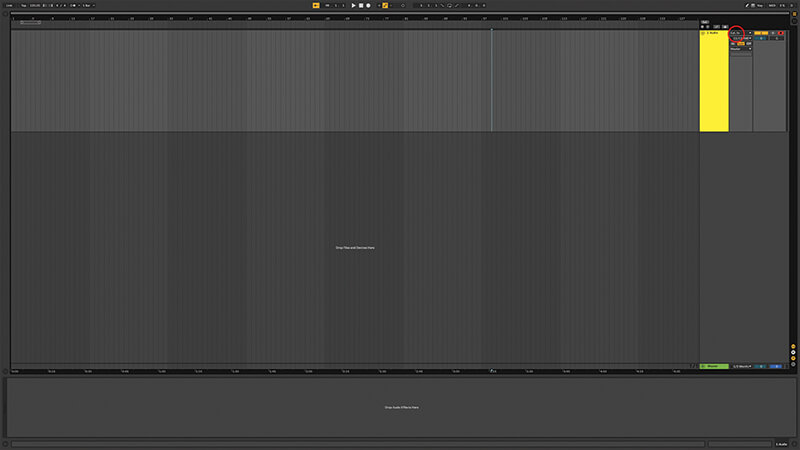
3. Create and arm an audio track, selecting your chosen input source. Watch your levels! You MUST NOT be peaking into the red! Watch your headphone volume too – too high and it’ll bleed back into the mic.

Yes, you can do vocals You might not think it, but Live works brilliantly for recording, processing and organising vocals, including harmonies, which is what we’re mostly talking about here in this tutorial. It may not be as fully-featured in this regard as some, but it’s still very capable.

4. You can record into Session or Arrangement View, whatever works for your project. I go straight into Arrangement View when I’m recording long takes – like vocals or guitar for a full song.
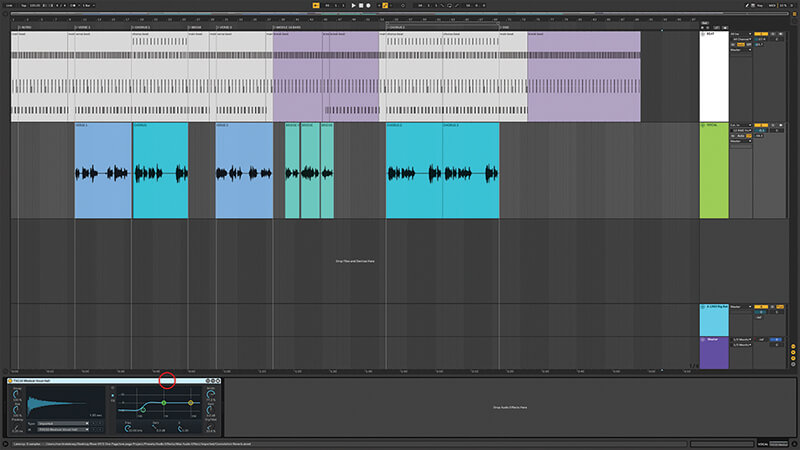
5. If it makes you feel less exposed while recording, put a reverb effect on the audio track. Live won’t print the reverb to disk, so you’re still free to remove or replace it afterwards.
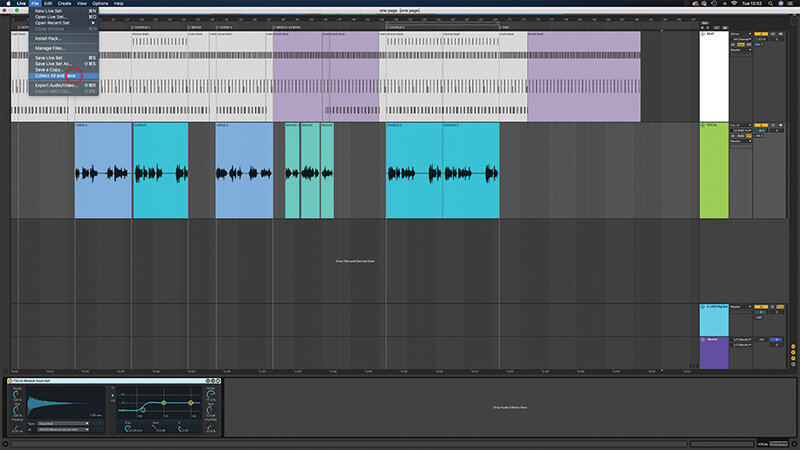
6. When recording’s finished, hit ‘save’ immediately. Of course, you don’t want any accidents to lose that good take. Bad things happen to good computers, etc. You might do Collect All and Save periodically, as well.