Songwriting 2016: Making Melodies – Step-by-Step
In this step-by-step guide Andy Price guides you through just one method of generating melodies using Cubase (though the principle are generally applicable to any DAW) 1: It stands to reason that your song’s top-line melody should live somewhere central in the structure of your song. In this step-by- step, we’re going to talk you […]
In this step-by-step guide Andy Price guides you through just one method of generating melodies using Cubase (though the principle are generally applicable to any DAW)
1: It stands to reason that your song’s top-line melody should live somewhere central in the structure of your song. In this step-by- step, we’re going to talk you through a method of building your top-line using Cubase 8.5 (though the principles are applicable to any DAW).
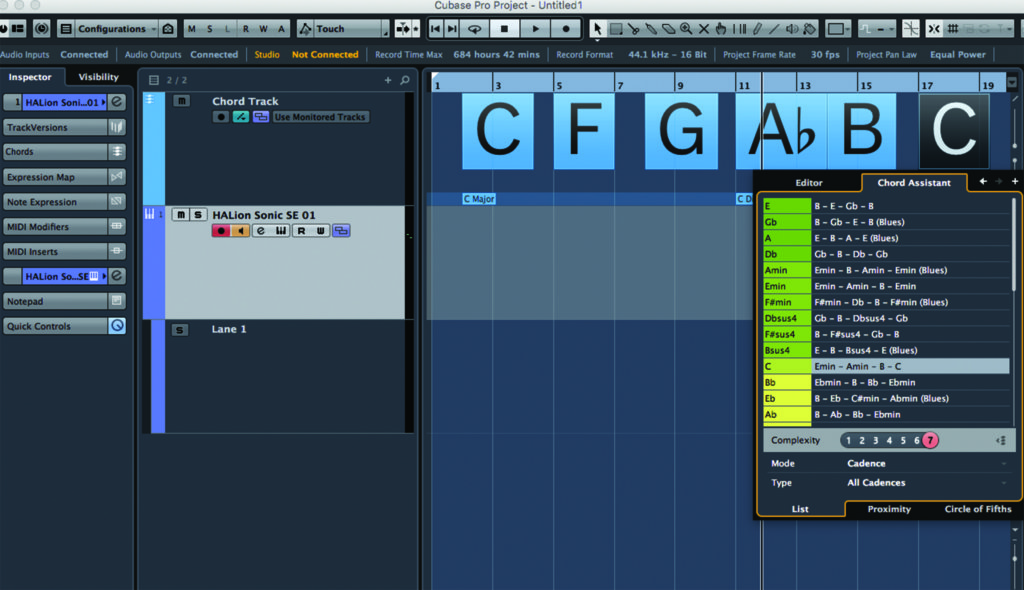
2: The first thing to do is to generate a chord structure over which you’re going to compose melody ideas. Last time, we showed you how Cubase has the tools to help you do this (Chord Track). Most other DAWs have similar functionality. It has to be hearable (and loopable!)
3: You may want to create your melodies first, without being constrained by a chord – this is all totally fine and all you’ll need is your instrument (or whatever virtual instrument you favour). We assume (and in many ways, recommend) that you at least have a few chordal ideas to start with and have recorded them in Cubase.
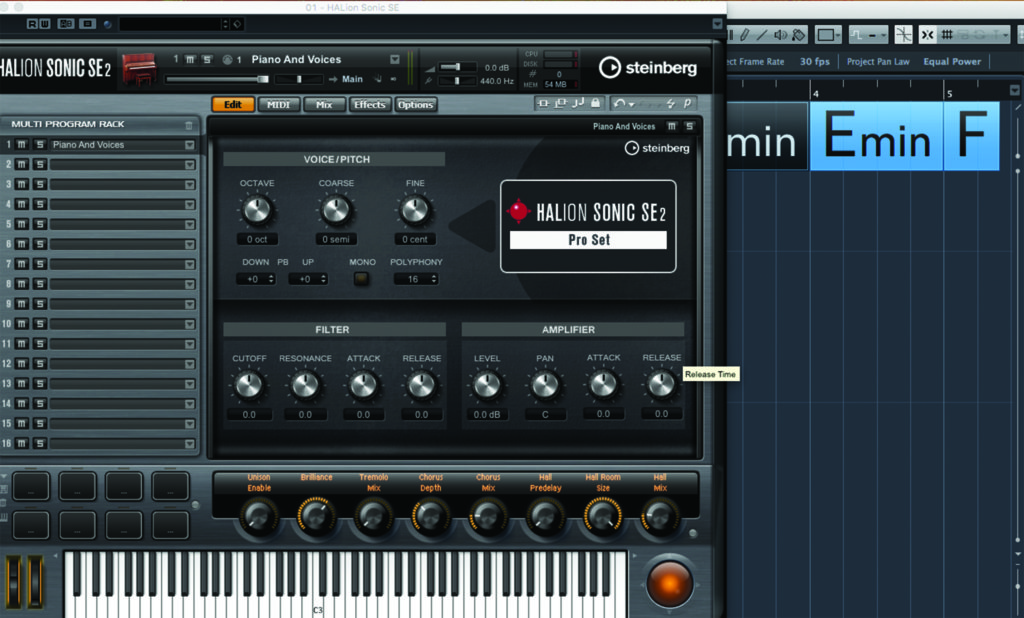
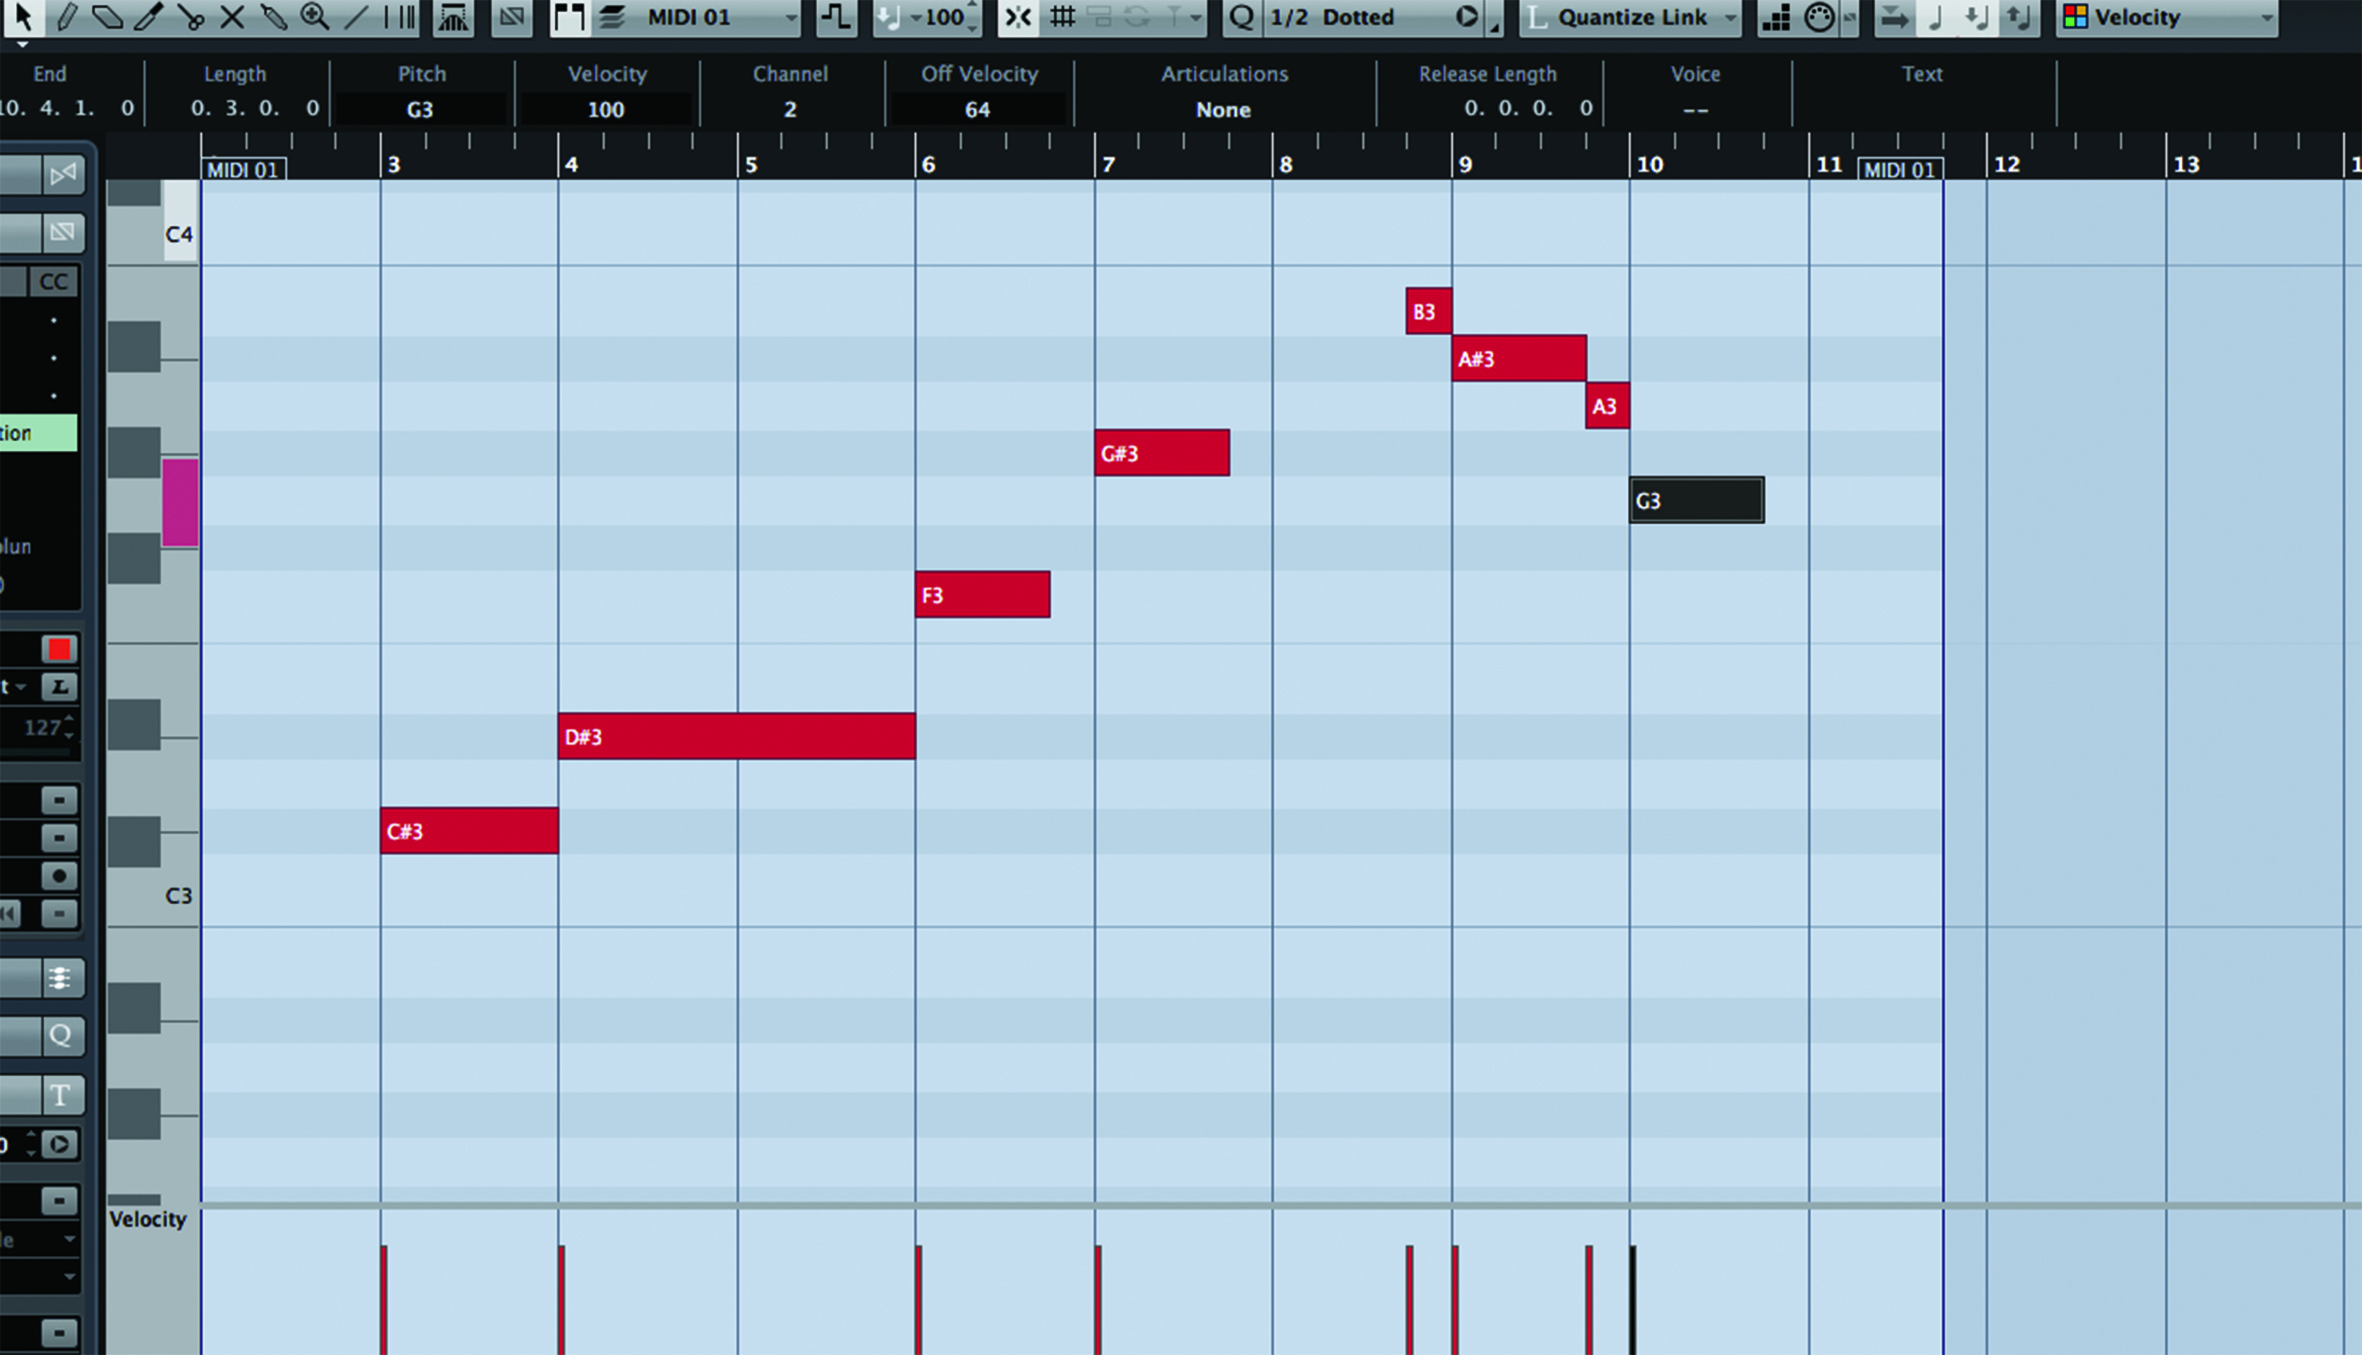
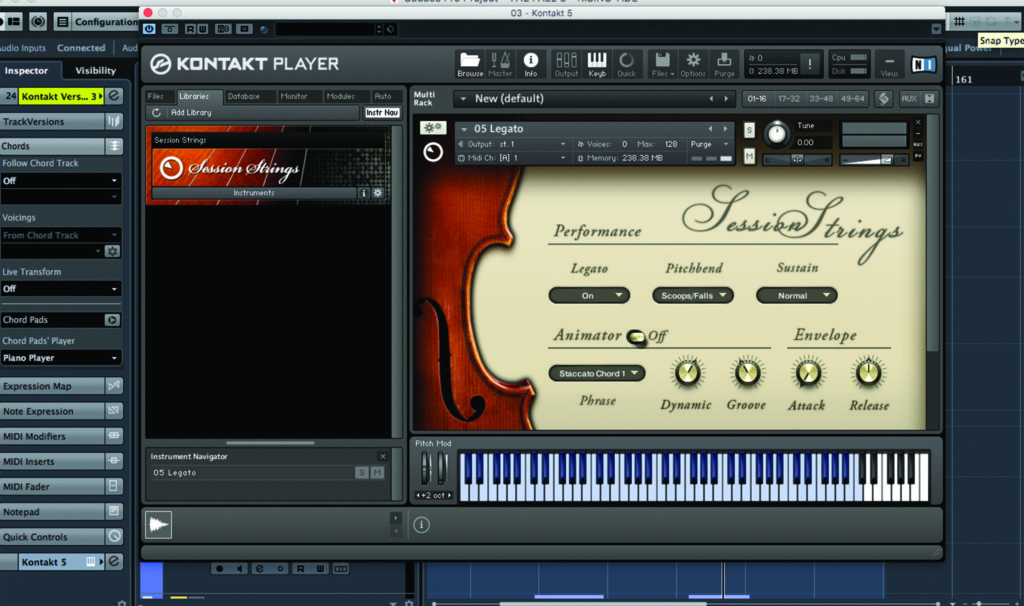
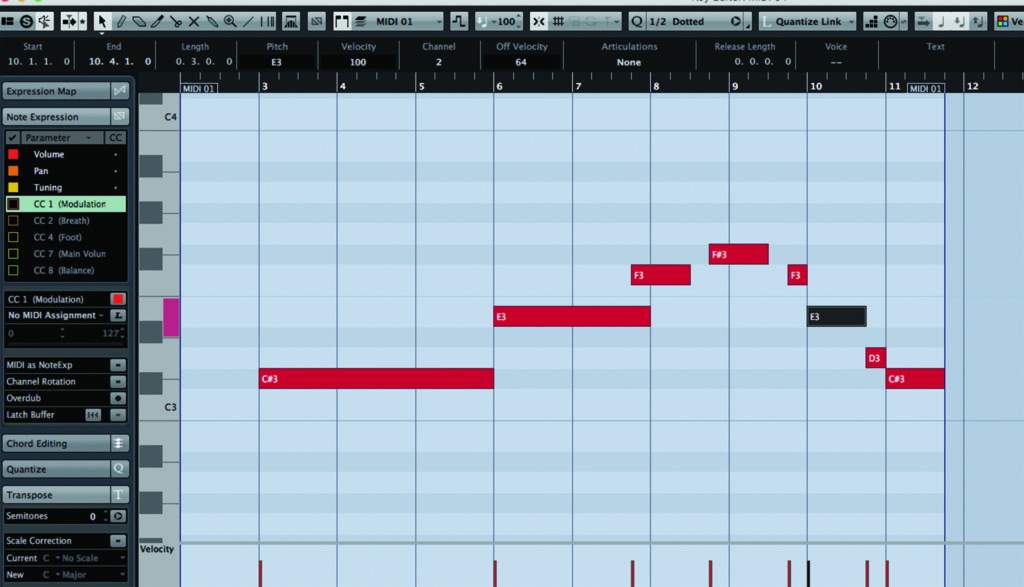
4: Begin by opening whatever instrument sound you want to create your melody with, take the root note of the first chord and move between the three notes of the triad, creating a simple ascending melody. As the chord sequence loops, do the same with each alternate chord, but descend on every second chord.
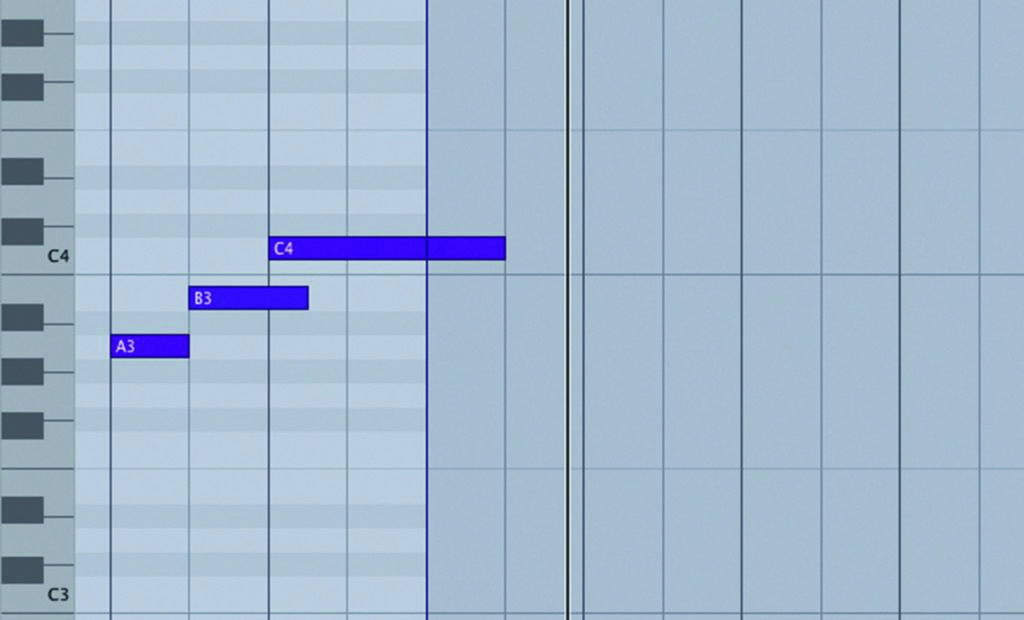
5: You’ll now have a very basic, very boring, melody, but in playing through these root notes you’ve given yourself the touchpoints that you need to hit as your melody grows – these core notes represent the pillars of your melody. Building to and from them in an aurally satisfying way is the real trick.
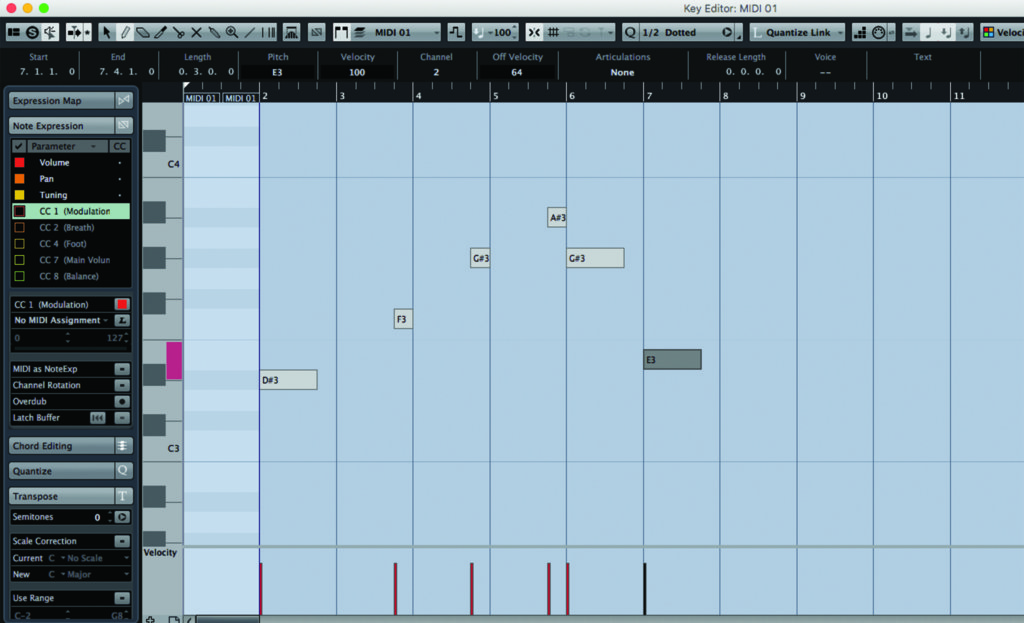
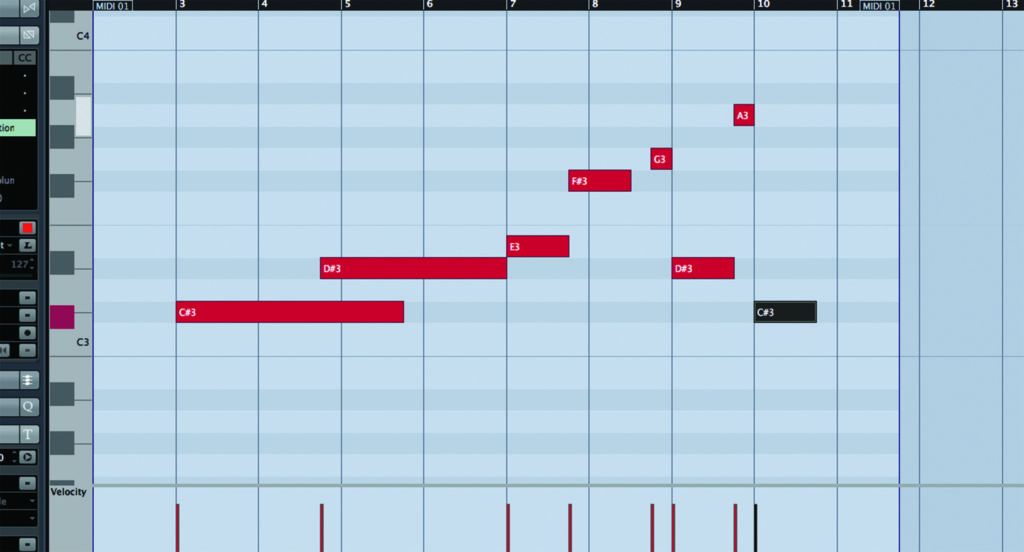
6: Using the MIDI editor, you can now go into your MIDI information and move some of the notes around while keeping at least one, (preferably the tonic note of your chord) in place – this is where you start hearing the potential and possibility of what could well be your top-line melody.
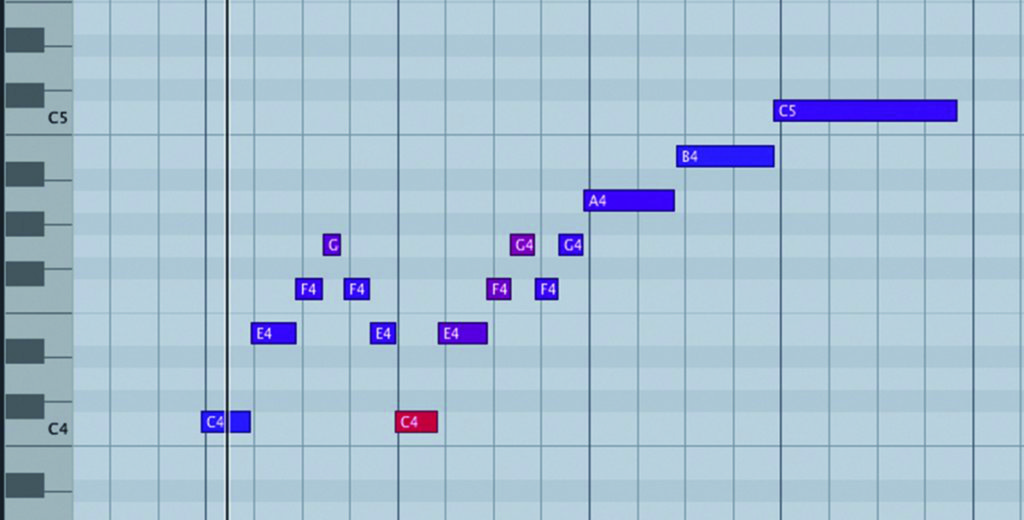
7: To make your top-line the strongest it can be, it should really sit in the song’s chorus, which in general should be at a higher pitch than the previous section of the song – whether that’s a verse or a pre-chorus. Aurally, this lift in pitch acts as a signal to the listener that this is the nucleus of the song.
8: With this in mind, think about the octaves of your melody – it should represent the ‘peak’ of the song and contain a primary hook (usually exemplified by a smaller and quicker transition between notes during the top-line). Experiment with quick ascents and descents through one or more of the root notes of one of the chords.

9: The highest note that your top-line reaches generally should be descended from gradually. This usually sounds more organic than swooping back down to a lower octave, though the swooping-up-and-down-through-octaves technique can (and has) been used to great effect in many songs. If you don’t know what you’re doing, however, it can sound bizarre.
10: Think about the number of intervals in your melody. Often, if you have too many intervals (notes), then the resulting effect can be sonically confusing. Keep things as simple as possible by limiting yourself to only a few intervals – often a simpler melody is more contagious and easier to recognise when a listener hears the song for a second time.

11: Applying the above tips should yield you at least the rudiments of a good top-line melody. However, sometimes it’s better to move away from your computer and your MIDI interface if you’re just not quite getting that perfect combination of notes. It helps sometimes to feel your way through a melody with a live instrument (but remember to record what you do)!
12: Once you’re happy with your top-line melody, then you need to look at the rest of the song, study each part (verse, bridge) and see how their respective melodies relate to your top-line. In many cases, it’s good if they aren’t that similar – the top-line should be the most exciting, standout hook of your song.
