50 Ways To Supercharge Your Sound – Tips 41 – 50
In the final ten tips to make your music sound the best it possibly can Hollin Jones explores the final stages of music production, Mixing and Mastering… Limiting is essential, but understand how you’re shaping the sound if you want to get optimum results Mixing and Mastering 41: Use the Freeze Function Your DAW almost certainly […]

In the final ten tips to make your music sound the best it possibly can Hollin Jones explores the final stages of music production, Mixing and Mastering…
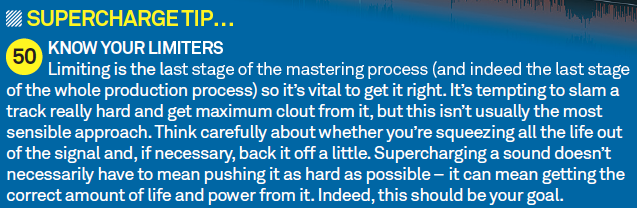
Limiting is essential, but understand how you’re shaping the sound if you want to get optimum results
Mixing and Mastering
41: Use the Freeze Function
Your DAW almost certainly has a Freeze function and this is great for squeezing the maximum level of performance out of your system. If your computer is struggling to run all of the tracks in your project, freeze instrument and effected tracks to simple audio parts and you will be able to load up more plug-ins. It’s not that more necessarily means better in this situation, but sometimes you might need ten instances of that great synth, and this is the best way to keep things running smoothly.
42: Know where to Push
During mixing you may find yourself gradually nudging various faders up in an attempt to make certain sounds louder. This ‘fader creep’ can become problematic if taken too far and result in clipping of the signal. Keep an eye on the master fader for any peaks and be careful to avoid red lights on faders in any track (and especially the master fader). Remember that you can squeeze the track at the mastering stage, so as long as the levels are healthy during mixdown, it doesn’t need to be super-loud.

43: Use Grouping
In those situations where you have multi-source instruments such as a multitracked drum kit, it’s often a good idea to create a group channel and route all of the constituent drum channels (for example) to it. In this way you can submix the drums correctly and then, in the main mix, simply bring the entire kit up or down as required in the mix with a single fader while maintaining the correct balance between all of the different drum mics. What’s more, as an added bonus you can process the entire kit through an effect using just a single instance of that effect instead of creating multiple copies of it. Of course, each individual channel can still be effected if necessary before it is routed to the group as well.

Use your DAW’s freeze function to reduce the load on your computer.
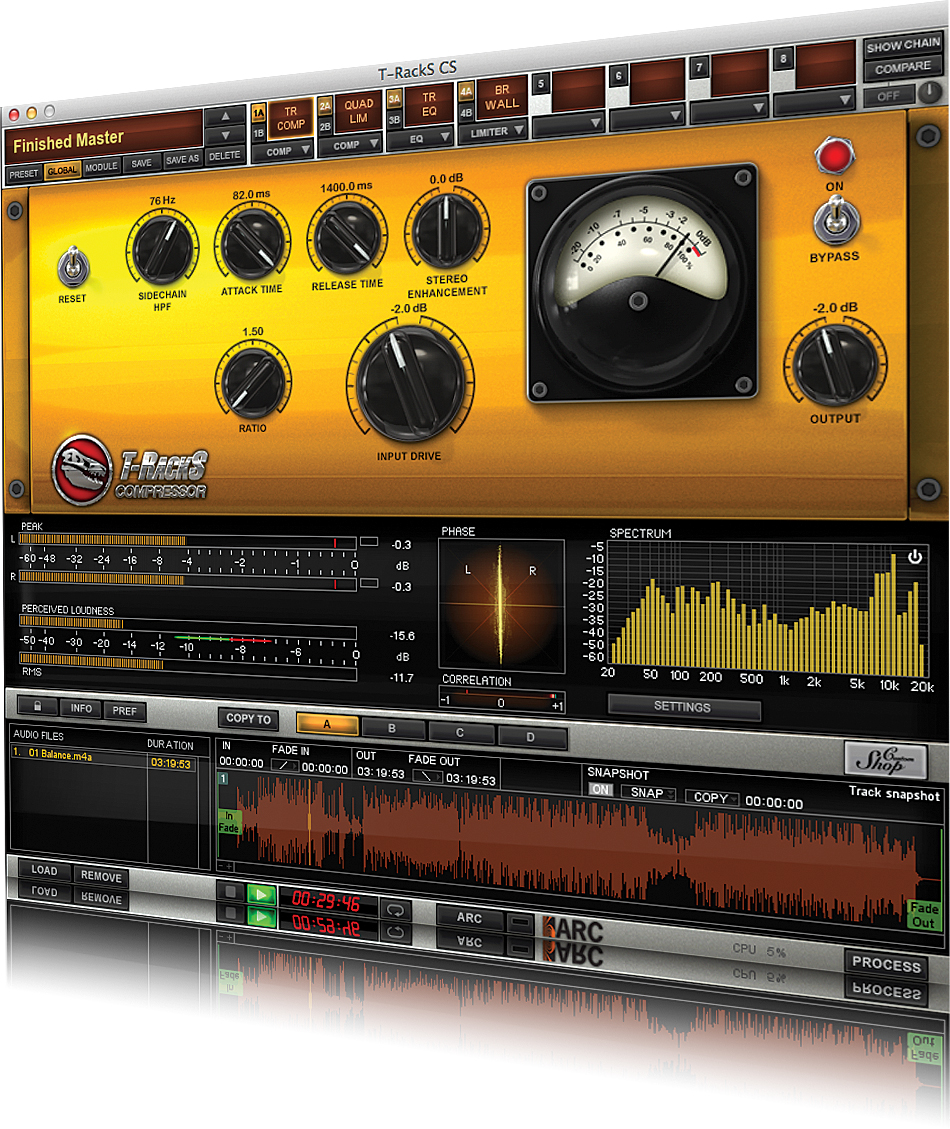
44: Use An Analyser
They might not sound as exciting as delays or distortions, but audio analysis plug-ins can be crucial in helping you squeeze more volume out of a track, whether at the mixing or mastering stages. You tend to base your perception of volume on looking at fader levels and using your ears, but there are many potential points of confusion, such as volume knobs on speakers and interfaces being set incorrectly. An analysis plug-in strapped across your master buss won’t affect the sound but will provide an accurate display of what’s really going on, helping you to understand if you’re pushing too hard or not enough.
Metering the output of your projects gives a better idea of what’s really going on and lets you push the track or rein it in, depending on what’s required
45: Don’t be afraid to ask for help
Even if you’re an experienced producer, a second pair of trusted ears never hurts when you’re mixing. If you work on a project for days, weeks or months you can really lose perspective and your judgement can be impaired. By getting the opinion of a second person, perhaps the studio engineer, you might be able to identify deficiencies in the mix that weren’t initially apparent to you. They may know a trick for sidechain-compressing the bass or for adding air to the vocal track that adds that little extra something to the sound.
46: Test Your Mixes
Your tracks might sound amazing over the studio’s £5,000 ATC monitors, but most people will be listening to them on something considerably less high-end. Of course, you can’t account for everyone who might have some dreadful ‘bass boost’ turned on, but you can at least play test mixes over a range of speakers and headphones to see if any problems leap out at you. They almost certainly will – too much bass, not enough vocal and so on. But this is part of the process and lets you go back and fix it before everything is nailed down.

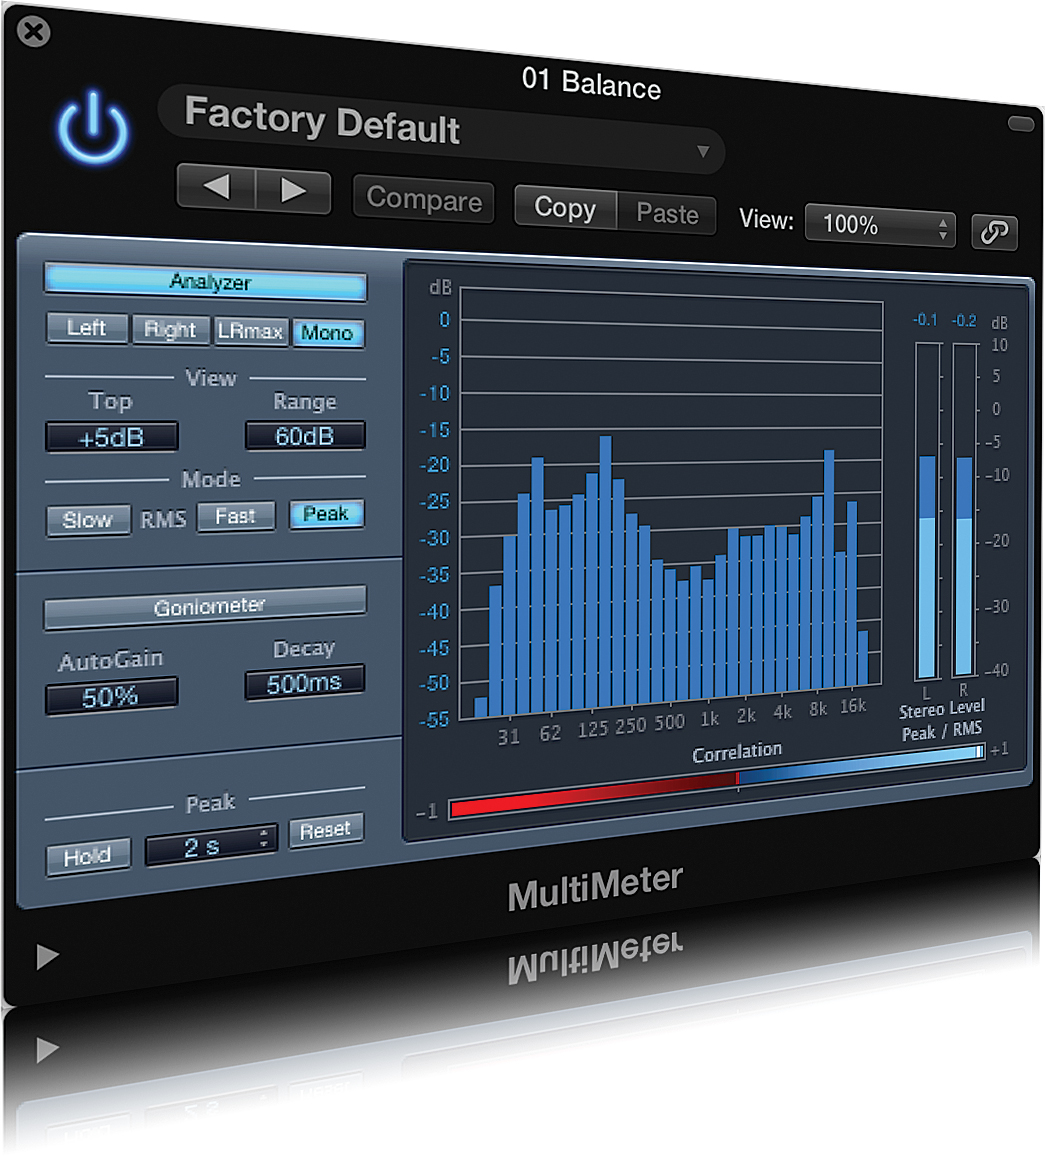
47: Use parallel compression
Some DAWs, notably Reason 7, support the creation of parallel channels directly in the mixer. In others it’s possible to achieve the same effect by doing some creative duplication and routing of tracks. The idea is to take the clean signal from one track and route it to another channel, which you then process differently. Typically, this involves applying hard compression to it to provide a pumping or squashed effect. This track can then be blended with the original to create a fuller sound. You can keep going from there, too, creating more than one parallel channel from the same source to get a really big effect.

48: Keep Vocals Audible
This might seem like a rather obvious point, but for any music that involves vocals they need to be as audible and clear as possible but without sticking out of the mix too much. Achieving this is almost entirely down to proper EQ and compression settings, but you can also help by identifying the frequency range of the vocals and then looking for any other elements that might be fighting for space with them. These might include midrange sounds such as guitars or keyboards, and you might want to EQ those sounds accordingly to make a space for the vocals to shine through.
Reason 7 features parallel channels, which are useful for getting a big sound.
49: Sidechain-compress where appropriate
If you’re working with electronic music you may be familiar with the concept of bass sidechain compression. This is how the classic ‘pumping’ effect of many club tunes is achieved. Use a sidechain-capable compressor on the bass track and feed it from the kick drum track, setting the threshold and ratio controls appropriately to achieve the level of pumping that you want.
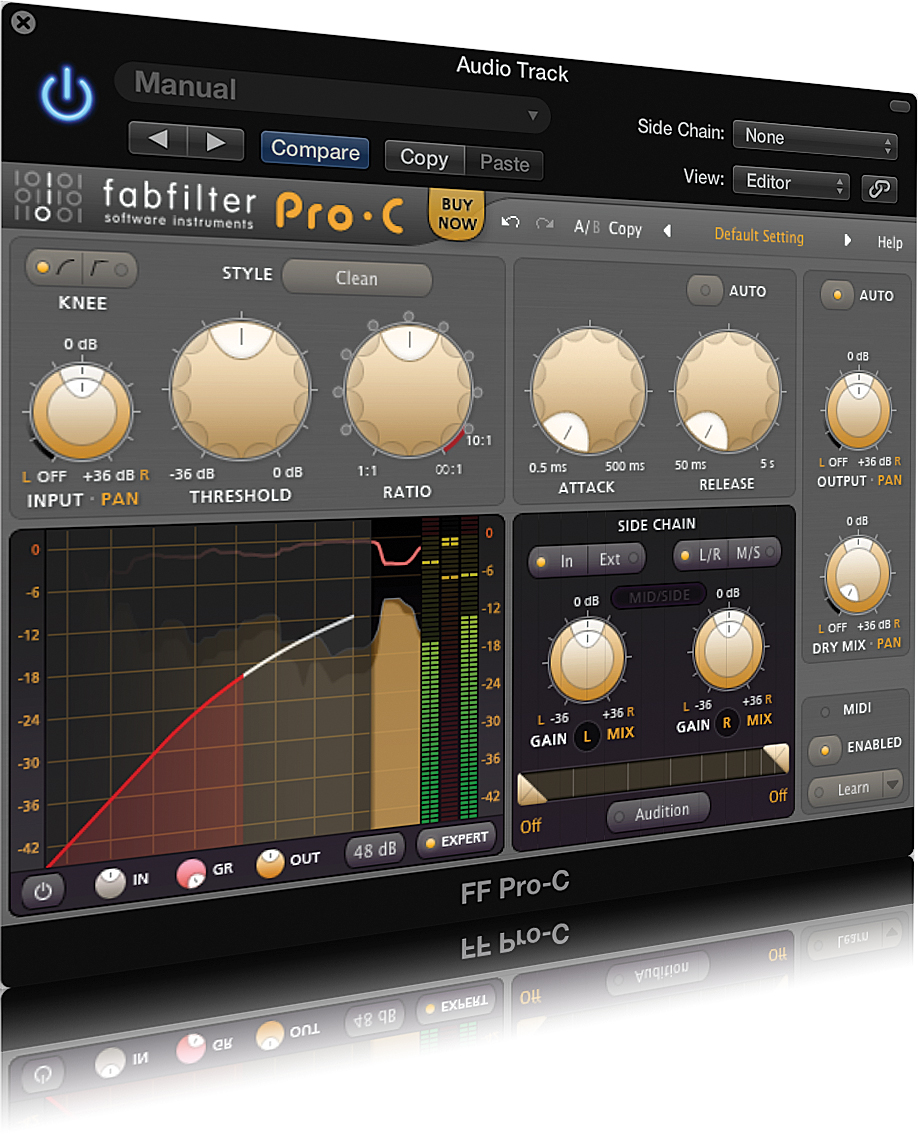
Use sidechain compression to achieve that classic ‘pumping’ effect