How to make your own software sample instrument from a hardware synthesizer
Hardware synths are lovely but they’re not always the most convenient. Why not sample them and create your own software sample instruments?
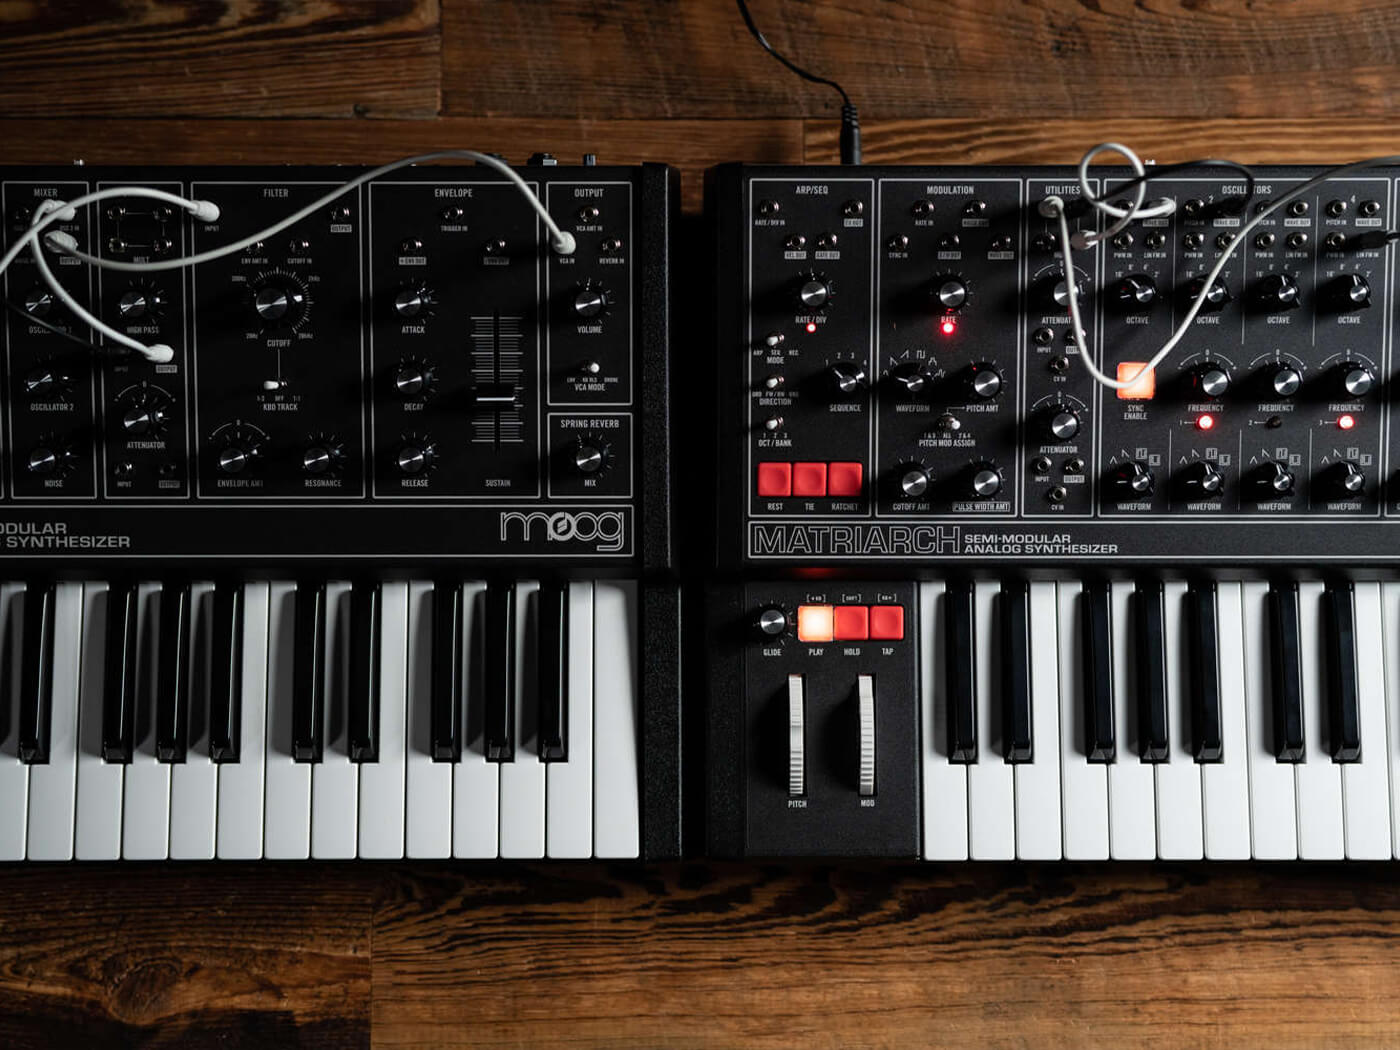
Image: Moog
Hardware synthesizers are fun to play and sound fantastic. But they’re not always convenient for producers, especially if your workflow is largely laptop-based or if you’re performing live. The solution? Sample those synths and turn them into readily accessible software instruments to use in your DAW.
READ MORE: Beginner’s Guide: Buying your first hardware synthesizer
Aside from the convenience of having hardware converted into software, working with samplers can expand the sweet sound of your synthesizers. Samplers can bend and warp sounds in new and exciting ways. You could turn a monophonic synth into a polyphonic one, for example. Then, of course, there’s the magical degradation and warping you get when pitch-shifting audio across a keyboard. (If you’d rather skip the hardware and fake a lo-fi aesthetic in the box instead, check out our tutorial on lo-fi effects.)
For this tutorial, you’ll need a hardware synthesizer and a way to record it into your computer. Assuming that’s covered, you’ll also need a software sampler. Native Instruments’ Kontakt is a comprehensive solution and is what will be used here but it’s by no means the only option on the market. There are plenty of others, including TAL-Software’s TAL-Sampler, along with some freeware options – perhaps your DAW’s stock sampler will do the trick, too. We’ll show you the best techniques, and you can adapt them to your desired sampler.
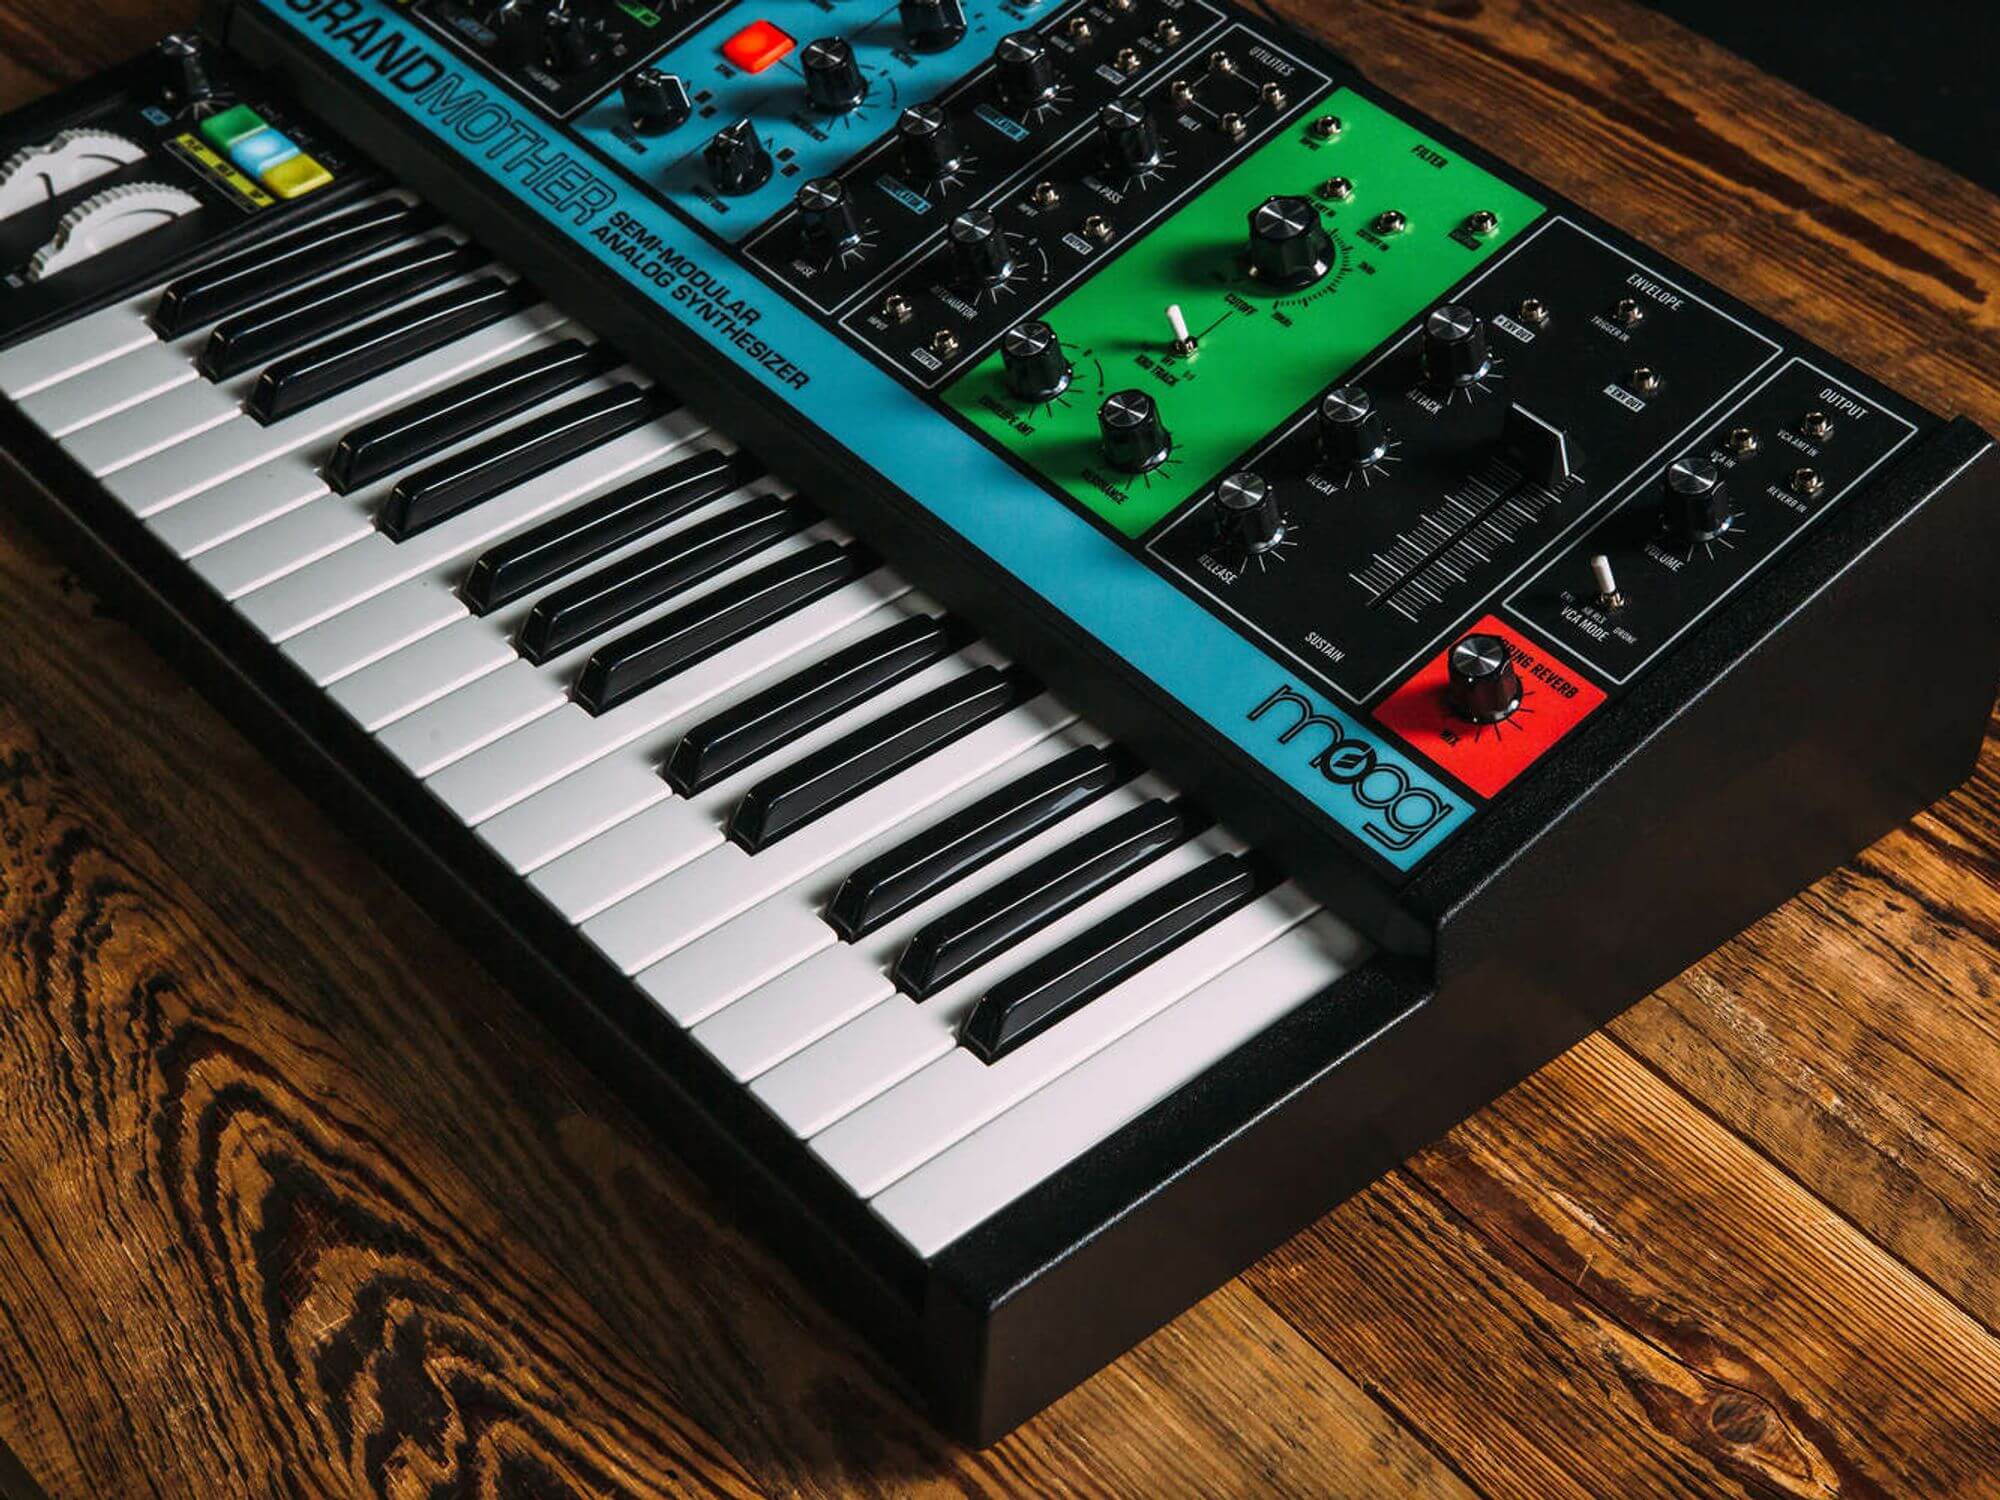
Here’s an example of what you can do with a homemade sample instrument. This house track features a multi-sampled Moog Grandmother playing chords.
Dial in your synth
The first step? Program your synth patch. Sometimes it’s useful to capture a wide, open synth sound for a flexible sample – but you may lose out on the inherent character of your synthesizer. Instead, try dialling in a target sound that you’d want to use in a recording. You can even include effects, such as on our Moog Grandmother, which has a spring reverb for atmosphere.
Program MIDI notes
Next, in your DAW, draw in a series of MIDI notes that you want to capture. To ensure consistent volume, make sure they all have the same amount of velocity. Leave enough time between notes to fully record any tails.
As for what (or more correctly, how many) notes to capture, that depends entirely on how realistic of a sample instrument you want. Recording every note on the keyboard will give you the best results – if what you want is a sample instrument that sounds exactly like the source. To hear more of the sampler’s sonics, capture only one or two notes per octave. This will result in pitch shifting and can introduce slight artefacts that add some flair.
Record the synth twice to make two velocity layers
Now it’s time to record the synthesizer. As most software samplers support velocity layers, where a different sample is triggered depending on how hard you press down on a key, you can do two separate recordings; the second with a different setting on the synthesizer. For example, run two passes, each with a different filter frequency cutoff amount so that harder presses on the final sample instrument will result in brighter notes.
Feel free to add colour when recording your synthesizer as well. The Moog Grandmother here was recorded through an audio interface with a built-in compressor and saturation engaged.
Edit the captured audio files
Next, using your DAW or a dedicated audio editor such as Audacity, isolate each recorded note into its own audio file. Trim any silence from the beginning of the new file. Also, add a fade-out to the end of each note to address any sudden drops in sound. Be sure to label each file with its velocity layer and note position. You’ll need to know this when mapping out your sample instrument in the next step.
Create a key map and the first velocity layer
In your DAW, create a fresh project and add your chosen sampler to a new MIDI track. Open the sampler and prime it for importing audio files. Access the edit mode and then click on the appropriate button to start key mapping.
The first sample will likely be automatically stretched across the entire keyboard. Pull it back so it occupies the first half of an octave starting with C. Next, drag in the next file and edit the width of the sample coverage. Do the same for the rest of the notes, as in the video below.
Add the second velocity layer
Now it’s time to add the second, brighter velocity layer. In the key mapping section, pull down on each key zone until around the halfway point. This will be the velocity change point. Next, drop the corresponding second layer note into the top area and pull up on the zone until it sits nicely with the first layer.
In the video example below, velocity information at or below 65 plays layer one, while layer two gets triggered by stronger key strokes. Now is the time to save your new sample patch so you don’t lose the key mappings and velocity layers.
Choose sampler effects
For the final step, go ahead and add some internal effects to your new instrument if your sampler software supports it. Saturation is always welcome, as are reverb and delay. Feel free to get creative with your sampler’s editing capabilities. There are envelope settings, of course, but don’t forget about loops and loop points for additional sampler spice.