Using Push Creatively: Step-By-Step (Continued)
Martin Delaney picks up where he left off, this time looking at Capture, Simpler and looping and how they can impact Push’s creative possibilities… 7. For any track – audio or MIDI – you can use Push to view and change the input and output selections. This is even cooler if you’ve renamed them as […]
Martin Delaney picks up where he left off, this time looking at Capture, Simpler and looping and how they can impact Push’s creative possibilities…
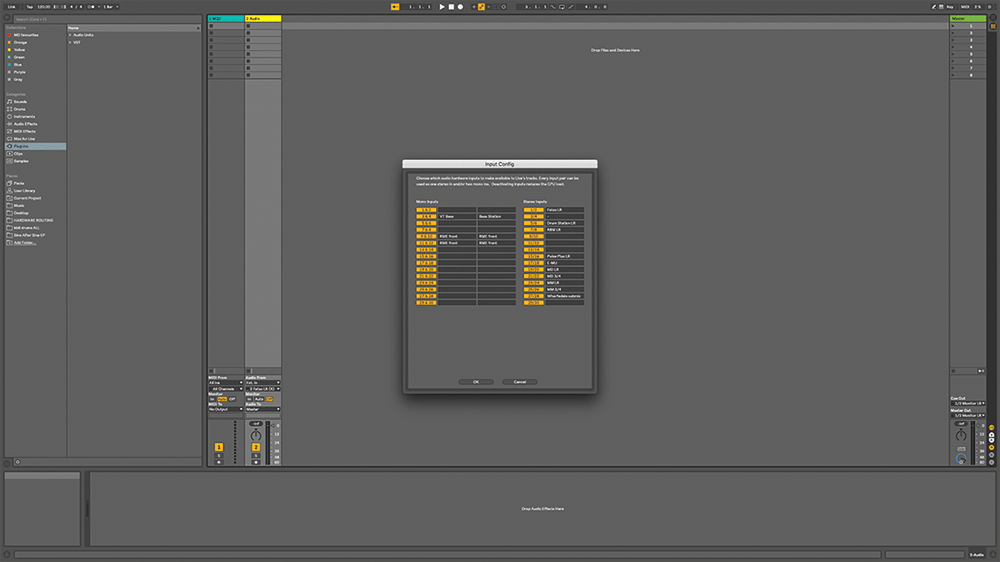
7. For any track – audio or MIDI – you can use Push to view and change the input and output selections. This is even cooler if you’ve renamed them as well (Live 10 only).

8. To arm a MIDI or audio track for recording, hold the Record button, then press the track-selection button. It’s the same procedure when it comes time to Mute or Solo a track.
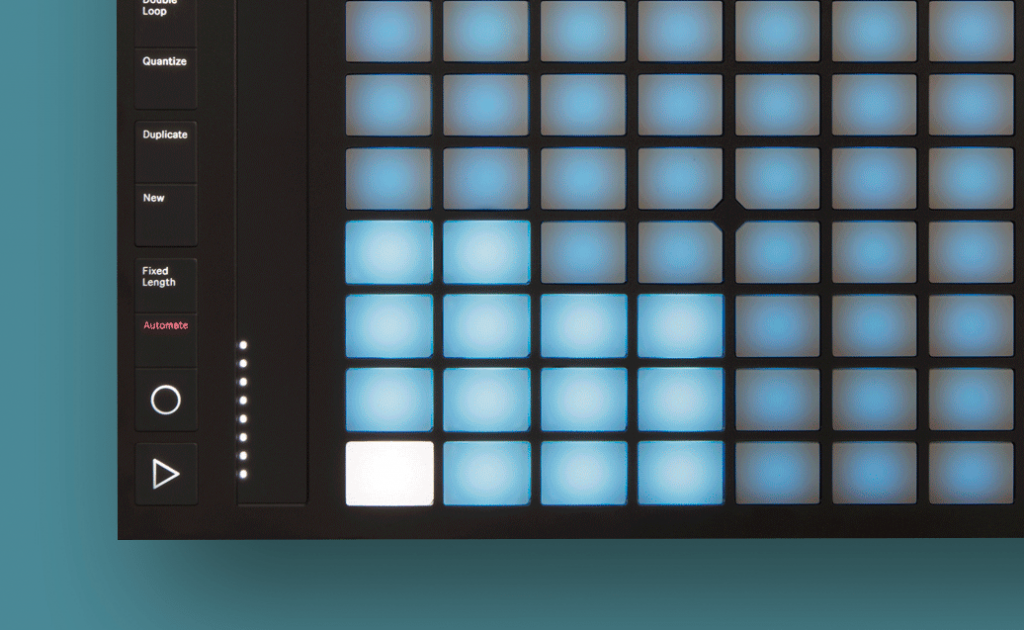
9. Press the Automation button – then, when you’re recording, all of your Push control moves will be captured as clip or track envelopes, depending which View you’re working in.

10. Capture is a standout feature in Live 10. You can invoke it with Shift-Cmd-C on the computer, or on Push by holding the New and Record buttons. It can overdub, too.
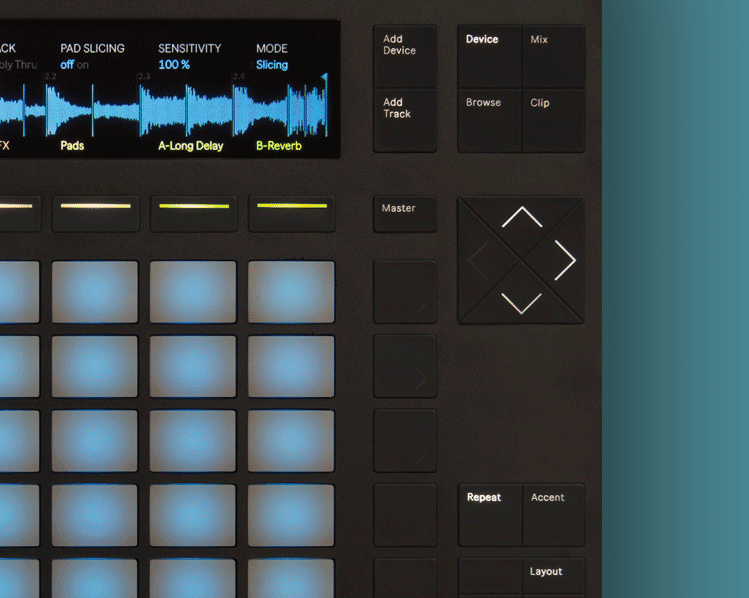
11. Pressing the Setup button lets you set your preferences for pad behaviours and display/LED brightness. Note also the User button, which is where you can enter another rabbit hole of customisation.
12. If browsing presets with the Push encoders is wearing you down, there are a couple of things to try. First – use the arrow keys to skim faster around the columns and rows of the display.
![]()
Remote automation control Ableton’s Push also fully supports the use of automation – you can add it in real-time while you’re recording, or you can add it a little at a time in the step-sequencer mode.
13. Secondly, for Live 10 users, store your favourite items in the colour-coded Collections section of the Browser. They show up in Push, at the top of the column, so they’re always fast to get at.
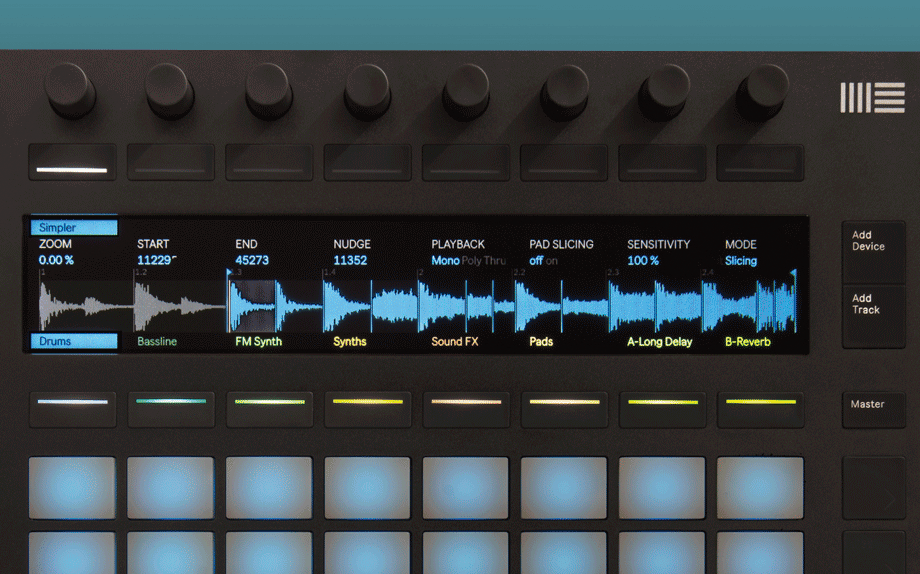
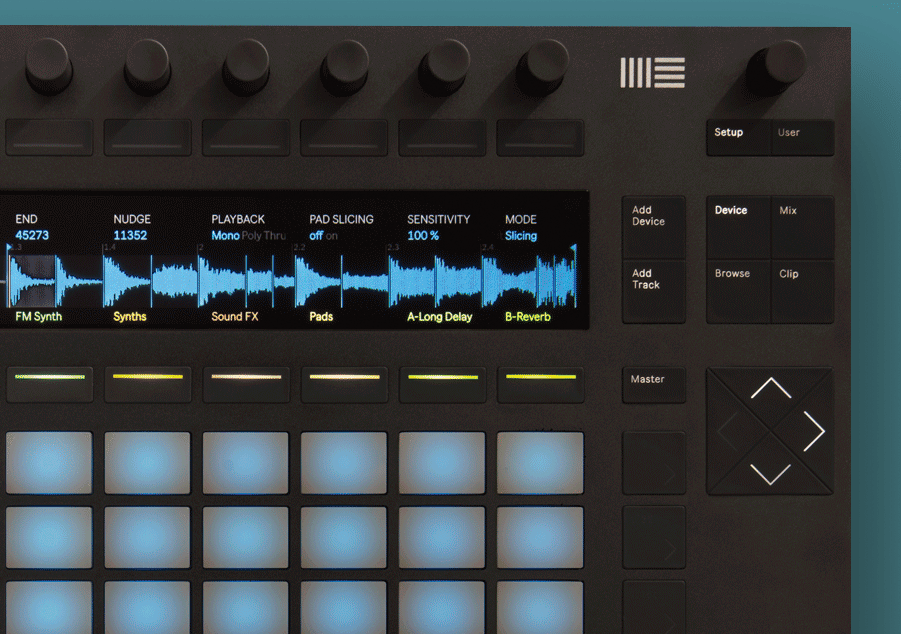
14. Experiment with putting warped loops in Simpler instead of just loading them into audio tracks, so you can use them to launch ‘fake’ audio clips while still in Note View.
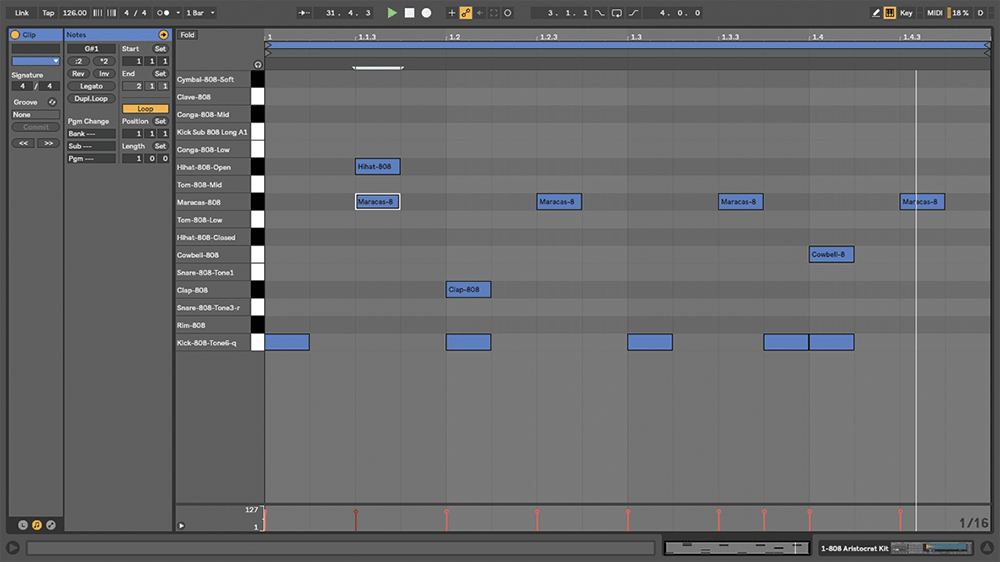
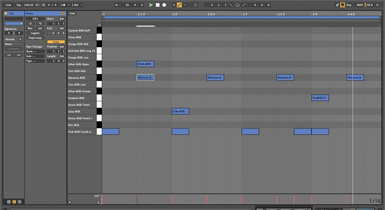
15. With Live 10, it’s possible to view notes inside a MIDI clip on the Push display, with zoom, and to change clip-loop parameters, and even to crop it.
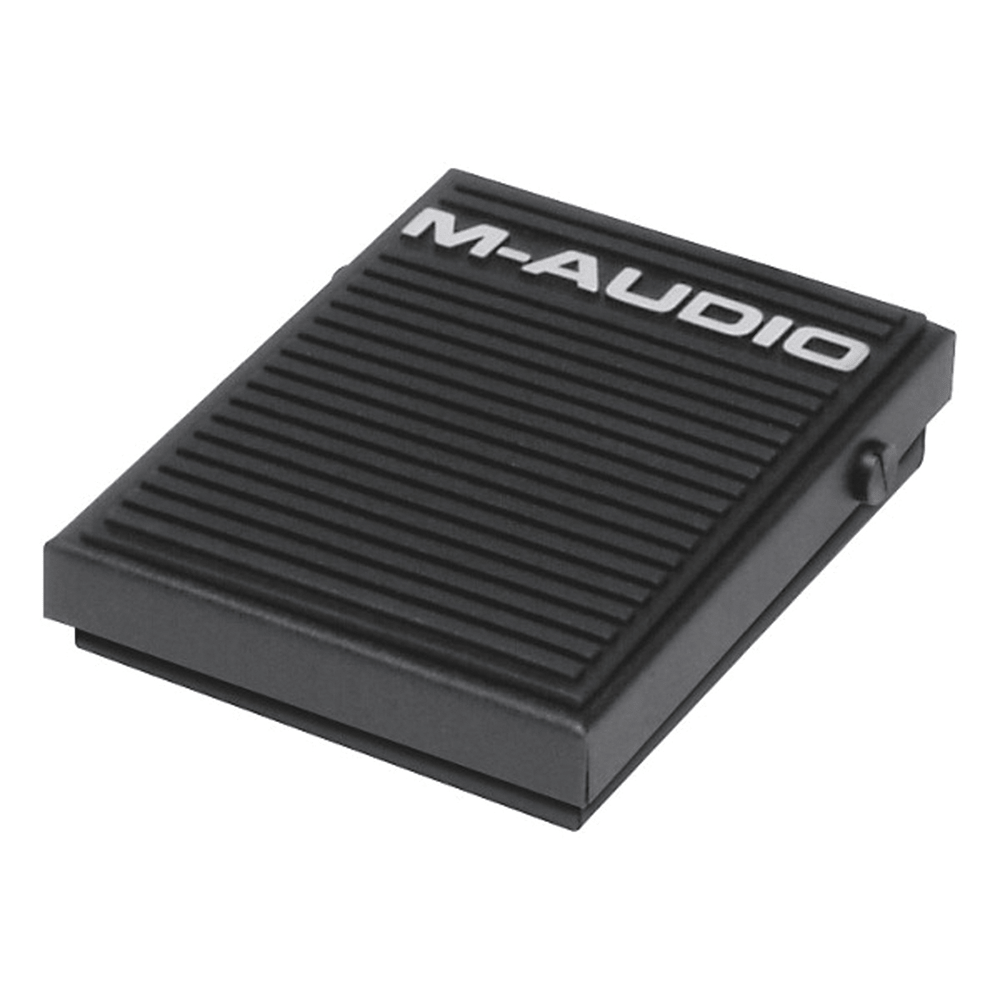
16. If you’re interested in live looping, connect a footswitch to Push and use it to initiate recording with one click, playback with a second click, and create a new clip with a double-click.
17. Use the Convert button to convert the current selected audio clip to a new MIDI track containing Simpler or other options, depending what’s in the source clip.

18. You’ll get some devastating sounds by holding down the Repeat button and cycling through different kicks in Sampler at the same time – for bonus points, change the repeat rate, too.