Weekend Workshop: Understand advanced compression tools
Knee? Auto Release? Range? Master every control on your compressor once and for all with this quick course.
Weekend Workshop: Advanced compression
Compression is one of the first things the budding producer wants to master to get professional-sounding mixes. Threshold, Ratio, Attack and Release are all you need to make something happen, sure, but as your skills increase, and as you struggle harder to get that extra 1% out of a mix or a master, you’ll start to wonder what all those other controls on your compressor do, and how to use them.
What’s Lookahead doing? What does Hysteresis mean? What’s the difference between a feedback and feed-forward style compressor? When should I engage Stereo Link and what does it do?
In this guide, we’ll shed some light on compressor controls, and cover some expander/gate and limiter terminology too, giving you a smorgasbord of dynamics learnin’ that’ll help you get more out of your existing processors. With that, here’s the A to… er… S, of dynamic processor parameters.
What you will need:
- A DAW with compressor, expander, gate and limiter plug-ins
1. Auto Makeup
Compression leads to gain reduction, leading to a reduced dynamic range, meaning that we can turn the compressed signal up to be louder than it ever was before using make-up gain. Auto Makeup will set that the Makeup Gain on its own so you don’t have to fine-tune anything.
The way each device will set Makeup Gain for you is different and depends on the way it’s set up by its designers. Some may calculate the maximum reduction based on your Threshold and Ratio settings, and dial the gain up to match; others may analyse the average level of the reduced signal.
Auto Makeup is OK to leave on for quick compression, but if you’re carefully gain-staging a signal, or setting up a compressor for sidechain pumping, you’ll want to switch it off.
2. Auto Release
A fast compressor release time is great for making material with large transients sound louder on average, but can also introduce distortion, especially in low frequencies. Slower release times generally sound smoother, but loud transients can trigger undesirable ‘pumping’ effects.
Auto Release is designed to give you the best of both worlds, by increasing perceived loudness, while avoiding pumping effects. Exactly how this control works will depend on how each compressor or gate has been programmed or designed by its maker, but by and large, your release time will be adapted based on the type of material going through the device.
Generally speaking you’d expect the release to be quicker on more transient material, and slower on audio that has a higher average level compared to its peak values, especially material with lots of low-frequency energy. Whether or not the Auto Release algorithm takes into account the amount of standard Release time you’ve set will also vary by device.
So how to use Auto Release on a compressor? Simply give it a try, especially if the input audio changes quite wildly throughout its duration. Switch back and forth between auto, and fast/slow release times and listen for distortion and pumping. Also, be aware that certain compressors activate Auto Release by default.
3. Clipping (and Soft Clipping)
A very fast-acting limiter – especially with some Lookahead activated – will reduce the levels of a signal running through it, leaving the shape of the waveform mostly intact. A clipper, on the other hand, reduces the level of the signal by, basically, chopping off the top of the signal and leaving a flat line.
Clipping is more of a brute-force dynamic process, and because of this ‘flatline’ method, it causes distortion in the signal. A limiter will cause only slight distortion, by comparison, although plenty of engineers favour the flavour caused by clipping a signal.
Clipping is also a good way to diagnose mix problems, by increasing the level of the signal on your master bus into a clipper plug-in and determining when audible distortion is introduced (and at what frequencies).
Soft Clipping takes the clipping process and moves it more towards limiting. Instead of the ‘sawn off’ waveform, the process often still retains some ‘roundness’, meaning fewer (often more pleasing) harmonics being introduced. Exactly how it works will vary by device, though.
4. Feedback/Feed-forward
Dynamics devices first need to analyse the level of the input signal using a detector circuit, and then use that measurement to adapt the action of an amplifier to reduce or increase level. It’s where the device takes the detector’s input from that determines whether it’s a feedback or feed-forward compressor.
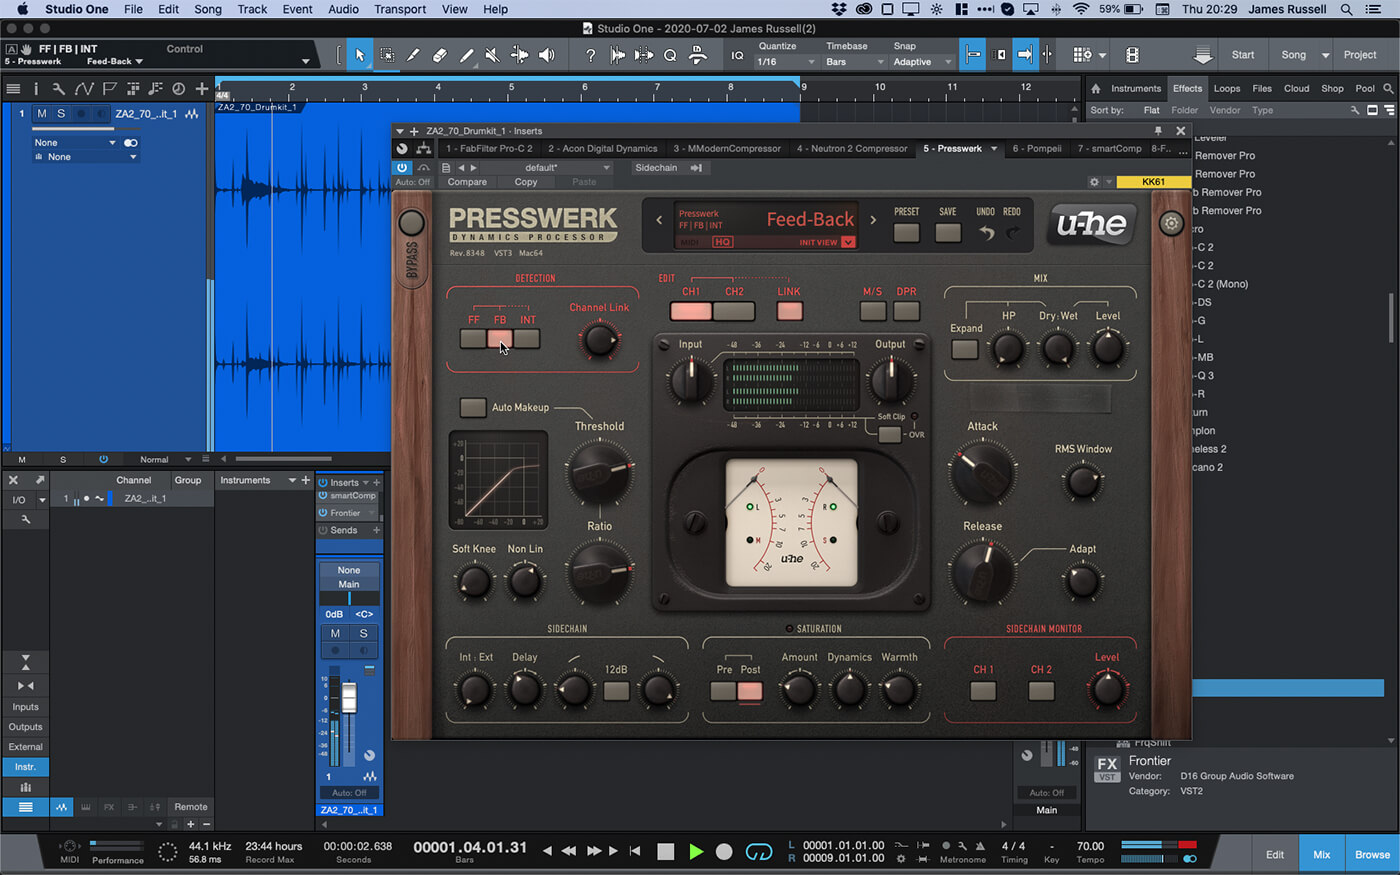
A feedforward compressor takes the detector’s input from before the amplifier; a feedback compressor takes the detector’s input from after the amplifier. There’s not that much importance to these two types when you’re choosing a compressor.
5. Hold
If you know what your compressor’s Attack and Release time parameters do, Hold isn’t hard to grasp. A compressor or gate will usually kick in once the signal has crossed the threshold and kick back out once the signal has crossed back over again, taking as long a time as you’ve set using the Release to return to normal.
With Hold activated, once the gain reduction has been triggered, it stays there for as long as you’ve set the Hold control.
In many ways, you can use Hold like a long Release, but keeping a steady reduction level instead of gradually moving back up to normal level. This can be particularly useful when gating live drums or setting up sidechain compression to duck synths or bass rhythmically.
6. Hysteresis
You may have set your Threshold just right, only at some point in a track’s length, its level dances right around that threshold point, switching compression (or more likely, gating) on and off rapidly and repeatedly. But you don’t just want to change the Threshold, as it’d knock something else out of whack…
Hysteresis lets you effectively set two threshold controls – one for ‘on’ and one for ‘off’, so that once the dynamic process is triggered, it’ll take something a little more to untrigger it. Depending on the device, Hysteresis may be set as a discrepancy from the Threshold value, or you may be able to set a particular ‘off’ threshold.
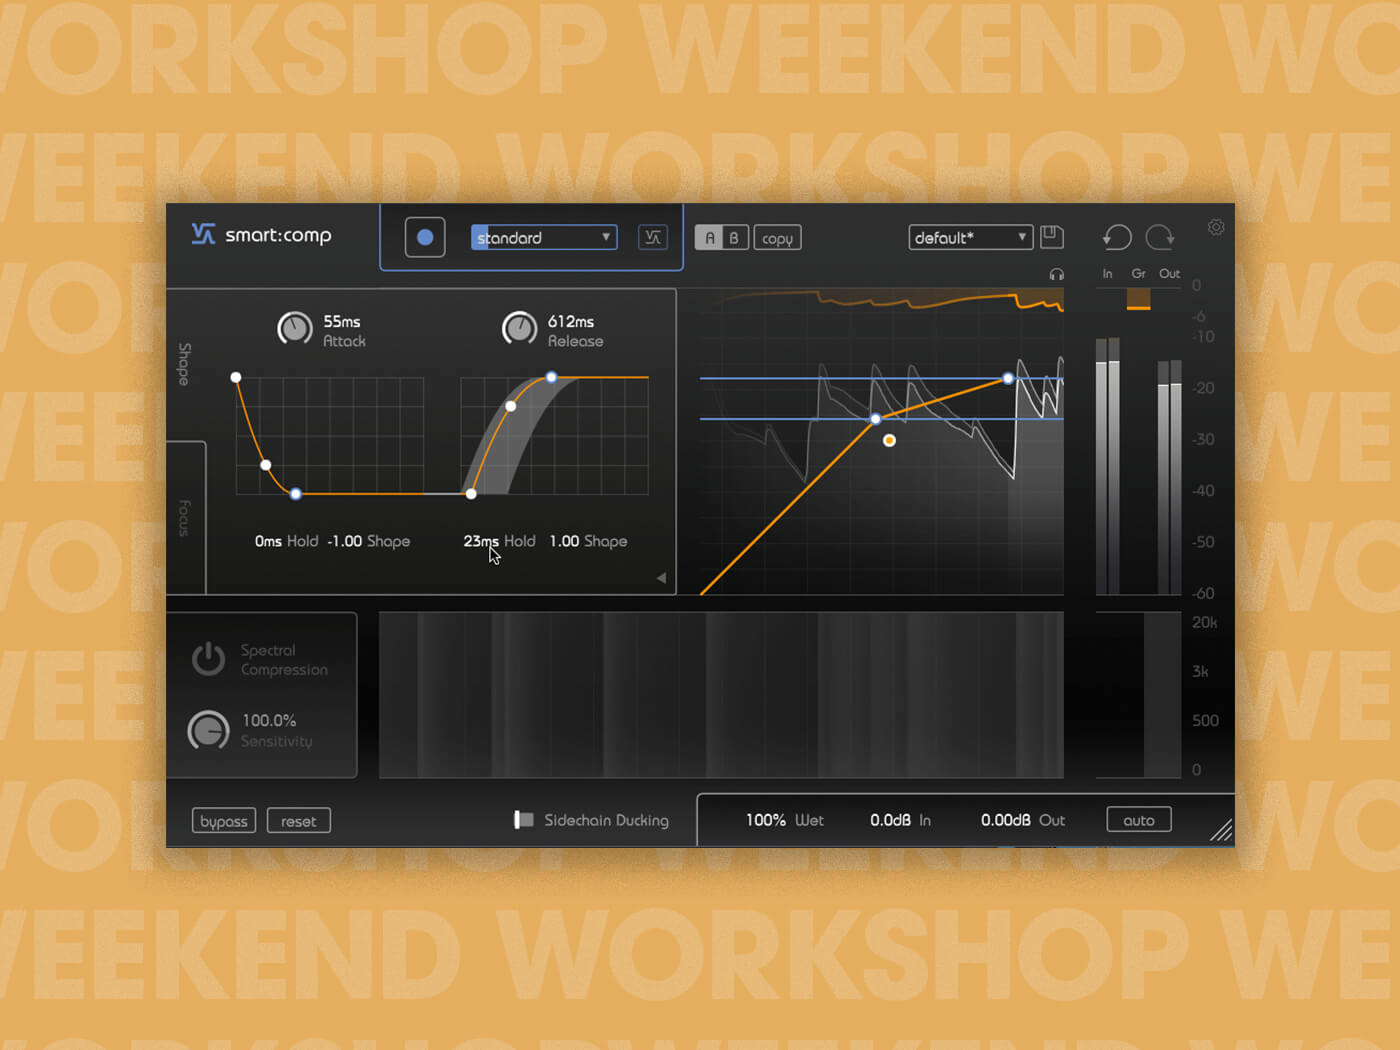
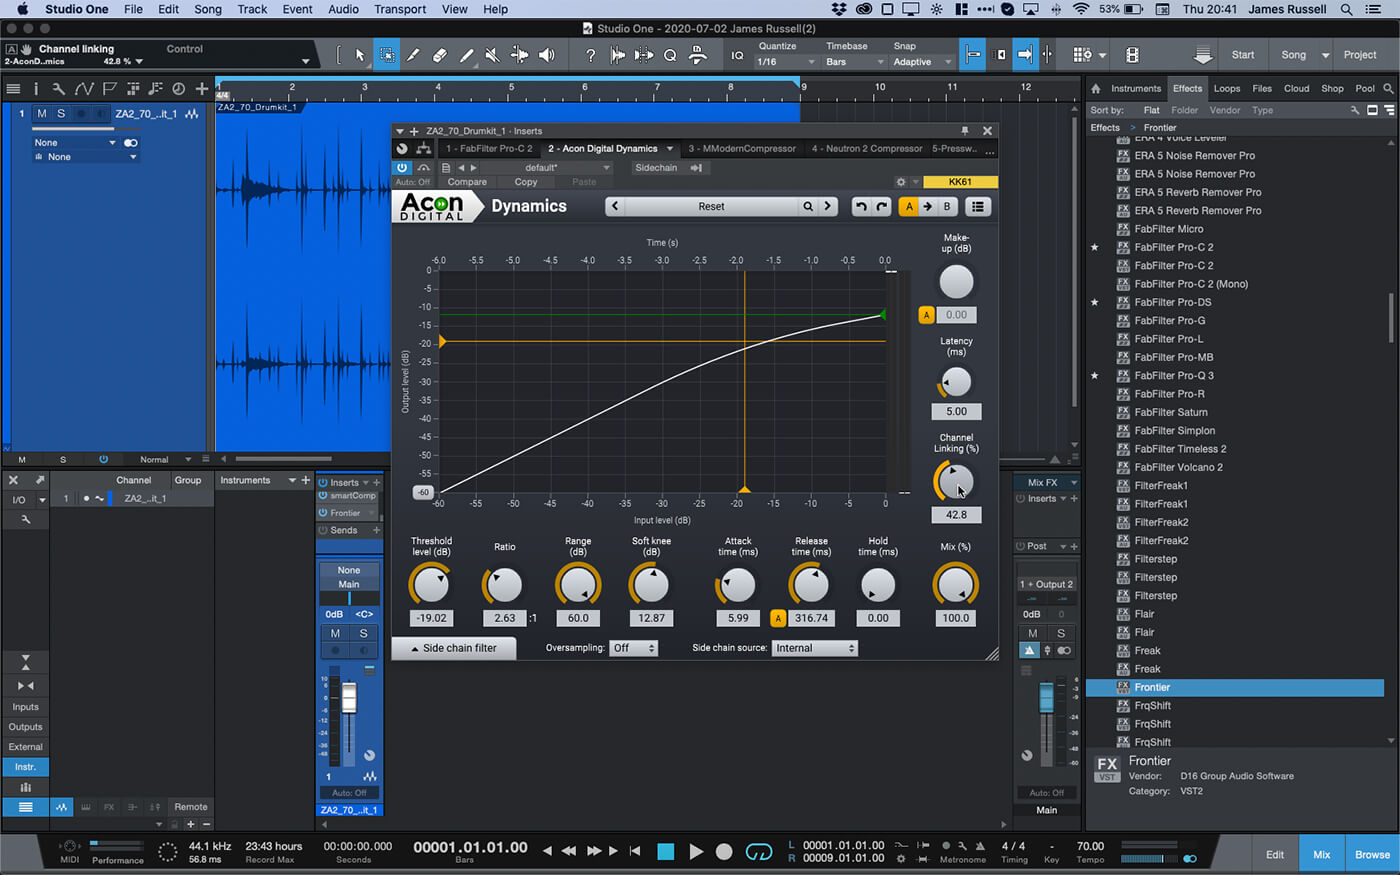
7. Knee
If you look at a compression transfer graph (the diagonal line that splits at an angle), it’s often called a knee or ‘knee graph’ by producers and engineers. The Knee control on a compressor has a very obvious visual effect on the graph, rounding out the ‘corner’ or ‘angle’. So what’s it doing?
With the angle rounded (aka a ‘soft knee’), compression actually starts to happen to signals below the threshold – just at a lighter ratio. As you approach and pass the Threshold, passing the soft, rounded knee altogether, the ratio experienced is as you’ve set it.
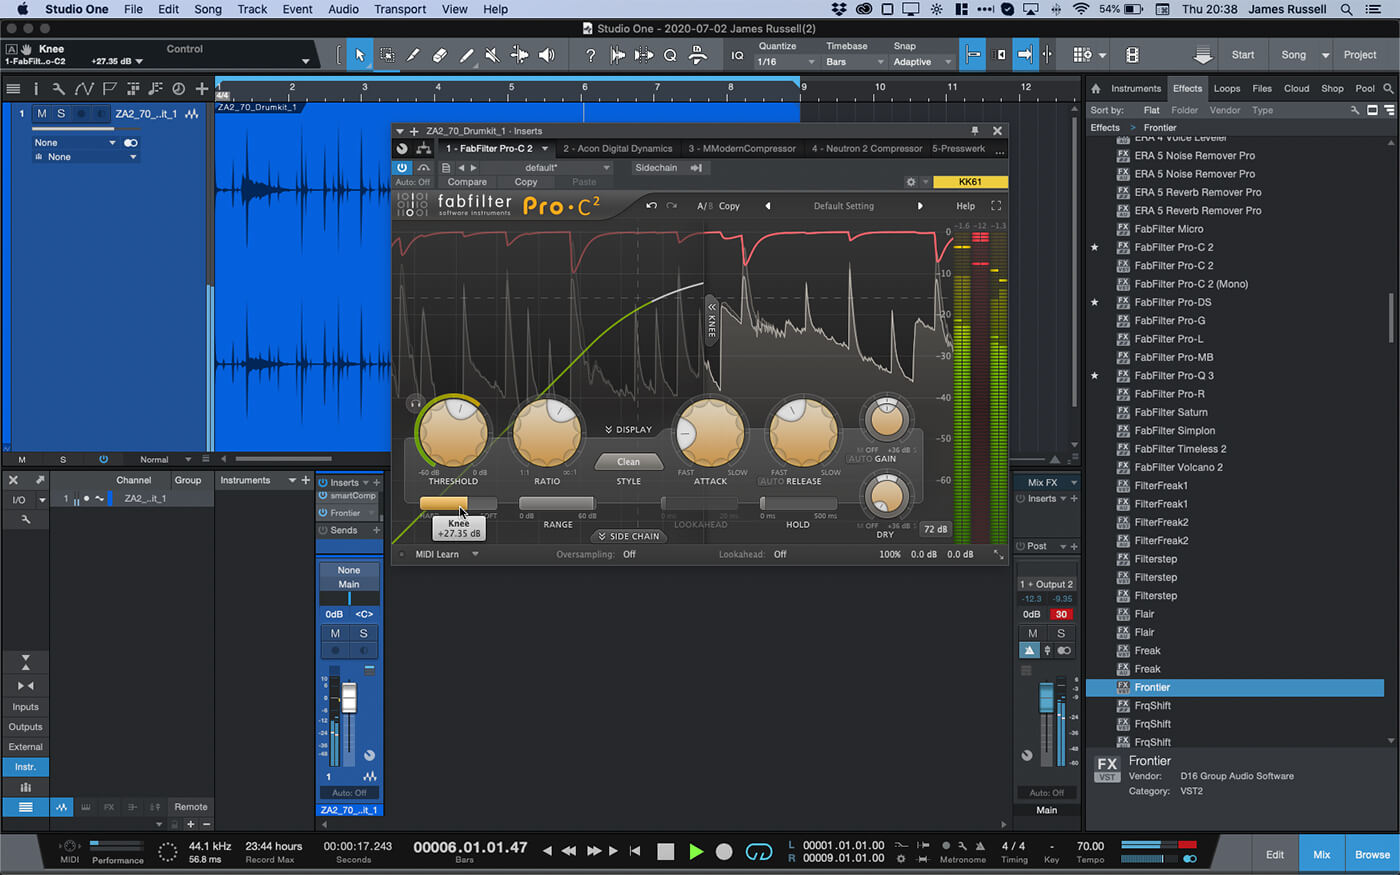
A soft knee gives an opportunity for both heavier compression on heavier parts of the signal, and lighter compression on lighter parts of the signal. It’s a great thing to dial in for character.
8. Lookahead
You can bite off transients with a quick attack time, but you’ll never quite reduce instantaneous peaks unless you activate Lookahead. This helps a limiter or compressor see what’s happening to a signal in the future, and helps them react even earlier to prevent transients past a certain level completely, should you wish.
Lookahead is only available in software dynamics plug-ins, thanks to plug-in delay compensation in DAWs.
9. Peak/RMS
A compressor must detect information about the signal flowing through it before it can act to reduce it. Setting Peak or RMS detection tells it what to pay attention to.
Let’s say you’re working with some particularly transient-heavy material to reduce its peaks, but the audio track doesn’t have a particularly significant average level. You’ll want to compress this based on its peak level, not its average (root-mean squared or RMS). Drums would be a good candidate for peak mode compression.
On the other hand, if you’re smoothing out the levels in an undulating synth pad, or trying to make a bass part that’s been played inconsistently a bit more solid, you’ll want your compressor to detect its RMS levels (its levels on average), rather than its highest peak levels. Because the RMS mode being an average over a short period, it will necessarily be slower to react, therefore it’s ideal for use on full tracks without squashing all your transients.
10. Range
Once a signal’s level crosses a Threshold, its level will be changed. But what if it crosses way over the Threshold? Using the Range control, you can actually define a level after which the signal won’t be reduced any more in level, meaning that your compression action only happens between two thresholds.
It’s not that a high-level signal that falls outside the Range will be let through unhindered – it’s that everything above a certain point will be reduced by the same amount: the amount that the highest signal below the range was reduced by.
11. Stereo Link
Stereo audio carries different signals in the right and the left channels, but dynamics are usually dialled in using one set of controls. How are these differences between channels taken and applied using a bog-standard compressor?
On paper, most compressors will detect the combined level of both left and right channels, and apply changes to both, meaning that if you have a spike on the left that’s not on the right, the quiet right channel will still be reduced when the spike happens on the left.
By unlinking the processor (usually by deactivating the Stereo Link) button, you’re effectively using two separate processors – one for the left channel and one for the right – just with the exact same settings for each.
Stereo-linked compression can have more of a ‘gluing’ effect as both channels affect each other. On the other hand, clinical applications such as mastering can benefit from the processor being unlinked.
Happy compressing!
We’d love to know how you found this workshop – and if there’s a topic you want us to cover in a future Weekend Workshop, let us know via our social media channels, or in the MusicTech Creator Community Group on Facebook.
Check out more Weekend Workshops here.