Weekend Workshop: Build cohesive custom channel strips
Use freeware plug-ins to craft a more cohesive mix.
The idea of creating a cohesive sound during the production process is an essential but underrated element of production. It’s something that often gets overlooked, possibly because it’s so hard to define. We can all recognise a jarring mismatch in sound when we hear it (a shredding guitar solo in the middle of a choir performance, for example) but it’s much harder to define the subtle je ne sais quoi that makes things feel like they work together.
In this week’s Weekend Workshop, we’ll take a look at some of the ways we can approach the idea of cohesion using nothing but free software. Along the way, we’ll draw on some of the oft-forgotten fundamental principles of old-school recording and mixing. This is as much a theoretical topic as it is a practical one: we’ll need to question what it is that makes it so easy to make choices.
Autonomy and freedom
In his 2004 book The Paradox Of Choice, American psychologist Barry Schwartz argues that too much choice in modern Western society creates anxiety. And, eliminating consumer choice can help to reduce anxiety for shoppers. In extreme cases, this abundance of choice can lead to so-called ‘analysis paralysis’, where the process of overthinking means that no decision is made.
Now, we’re not going to get hung up on the idea of sonic minimalism or some deep, philosophical reasoning why you should bin your plug-in folder. However, there’s a clear parallel with in-the-box production. We have so many choices that it’s easy to get hung up on it. The best-case scenario is that we spend a long time searching for the ‘perfect’ compressor, the perfect EQ and the perfect reverb for every element of our track.
In a production context, the worst case is probably even more frustrating than the all-too-common analysis paralysis: we might end up choosing a bunch of contrasting, conflicting effects that don’t actually sound good together. Either way, we’re suffering from the paradox of choice.
Old-school rules
So, how do we solve the problem? The answer could come from the era of analogue recording. For the sake of less experienced readers, the key technological differences were: in an old-school analogue studio, you might typically have one recording format (usually multi-track tape), fed by some kind of mixing desk or console. In most cases, that console will have defined channel strips, with identical preamps, EQ sections and, if you were lucky, channel compressors. You might have one reverb unit which you hook up to the mixer on an auxiliary send, allowing you to route signals out to add effects. Maybe you’ve got a built-in stereo compressor which you can use on the mix bus.
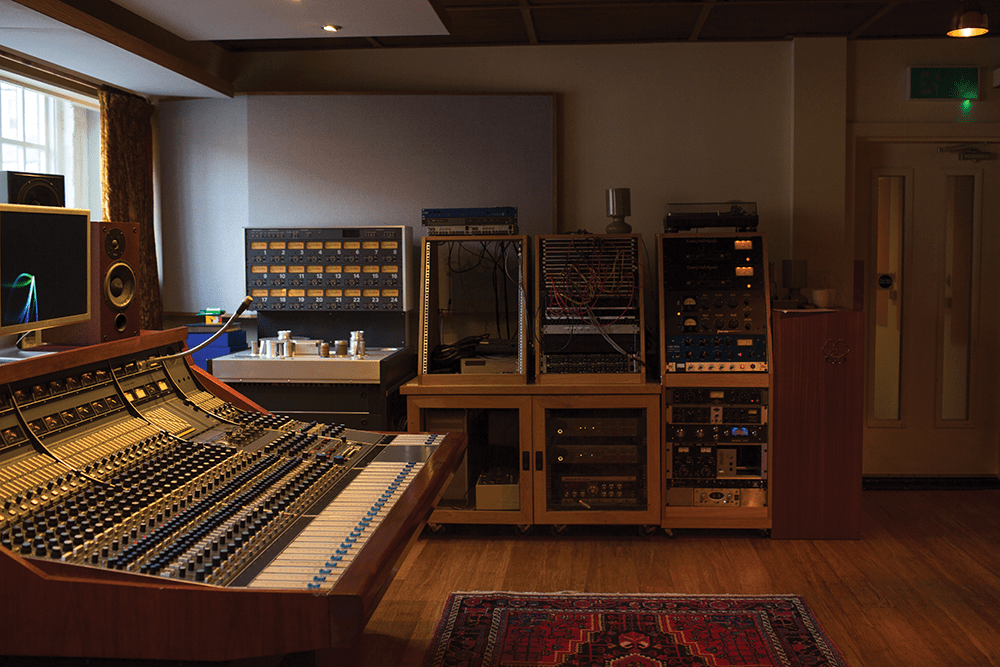
With a console, your choices are limited. Everything gets processed with the same set of tools, from preamp to tape and then back out to master recording. The knock-on effect is that everything takes on a more similar character, becoming more cohesive. Maybe you’re mixing through a Neve console, and you think an API EQ might be better on that guitar part. Well, tough. Sure, in many cases there will be outboard compressors and EQ to use where necessary, but the critical point is that these are active choices rather than haphazard selections. In terms of process, even if it’s entirely subconscious, the mixer’s built-in preamp, EQ and compressor are the default choice, and any decision to use something else has to be deliberate.
The contrast is evident with in-the-box production, where we’re subtly encouraged to create bespoke processing chains for every single element of our track. How do we break out of that mindset and achieve a quicker, more efficient and more cohesive sound?
One solution is to create personalised channel strips for use in a basic template, a process which is as much about focusing the mind on aesthetic choices as it is about picking EQs and compressors. We’ve already discussed creating the perfect DAW template in a previous Weekend Workshop, so we won’t overlap too much with the basic mechanics of how it’s done. Still, essentially we’re looking at creating custom presets of processing channels with all the basics in place.
What you’ll need
- A DAW
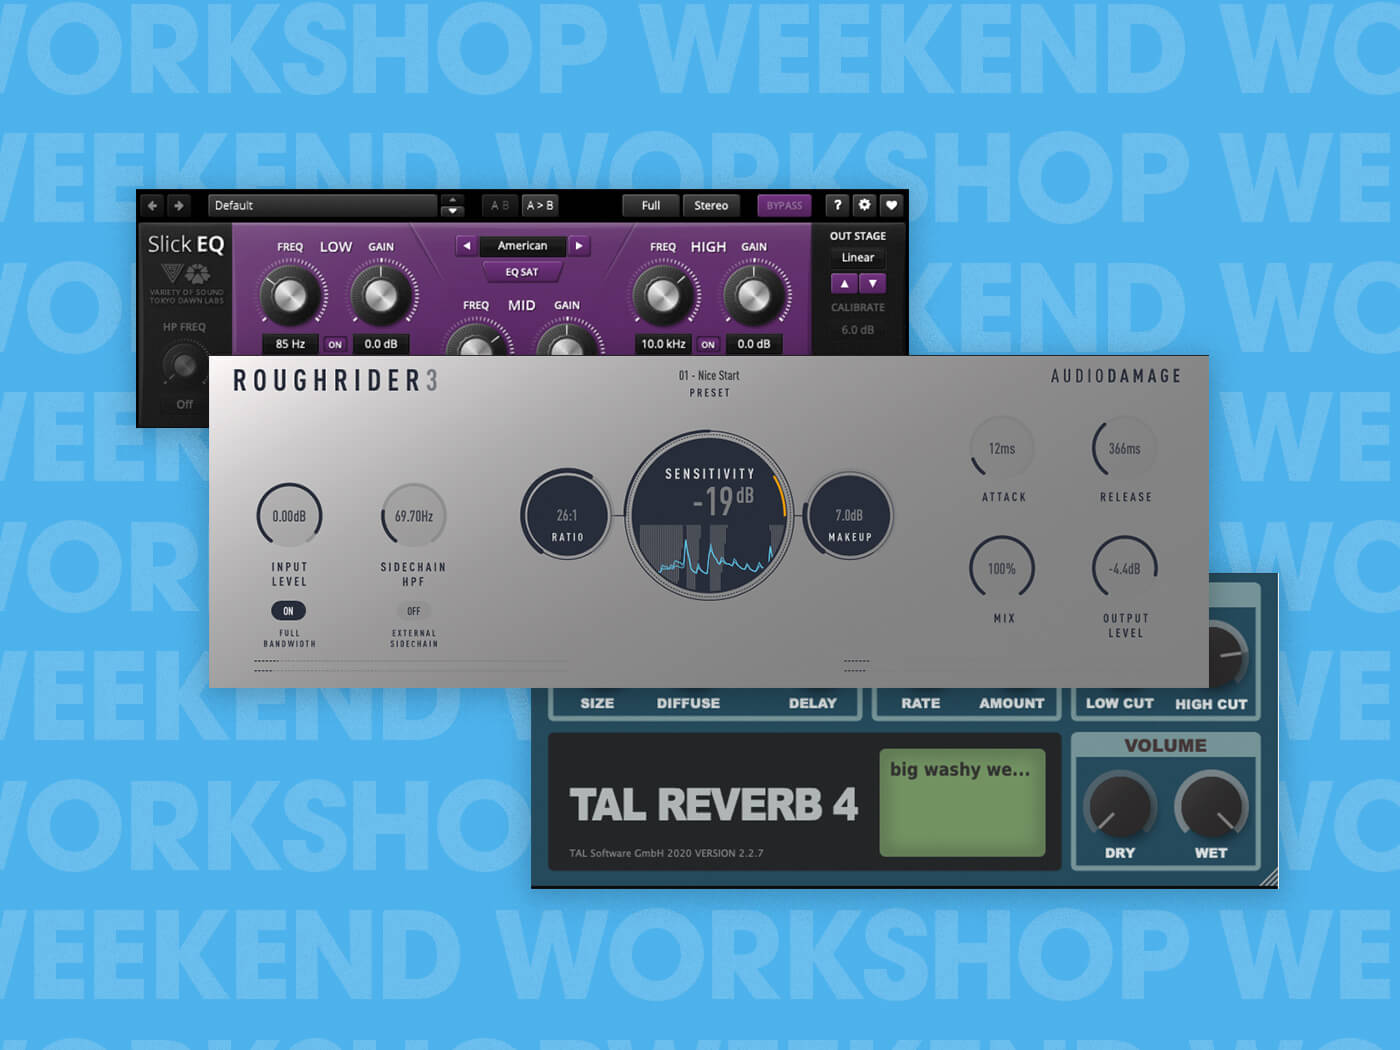
- Audio Damage RoughRider 3, available free here
- TDR VOS SlickEQ, available free here
- Softube Saturation Knob, available free, here
- TAL-Reverb-4, available free, here
1. Decide on your vibe
Let’s take a closer look at how we could create an exciting default channel strip, and reverb send using nothing but freeware plug-ins.
The irony of encouraging you to download more plug-ins to avoid the paradox of choice is not lost on us here. But, these are just examples of free tools you could use; there’s no reason you can’t use your existing plug-ins to do this, and we’d very much encourage you to do that.
With the basic principle in mind, there are two main approaches we can take here: we could create a generic, neutral strip that doesn’t colour the sound too much, or we could create something more characterful. Your taste may vary, but we’re quite keen on the idea of channel strips with colour and character. After all, DAWs are, by definition, neutral, so there’s a good chance the default channel strip in your chosen software already offers a clean option, so why not try to create something a bit more distinctive?
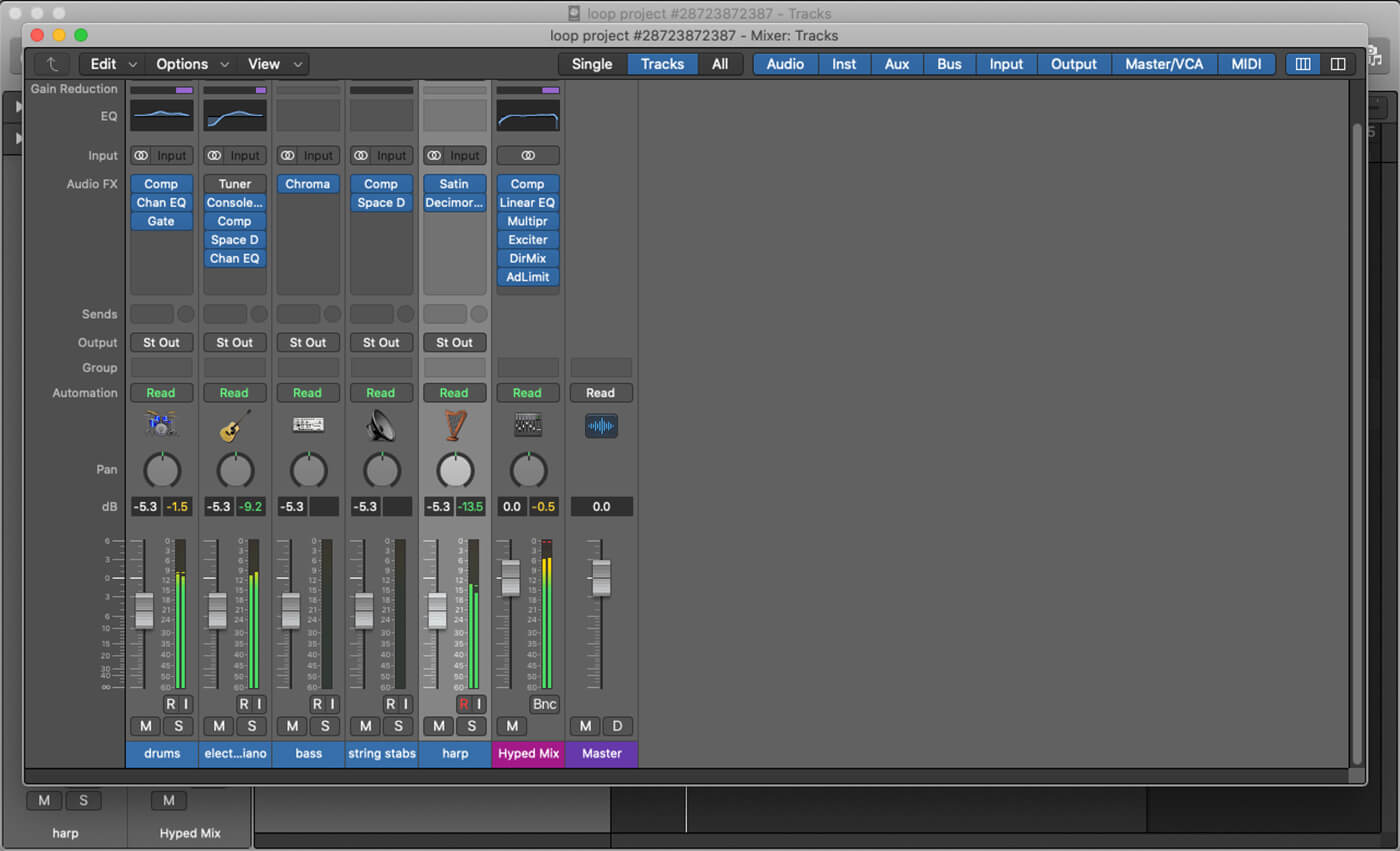
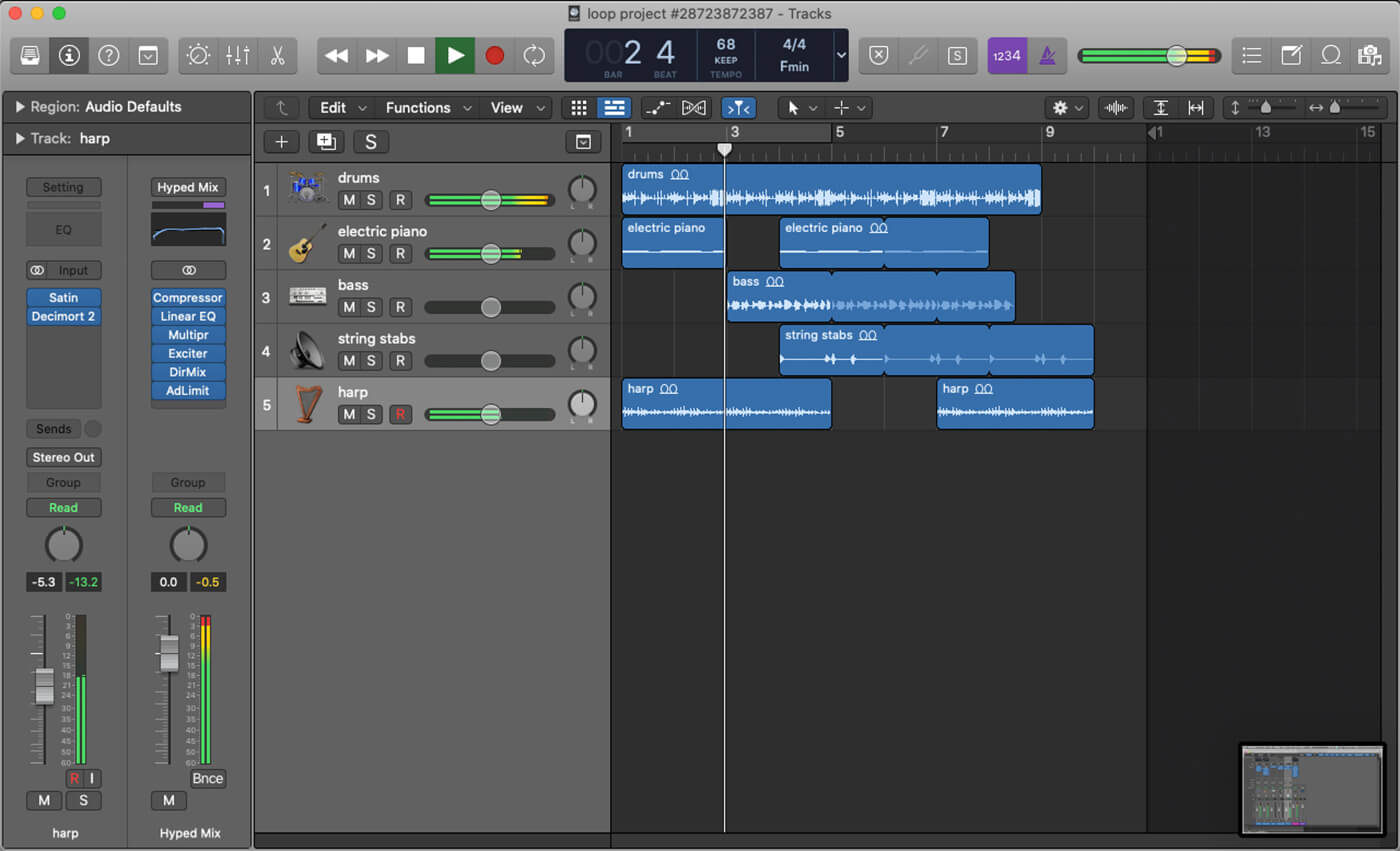
We’re starting with this rough loop, which has a typically sloppy mix (if it even counts as a mix), with different plugins on every channel, various different reverb instances used as inserts and a needlessly complex master channel preset.
Here’s how it sounds, to begin with:
2. Add a compressor
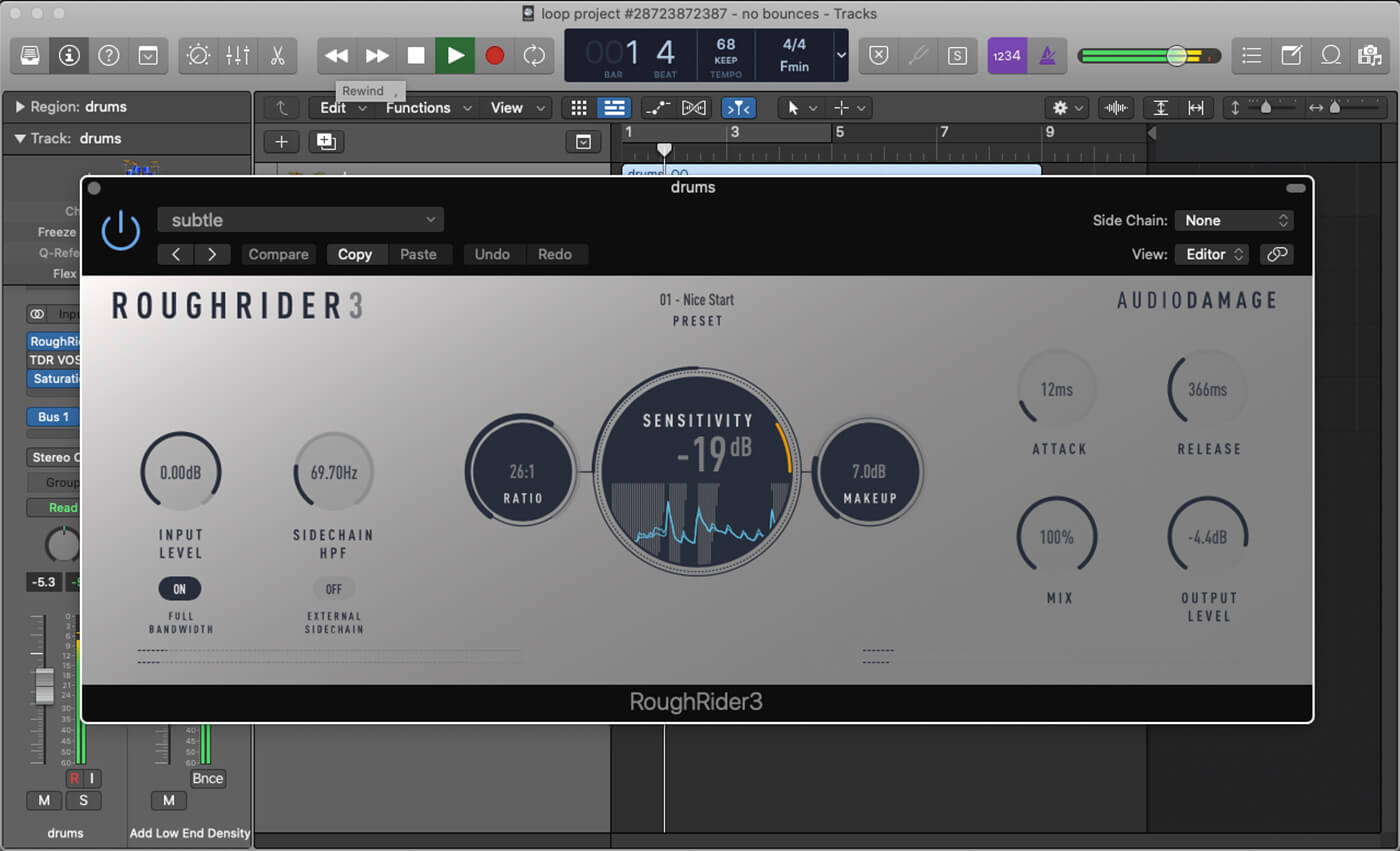
To kick things off with our custom channel strip, we’ll go with Audio Damage’s RoughRider 3 for compression. Described by its developer as “one of the most popular dynamics processors on the planet,” it’s designed mainly for punch and warmth, adding character to just about whatever you run through it. That might not work in every situation, and that’s fine, but we’re going for a deliberately coloured sound here, and RoughRider’s ease of use also helps you dial in sounds quickly. We don’t have to treat our custom channel strip preset like a rigid, prescriptive hardware channel strip, so if we really wanted to use a different compressor for a different sound we could switch it over if necessary.
2. The EQ
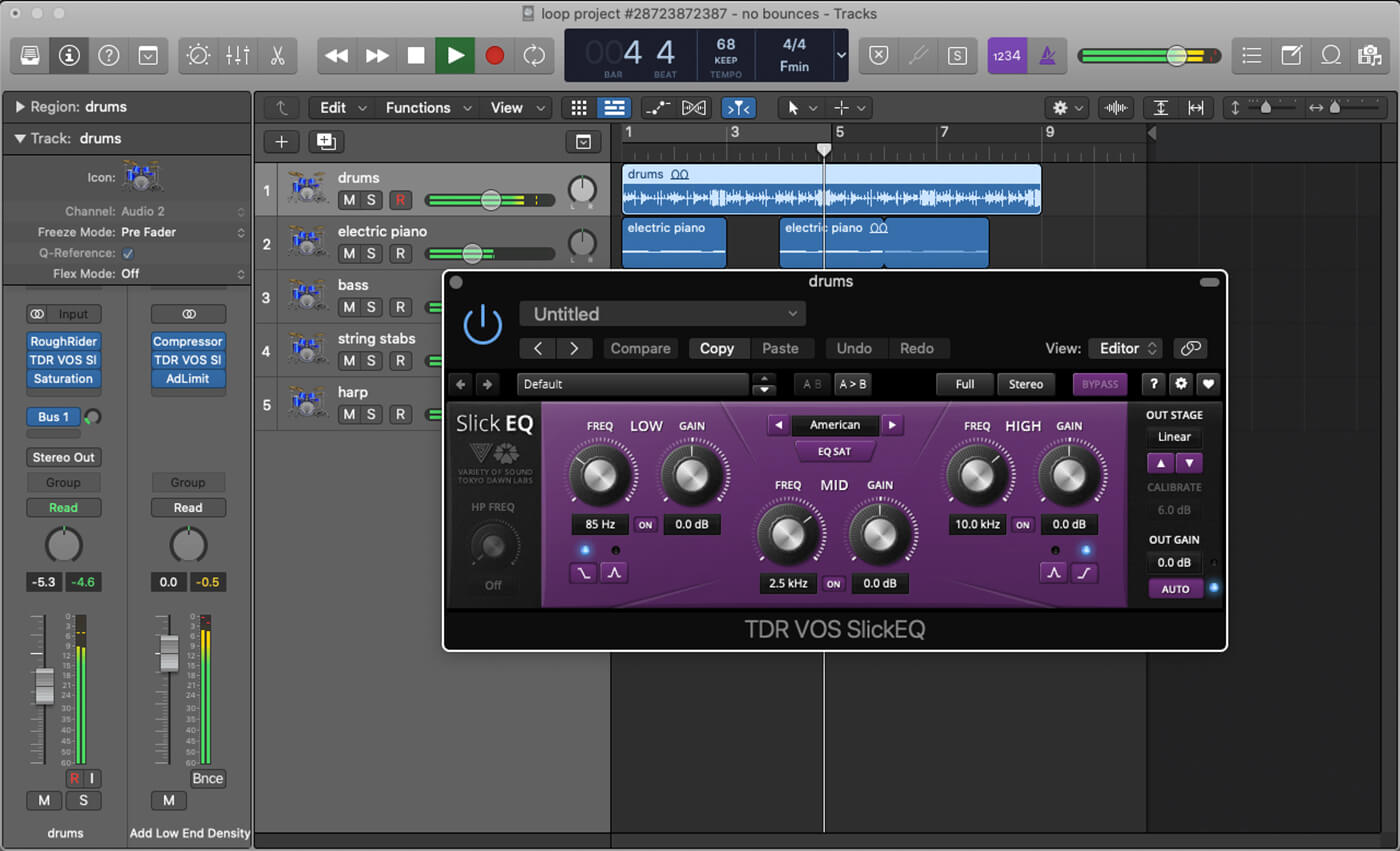
For EQ, we’ll go with TDR’s excellent VOS SlickEQ, a free option which is designed for ease of use and musicality. It’s a three (and a half) band design with models of vintage EQs.
3. Saturation
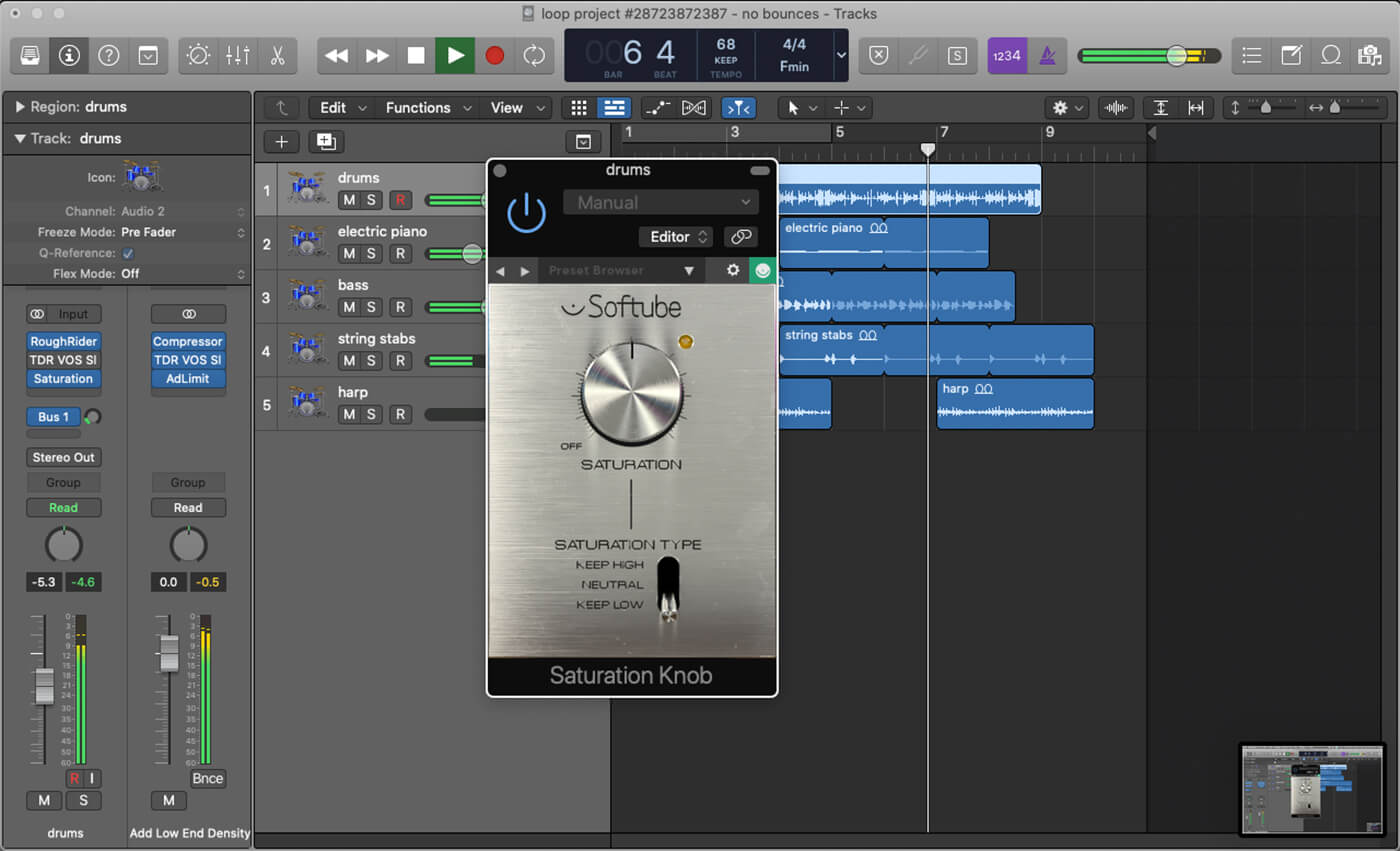
We’ll go off-piste next with an element that you wouldn’t find in a traditional channel strip, but which will work perfectly to add character. Softube’s Saturation Knob is a simple but brilliantly useful tool for adding harmonics and grit.
4. Reverb
Reverb is an integral part of the process here, but remember that we’re going to use an aux send here so that all tracks can send signals to the same instance of our chosen reverb plug-in. This helps to create a cohesive ambience. For character, we’ve chosen Togu Audio Line’s TAL-Reverb-4, a plate-style reverb plug-in with a deliberately retro 80s-style flavour.

Finally, we’ll clean up that master channel with a couple of Logic’s built-in dynamics processors and another instance of VOS SlickEQ just for the sake of consistency.
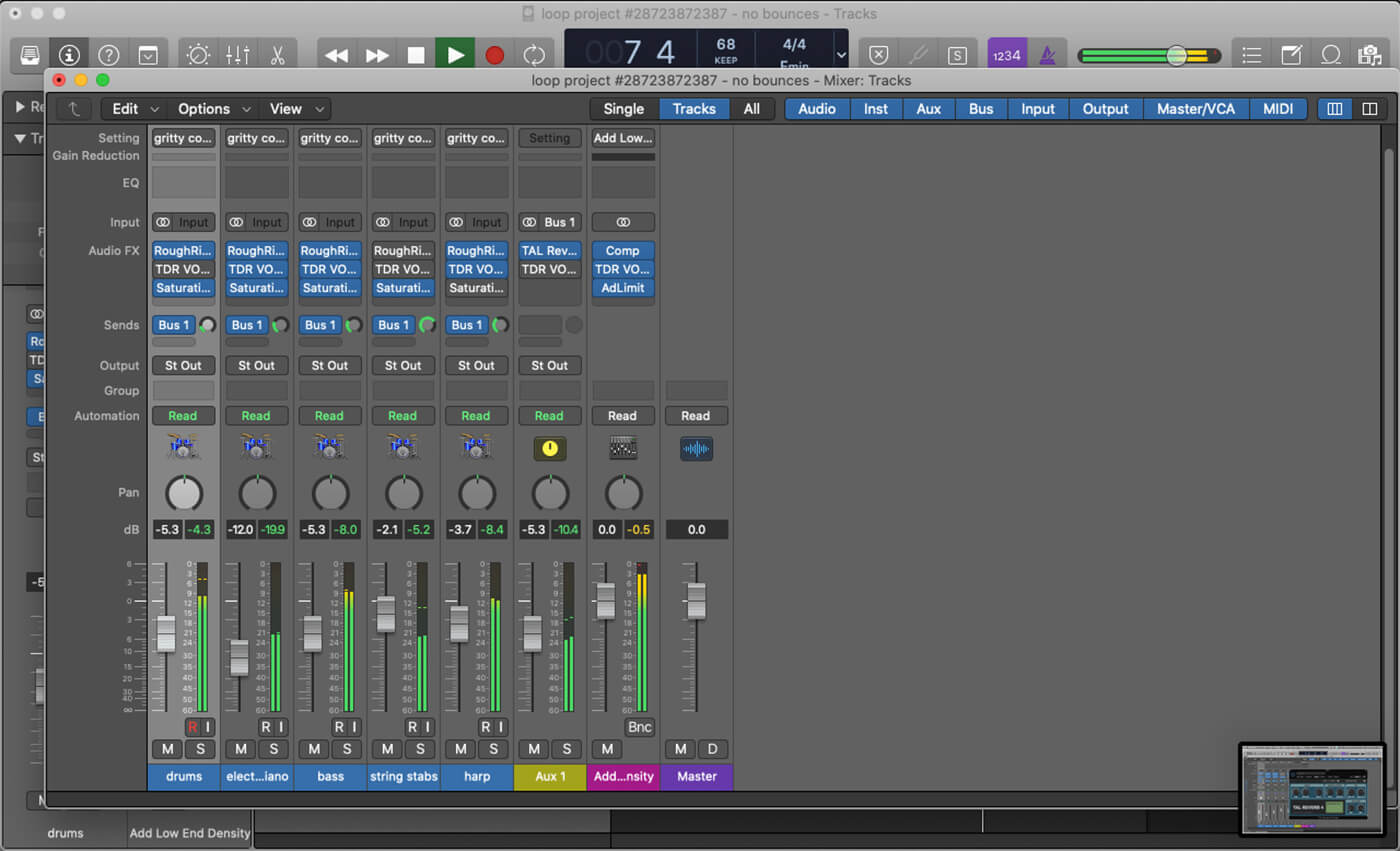
With all that done, let’s take a listen through to the difference in sound, first with individual channels and then with a comparison of the original mix versus the new, grittier and more cohesive mix.
As you can hear, the individual channels are closer in sound, largely because of the colour of RoughRider 3 and Saturation Knob. For reaching our goal of cohesion, it’s just as important that there’s a single send with TAL-Reverb-4. In our mix, we have TAL’s beautifully distinctive reverb working overtime on the string stabs, but it’s used on everything else too. There’s even a tiny little hint on the drum sub-mix.
5. Try it for projects
There are a few practical applications of this approach. On a very basic level, you could create one vanilla channel strip to use in all your projects. A more exciting approach is to think about building channel strips on an individual project basis. Maybe you could choose a slightly more coloured compressor for an EP, or throw in a tape emulator for a particular album project. You could even create a themed, vintage-style custom strip based on a moment in time or a specific producer’s setup from history.
We’d love to hear about how you approach this one. Do you use the same channel strip every time, or are you a fan of building new, bespoke settings for every new project?
Share your favourite plug-ins for a channel strip, along with before and after sound examples in the MusicTech Creator Community Facebook Group.
Check out more Weekend Workshops here.