Ableton Live Tutorial: Making Bass – Part Two
Martin Delaney continues his exploration of making bass in Ableton Live… Making Bass – Continued 7: While we’re shortening, set the Sine’s Sustain to -7dB. This makes it shorter against the higher, square sound; when you play the clip, it keeps the punchy low bass hit without cluttering up the mix. 8: Because we’re using […]
Martin Delaney continues his exploration of making bass in Ableton Live…
Making Bass – Continued
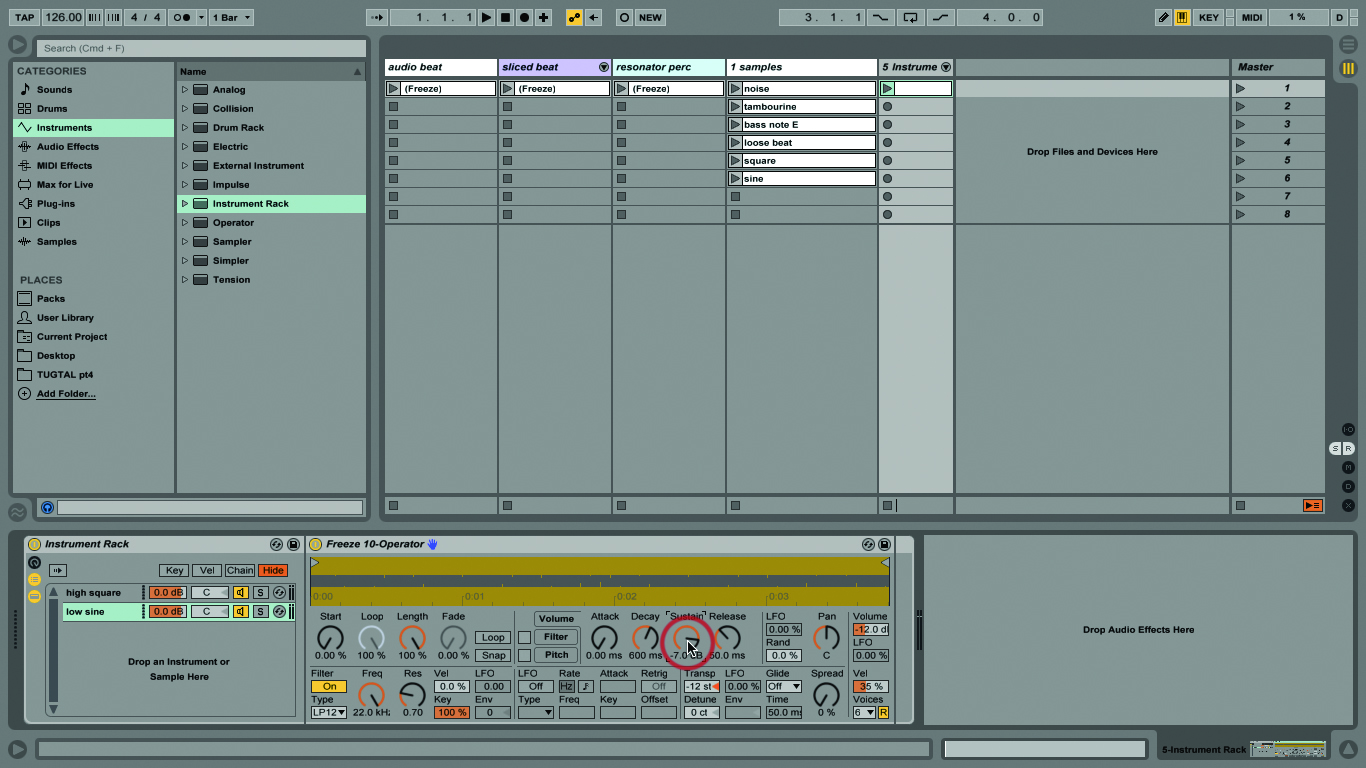
7: While we’re shortening, set the Sine’s Sustain to -7dB. This makes it shorter against the higher, square sound; when you play the clip, it keeps the punchy low bass hit without cluttering up the mix.
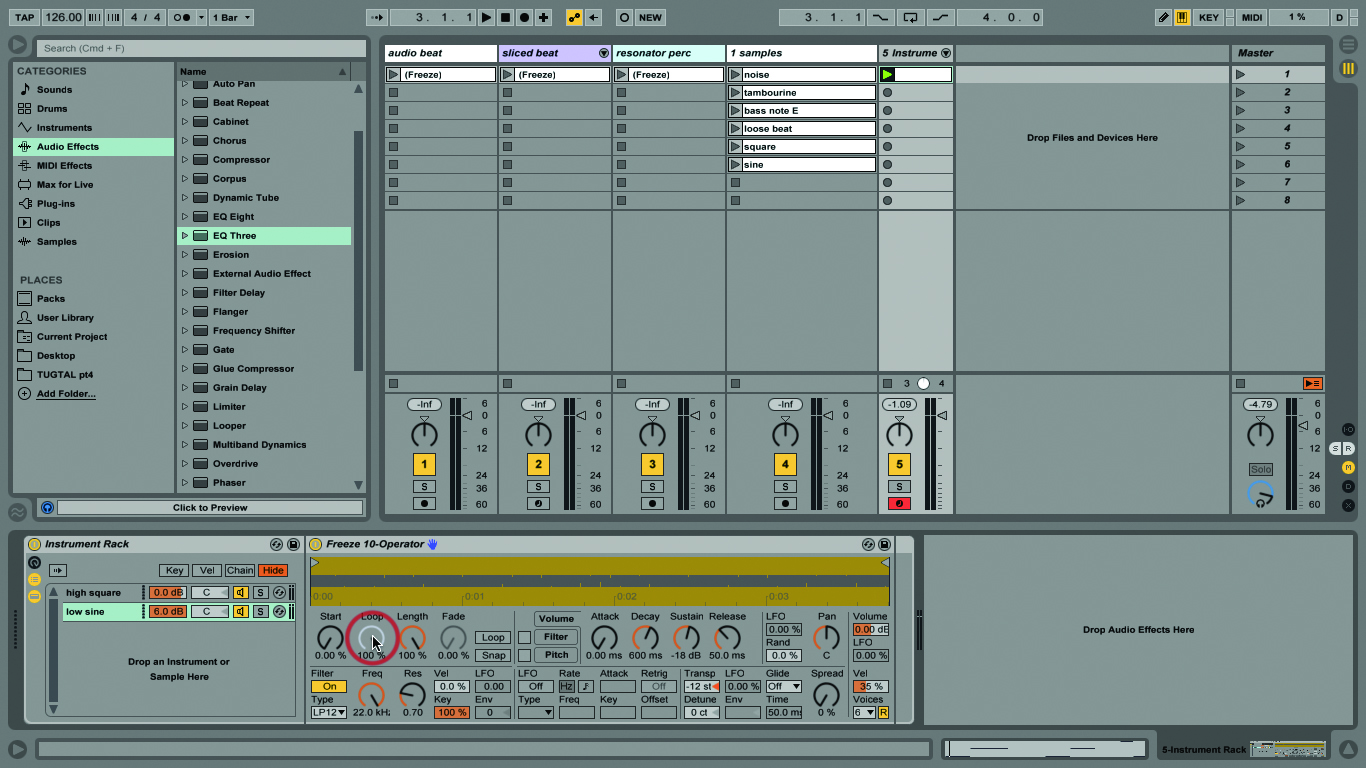
8: Because we’re using short punchy notes for this, we don’t have to play with the other Simpler settings for loop/fade, release time, and so on. Our samples are long enough that it won’t matter.
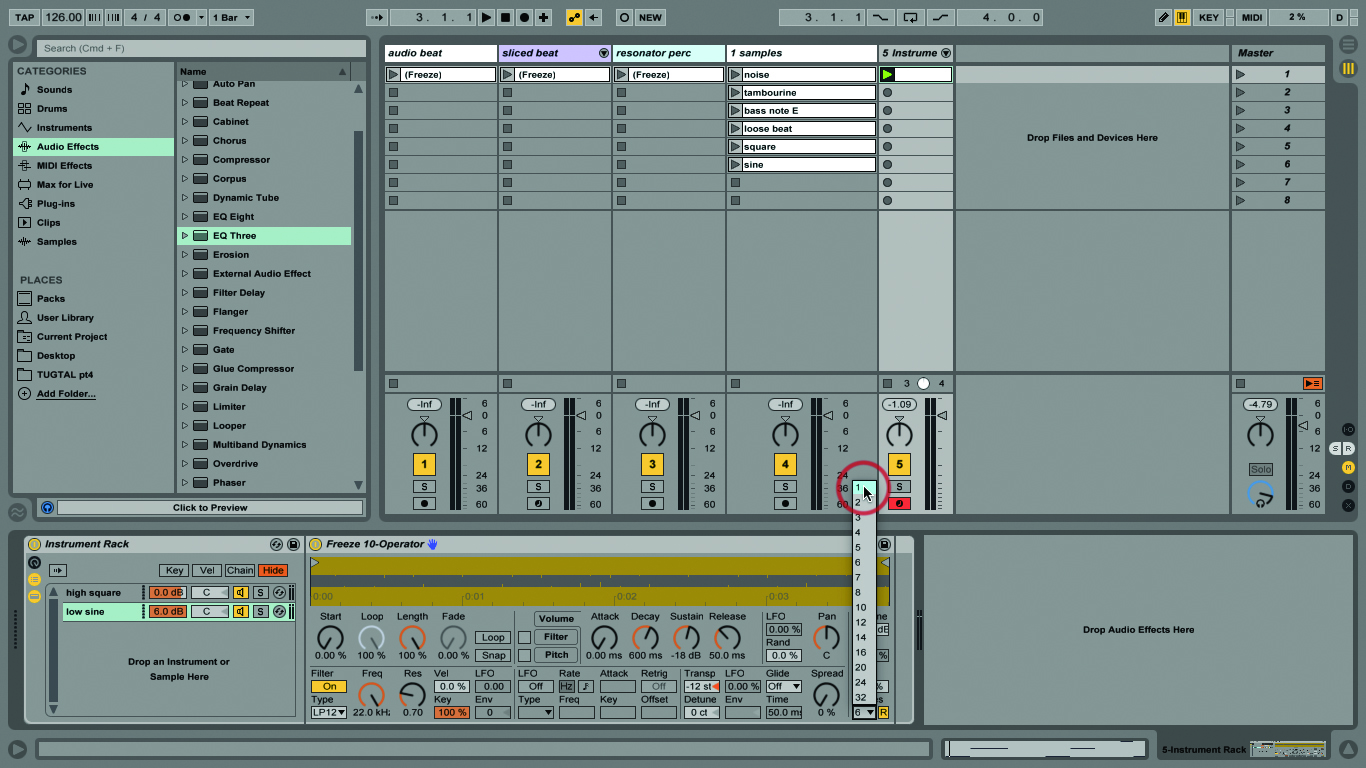
9: Our simple bass part will be monophonic – only one note at a time – so we can set the voices for each Simpler to 1. This means we can’t play or program any overlapping notes by mistake.
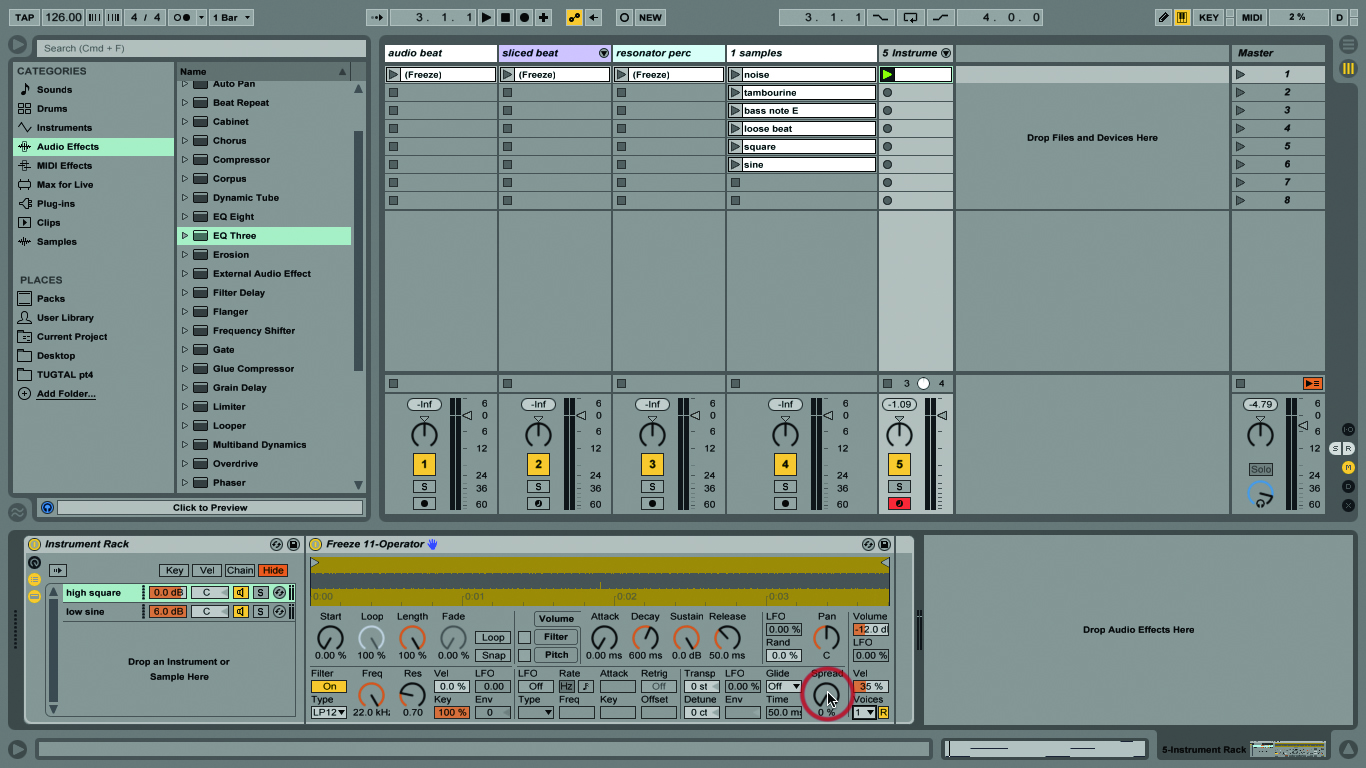
10: We could add effects to each chain and use the Spread control to make a monster bass sound, but it doesn’t leave much room for other sounds in the song if the bass is too big.
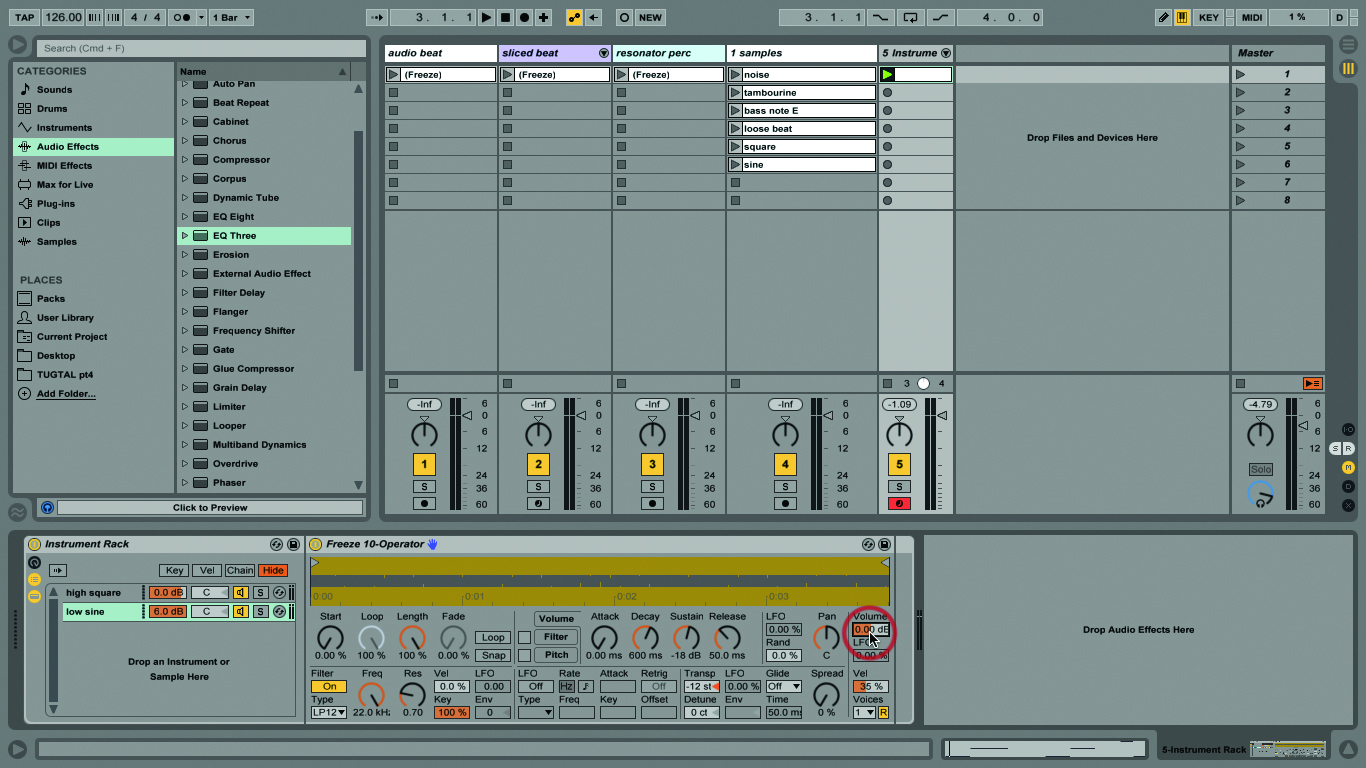
11: Let’s raise the sine volume inside Simpler to 0dB – Simpler and Sampler always default to -12dB, I guess to protect us from ourselves! You can keep tweaking the levels as you go on.
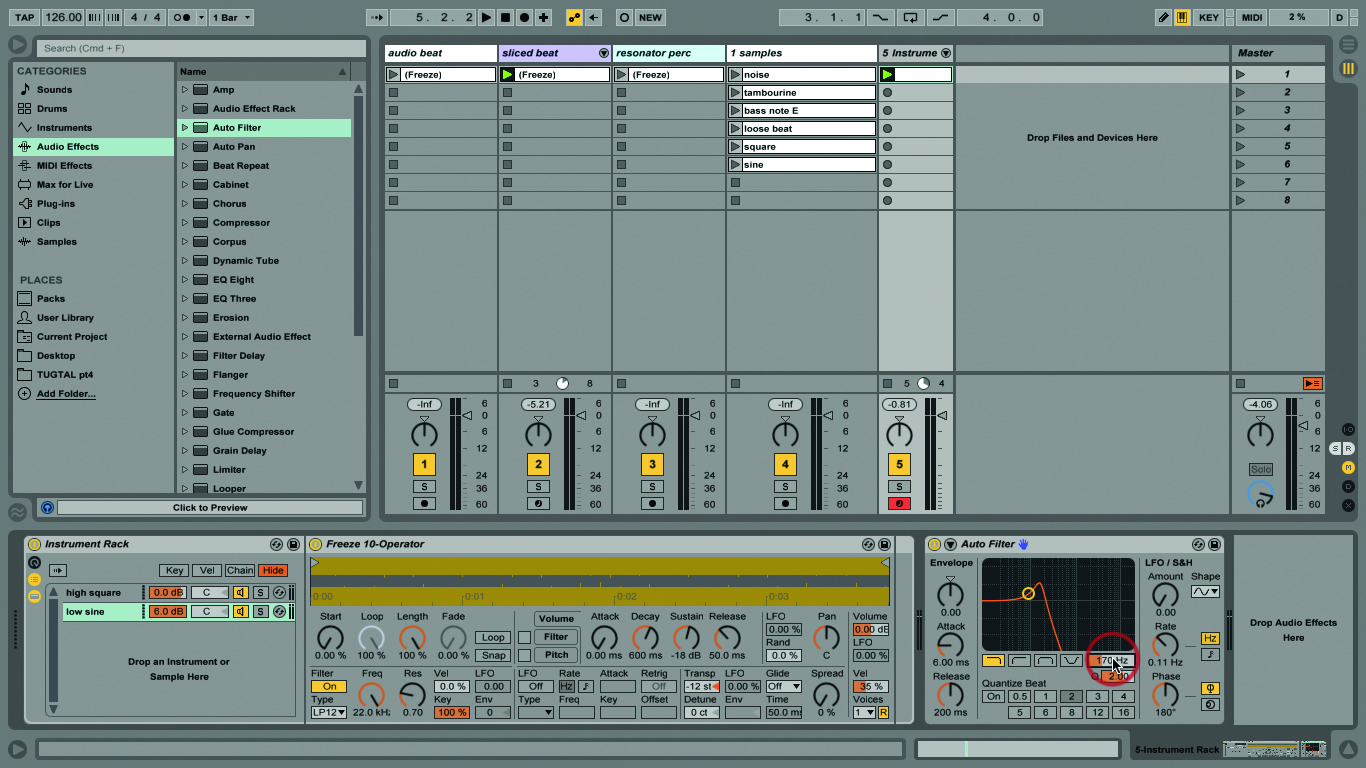
12: Let’s add Auto Filter for some nice filter sweeps. Drag it right after the rack so it applies to both chains and set the filter cutoff to 170Hz, and the Q (resonance) to 2.00.
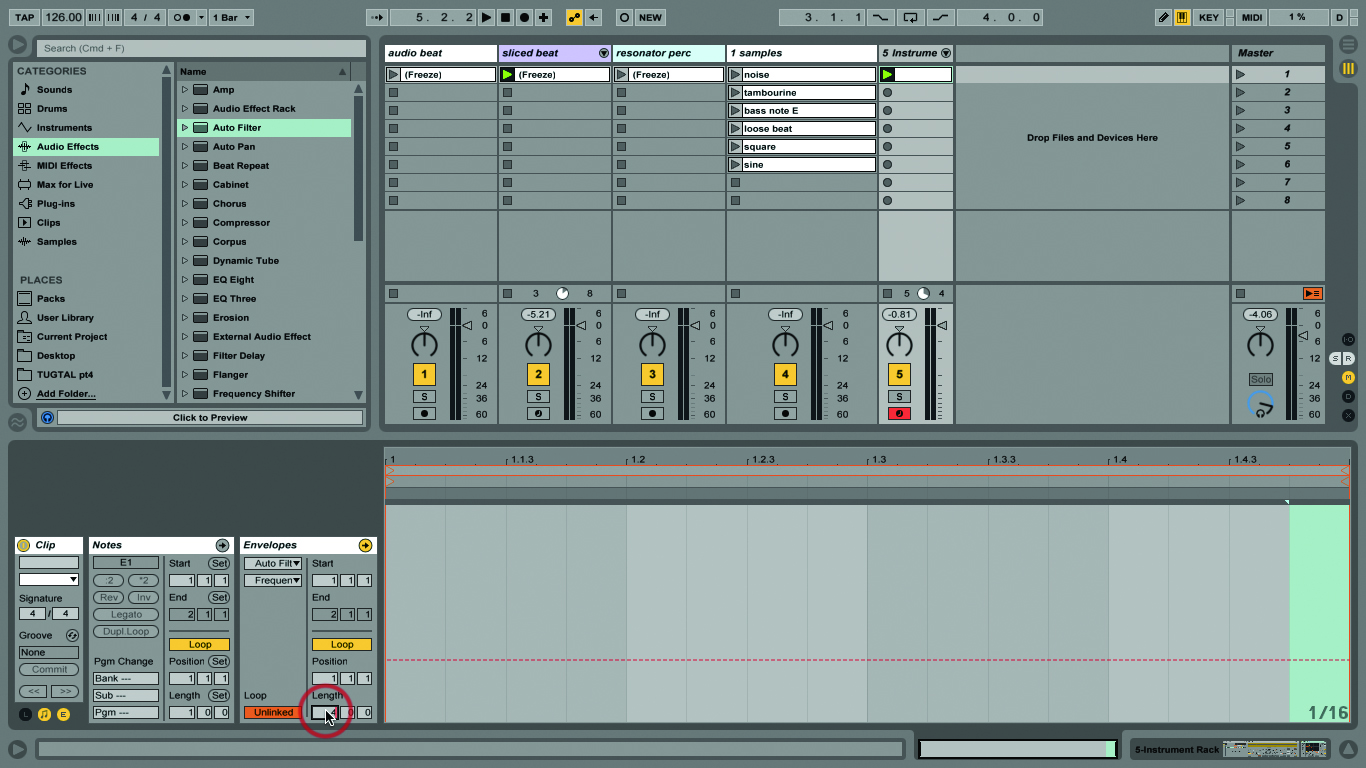
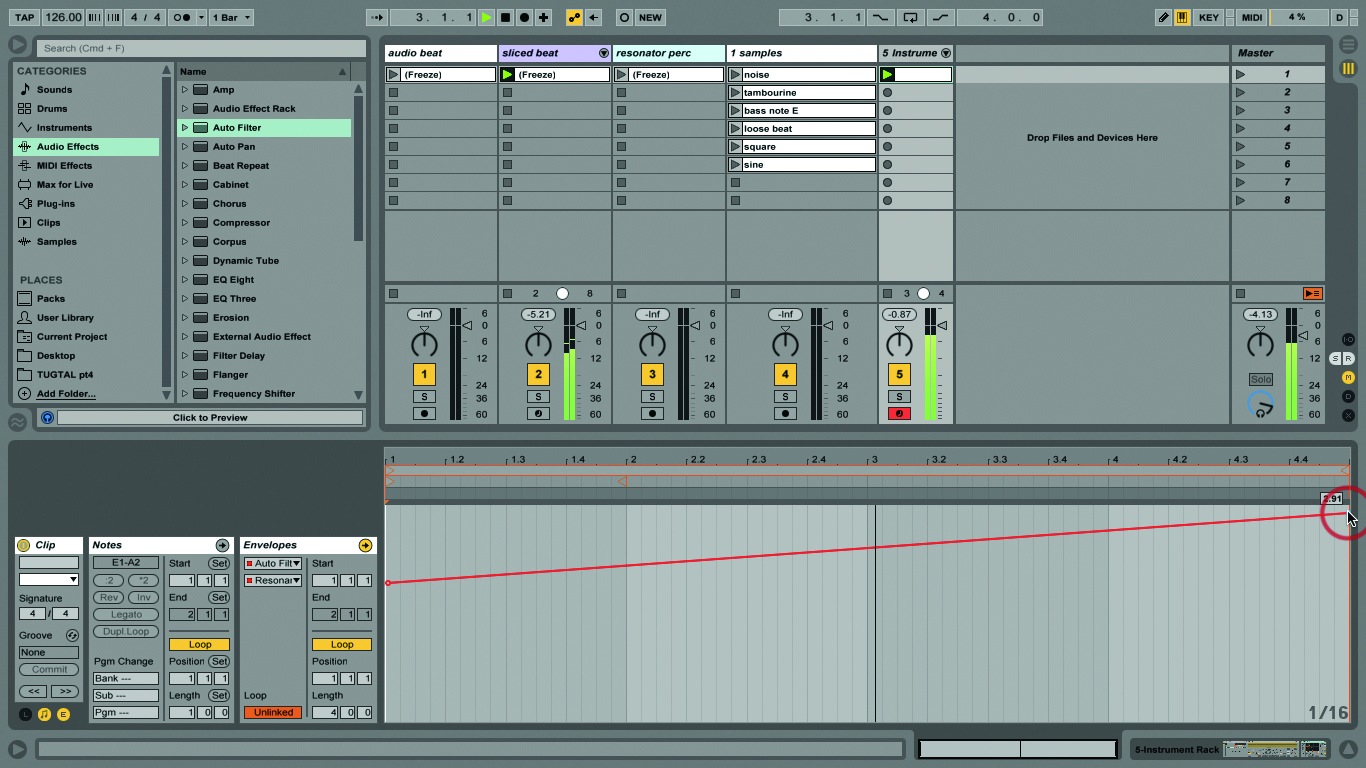
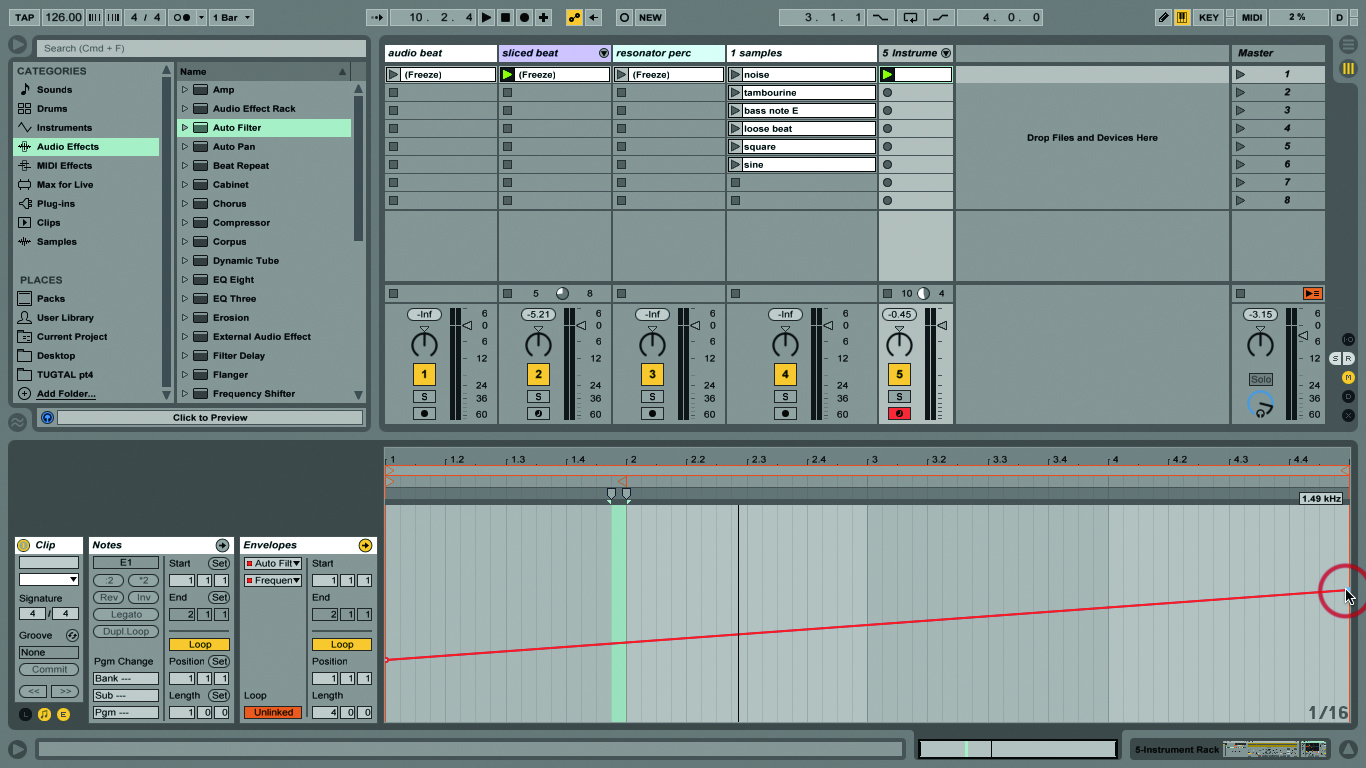
13: Sweep time. Inside the MIDI note editor, click the envelope arrow and choose Auto Filter and Frequency from the pop-up choosers. Click the Link button and type a value of 4 bars next to that.

14: Click the left end of the red dotted line in the editor to anchor it. Drag the right end upwards to 1.50 Hz (Cmd-Click-Drag for finer resolutions). Now the frequency changes as the clip plays.
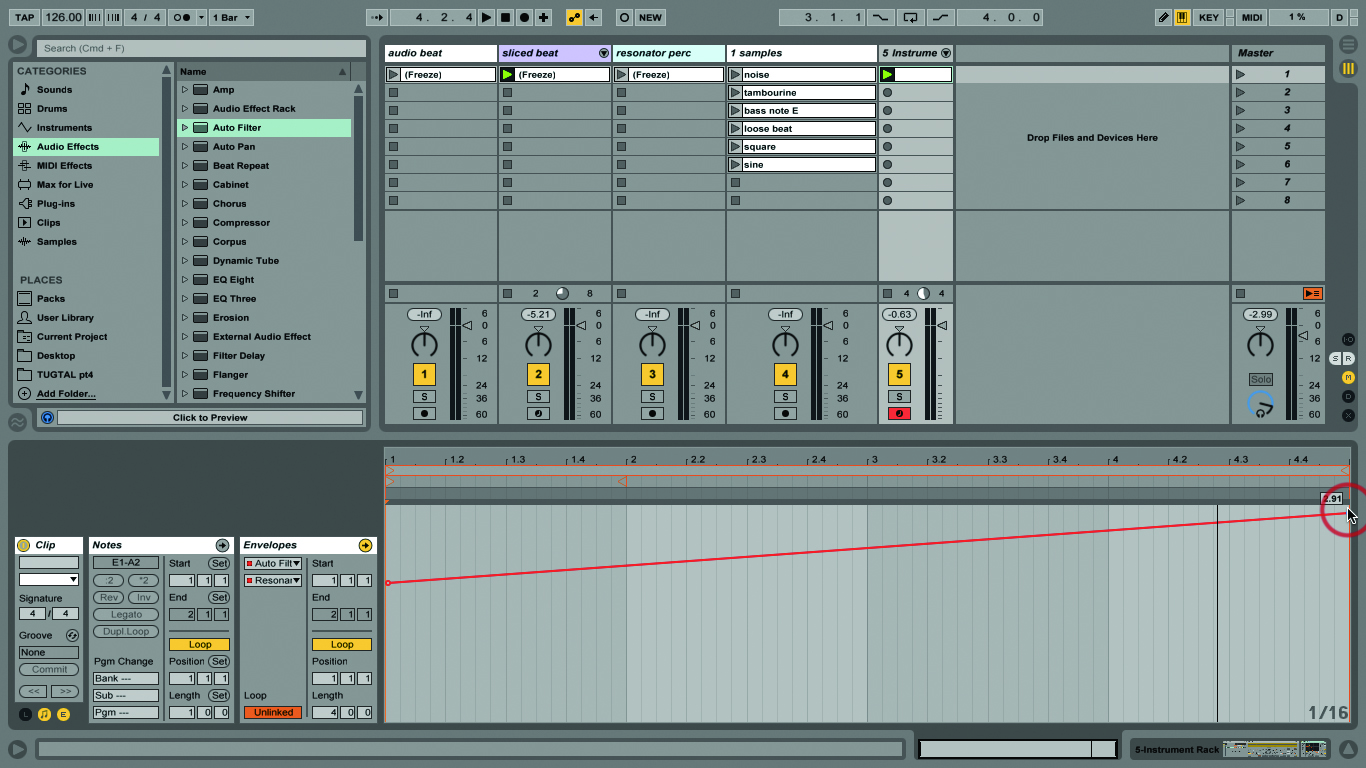
15: Choose Resonance now, unlinking it again, anchor it, then draw an envelope that ends at 2.90. You’ll hear that as well. Look at the Auto Filter and you’ll see red dots marking the automated controls.
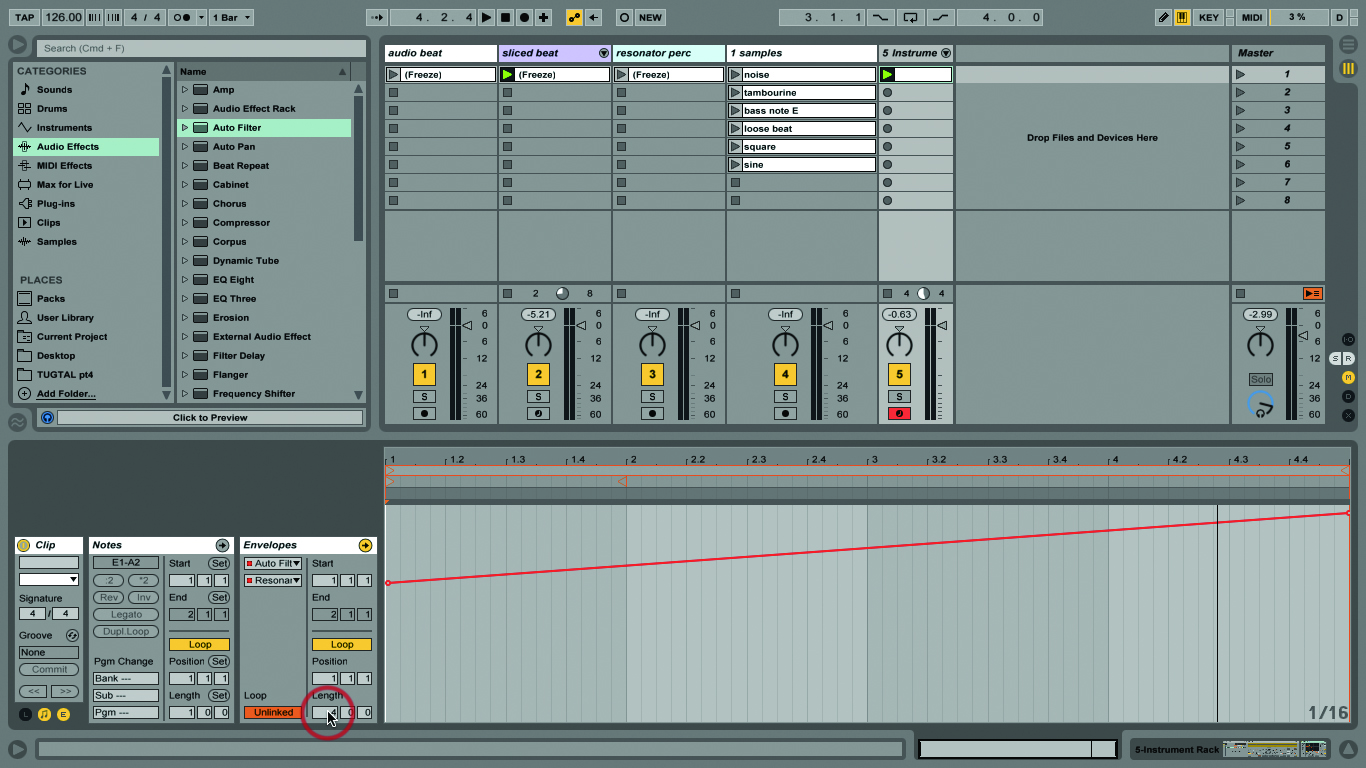
16: What sounds cool is if you create different length sweeps for different parts of the song. Once you’ve clicked that Link button, you can set envelopes to any length, even with simple one-bar clips.
17: When you’re repeating these nice envelope sweeps, don’t use the same values every time either – it’ll sound more organic if you vary them a bit. You will hear the difference especially with the Resonance.
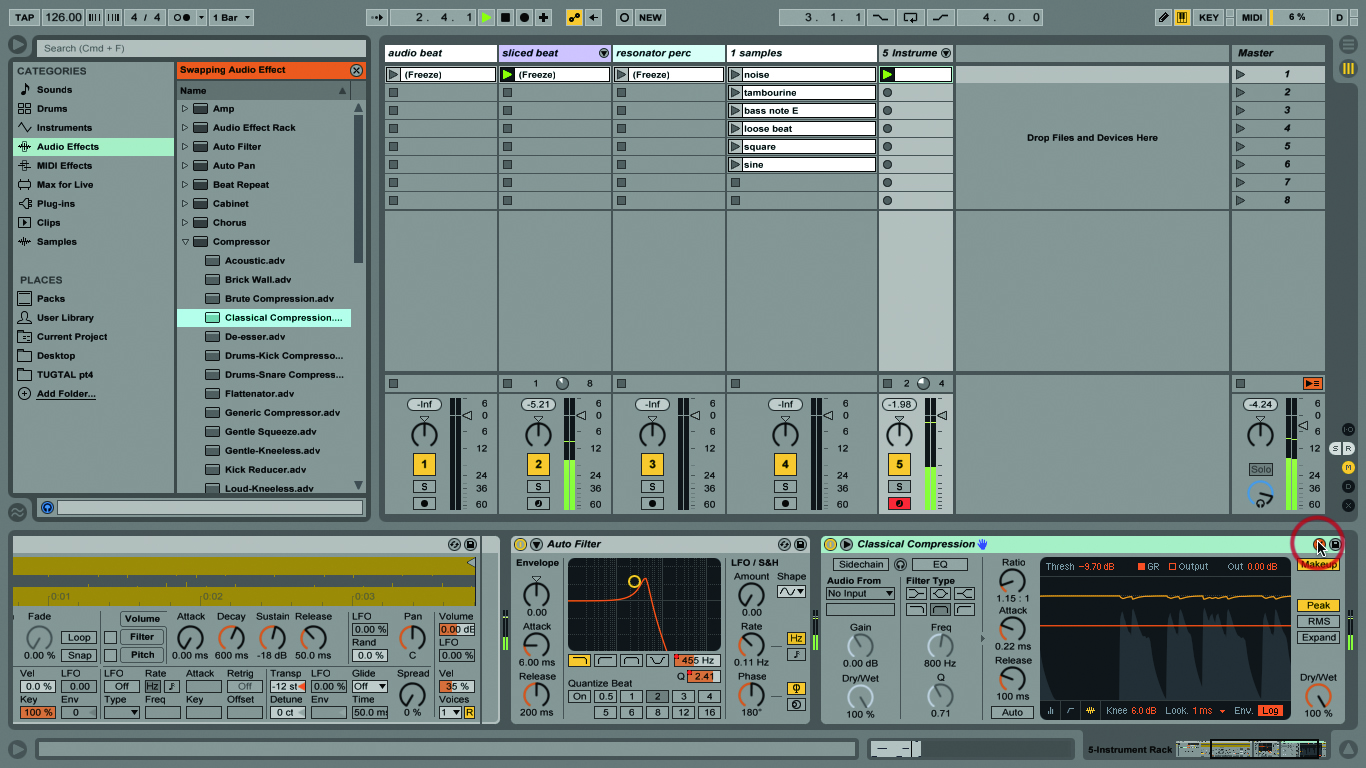
18: Drop in Live’s Compressor/Classical Compression preset. Make sure it goes right after the entire rack so it applies to both chains. If you’ve got Glue Compressor from the Live 9 Suite, try that instead.
