The Lazy Guide to Ableton Live: Part 2 – The Virtual Keyboard
In the second of our ‘Lazy Guide to Live’ series we take a look at the virtual keyboard… Unless you own Push or Push 2 – in which case, lucky you – you’ll probably be using Live with an external keyboard. Well, as good as they are, at a very early stage of your notepad […]
In the second of our ‘Lazy Guide to Live’ series we take a look at the virtual keyboard…

Unless you own Push or Push 2 – in which case, lucky you – you’ll probably be using Live with an external keyboard. Well, as good as they are, at a very early stage of your notepad composition process, we reckon that Live’s Computer MIDI Keyboard option takes some beating – it does the job of auditioning and recording and, again, let’s you jump from clip to clip quicker.
It also takes Live use back to its early days of laptop-only composition. As good as Live is at breaking out of a software-only environment with Push – which seems to be something of a theme these days – what it was really good at offering in those early days was a ‘laptop only’ way of putting ideas together, which gave it a huge amount of appeal. You engage the computer ‘keyboard’ either by clicking the keyboard icon top right or hitting Shft>Cmnd>K. Play notes using your computer’s A and Q rows and use Z and X to shift octaves up and down.
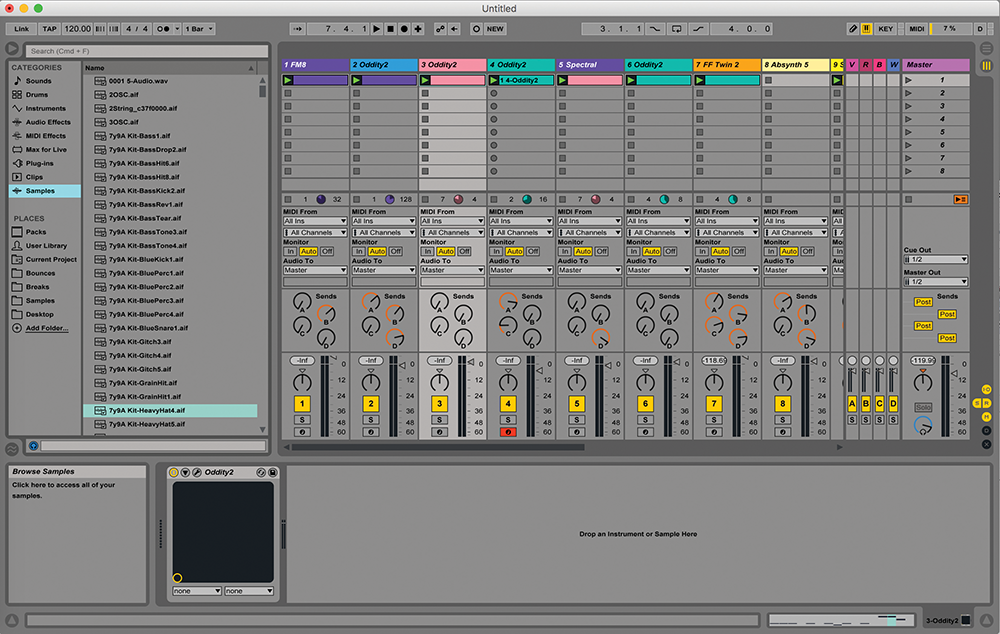
In order to record these, make sure you have Record Enable clicked at the top of the track. You’ll also need to select the Computer Keyboard as a MIDI IN. When you record your notes you’ll find that it’s a fabulous and mobile way of breaking quickly out of rigid loops – the clips grow as you record – and you can jam ideas over existing clips.
The Virtual Keyboard – Step by Step
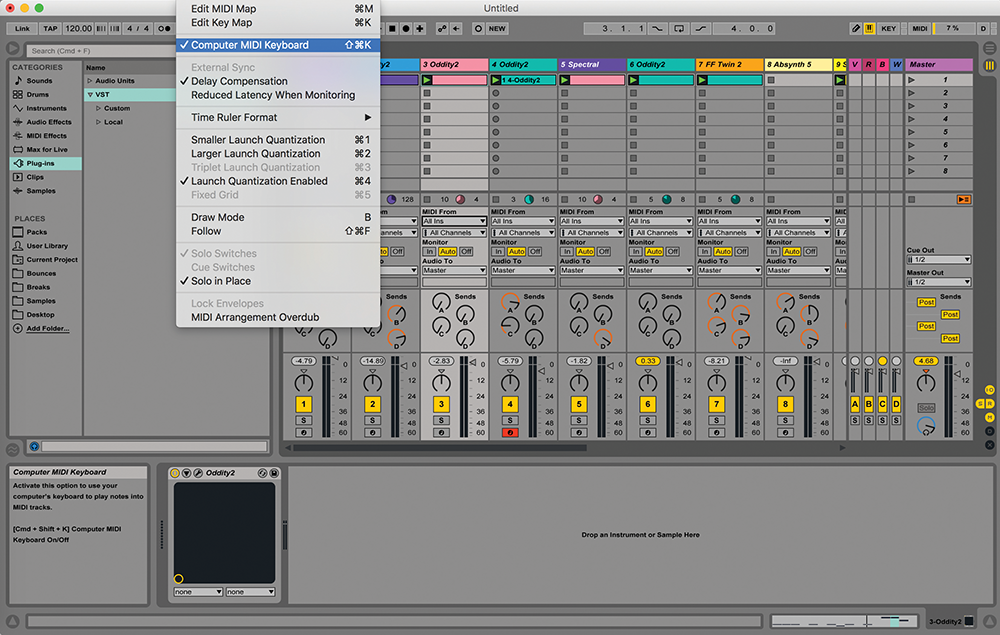
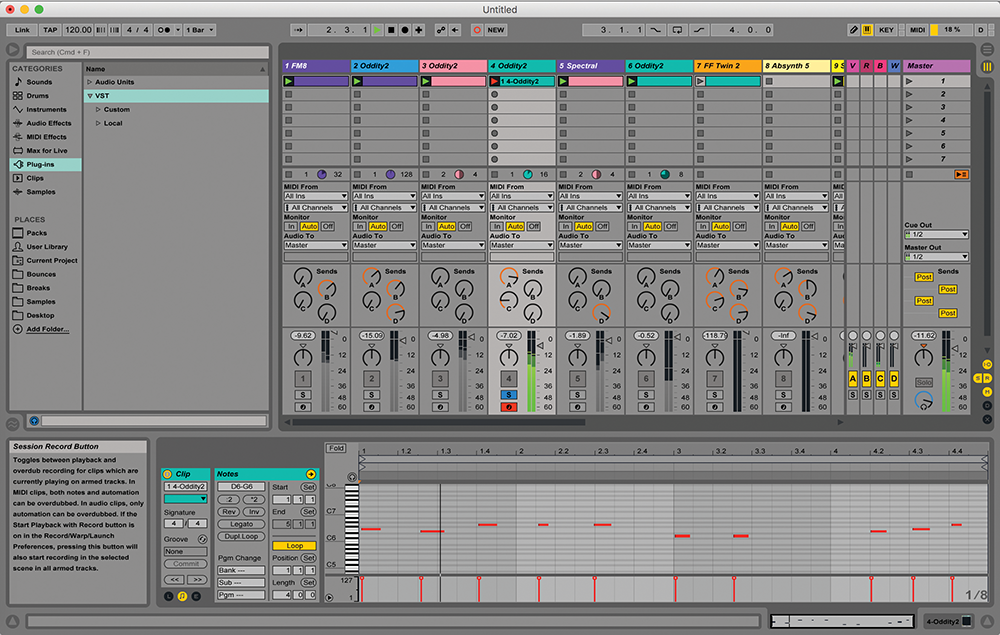
1: Live’s Computer MIDI Keyboard makes both auditioning and recording a lot more mobile and faster. Engage it with the icon shown top right, drop-down menu of Shft>Cmnd>K.
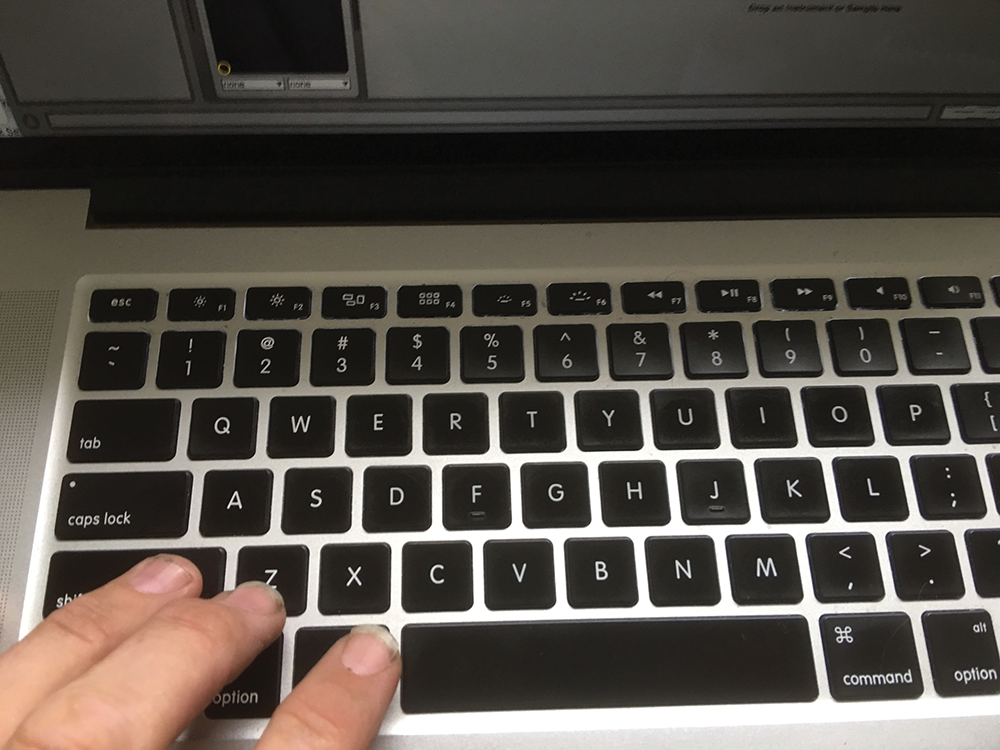
2: It turns the Q and A rows of your computer’s keyboard into a virtual piano keyboard with the A row taking the white notes; Q the black. Z and X octave down and up respectively.
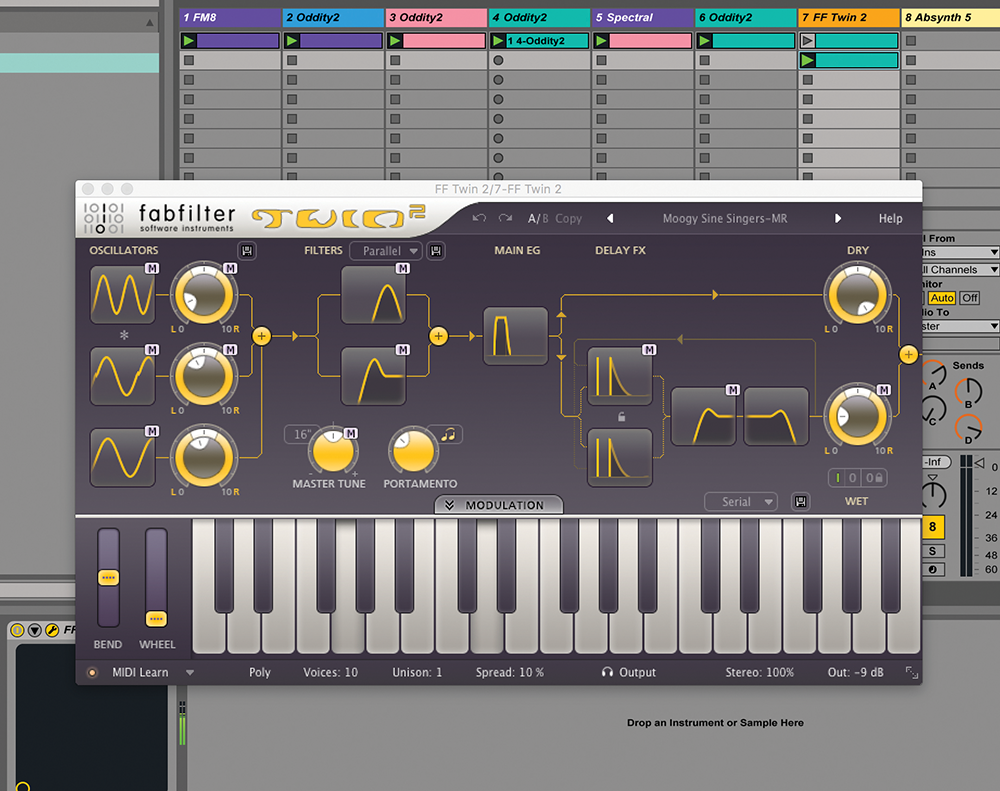
3: Load up any instrument and you’ll miraculously be playing its keys, that is if you have the right track armed, of course. It makes auditioning sounds on clips a dream.
4: But recording is also something that it can take care of, but you may have to select a couple of quick edits. On the MIDI IN drop down menu select Computer Keyboard.
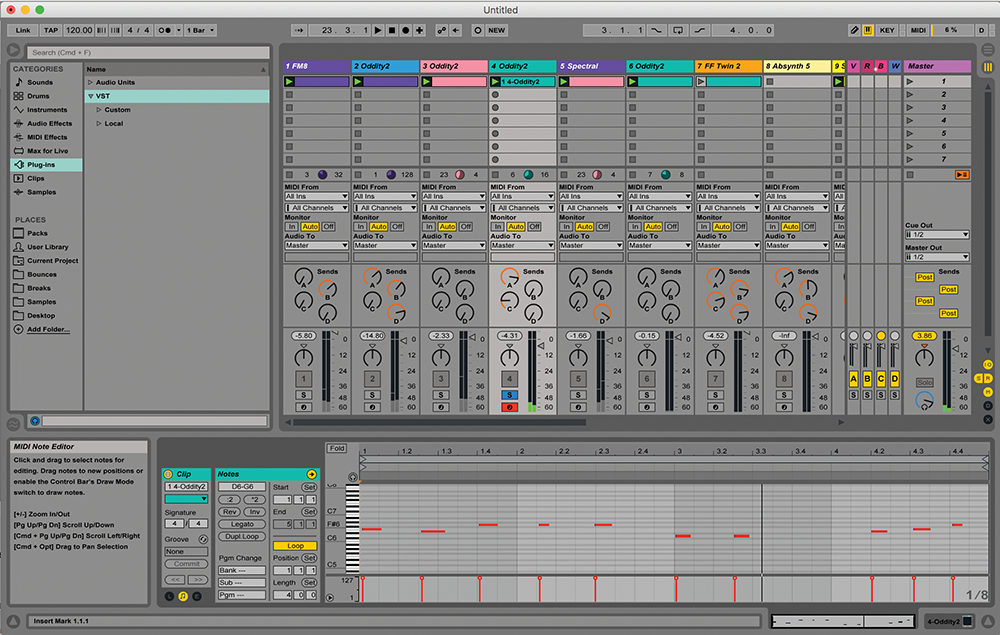
5: Make sure you Arm Record (top) before playing. Now you can record ideas over your existing loops, allowing for solos and non-looping parts to be played making your overall song structure less loop heavy.
6: We found that playing in notes like this and just jamming ideas gave us more of a freedom, to the point where we left bum notes in or at least those slightly played out of time for a more natural feel.
