The Lazy Guide to Ableton Live: Part 3 – Creative Clips
You can get creative with clips very quickly and very easily. Firstly, there’s the obvious: copying! Check out more in our guide to creative clips. Check out part 1 and part 2 Copying one clip to another track and listening to it trigger different sounds is one way to fatten up a bass sound or […]
You can get creative with clips very quickly and very easily. Firstly, there’s the obvious: copying! Check out more in our guide to creative clips. Check out part 1 and part 2
Copying one clip to another track and listening to it trigger different sounds is one way to fatten up a bass sound or add extra padding in your upper mids. You are already in the same key, as the original notes are the same and if you have a templated set up, you will quickly be triggering other sounds from your favourite synths using your initial clip. Then it’s very easy to move a few notes around within a clip and either keep the clip on the same track to provide some melodic variation over the original track. Another lazy trick is to move a melody clip onto a rhythm track to quickly get some beats going.
It will be something unusual to start with and perhaps not something you’d have come up with just programming straight beats. This also works the other way around, too. So far, so simple. Copying clips and throwing different ideas at clips is what Live is all about.
But now, we’ll try a couple of other simple clip variants out to get things moving by using odd-numbered clip lengths and different start and end points. What Live is really good at doing is playing four- or eight-bar clips together in a standard dance way, but if you break out of the mould even a little and have clips cycling around on odd bar lengths, they start to drift away from each other creating a more random song.
Obviously, this might not be too good for the tightness of dance music, but if you want something a bit more ambient or random, experiment with clips that stop and start at different timings, or have very different lengths. They might even have the same note content, but as they are playing at different times, they’ll create different sounds.
In the next parts, we’ll be delving a little deeper to look at the wonders of Follow Actions and Clip Automation to get really creative.
Creative Clips Step-by-Step
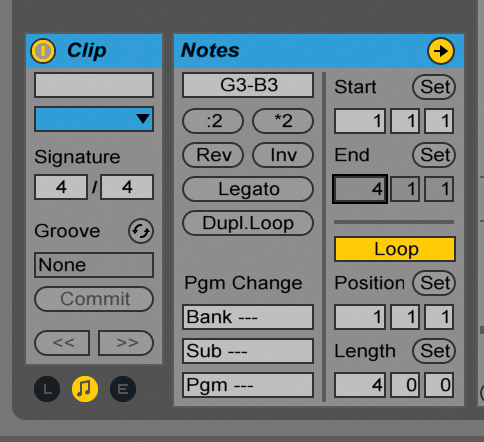
1: Live is all about simple clip editing for variation. It is so easy to do this on a very basic level. Select a clip, hold down Alt>drag and copy it either to another track or another clip within the same track.
2: Copying it to another track is particularly good if you have a template arrangement set up (from two pages back), as you can then trigger more of your favourite sounds with the same MIDI clip.
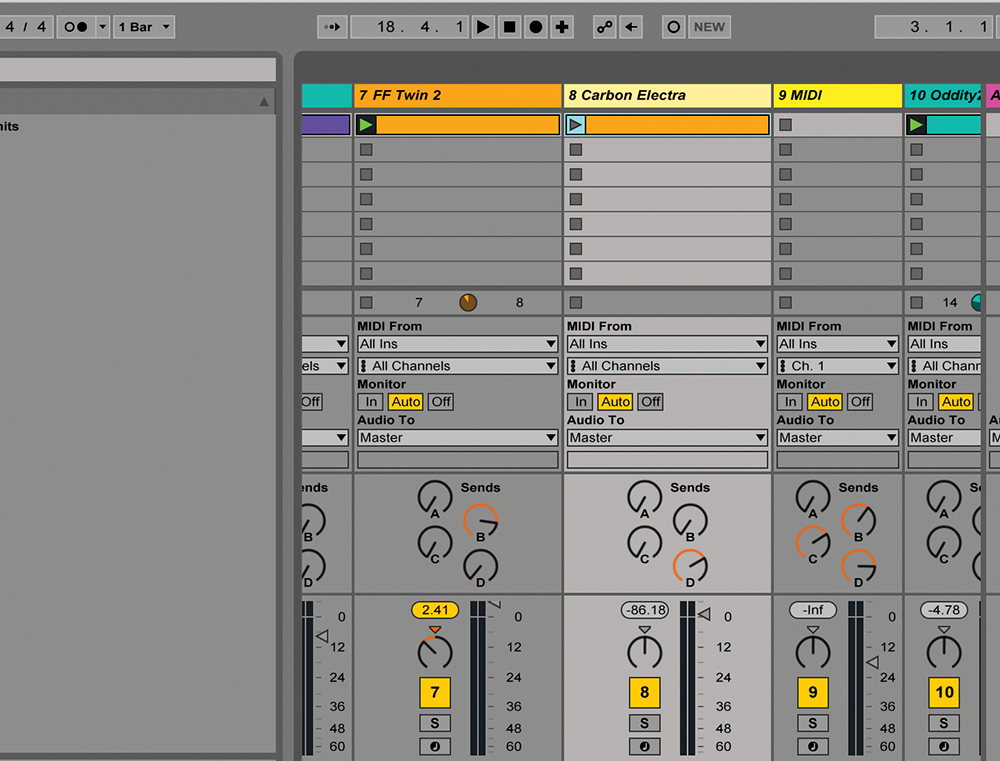
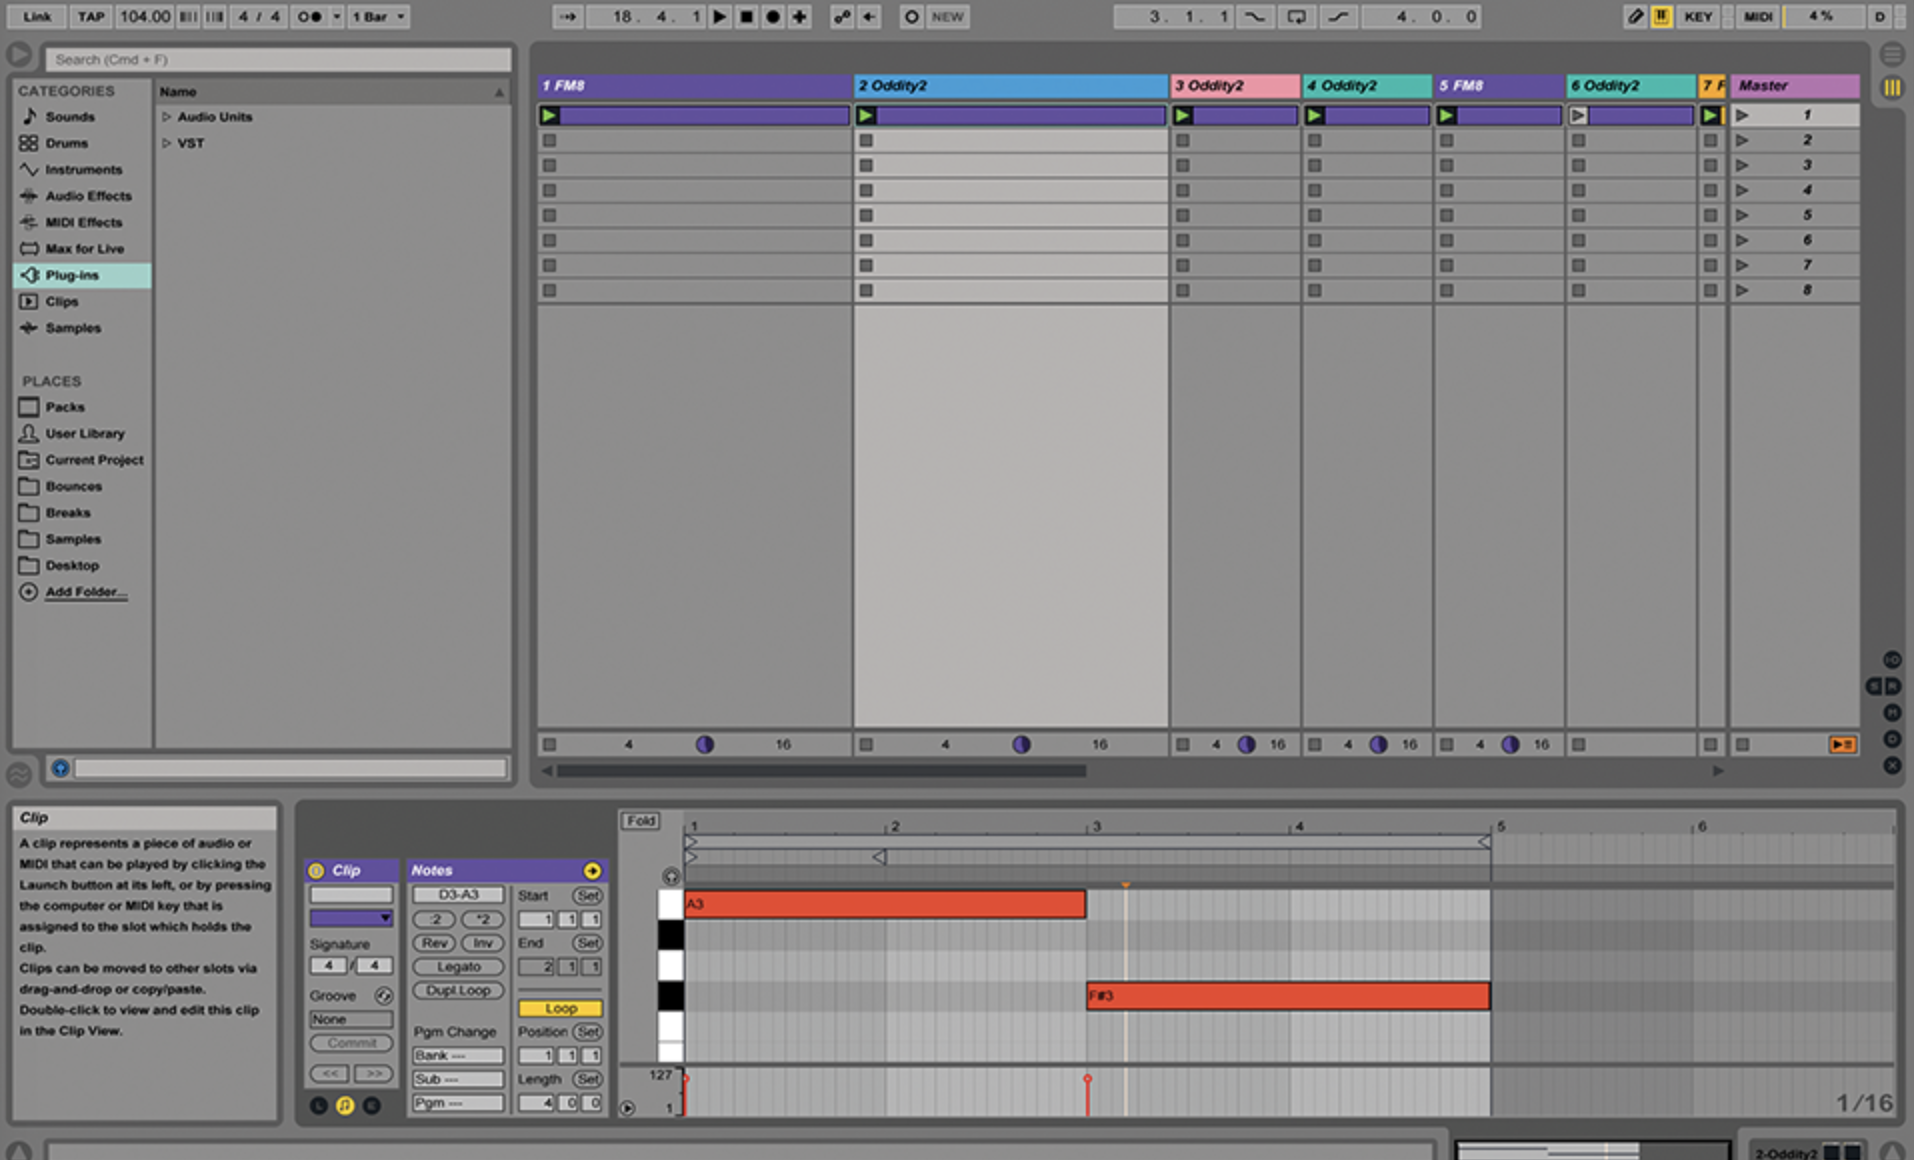
3: Here, we’re fattening up our original bass sound from one synth (FM8) with bass sounds from another (Carbon Electra) just by copying – an obvious ploy, but Live makes it so easy to do, why not?
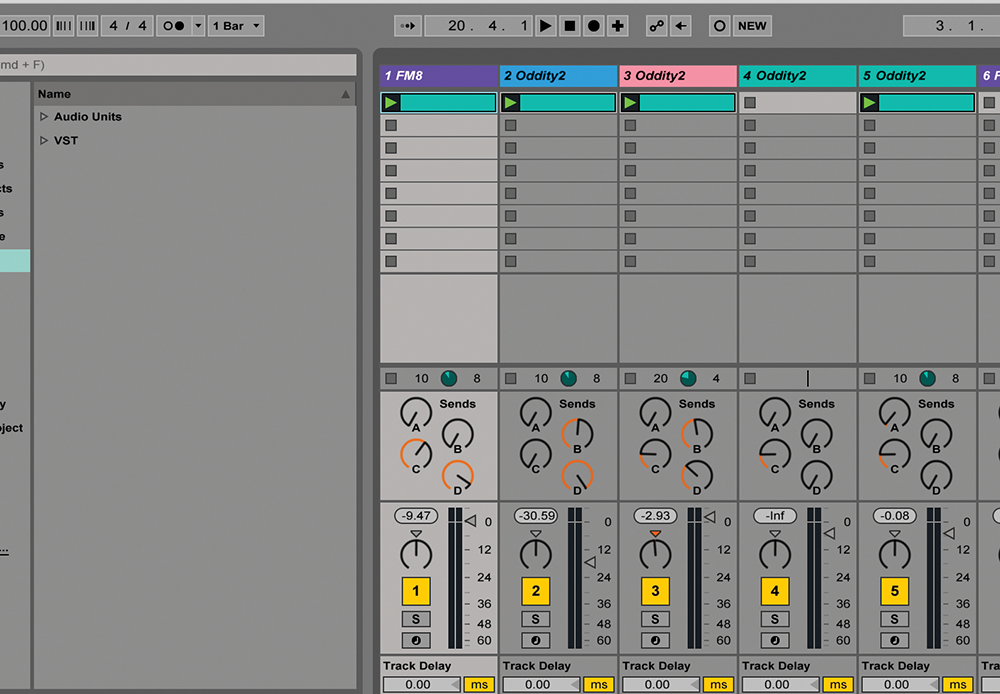
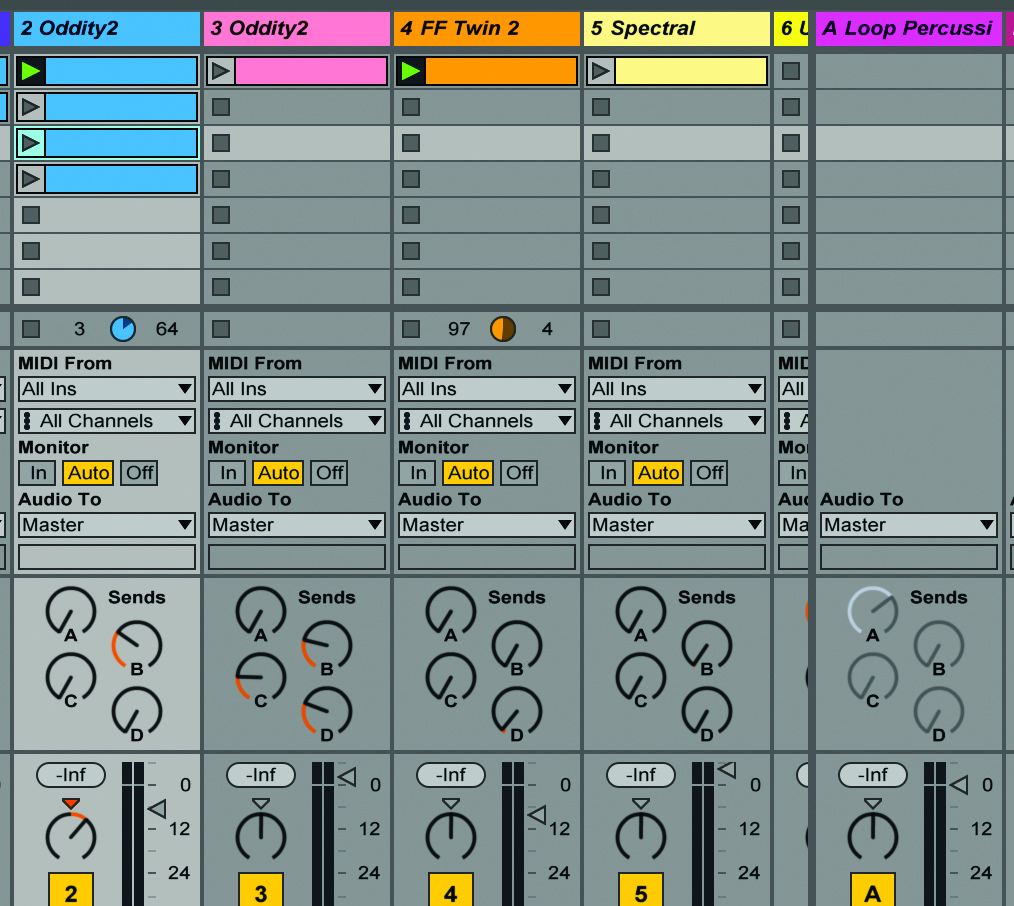
4: Here, we’ve done the same thing three times. We’ve copied the same pad clip (FM8) to three string sounds from three instances of the same synth (Oddity) to create an instant string section!
5: Want to create an instant drum groove that is a little but different from the norm? Grab yourself an original bass-line clip and copy it, but instead of copying it to a melody track… copy it to a beats track.
6: Load in one of Live’s many drum kits and drop a melody clip onto it. Some simple note transposition might be needed, but it will result in beats that work. Try it the other way (from beats to bass), too!
7: It’s also very easy to change a few notes around within a clip and use this as a variation. First, copy the original clip to the same track (Alt drag) as shown. Double click it to edit the notes…
8: Selecting a couple of different notes to change will be enough. A couple of notes on each clip within a track will make a difference – again, it’s very basic, but worth doing for variation.
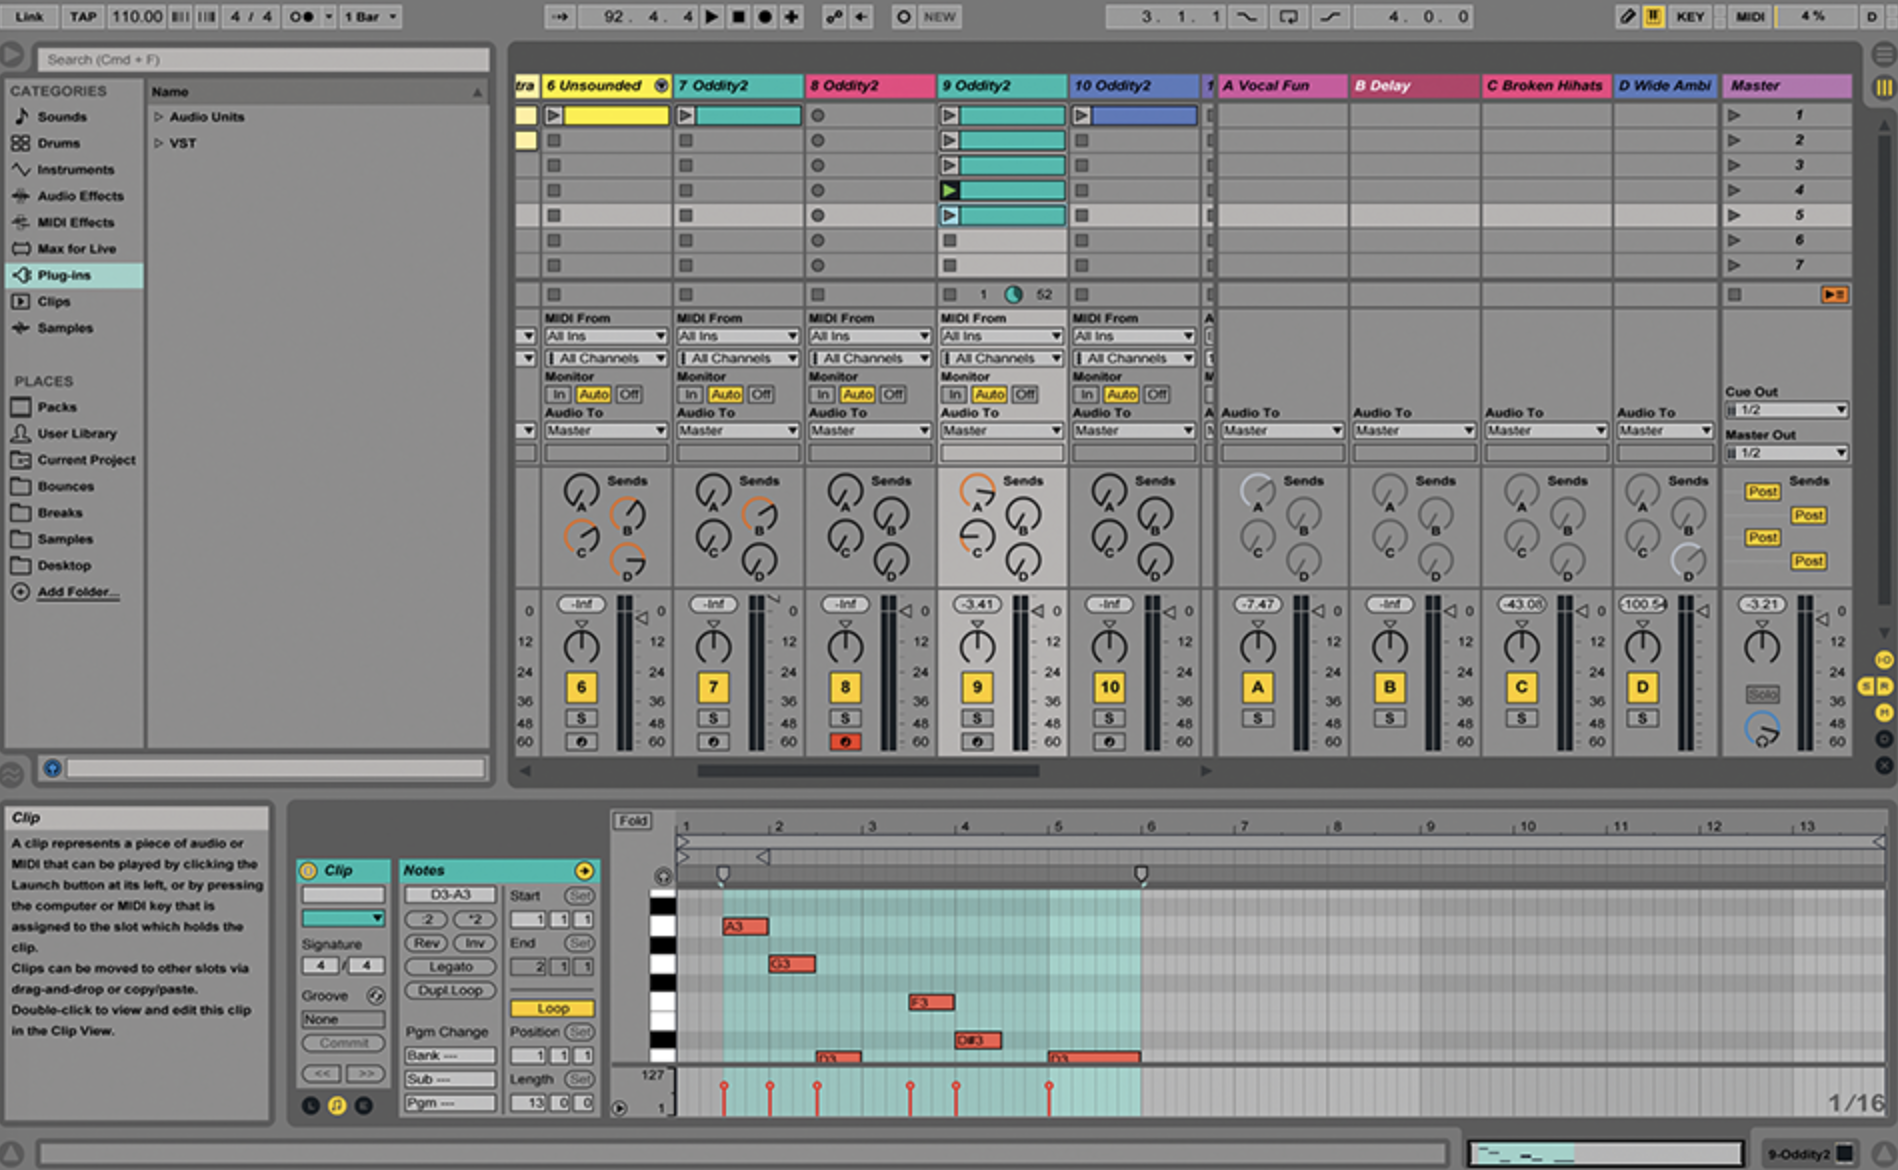
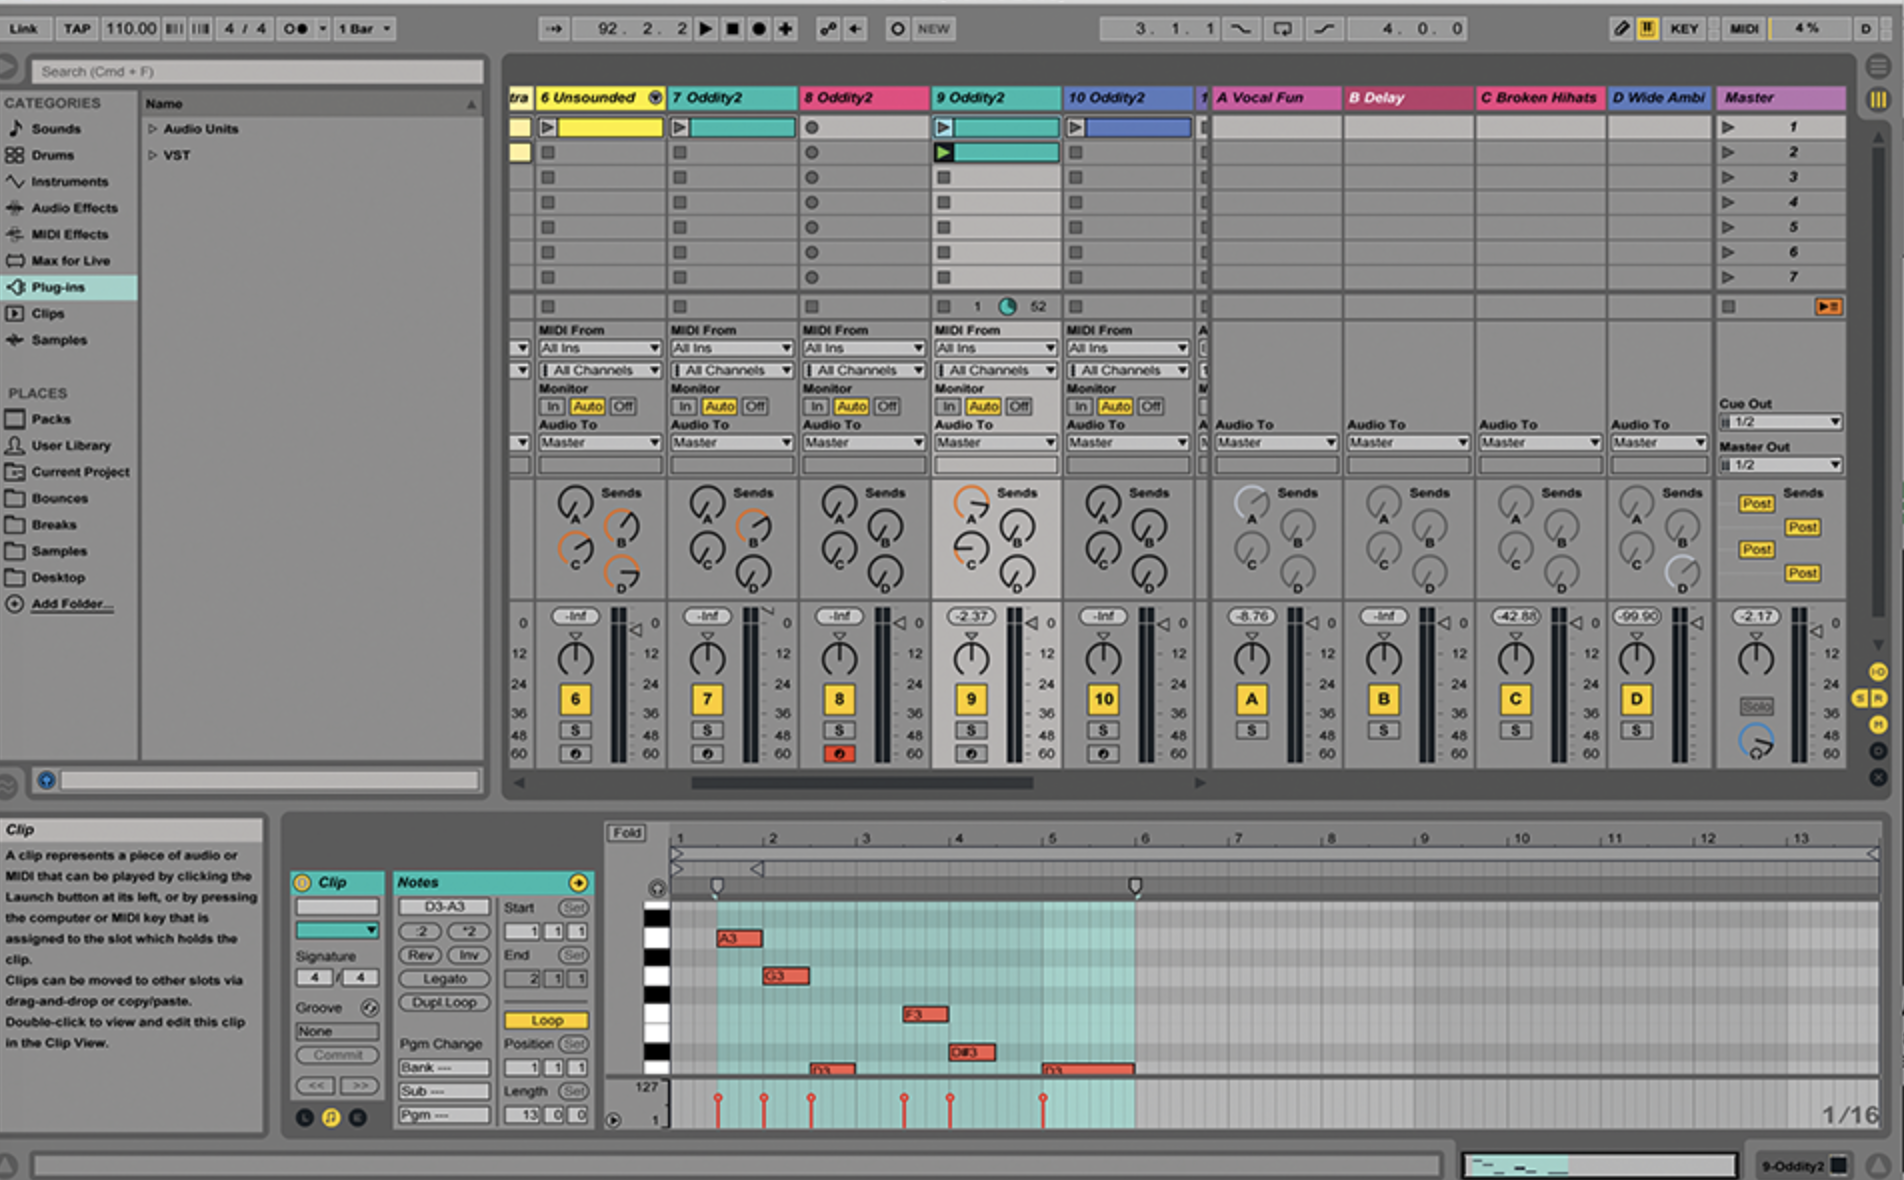
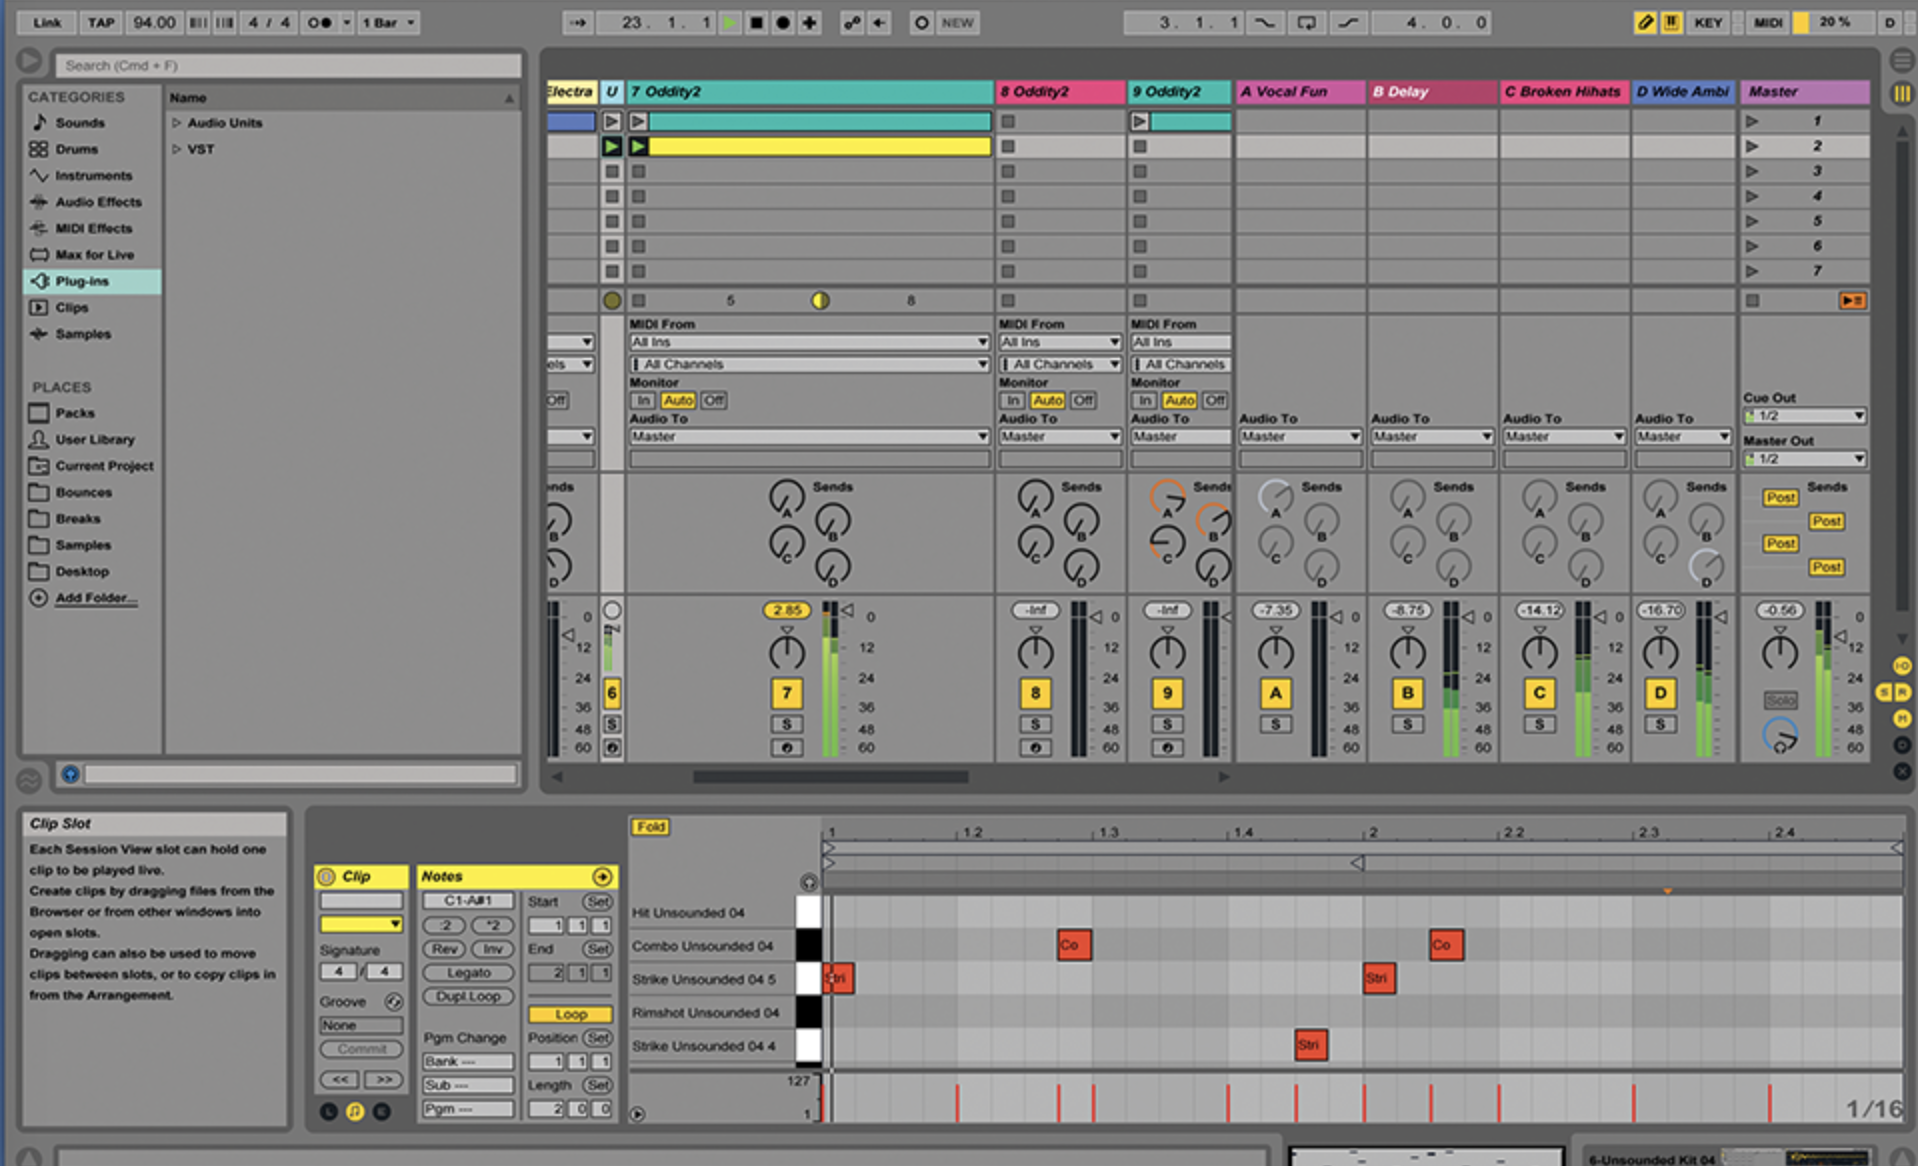
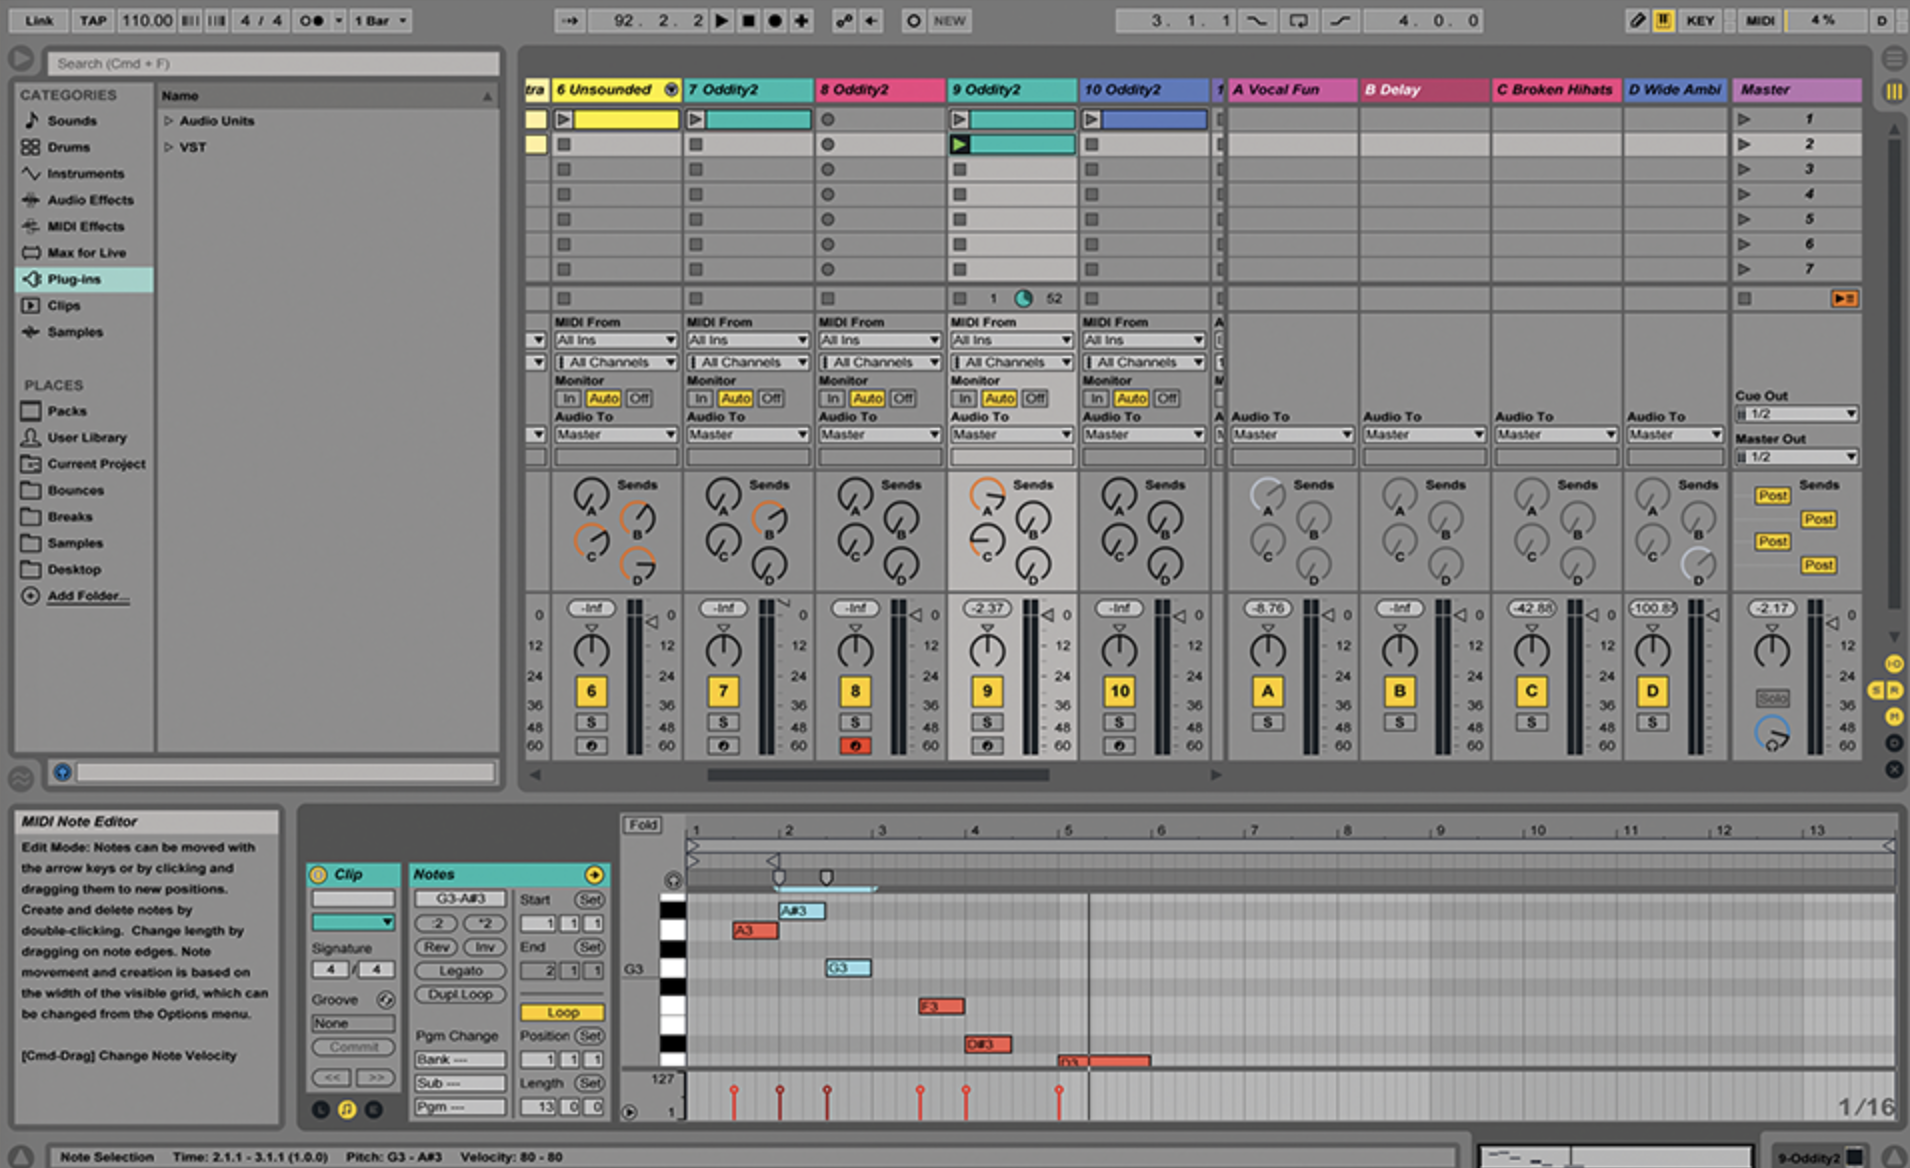
9: Make a group of five such varied clips on a track, which we’ll return to for several steps in this tutorial (and the one opposite). Make sure they each have slightly different notes.
10: We’ll now look at clip lengths. Live makes it very easy to keep everything rigid and perhaps set to 4- or 8-bar lengths. Everything locks in nicely, but can sound dull if you’re not doing dance.
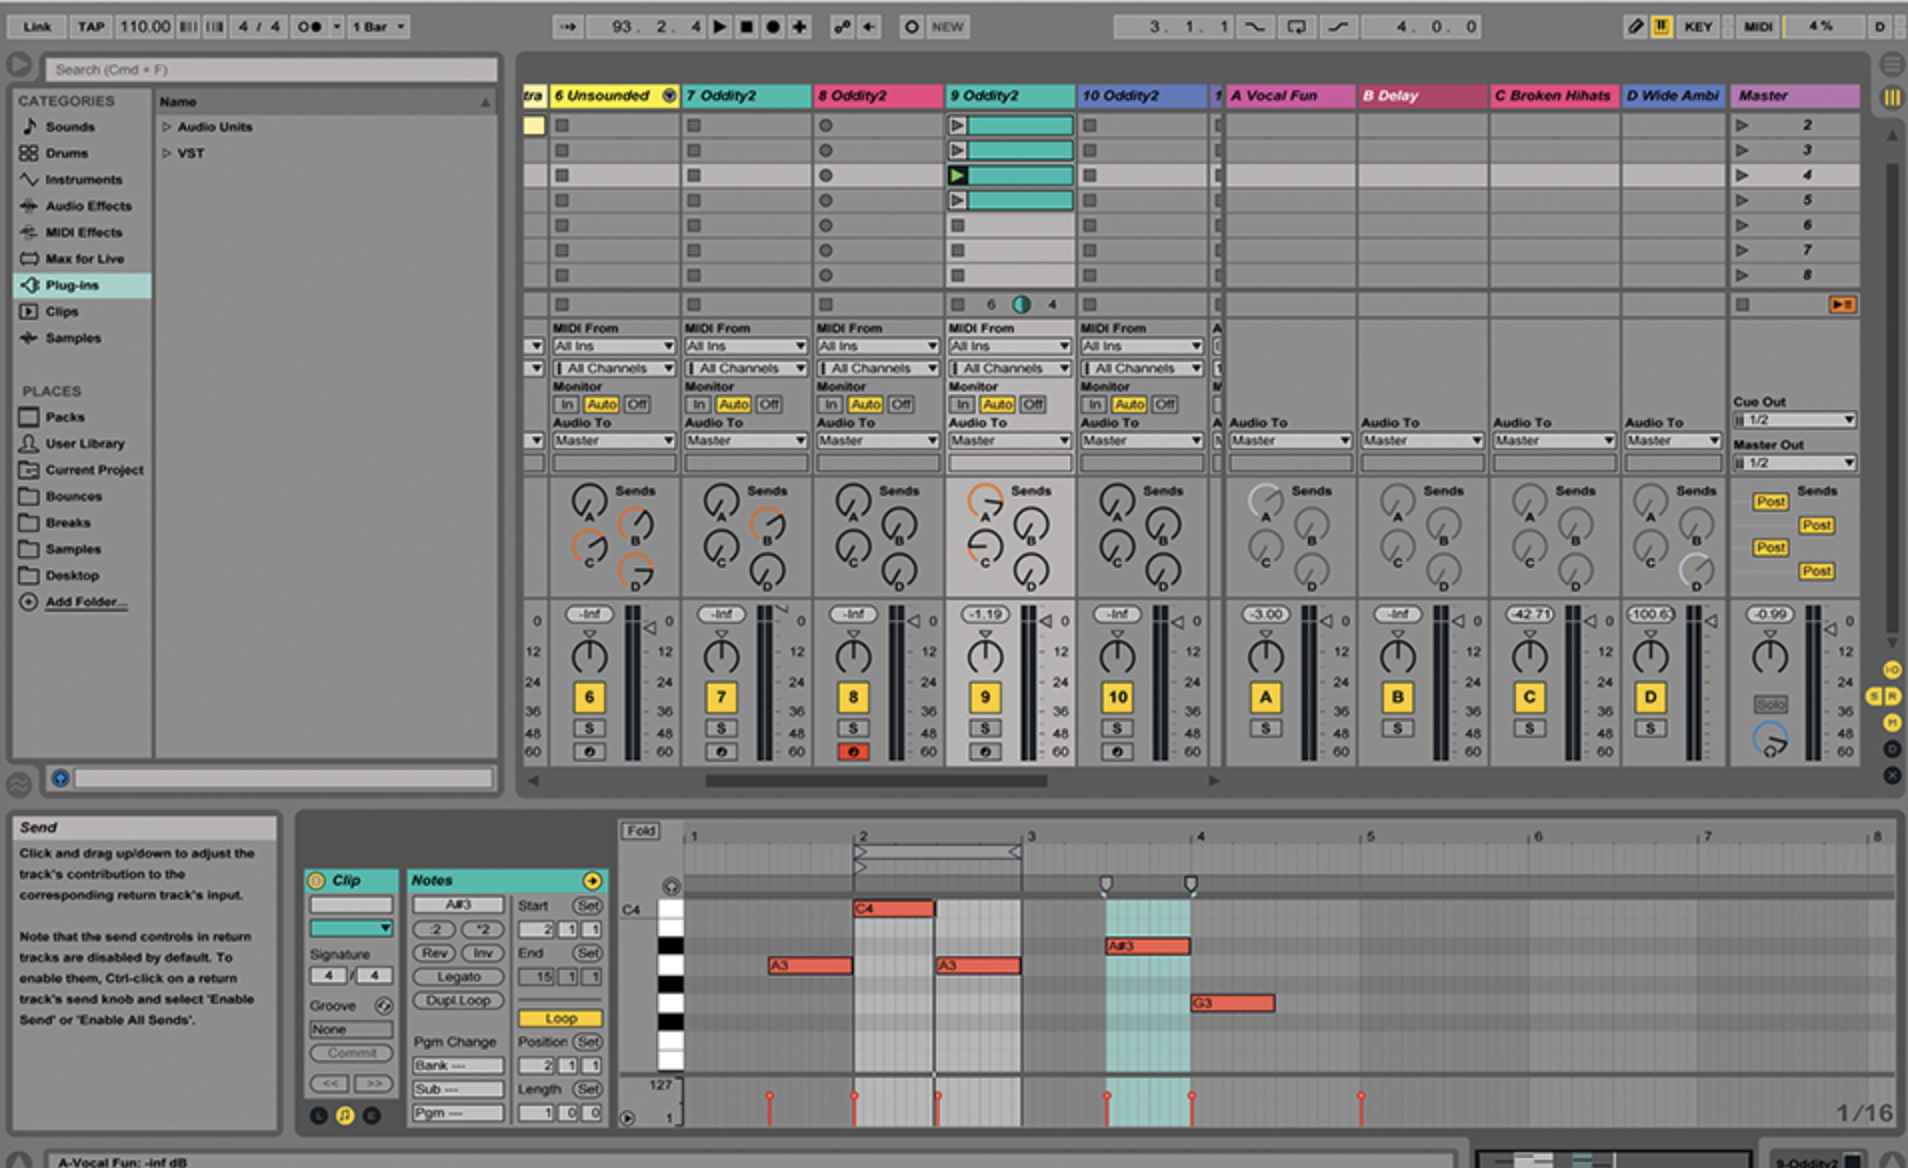
11: For our five clips on each track, we can set the start and end points differently to shake things up a bit, which breaks out of the dance-music rigid box. Here, we’ve set the fourth clip to start and finish on the second beat.
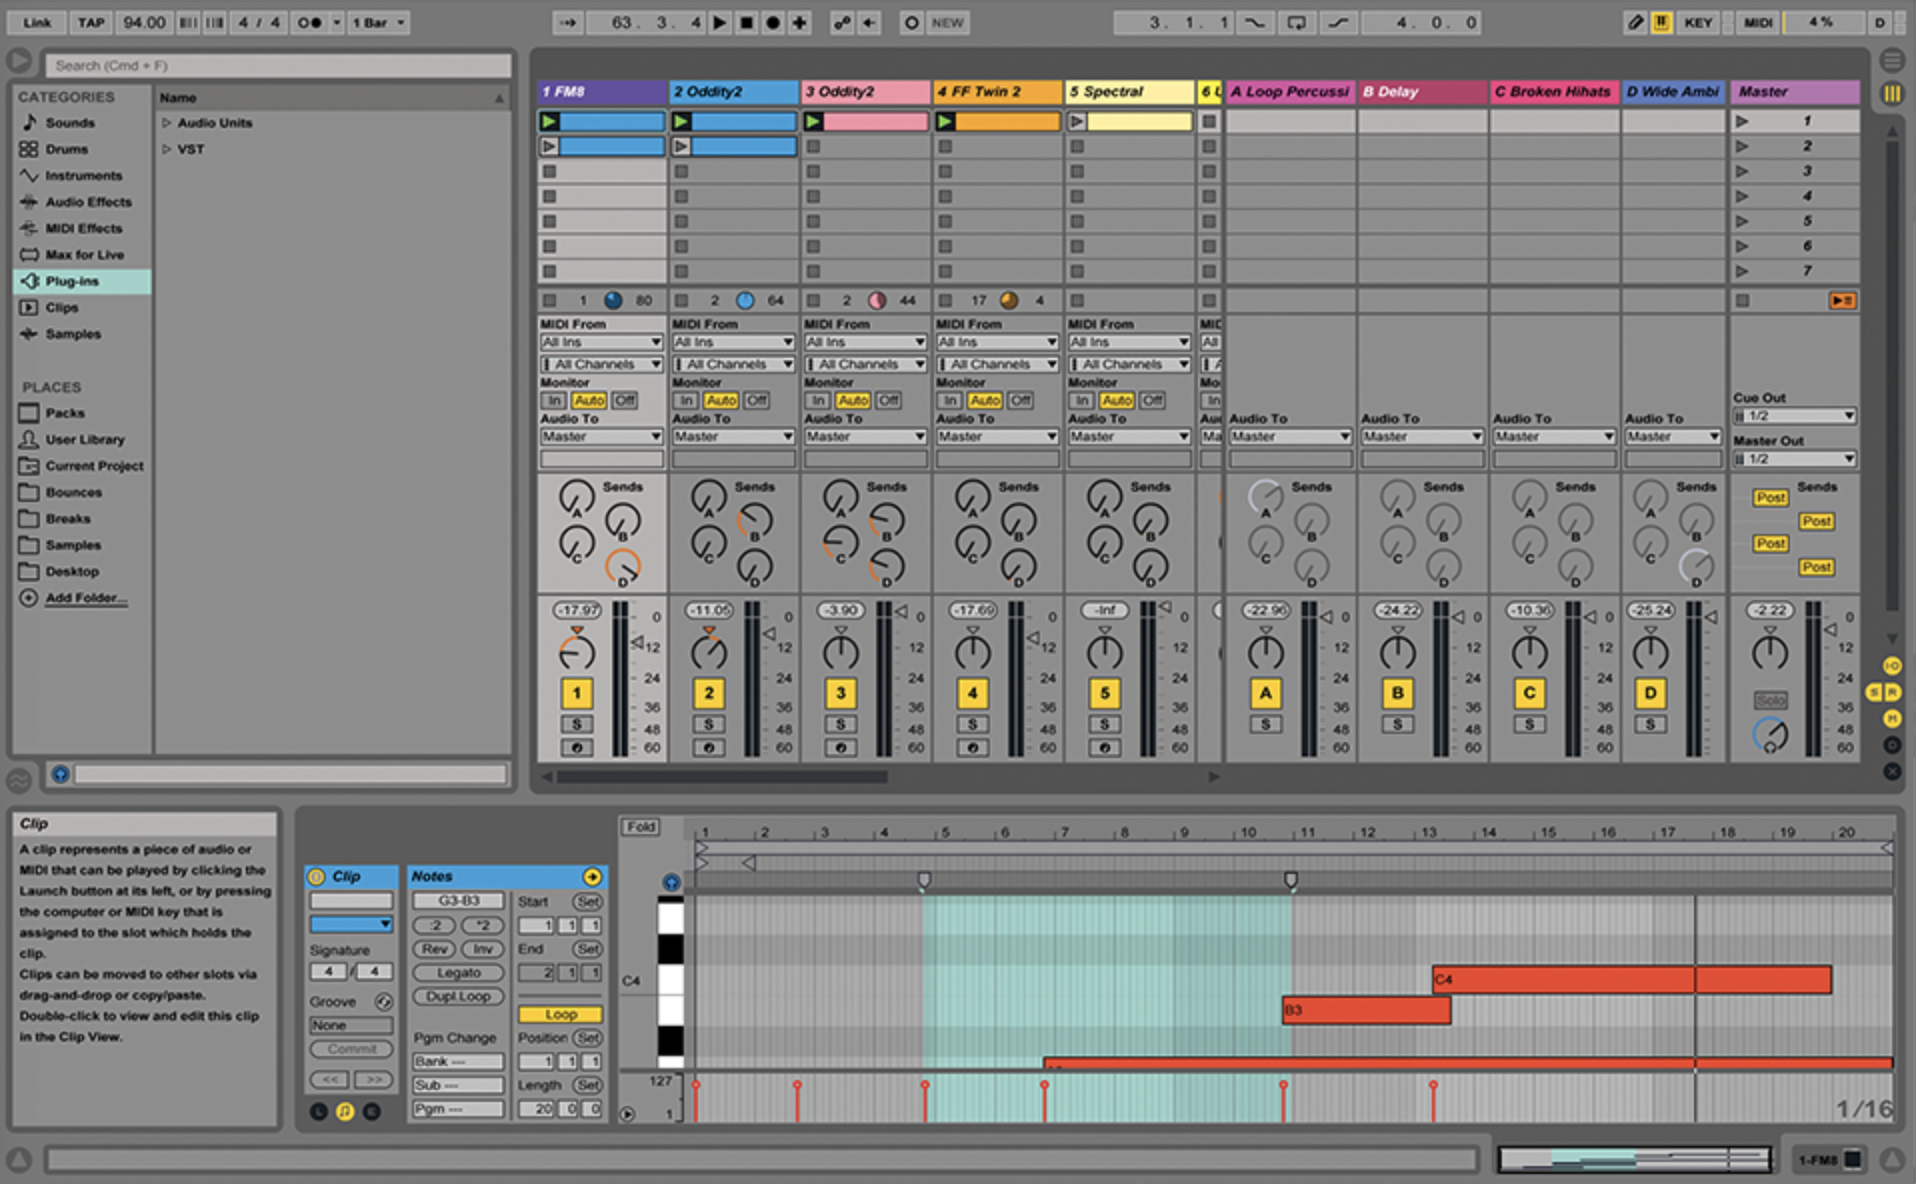
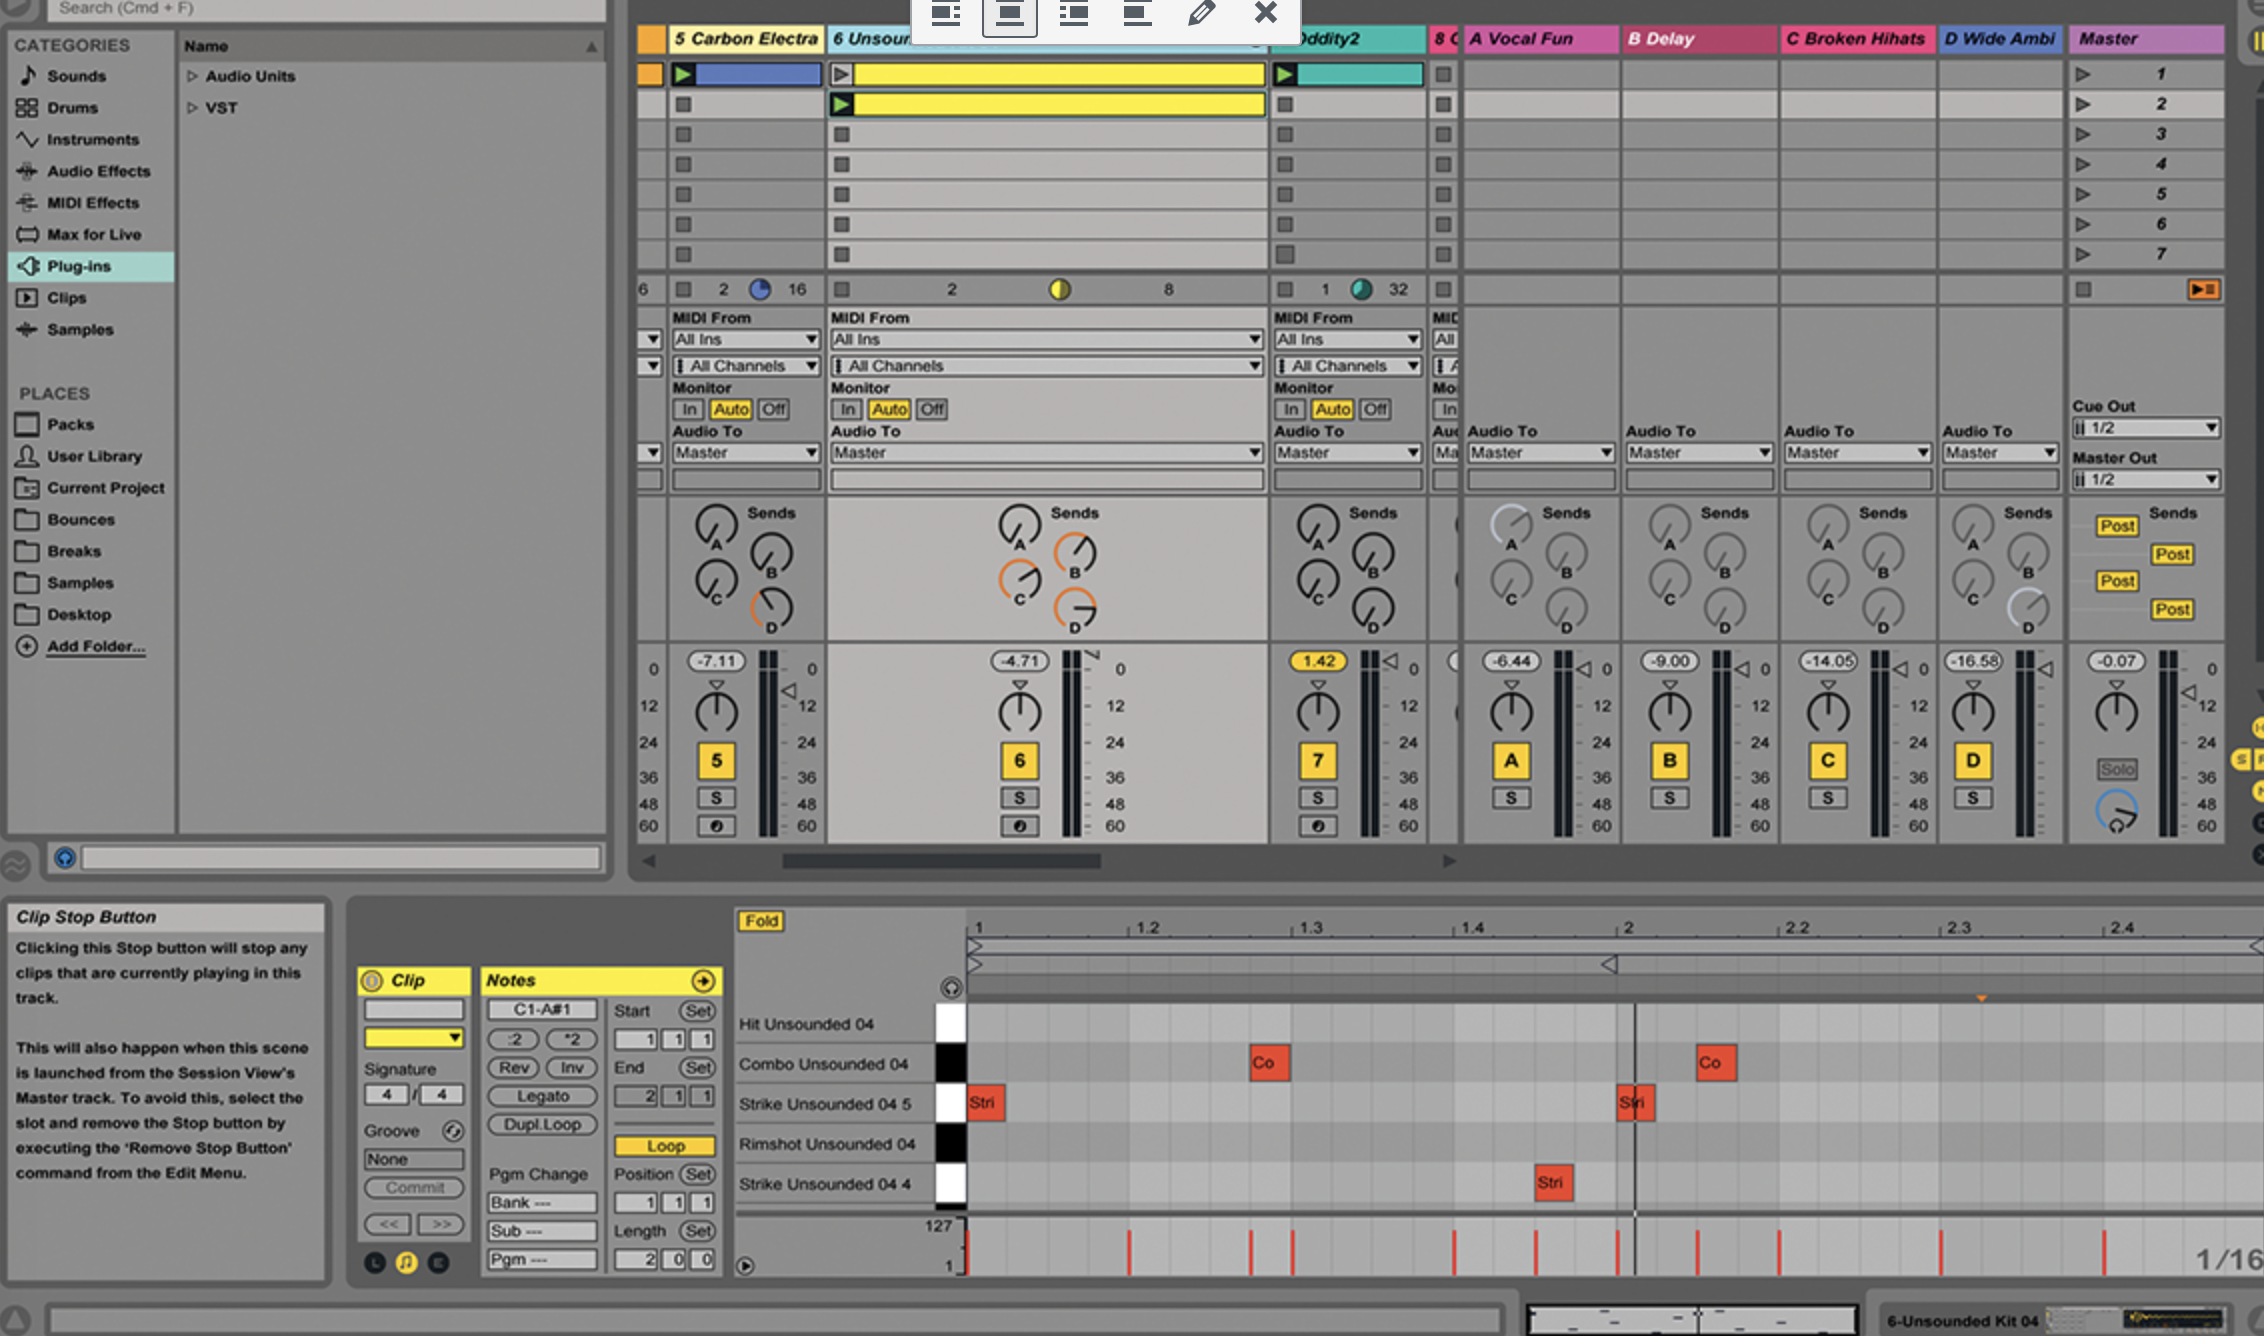
12: Try this on larger tracks, too. Here, we have two identical string tracks placed on massively different clip lengths and with different start and end points. They both cycle very differently resulting in a more ambient feel, even though the notes are lazily the same!
