Ableton Live Tutorial: The Simpler Instrument – Step-by-Step (Continued)
Martin Delaney continues the step-by-step explaining how to best utilise the Simpler instrument… For this tutorial you will need the project file – Download here 7: Note there’s a Trigger/Gate option, so the 1-shot will either play in its entirely after you release the note, or else it will only play for as long as […]
Martin Delaney continues the step-by-step explaining how to best utilise the Simpler instrument…
For this tutorial you will need the project file – Download here
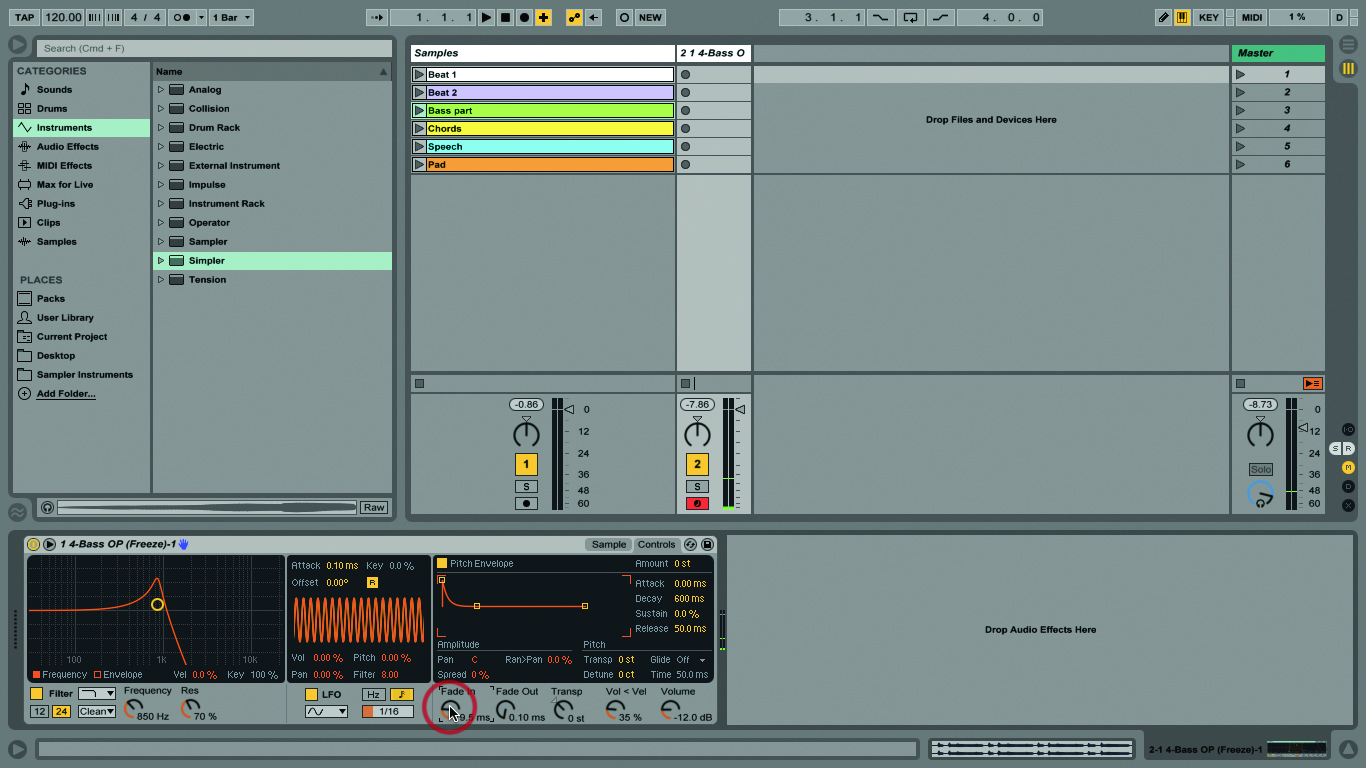
7: Note there’s a Trigger/Gate option, so the 1-shot will either play in its entirely after you release the note, or else it will only play for as long as you hold the note down.
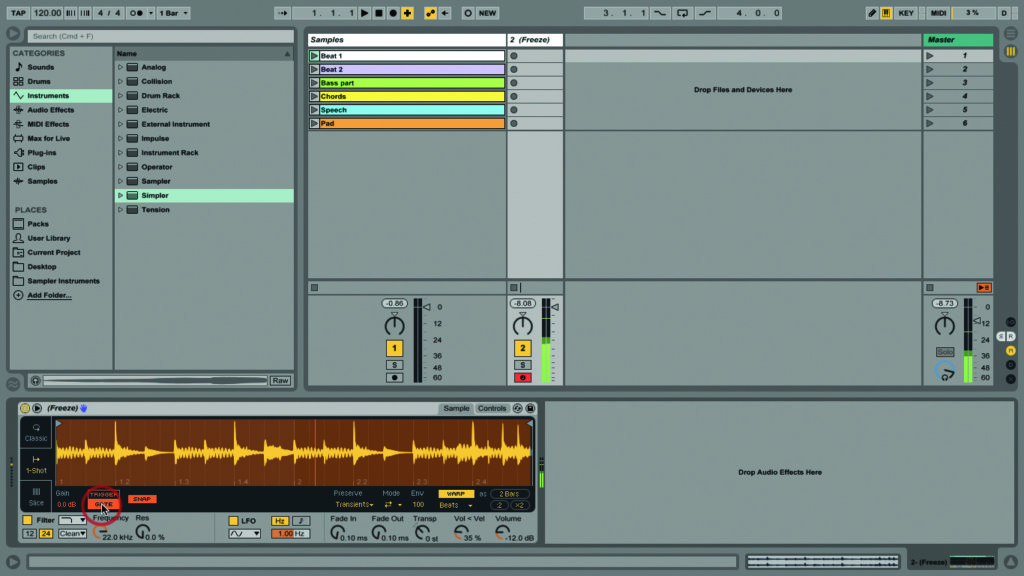
8: Finally, there’s Slice. Now when you send MIDI to Simpler, it triggers individual slices instead of the entire beat! No manual configuration is needed, but it’s there if you want it.
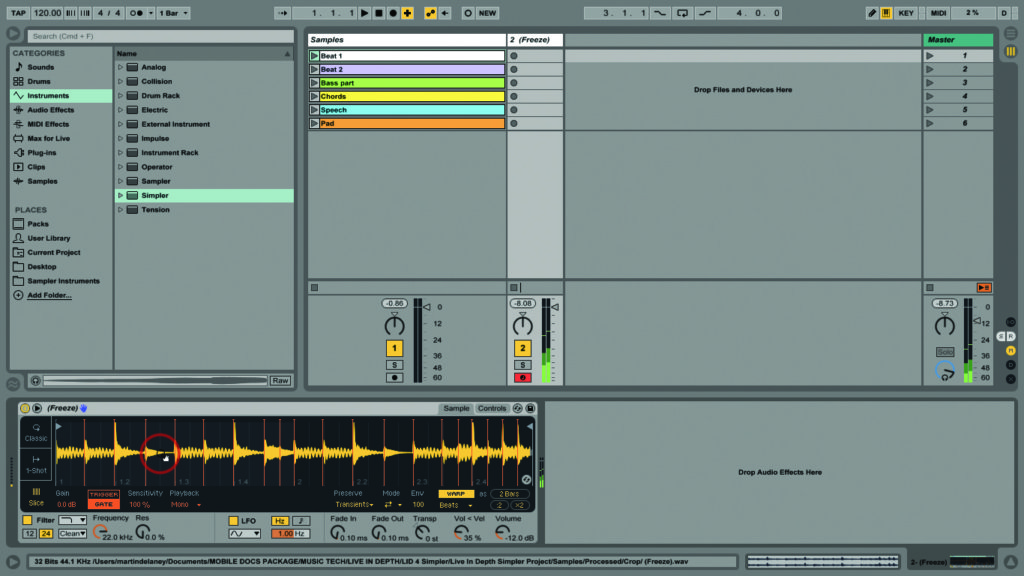
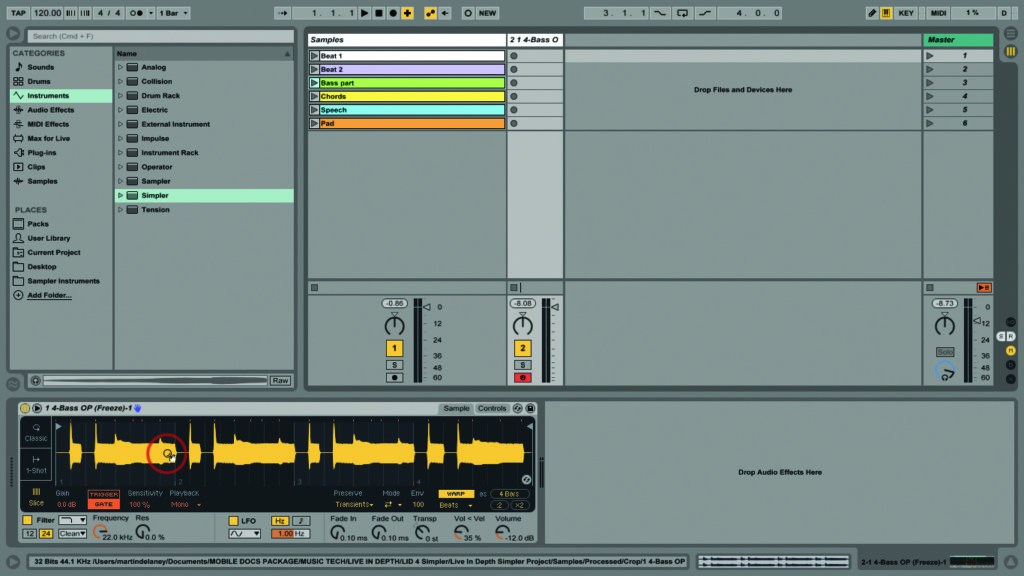
9: Slices are created according to transients; use the Sensitivity slider to edit (lower values = larger slices), or drag the orange vertical dividers left or right, or double-click to insert manual dividers.
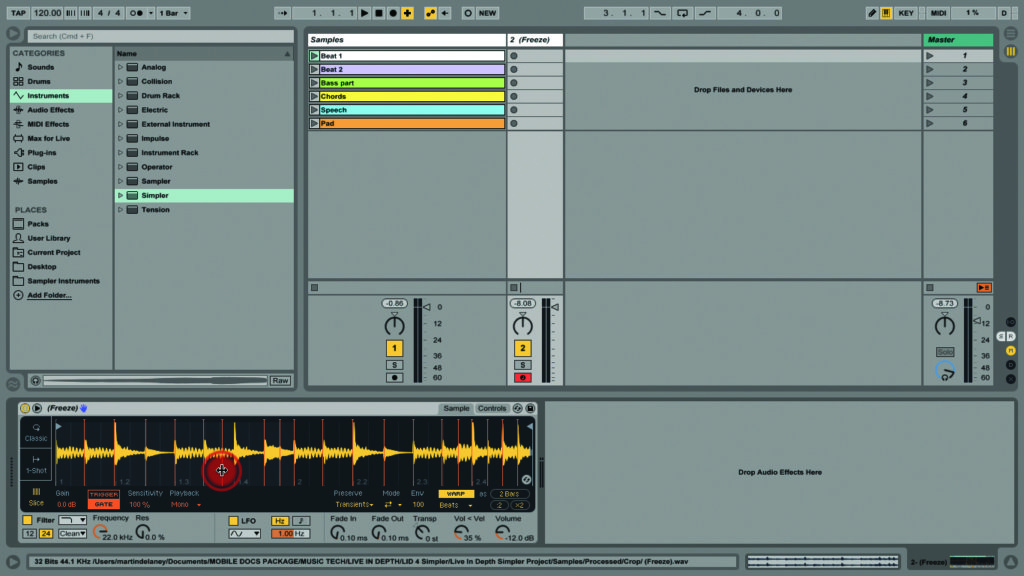
10: Drop the bass part audio clip into Simpler, replacing the beat, and see how that slices. Use your MIDI keyboard to rearrange the slices. This is a great, fast way to use individual notes from a sample.
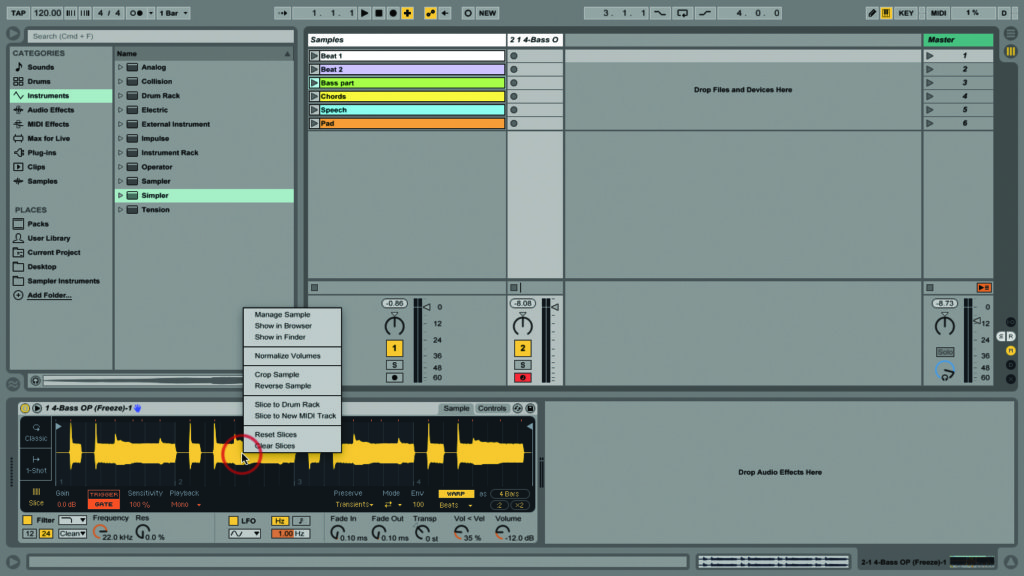
11: It’s always advisable to check the context menu when you’re exploring new features. Right-click on the waveform and you’ve got a Normalise Volumes command, as well as Slice To Drum Rack.
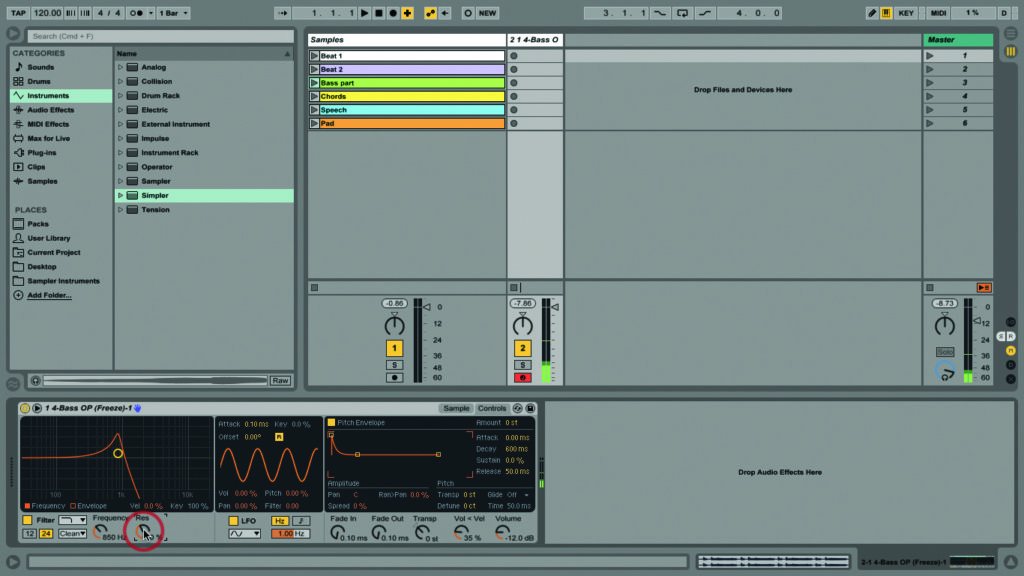
12: Click the Controls tab and you can play with the filter. Of course Simpler includes Live’s new filters, so try something like Lowpass OSR with Frequency at a 850Hz and Res at 70 per cent.

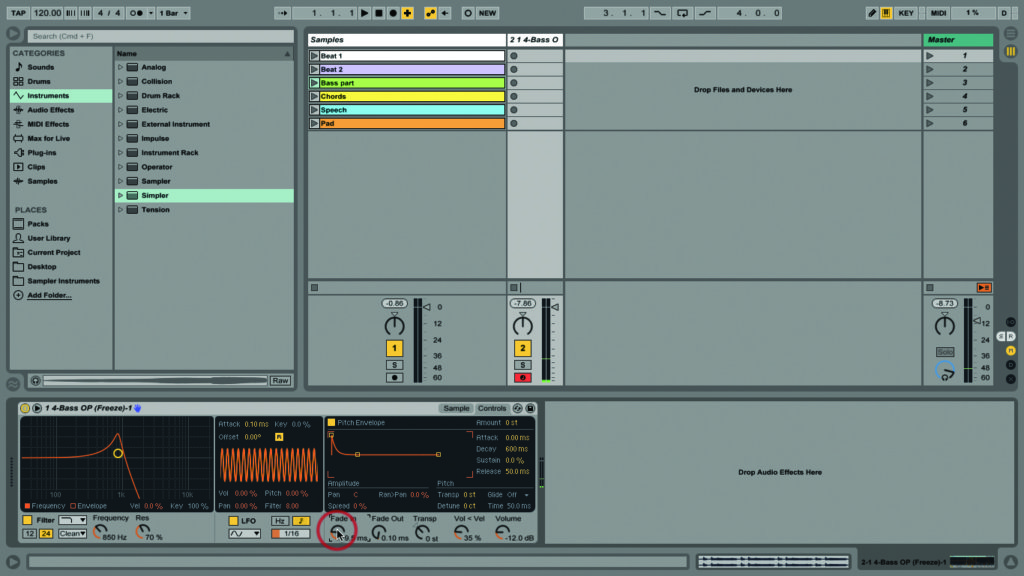
13: The spacious layout continues with the LFO display. It’s easy to visualise what’s going on and to set the LFO rate to 1/16ths and point it at the filter’s cutoff. Try a value around 8.00.
14: The core controls are always visible across the bottom of Simpler, so even if you’re working on the slices in your waveform, you can still reach down and grab the filter or change global settings.
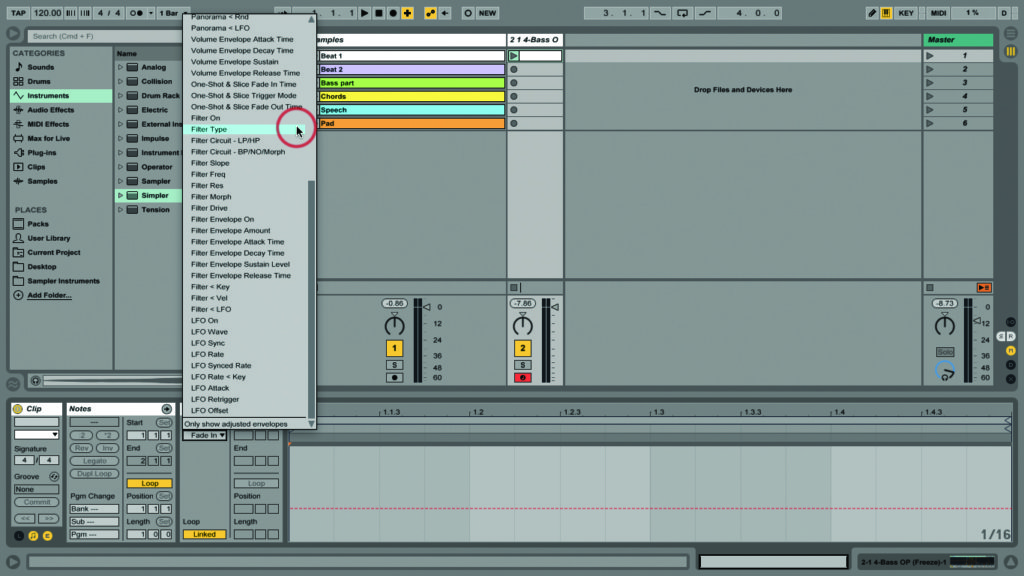
15: Being a Live device, virtually every control in Simpler can be automated. Create an empty MIDI clip and have a look at the list in the Envelopes Box. Automating Filter Type changes is cool.
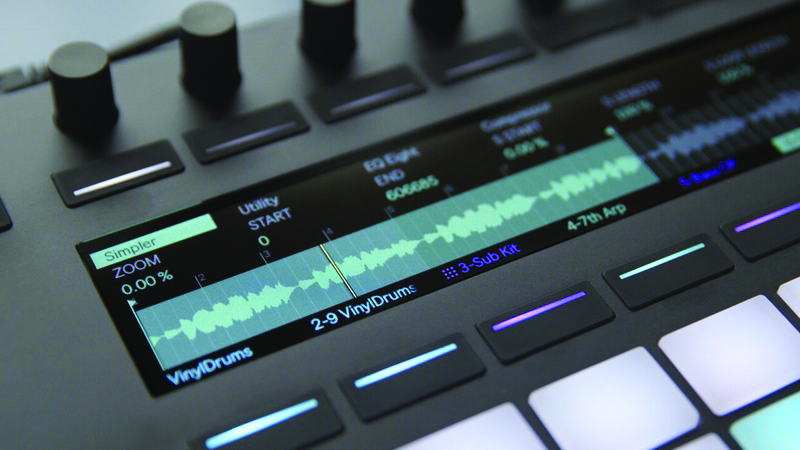
16:Push 2 integration is probably the main reason that Simpler got refreshed – to help make better use of that cute new display, and to help P2 behave and feel more like a standalone hardware sampler.
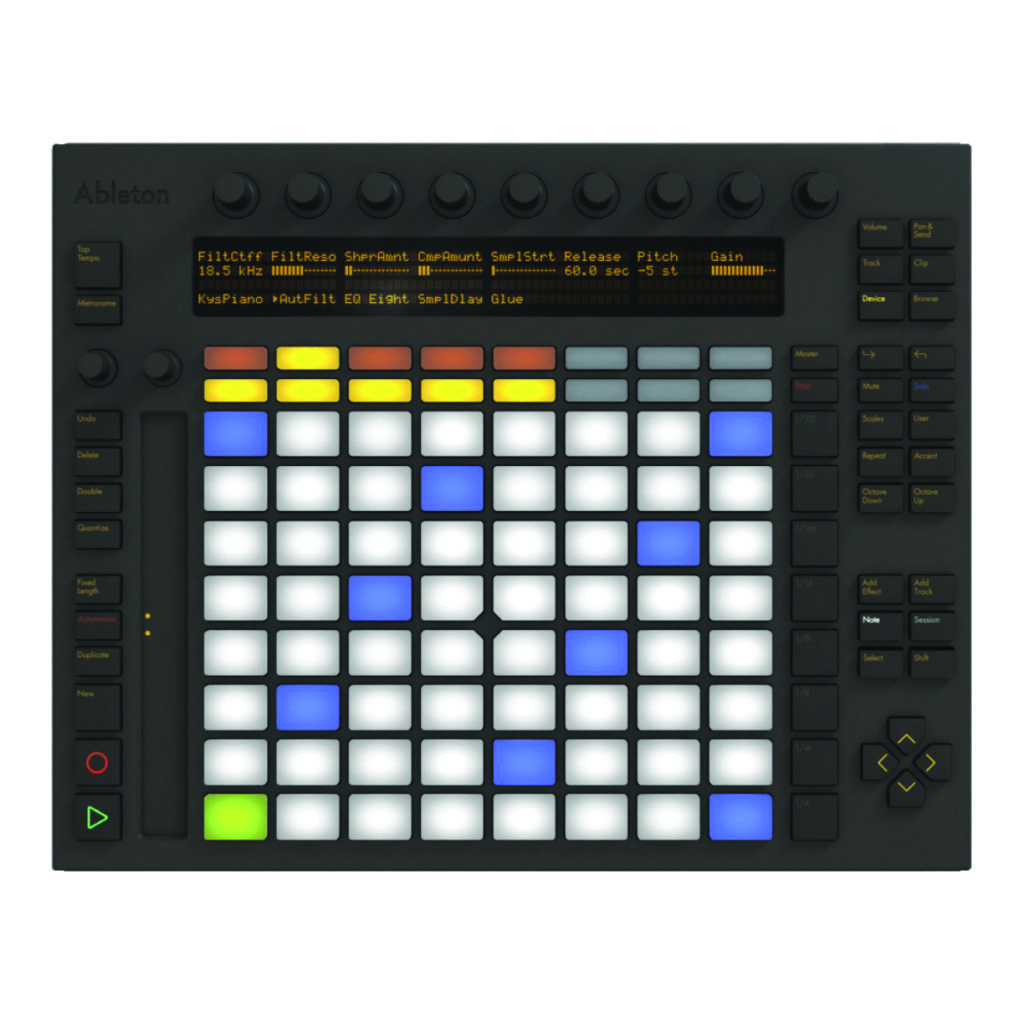
17: It’s not like Simpler has stopped working with Push 1. It’ll be visible and available in the more traditional way, and of course controllable via the encoders, but you won’t get the waveform display.
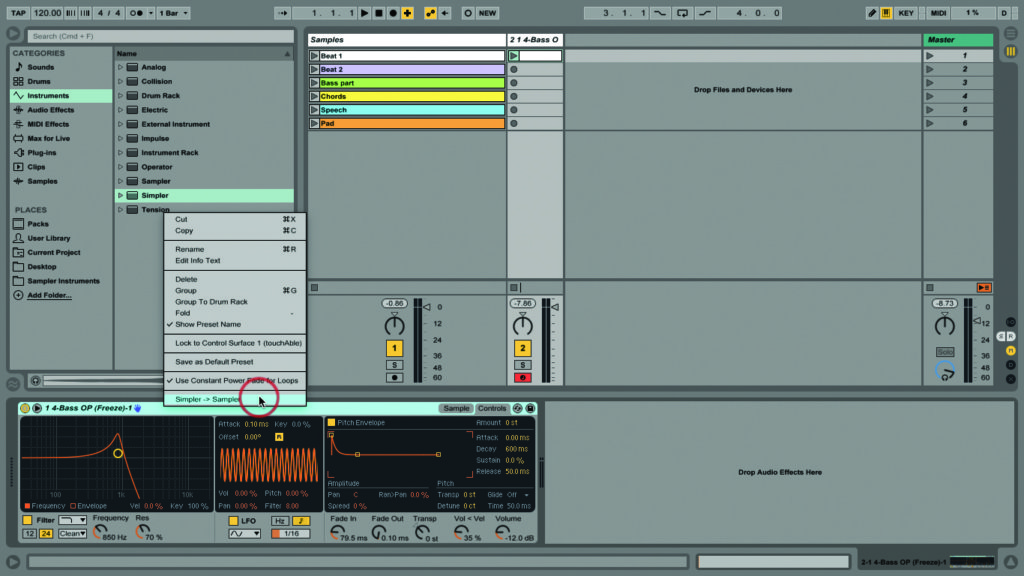
18: The new Simpler is awesome. But if it still doesn’t fulfil your needs, right-click on the title bar, and choose Simpler > Sampler, to open your ongoing work in Live’s more sophisticated Sampler device.
