Ableton Live Tutorial: Become A Power User Part 8 – Collaboration
So much can be done with one computer these days that you can forget that other humans are around to collaborate with. Liam O’Mullane shares various ways to get social with Live… One of the strengths and weaknesses of today’s all in-the-box, computer-based studios is that you can do it all by yourself. Composing, producing, […]
So much can be done with one computer these days that you can forget that other humans are around to collaborate with. Liam O’Mullane shares various ways to get social with Live…
One of the strengths and weaknesses of today’s all in-the-box, computer-based studios is that you can do it all by yourself. Composing, producing, DJing, remixing and even jamming with yourself are all possible, but in this workshop, we’re looking at working with others and how Live can be set-up to do just that. Even when collaborating in the studio, it’s easy to overlook the various ways you can both work at the same time, rather than taking it in turns to hop on and off the computer. In its most basic form, you can assign two different MIDI controllers to control an instrument each. This gets better when there’s more than two of you as you can collaboratively jam out ideas together while one person takes the engineering role and tweaks the sounds. You are then also geared up to immediately record any ideas as they arise.
The next level of collaboration is to work with someone else running Live. This can work great in both the studio and live environments, and it’s a situation when you’ll usually opt for sync’ing two or more bits or gear together so they lock together by tempo and, when required, playback positions. Our Sync Between Two Machines walkthrough shows you how to sync two computers running Live. This can be done via 5-pin MIDI cables if you have the interfaces available, or you can use an ethernet or Wi-Fi based network.
We’ll show you the basics of making a network function as a MIDI interface for OSX as well, but you’ll need additional software to perform this task on Windows and this is beyond the scope of this workshop. Help can be found however at this link. Just download the rtpMIDI software which pretty much mirrors the OSX interface and follow the instructions.

The final option is to use a manually-controlled form of tempo sync which will really test your rhythm skills. Some people will use these manual syncing techniques to beat match machines, but in most cases it’s reserved for working with human performers whose timing can be much more freeform. On the topic of sync again, the quality of automatic tempo matching can vary depending on the gear being used and the way they are hooked up. Although Wi-Fi is the simplest method, it’s also unpredictable and has a less than ideal performance – we’d only use this when caught short of other options in rehearsals or the studio.
Working with 5-pin MIDI has worked fine for us so far and the best results come from running both computers from an external MIDI clock. But this is an additional investment, so we’d only recommend going down this route if you are not satisfied with the results using the techniques discussed. If you’re new to the world of sync, try out Wi-Fi first as it comes at no cost – you can then explore the finer syncs in life!
Sync Between Two Machines

1. Regardless of how you’re connecting up your MIDI data from one computer to another, the basic set-up of routing MIDI clock from the master computer to the slave is the same for running between two instances of Live. Open Preferences on the master computer and select the MIDI Sync tab. The data will control the slave so enable Sync from the Output of the MIDI port connected to the slave.

2. The slave is set up in the opposite way so, under its MIDI Sync preferences, Enable Sync for the MIDI input to receive the MIDI clock data from the master. The Clock Sync Delay allows you to offset the timing of the slave so it can be aligned with the master. Playing the metronomes on both makes it easy to judge when you’ve got the timing right, using a loop like a breakbeat to make it easier to hear.

3. Two different types of MIDI clock can be chosen for the output: Song will give out the tempo along with a current position in the Arrangement View. Pattern gives out tempo and beats which means changing your playback position on the master won’t affect the slave. Use Song mode so you can move around an arrangement on both computers. Use locators from the Create menu for easier launching.

4. The master computer should have an on-the-beat light flash in the Sync Out indicator. Then after enabling the EXT button on the slave, its Sync In indicator should flash when pressing play on the master. Now your two computers should sync. It takes a few seconds to truly lock together, so sync playback first with no clips playing, then launch your first clips in unison for a clean sounding start.

5. MIDI information will appear in Live when using a 5-pin cable, but you’ll need to set up MIDI when using Wi-Fi or ethernet. Go to Applications/Utilities Audio MIDI Set Up. Select Show MIDI Window. Double-click the Network box for the MIDI Network Set-up window and click the plus icon under My Sessions. Enable this session in the top right, then repeat the process on the slave computer.

6. When the slave is ready, you can connect to it from the Directory window of the master. You’ll know when they are connected as the computer will appear in the Participants window to the right. The latency can be adjusted from here as well but it’s slightly limited as you have to enter numeric values rather than having the option to click and drag for easier control like in Live.
Live Jamming And Processing

1. If you’re in sync with other people either through a manual or automated sync set-up, you will be able to take advantage of Live’s tempo sync’d Session View and Devices. The first level above simply cueing clips in Session View is to capture someone’s else’s audio as one or more clips to play with. To do this, first create a new Audio Track and name it to be relevant to the source it will record.

2. Set up this audio channel to record the correct input from the In/Out settings which you can reveal from the View menu. If you don’t want to hear this input signal until you’ve recorded it into a clip, set Monitor to off. But if you’re using Live as a mixer you’ll need to set the Monitor to Auto so the live input is always heard until a clip is recorded and then played which then overrides that input.

3. When recording external sounds, capture a sequence and then modify it. The other option is to record the sound across a few clip slots so you can then immediately re-work it to creatively trigger them. To trigger the slots quickly you’ll need to set the Global Quantization setting to a higher resolution like 1/4 and then hit record on each clip slot one after the other running downwards.

4. Another way to re-work a freshly captured piece of audio is to use time manipulation device effects like Beat Repeat. In the Audio Effects library folder, under Performance and DJ, the Knob 1 Super Looper is a great device for controlling loop length with a single dial. The default Live library doesn’t have a great range of performance tools like this so it’s worth searching online for devices other people have made.

5. If you need to rehearse before everyone hears it, you can use Live’s Cue function. Set an output on your interface for the cue output. Then click the Solo mode button to turn it into Cue mode. Now press the headphone icon for the track you want to preview and disable the track’s Activator button so it’s muted from the main master output until you’re ready to play your work to the world.
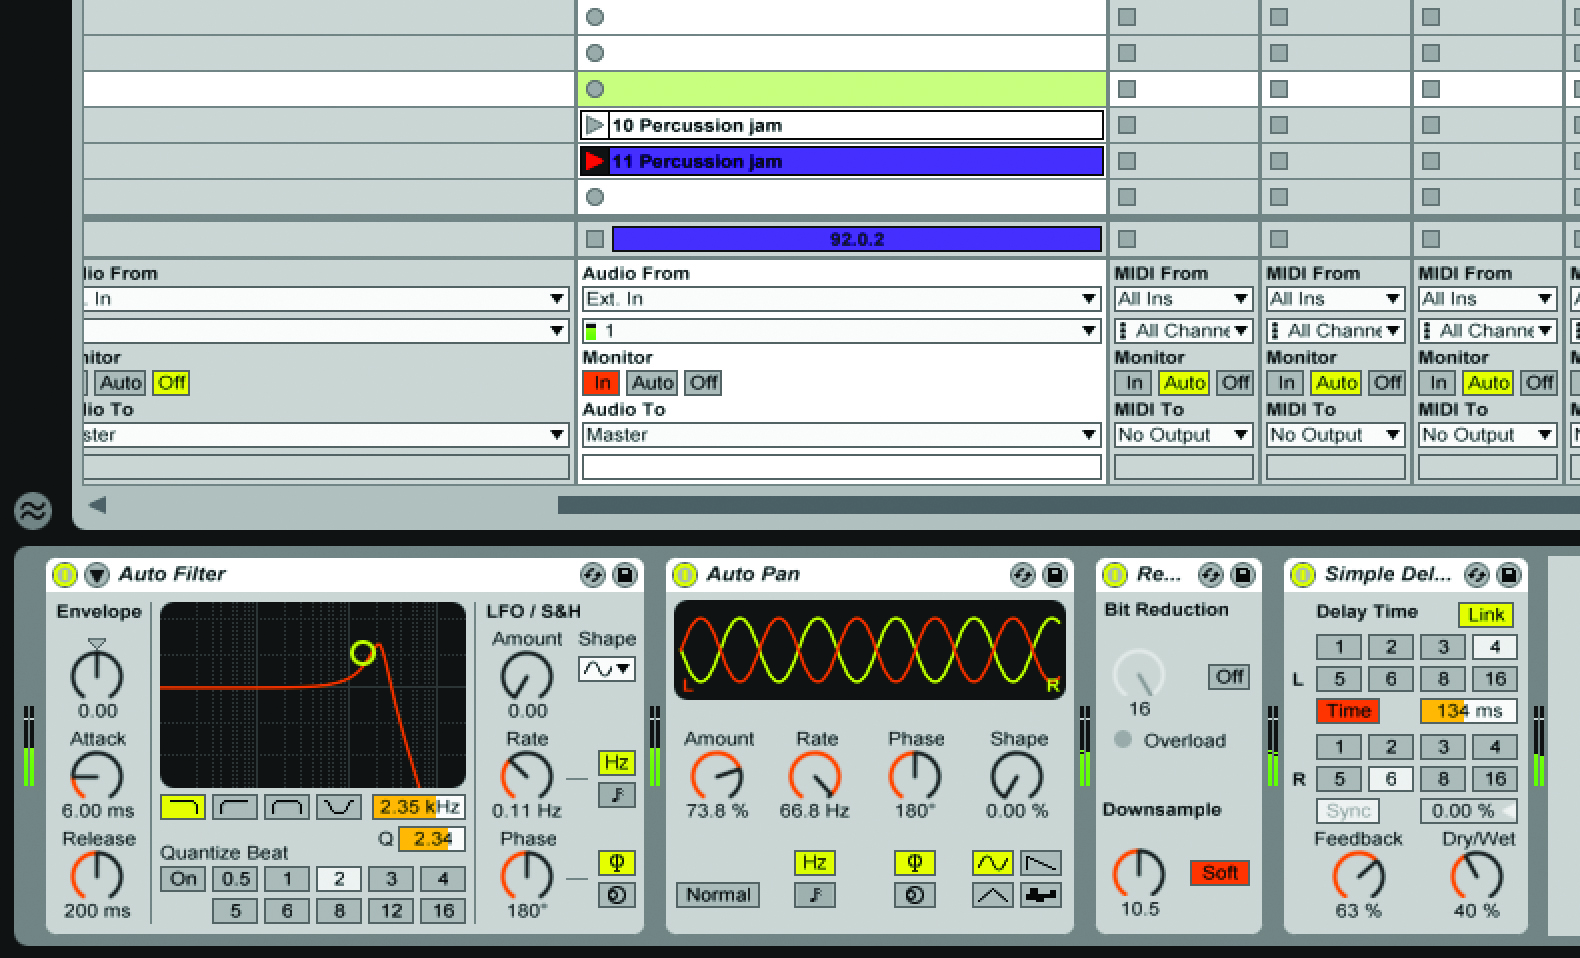
6. If you are using Live as a mixer you can be part of a jam by processing effects in real time. EQs, compressors etc can be left to their static settings, but Auto Filters, Auto Panner, Redux and delays are all great tools to manipulate on someone else’s sound. If you want to capture these for use later, set the Monitor to In so the live input is always heard while you record in the background.