Ableton Live Tutorial: Integrating Hardware Step-by-Step
Martin Delaney continues his tutorial examining the best methods of connecting grooveboxes and drum machines to Ableton Live in this step by step… Get Groovy With Live (Continued) 7: Select an audio track, choose the audio inputs, and set its inputs to Monitor. The track number goes orange, and the audio passes through without being […]
Martin Delaney continues his tutorial examining the best methods of connecting grooveboxes and drum machines to Ableton Live in this step by step…
Get Groovy With Live (Continued)
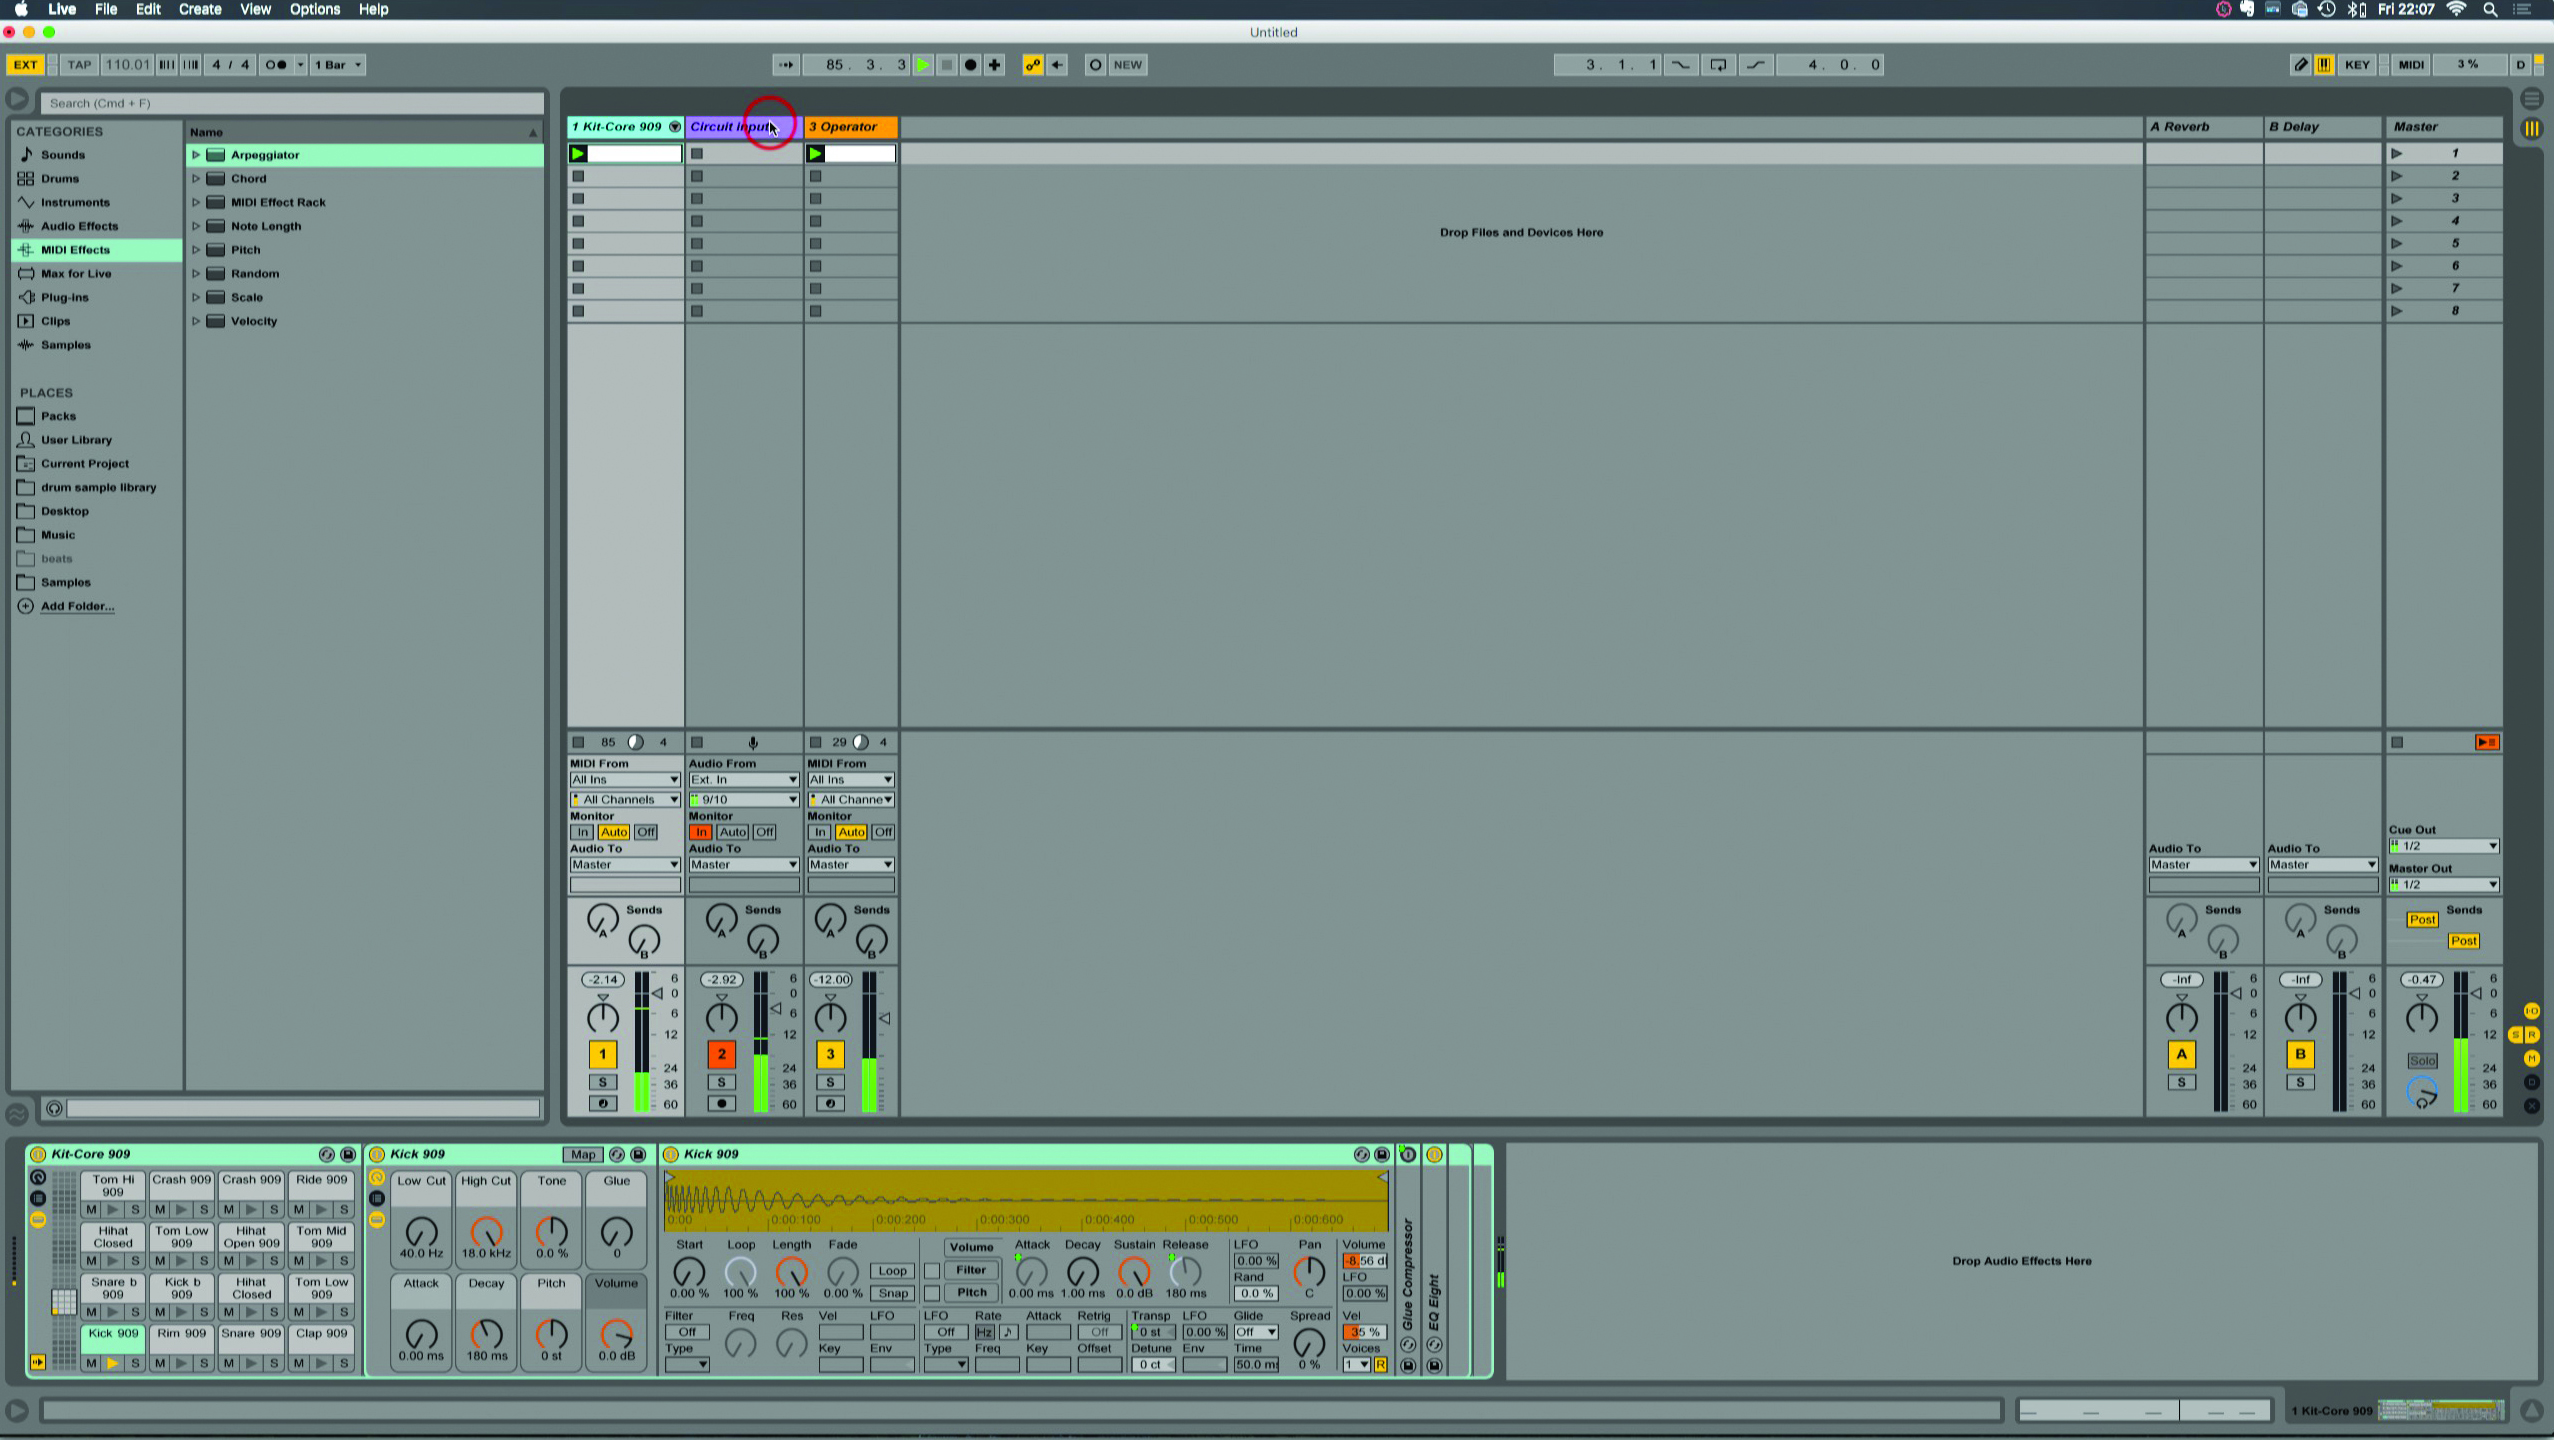
7: Select an audio track, choose the audio inputs, and set its inputs to Monitor. The track number goes orange, and the audio passes through without being recorded. Click Live’s EXT button at top left.
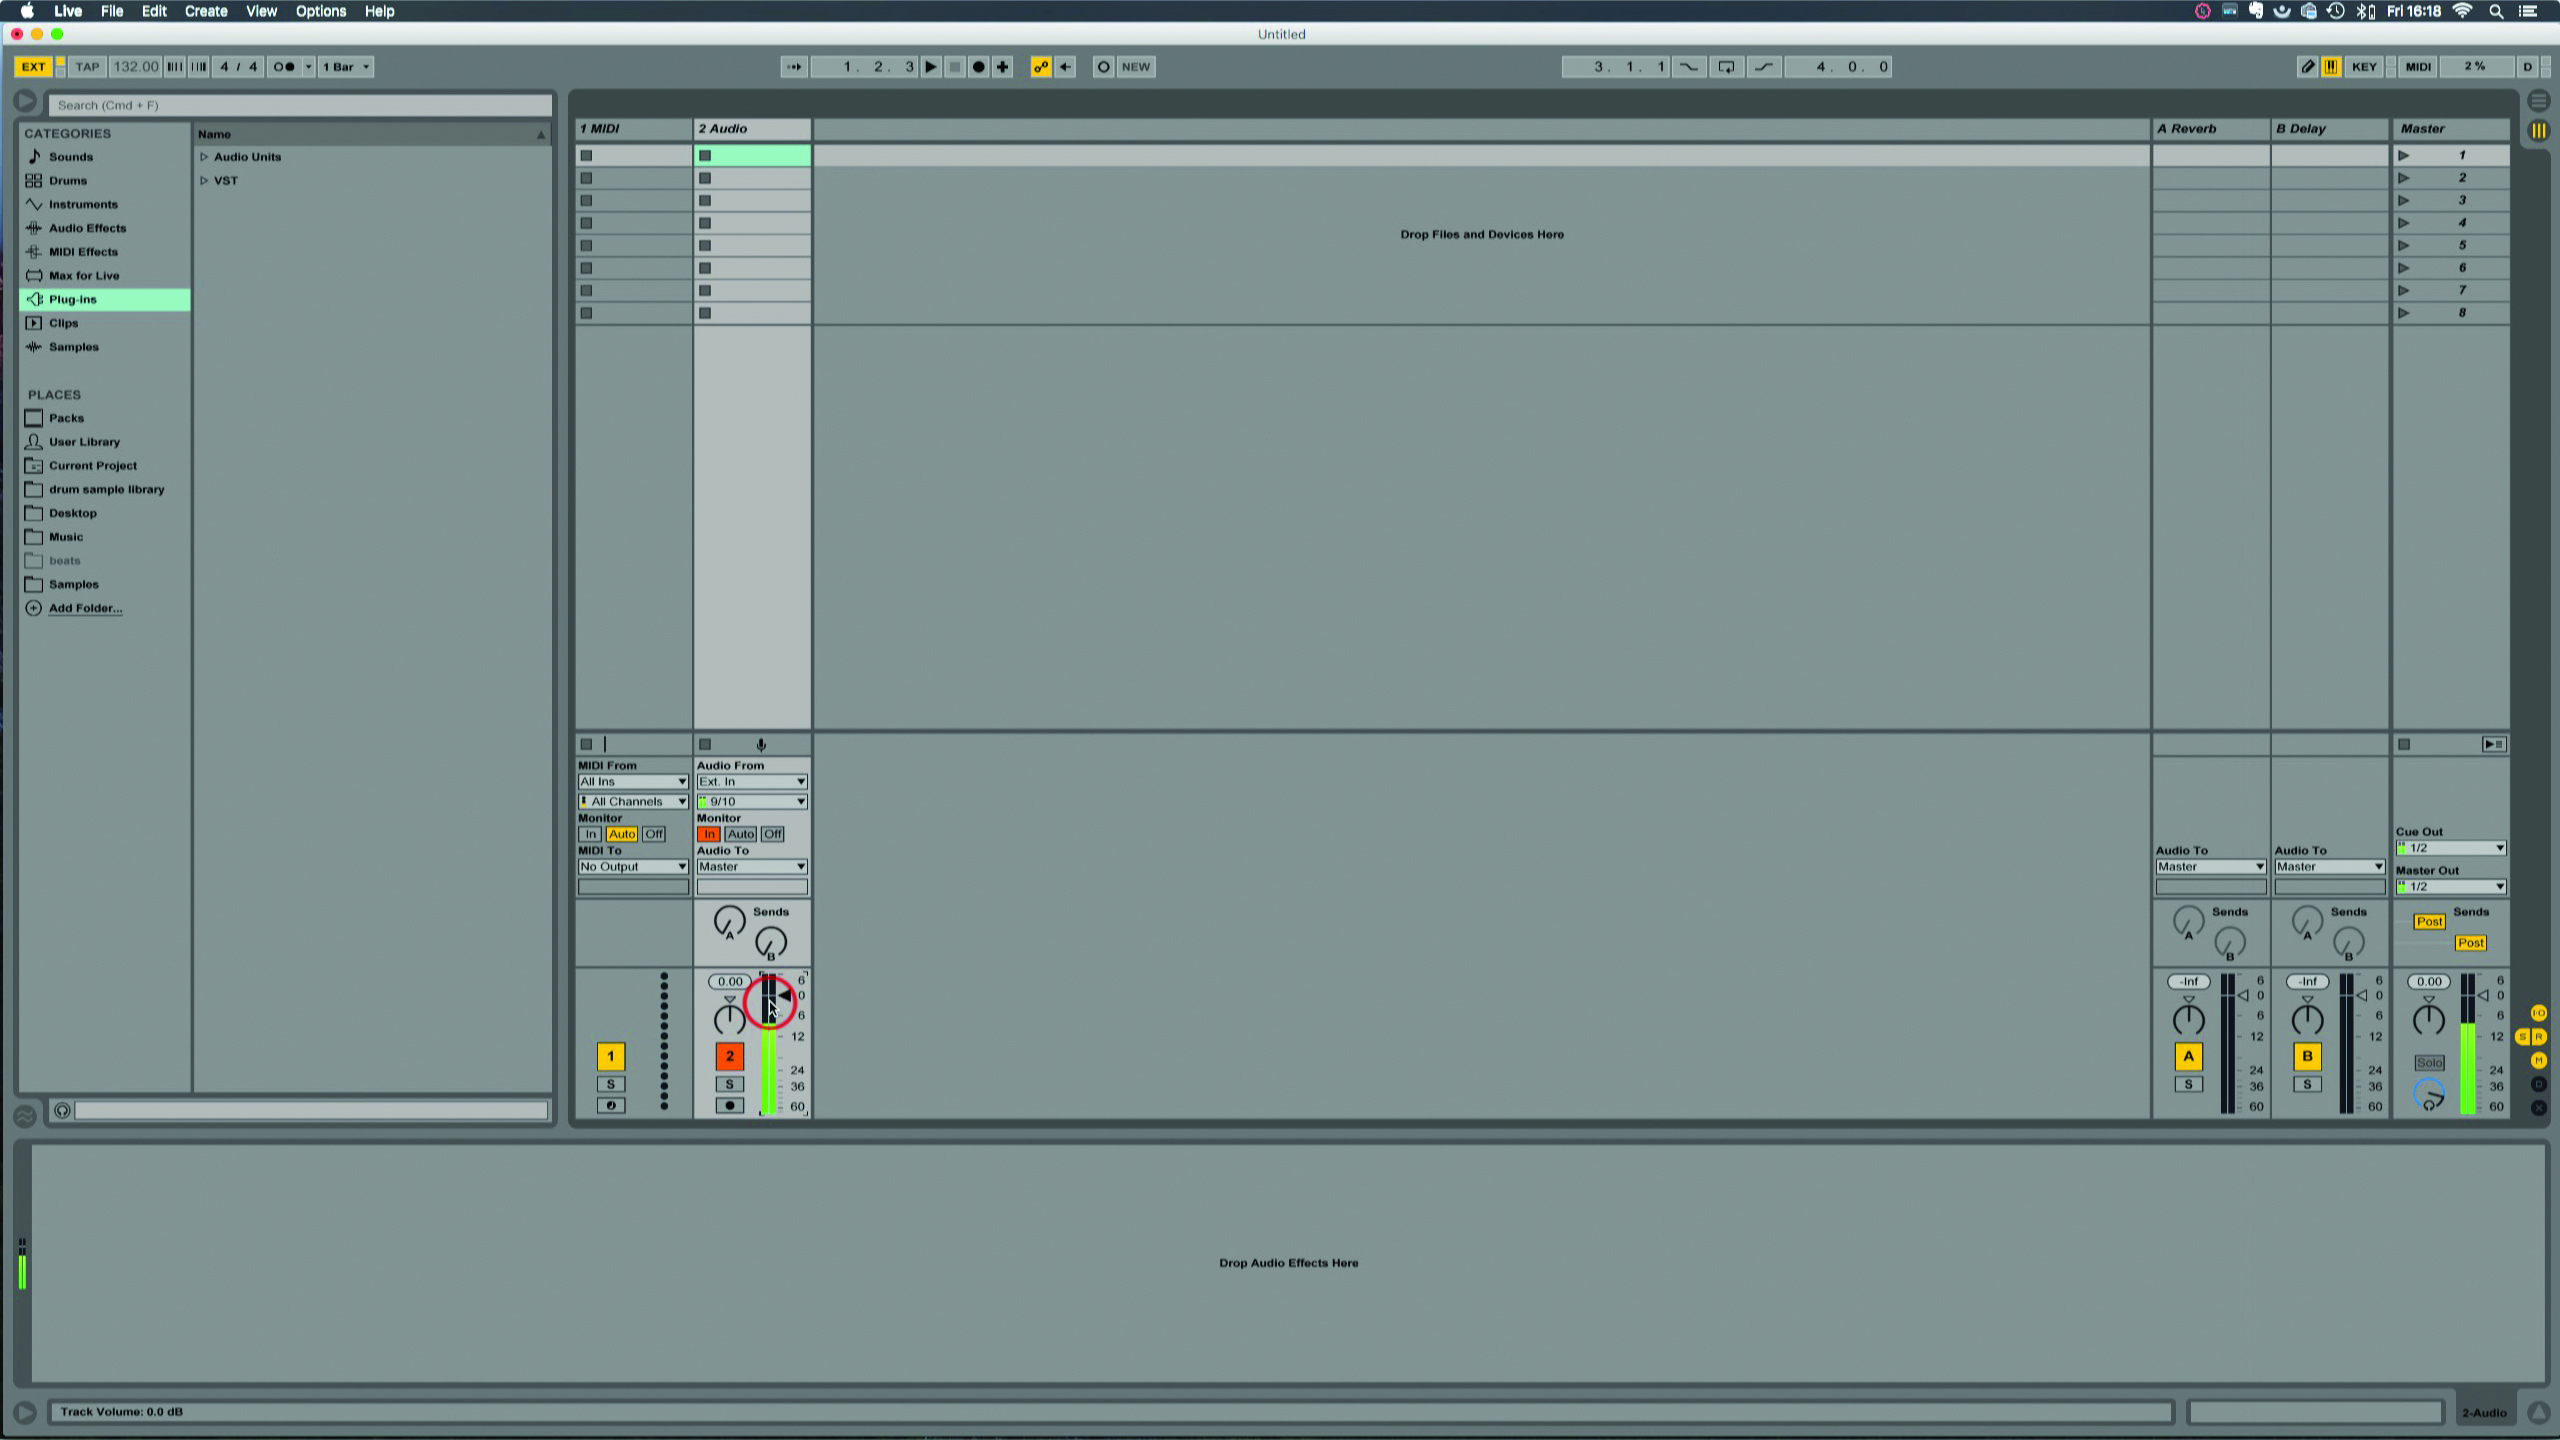
8: Check your levels. No reds! You don’t want distortion in the signal chain – you have a few places where you can control the volume, starting with the master volume control on the hardware itself.
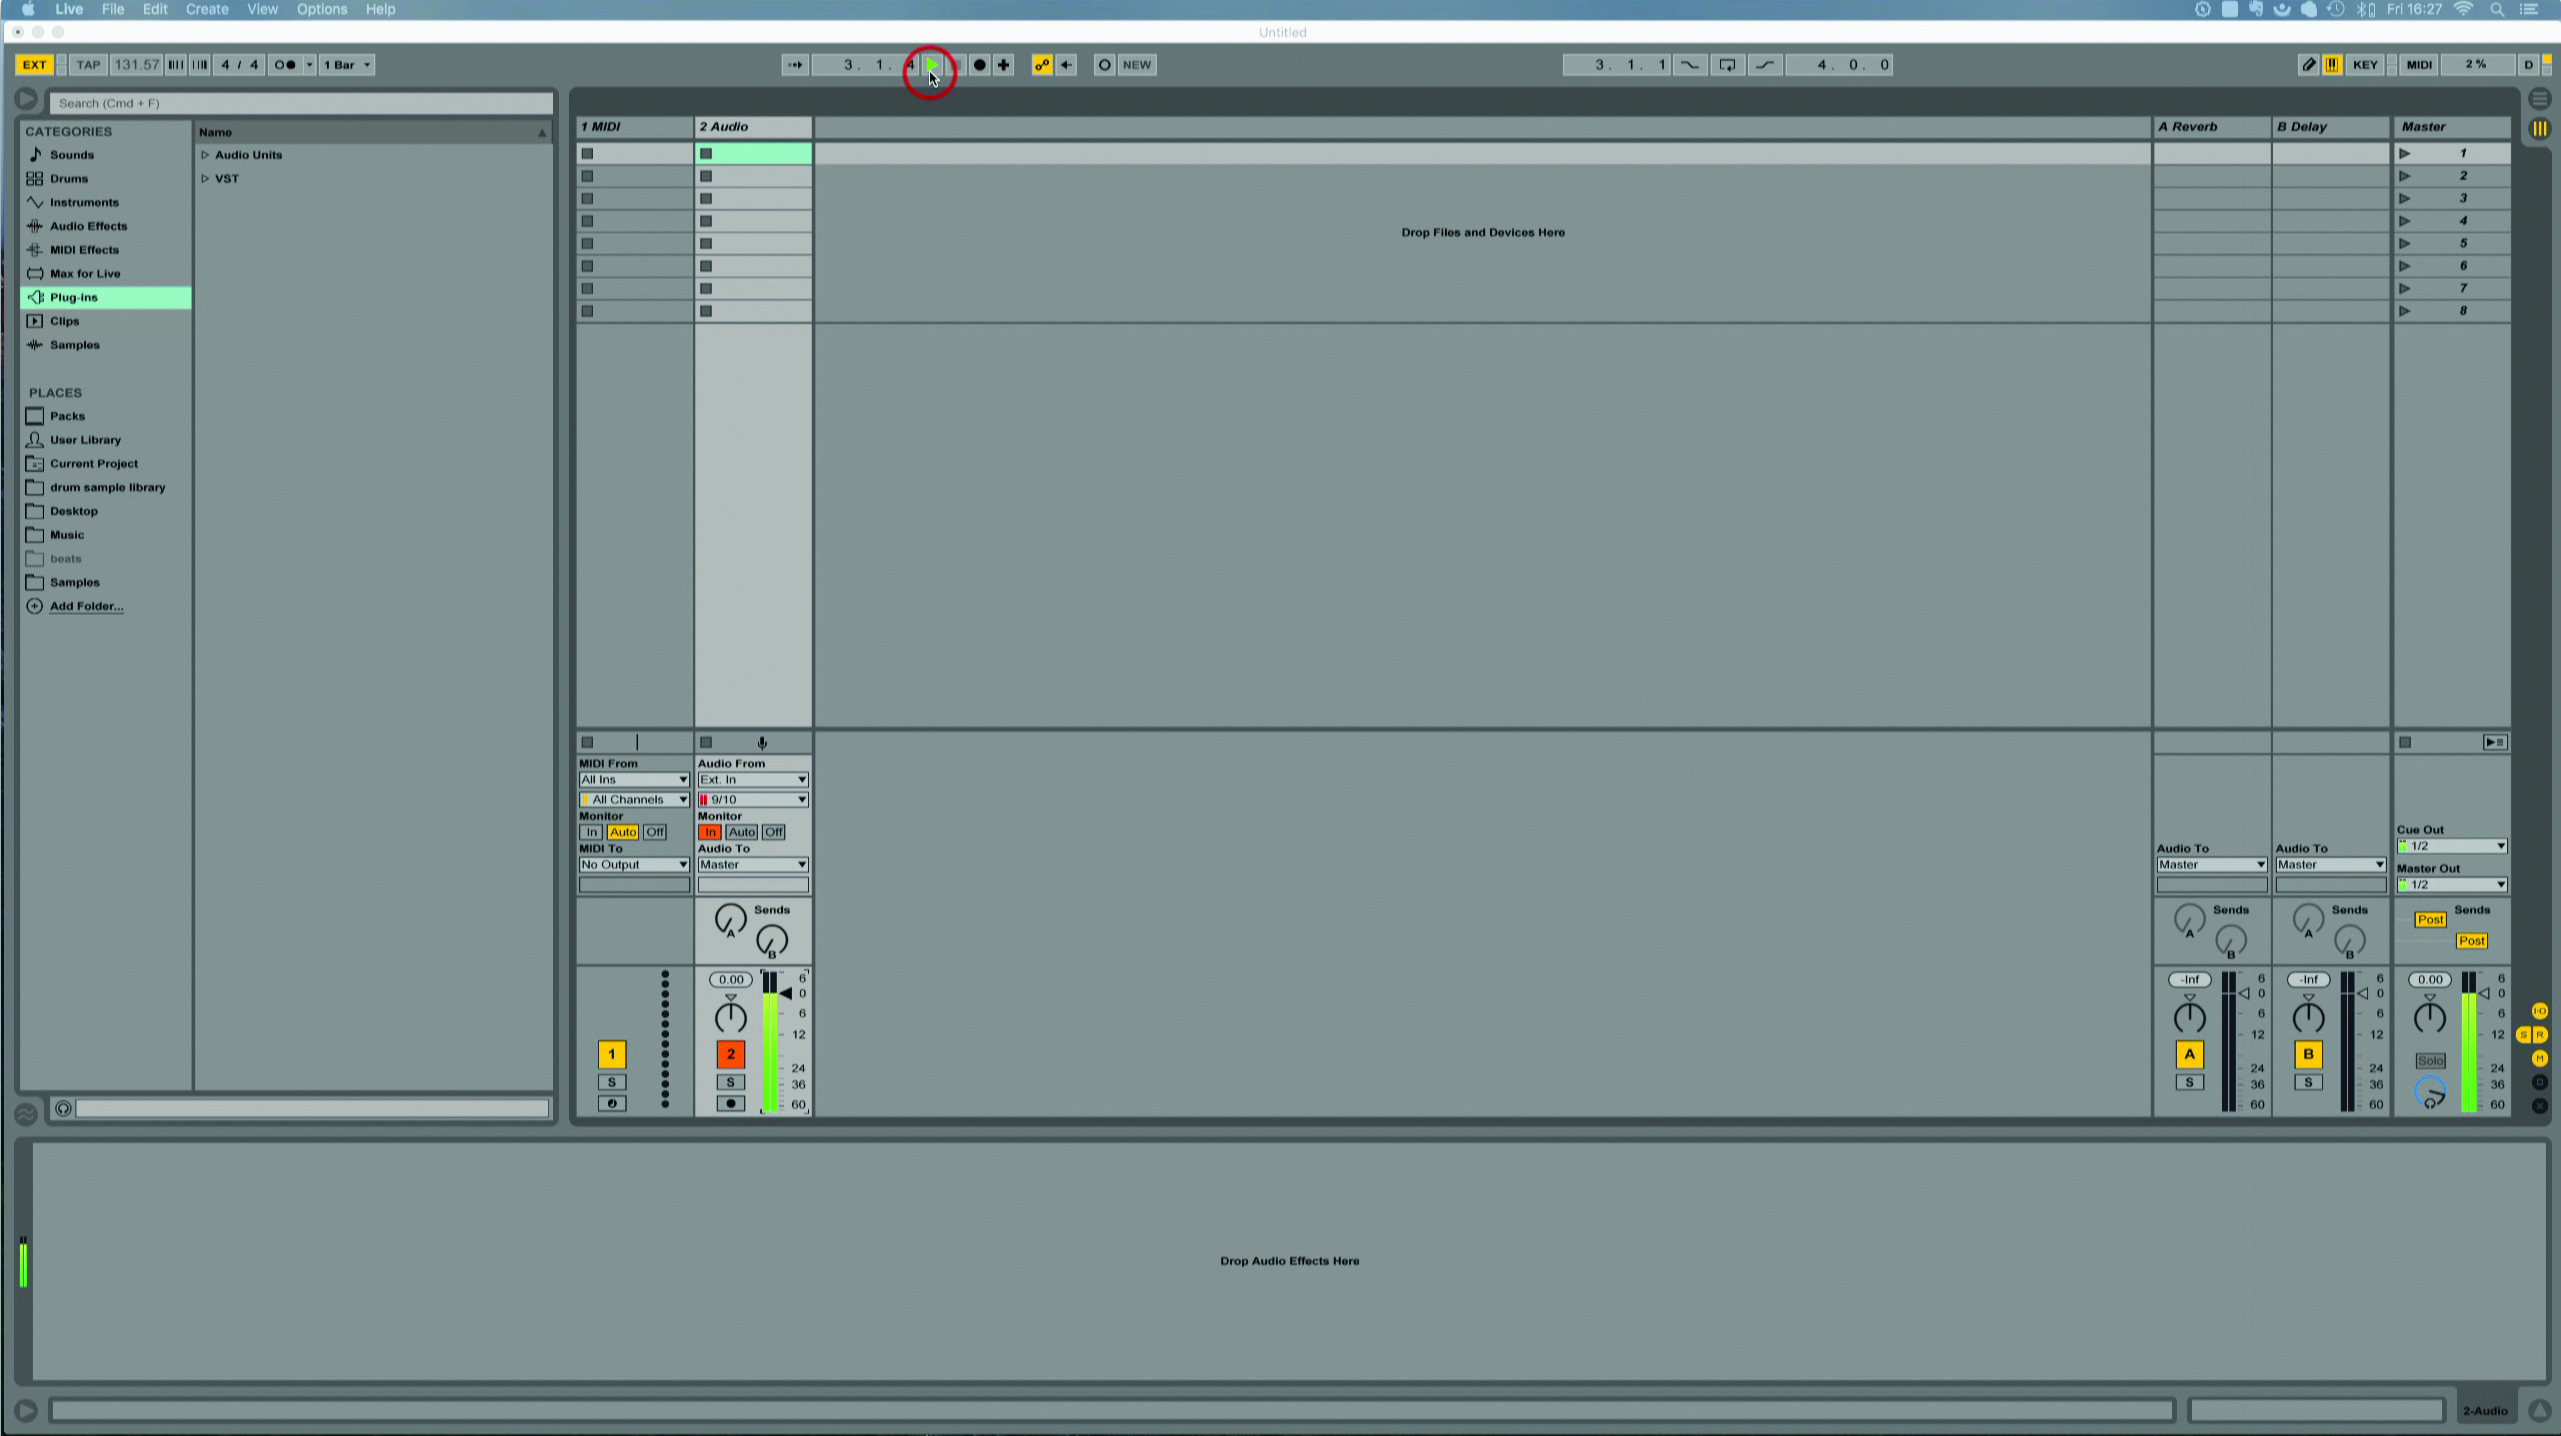
9: Press play on the groovebox, and Live should run. If not, you may need to adjust the transport controls in your hardware to send/receive MIDI sync – Elektron units, for example, have many MIDI-related settings.
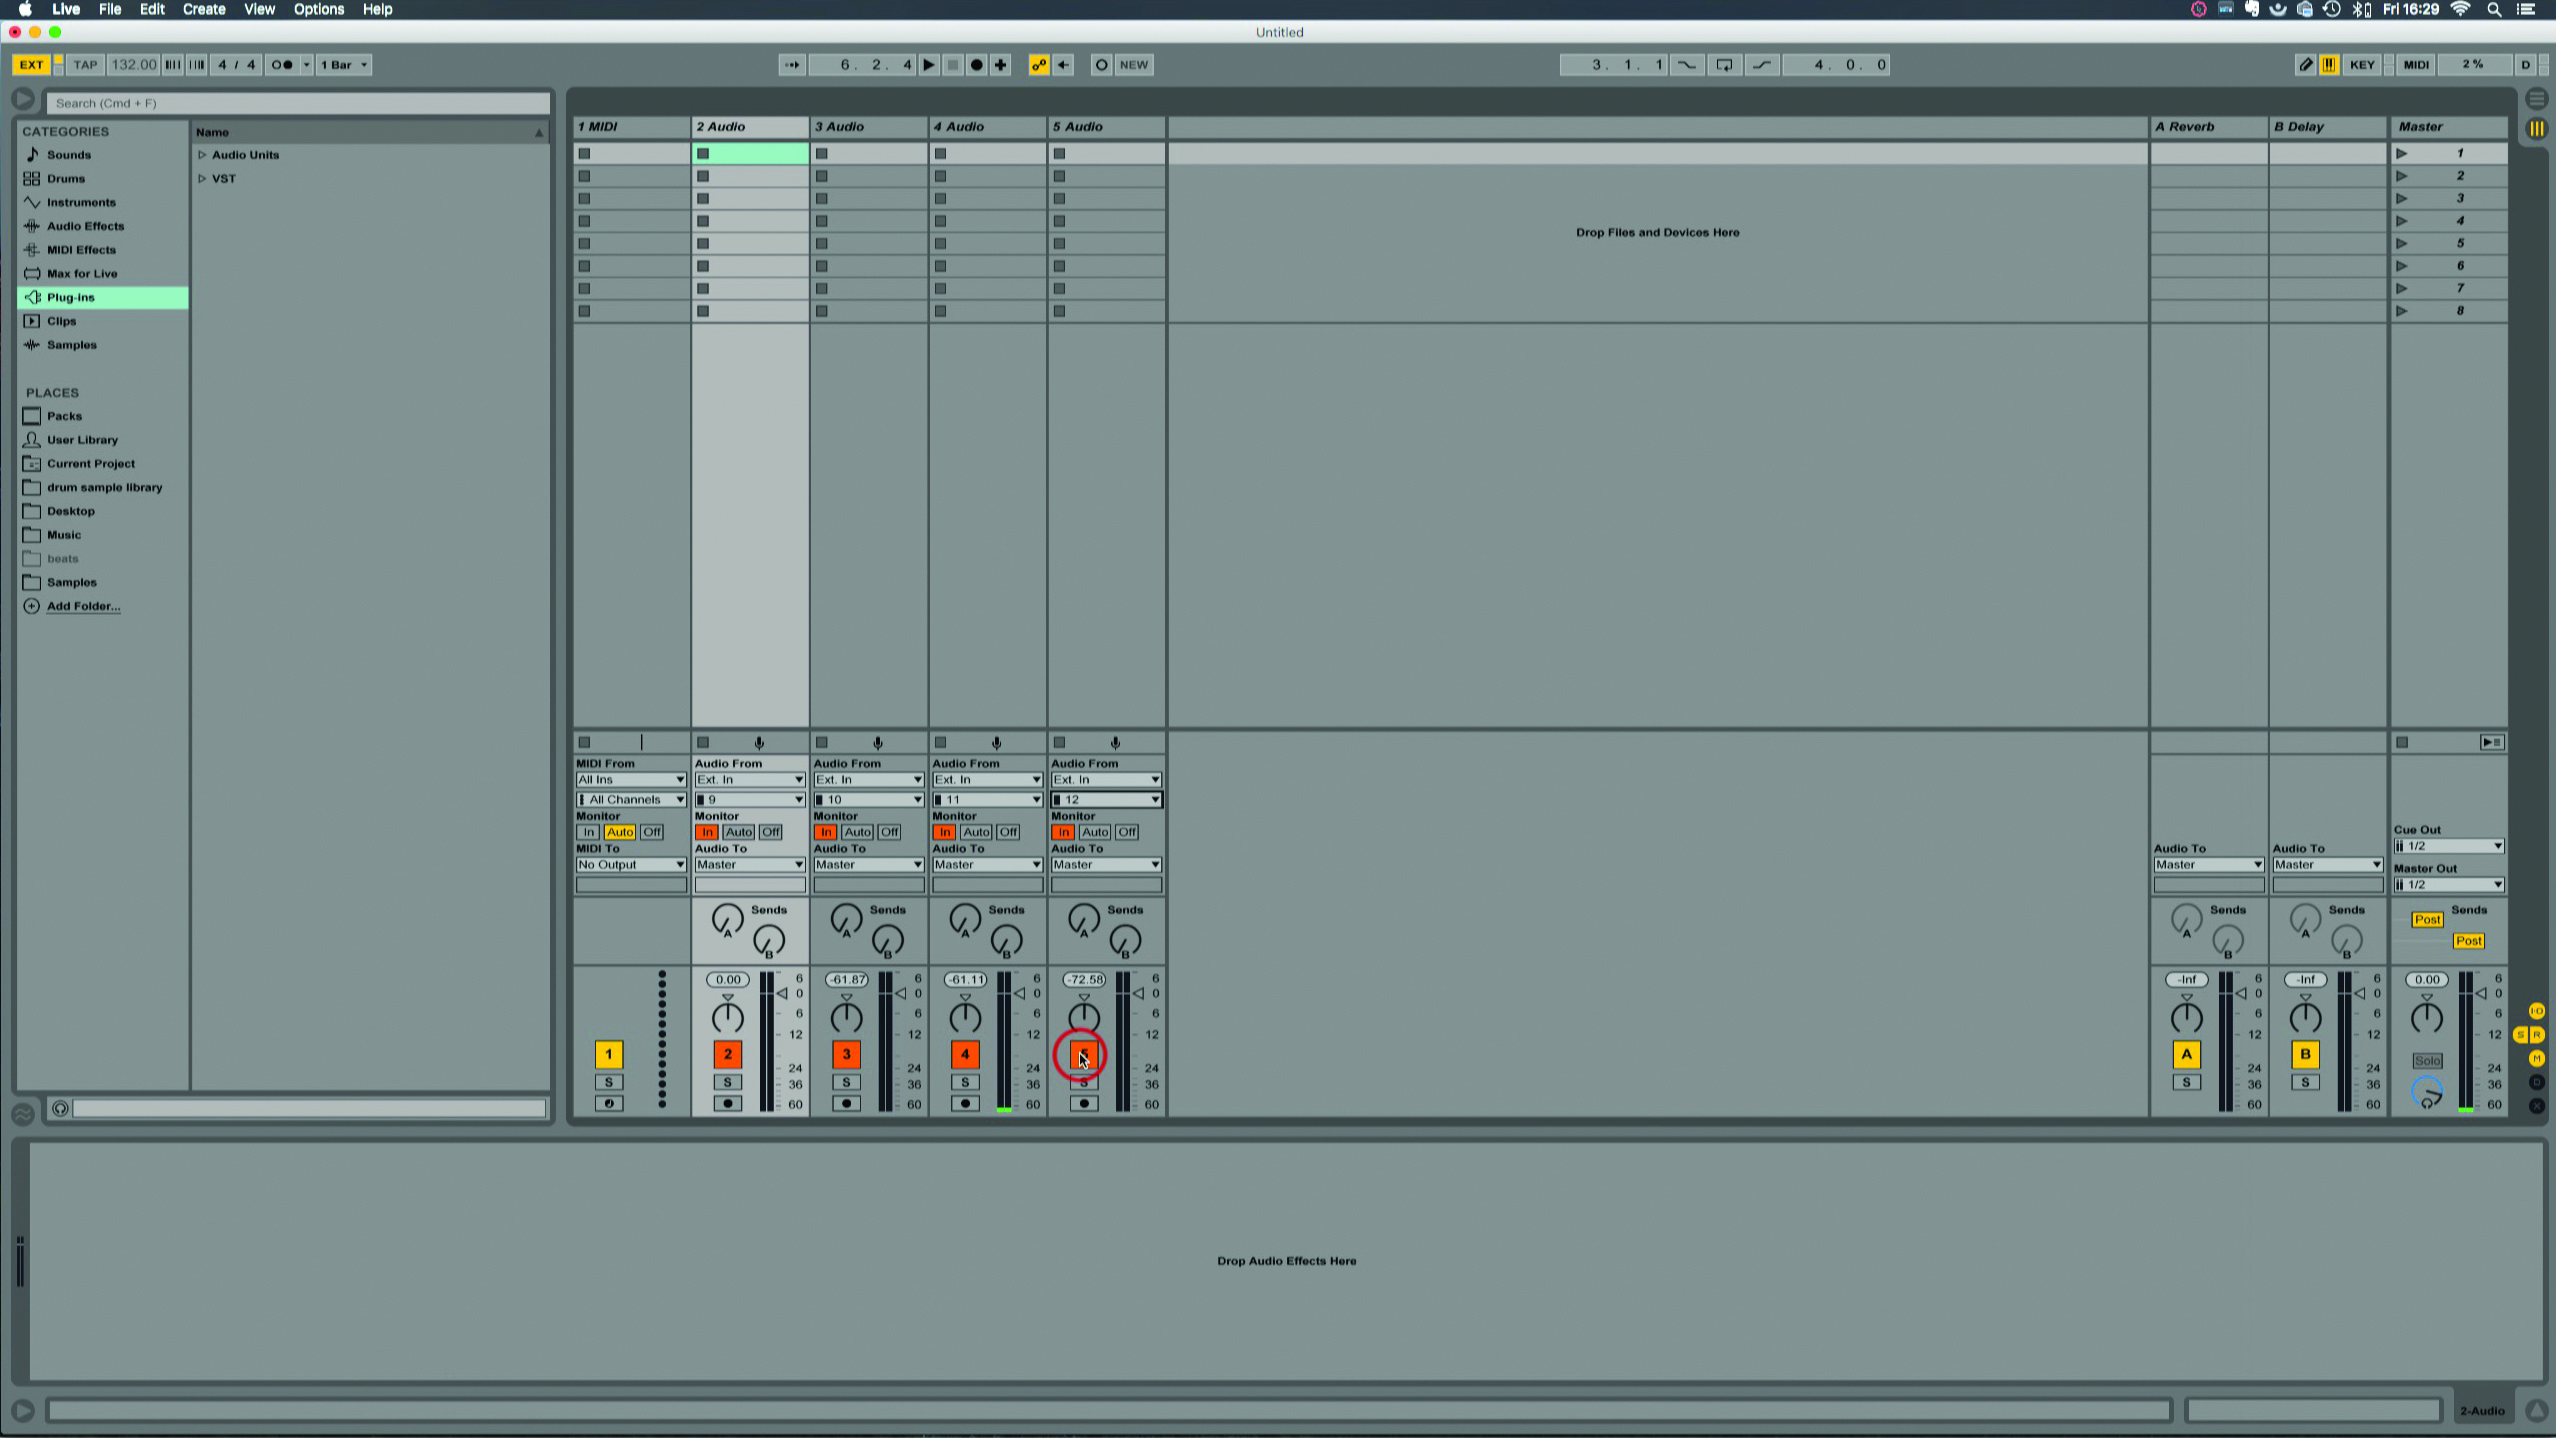
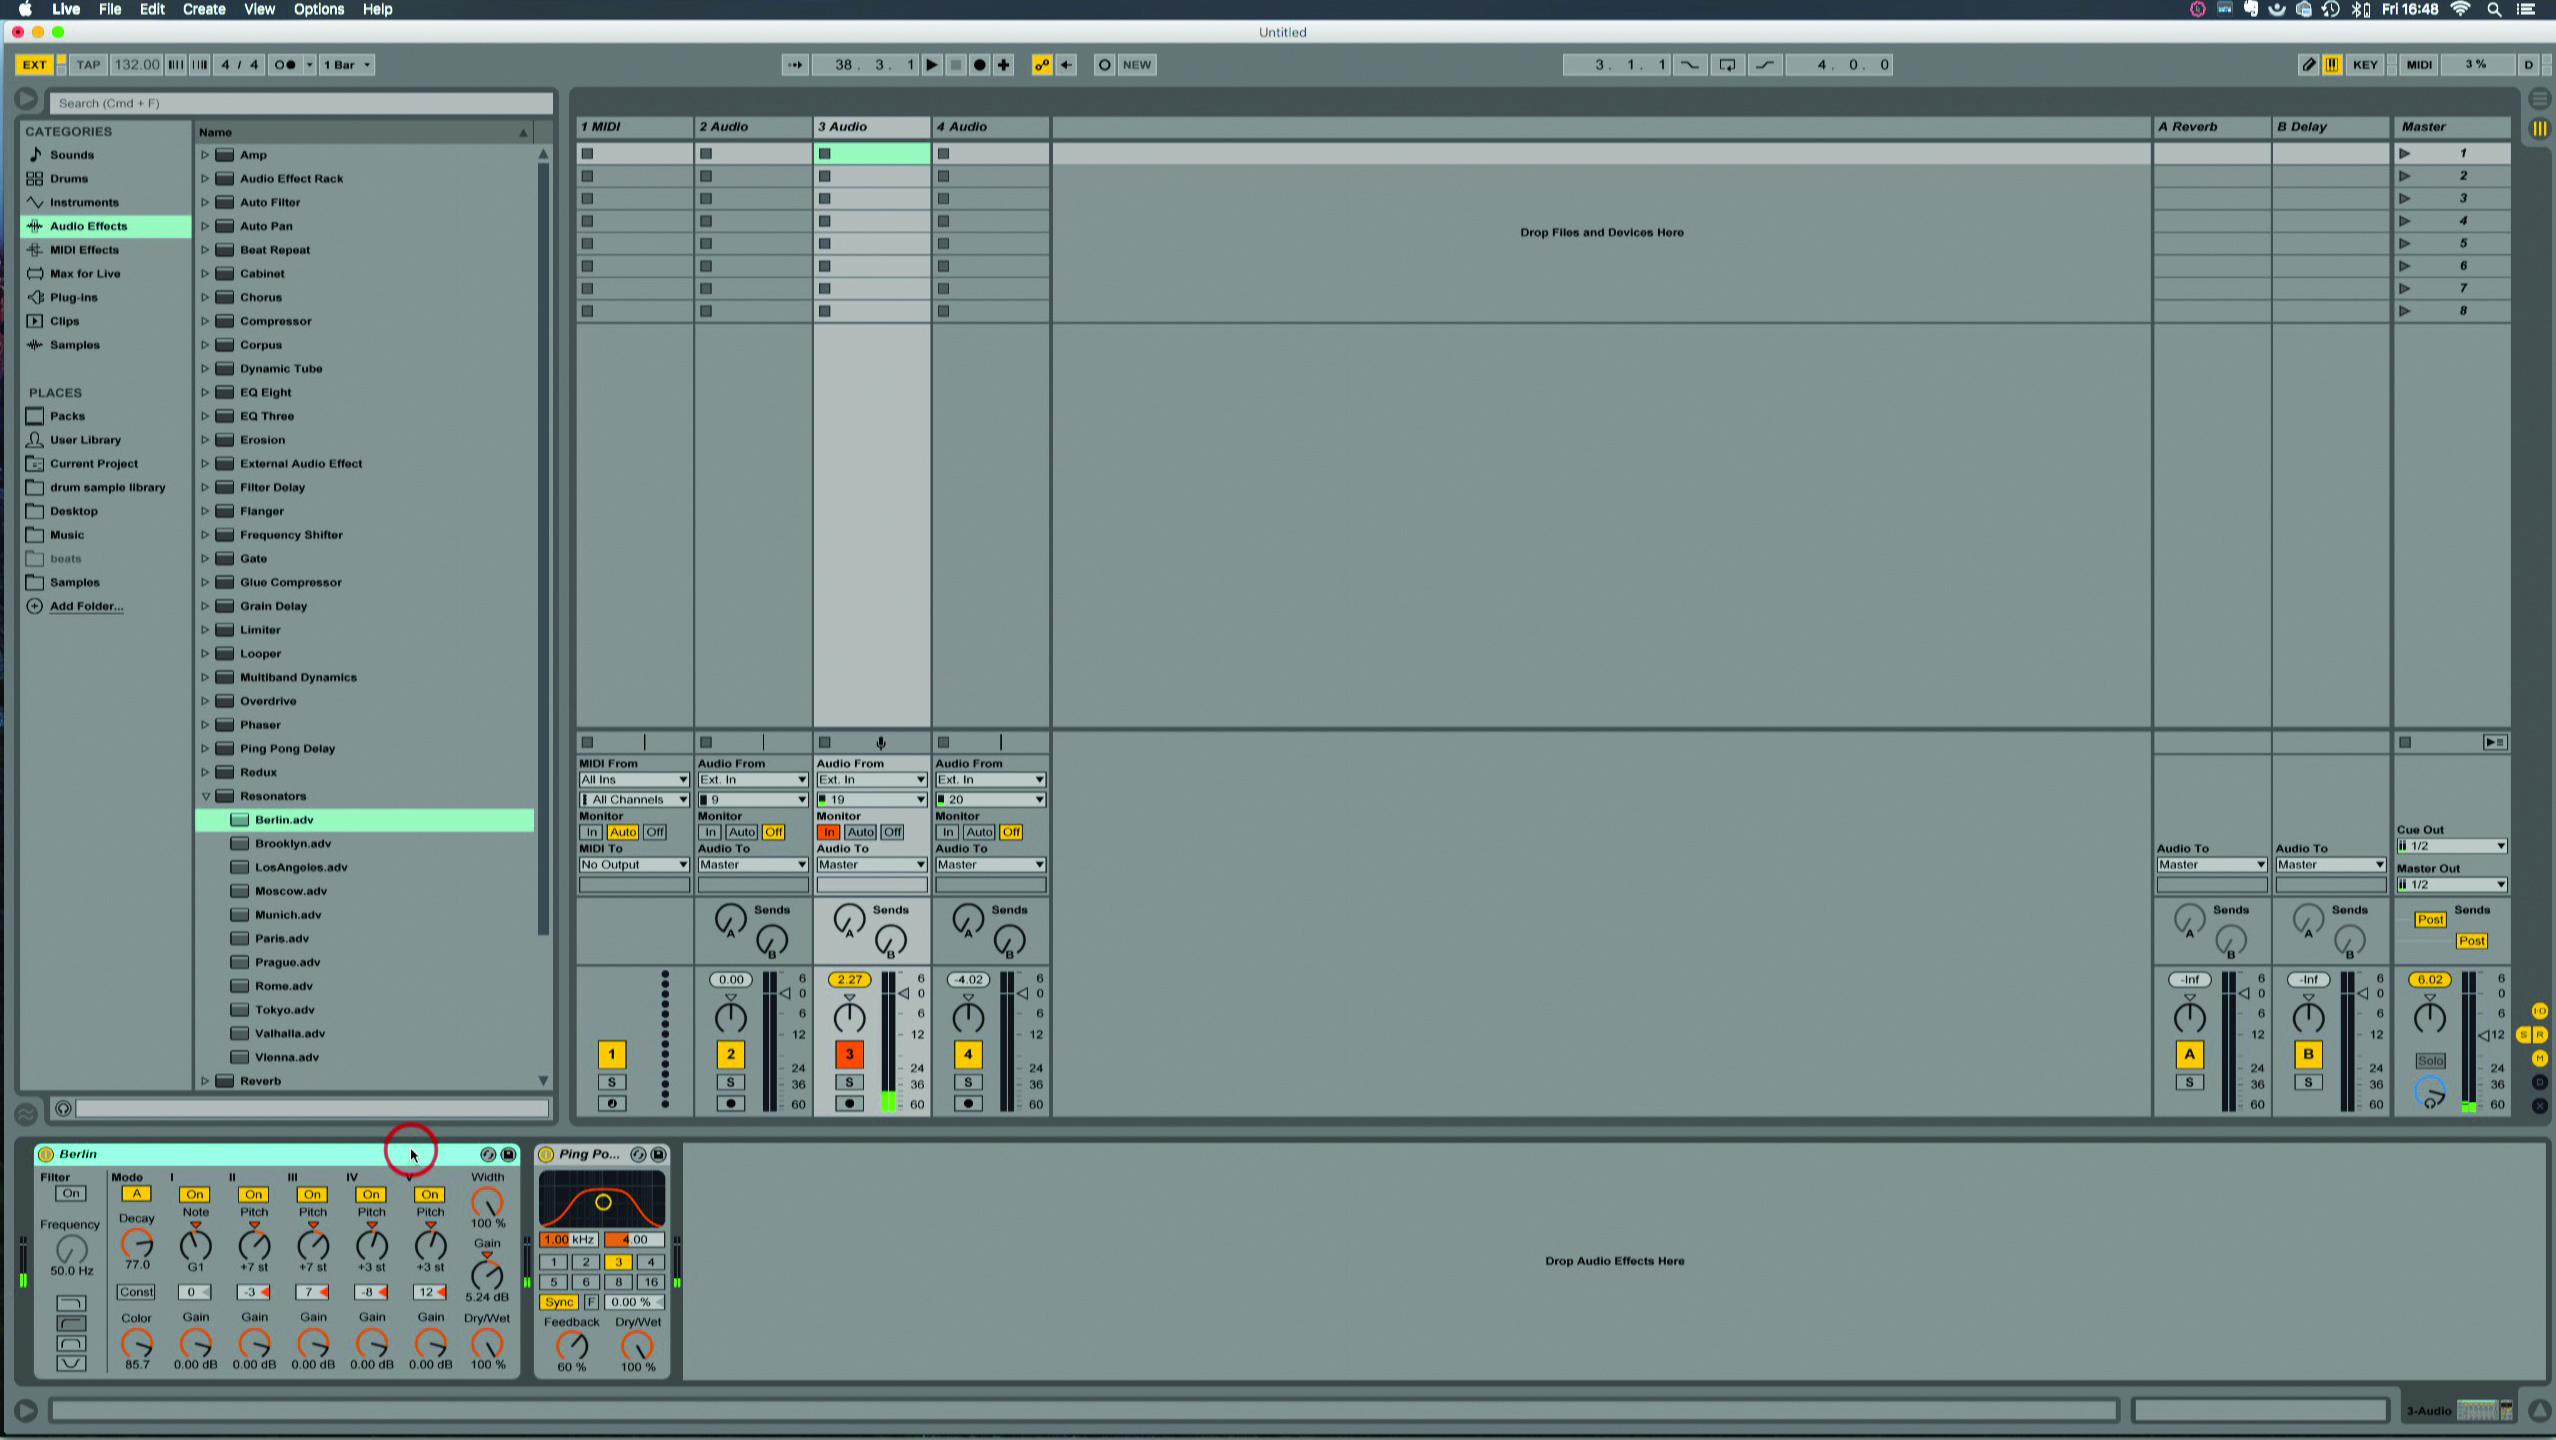
10: If your Groovebox has extra outputs, you can route them to different tracks, for more processing options – even with the track set to Monitor you should be able to hear the effects being applied.
11: If your Groovebox is stereo output only, hard-pan instruments to each output and send each to a separate track, so again, you have those processing options. You can pan them back to the middle if necessary.
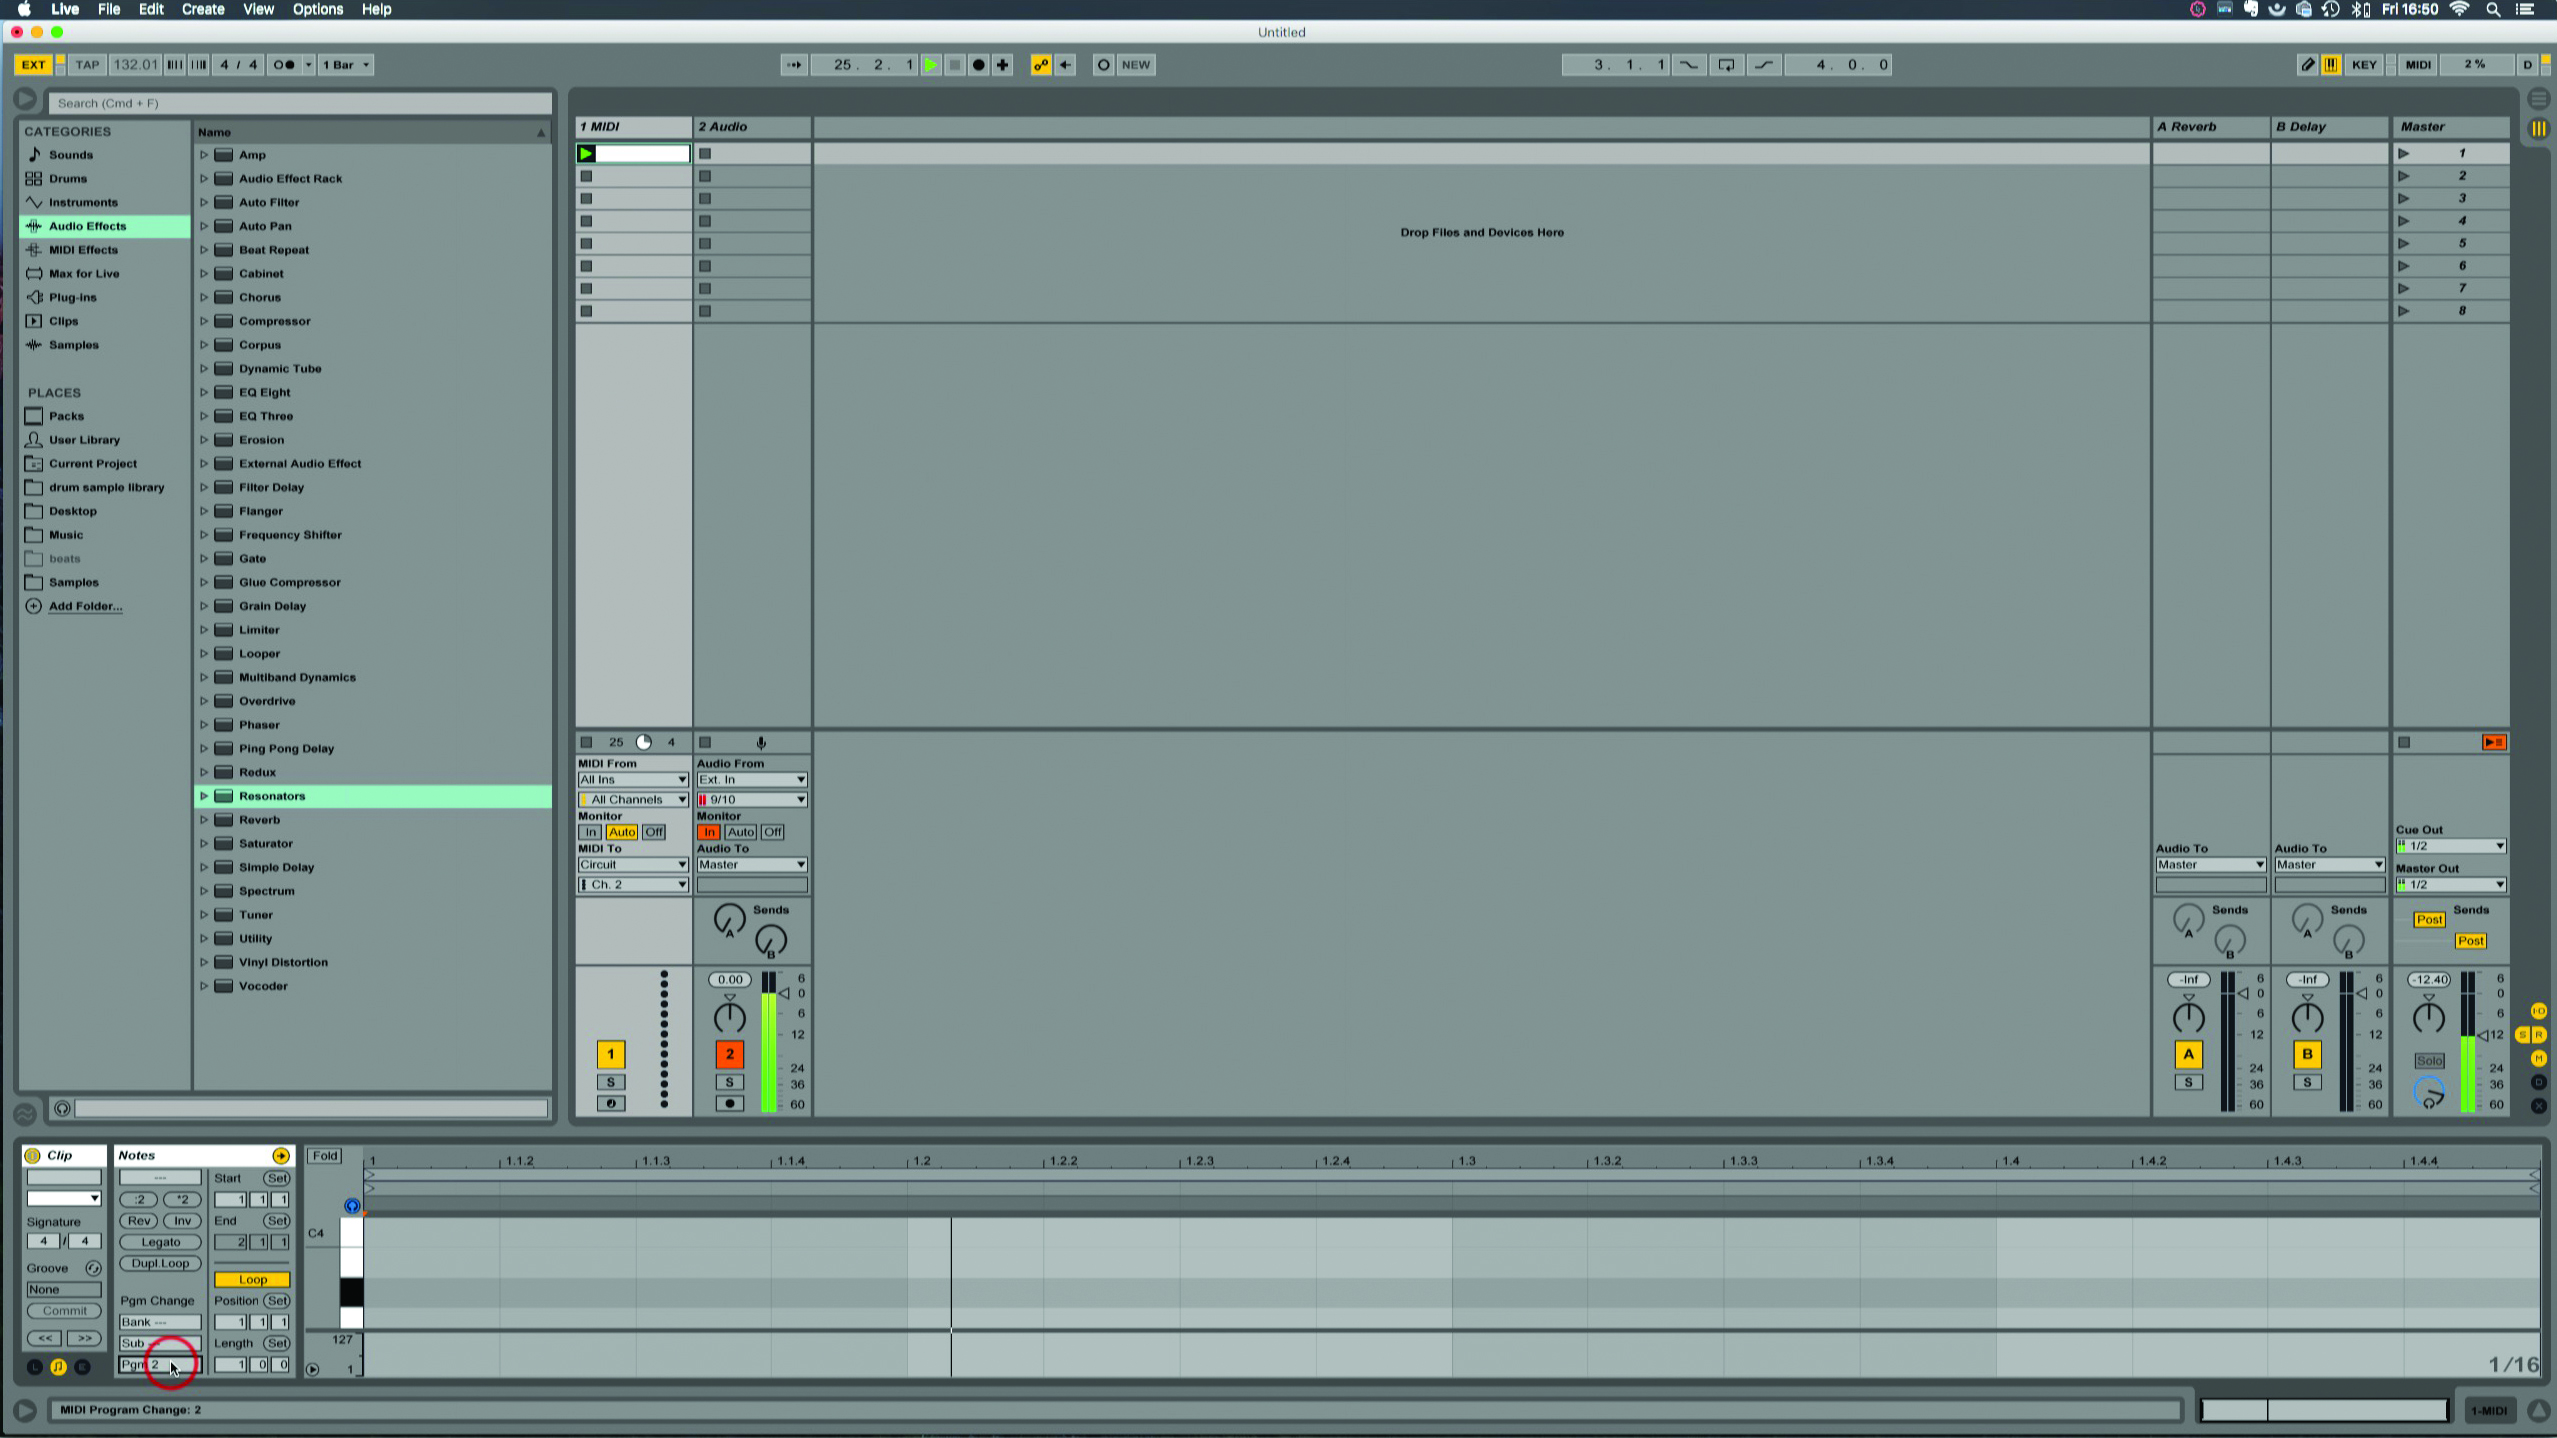
12: Most grooveboxes respond to MIDI messages like program or bank changes, usually intended to load onboard sounds or change patterns. Live’s MIDI clips can send these messages, on clip or even scene launches.
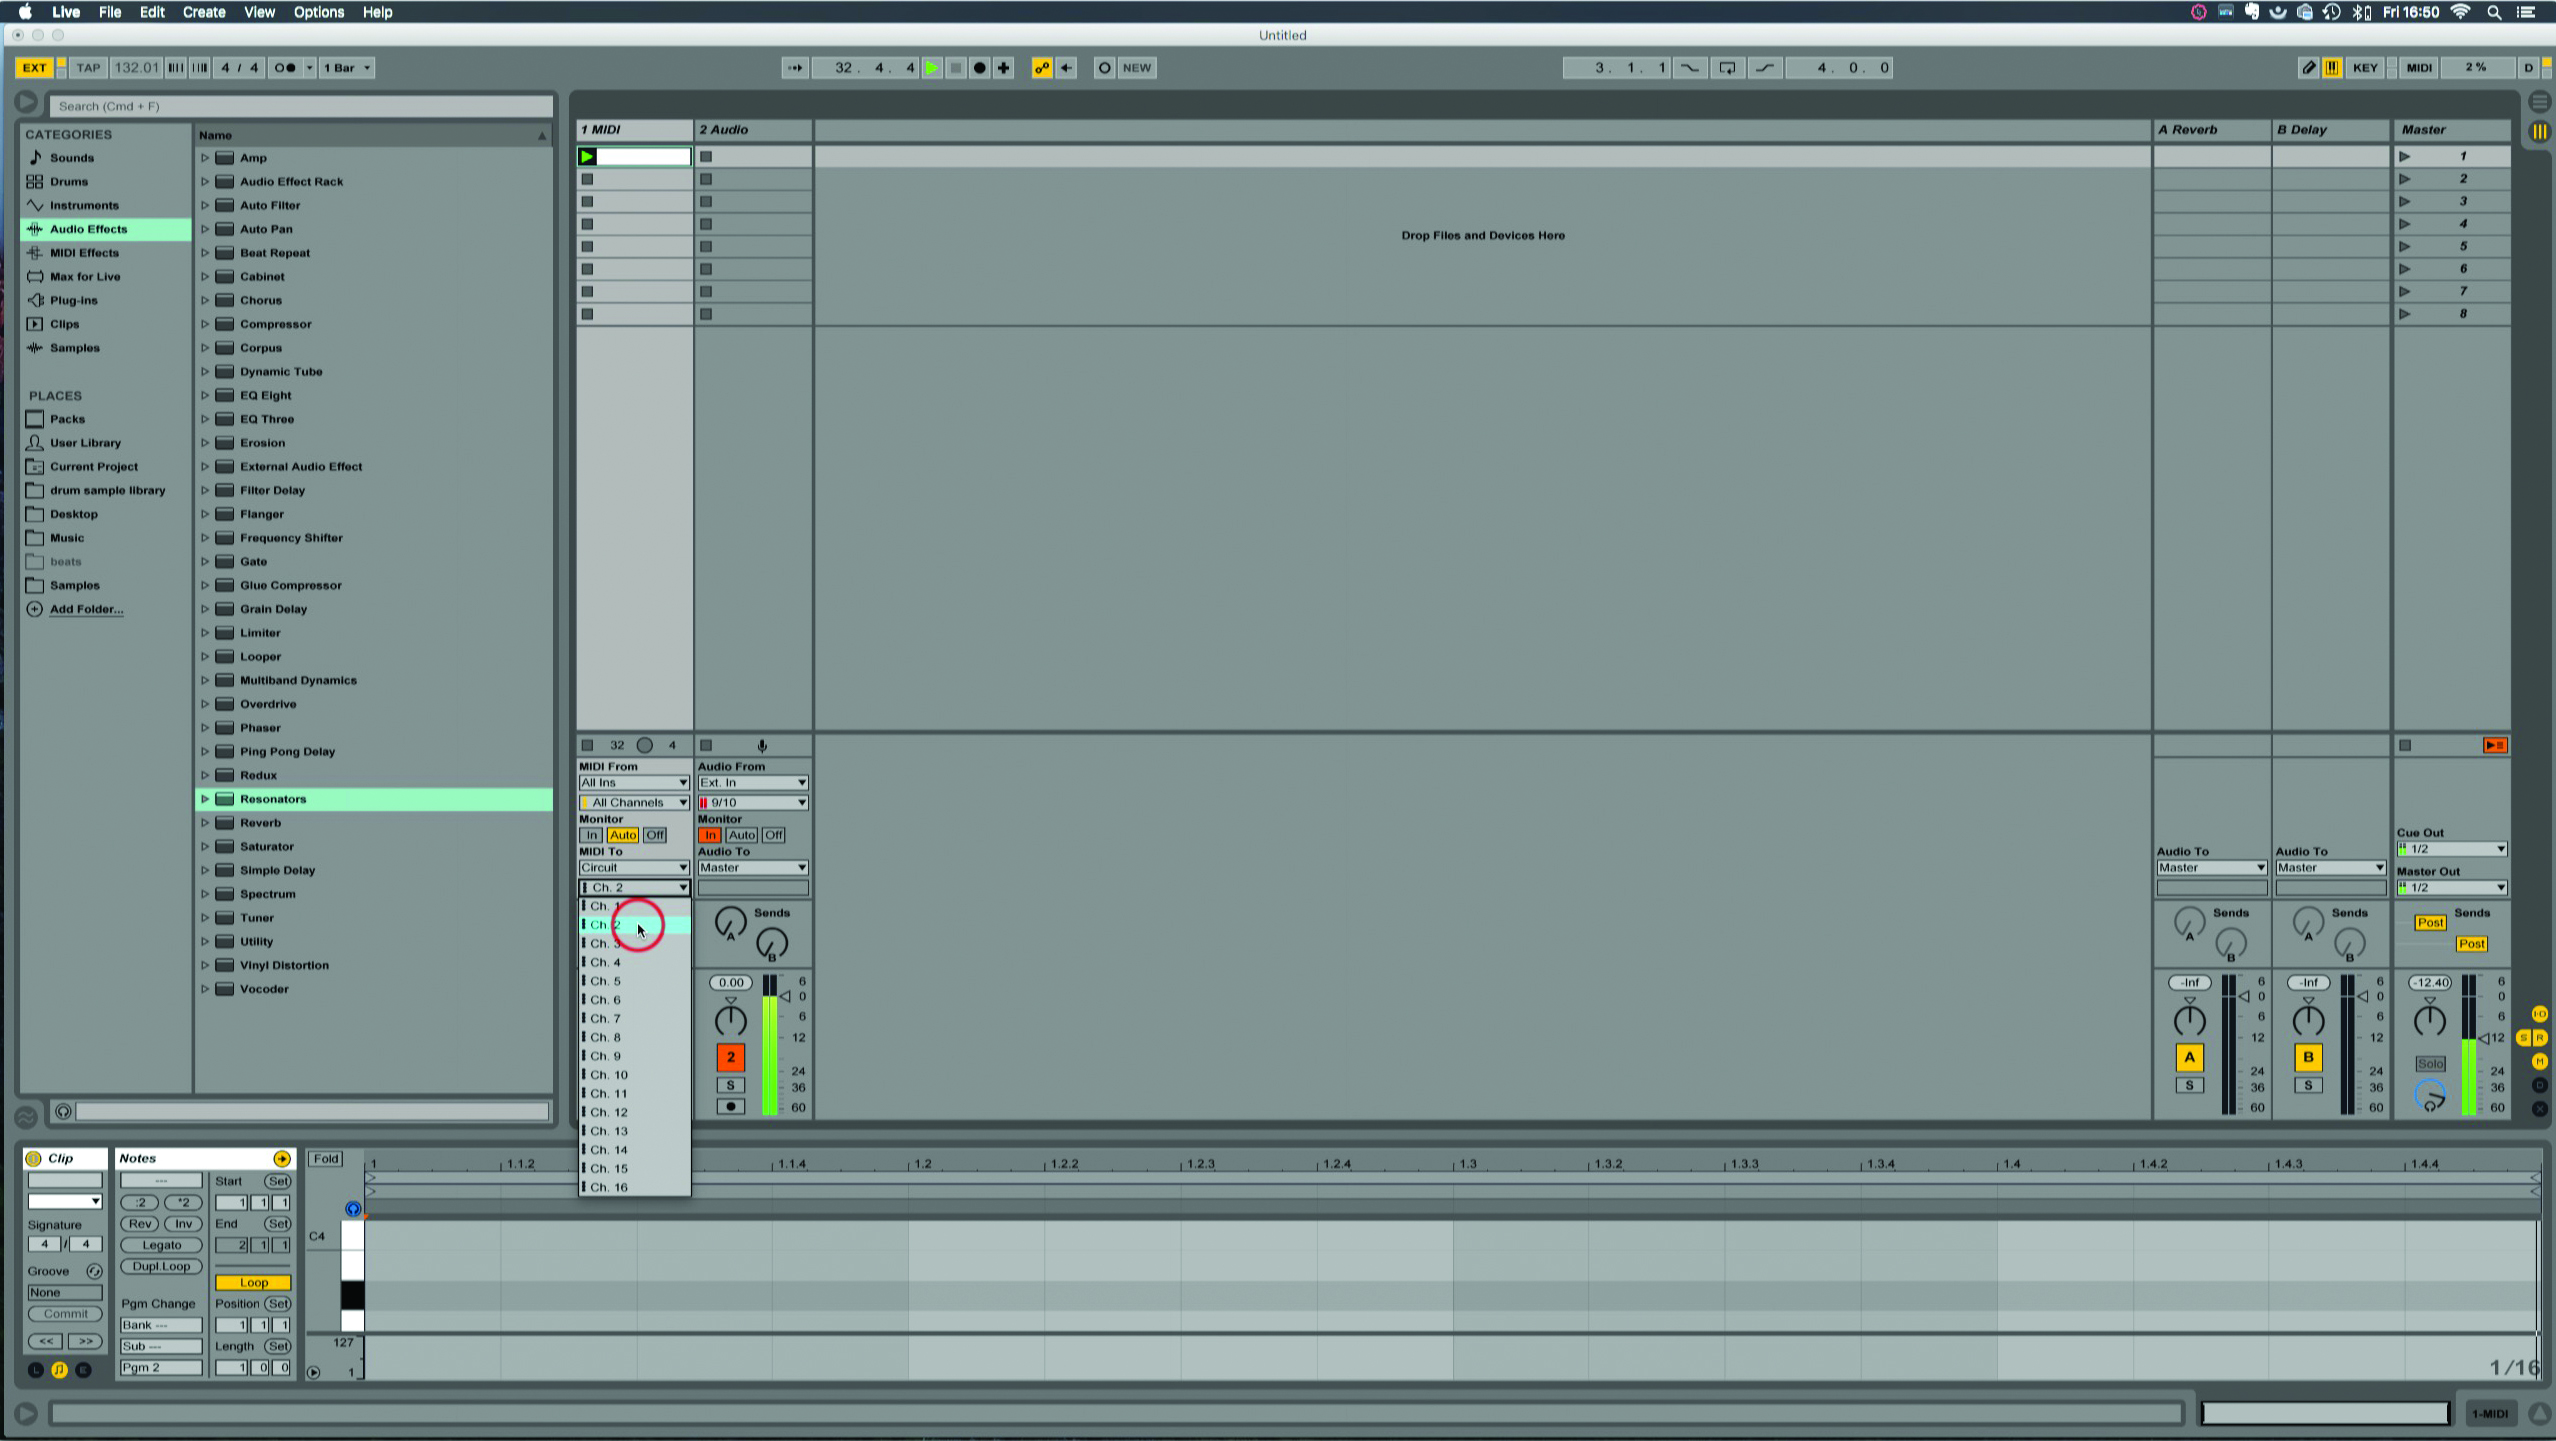
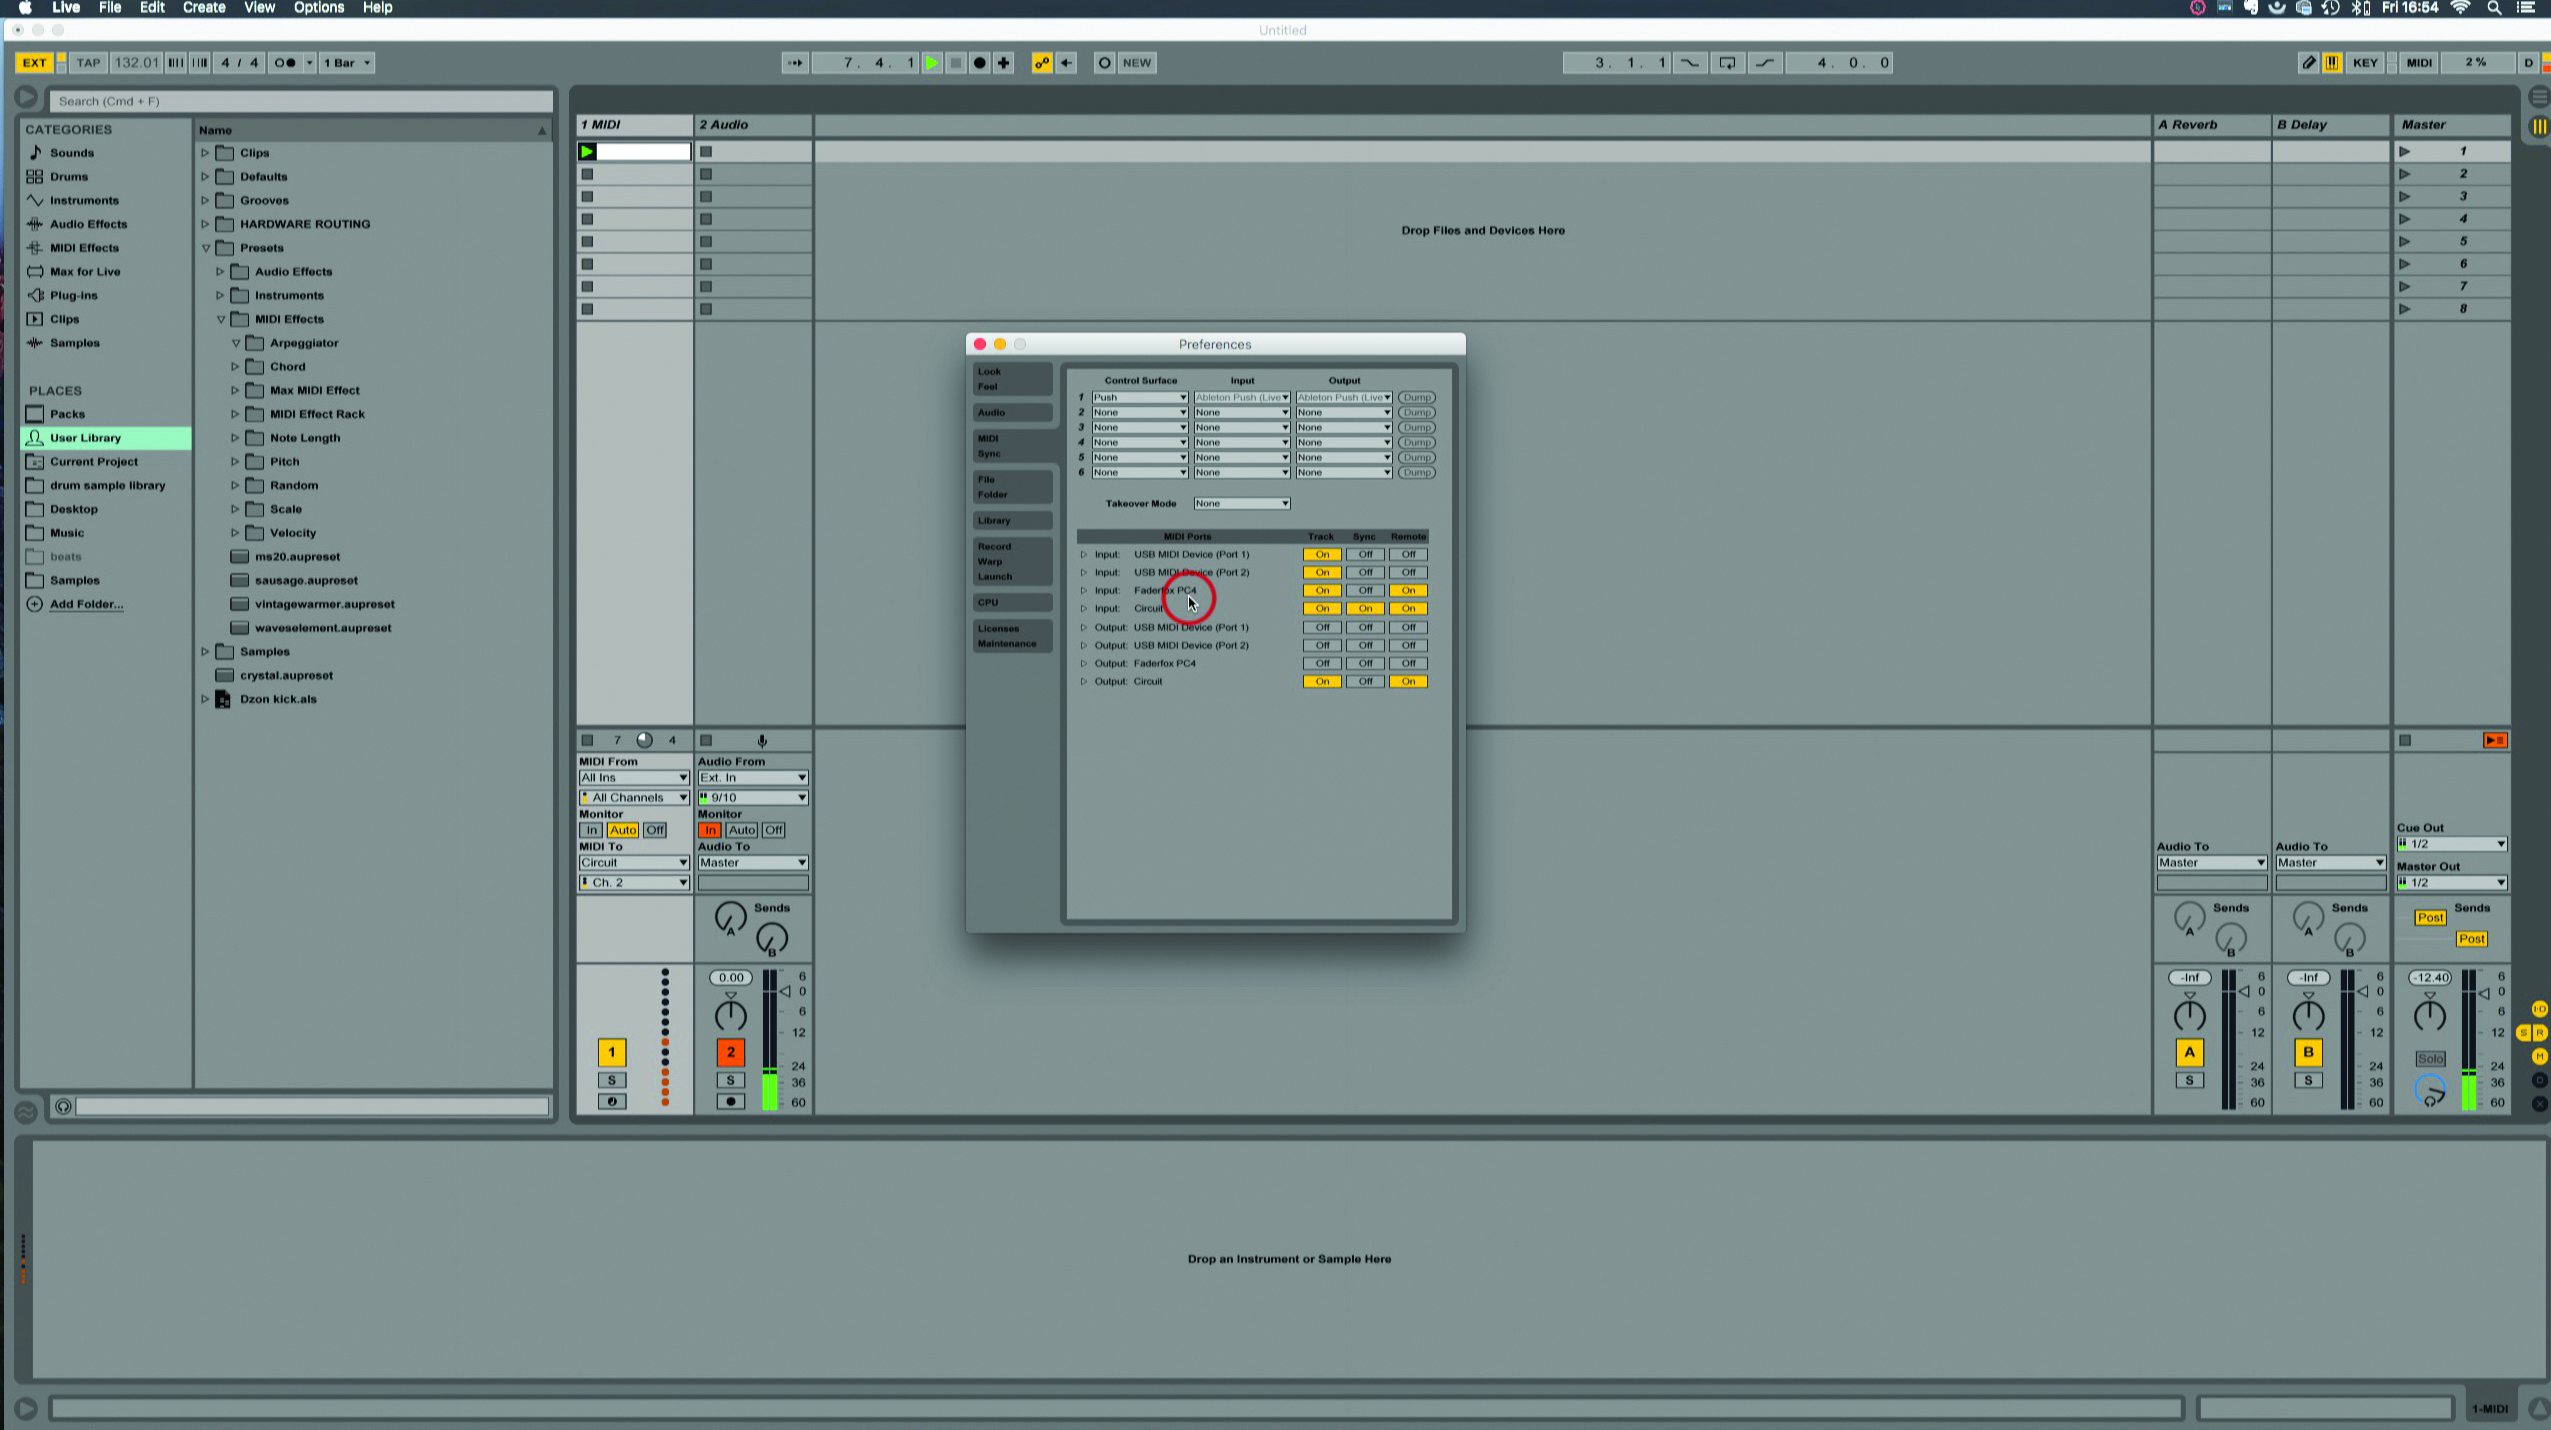
13: You might also have to check your hardware’s manual (probably a PDF document download) to check if it needs to receive MIDI on a particular MIDI channel – there are 16 channels to choose from
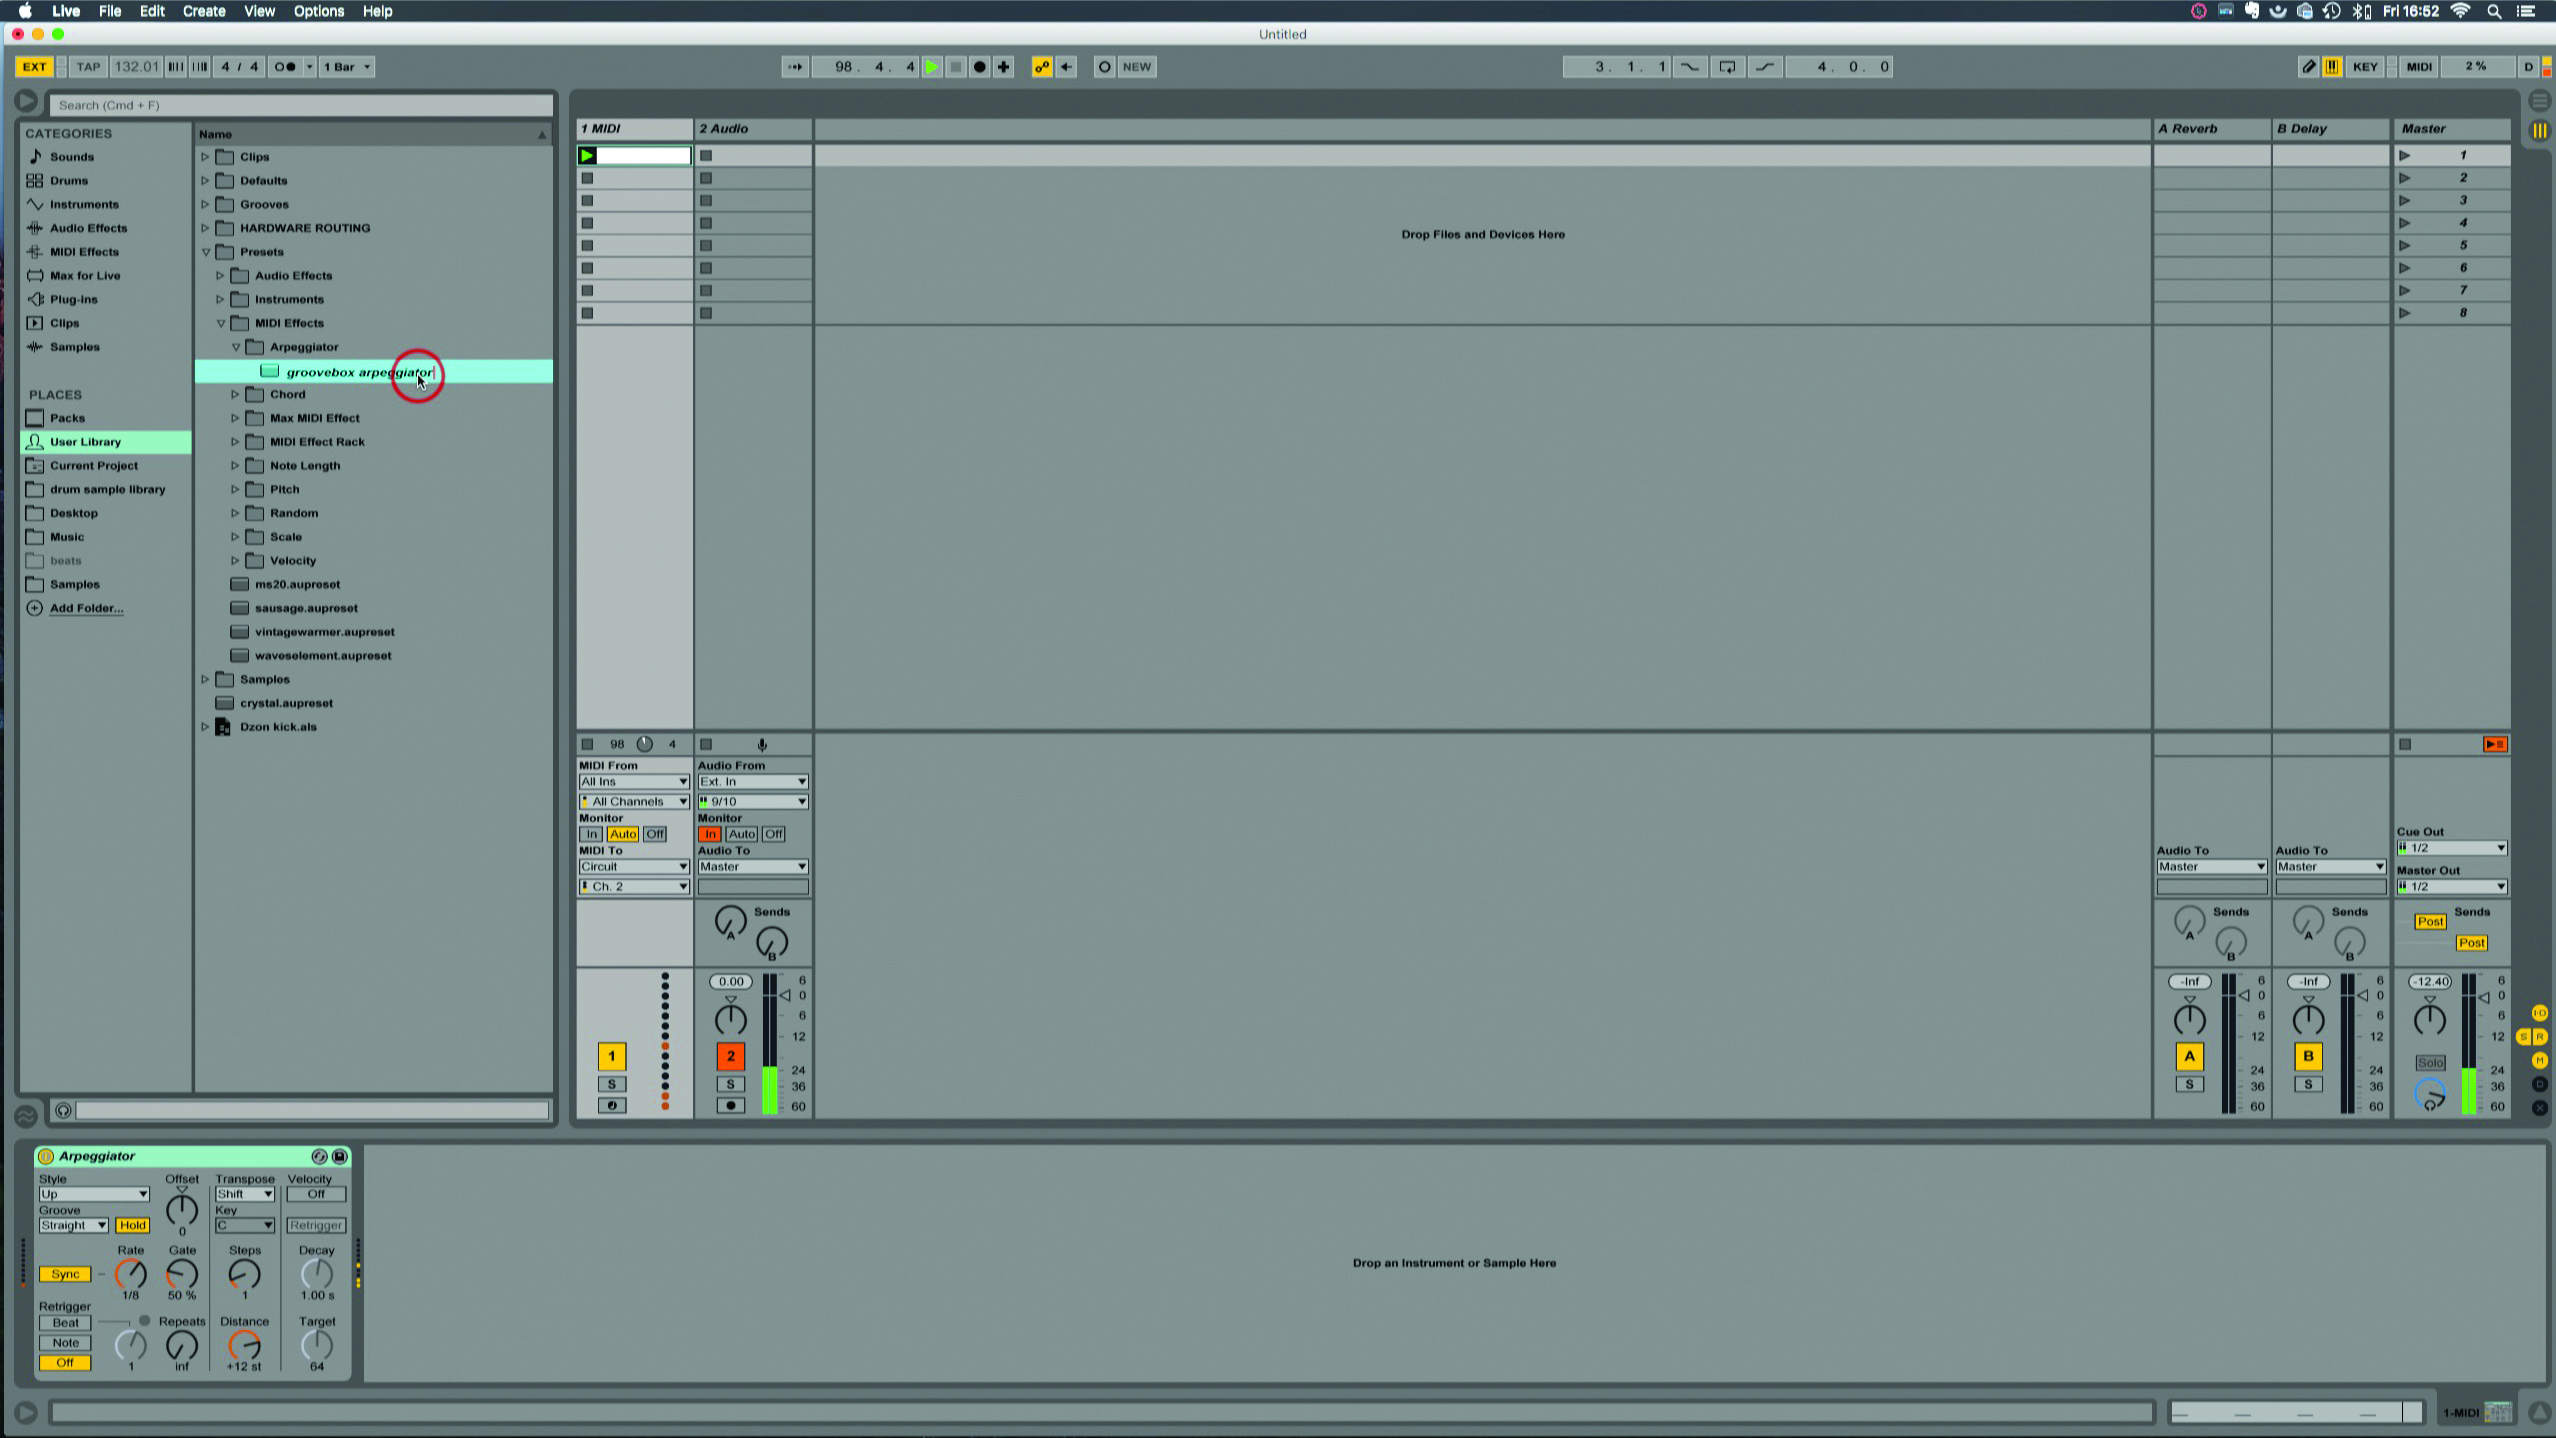
14: Use Live’s MIDI effect devices with MIDI notes that are going out to the hardware, and then use audio effects to process returning audio. If you hit some cool combinations, save them as presets.
15: If your groovebox lacks top panel controls but you don’t want to automate everything – you want to keep it tactile. You can add another hardware controller to the setup, and send MIDI through your computer.
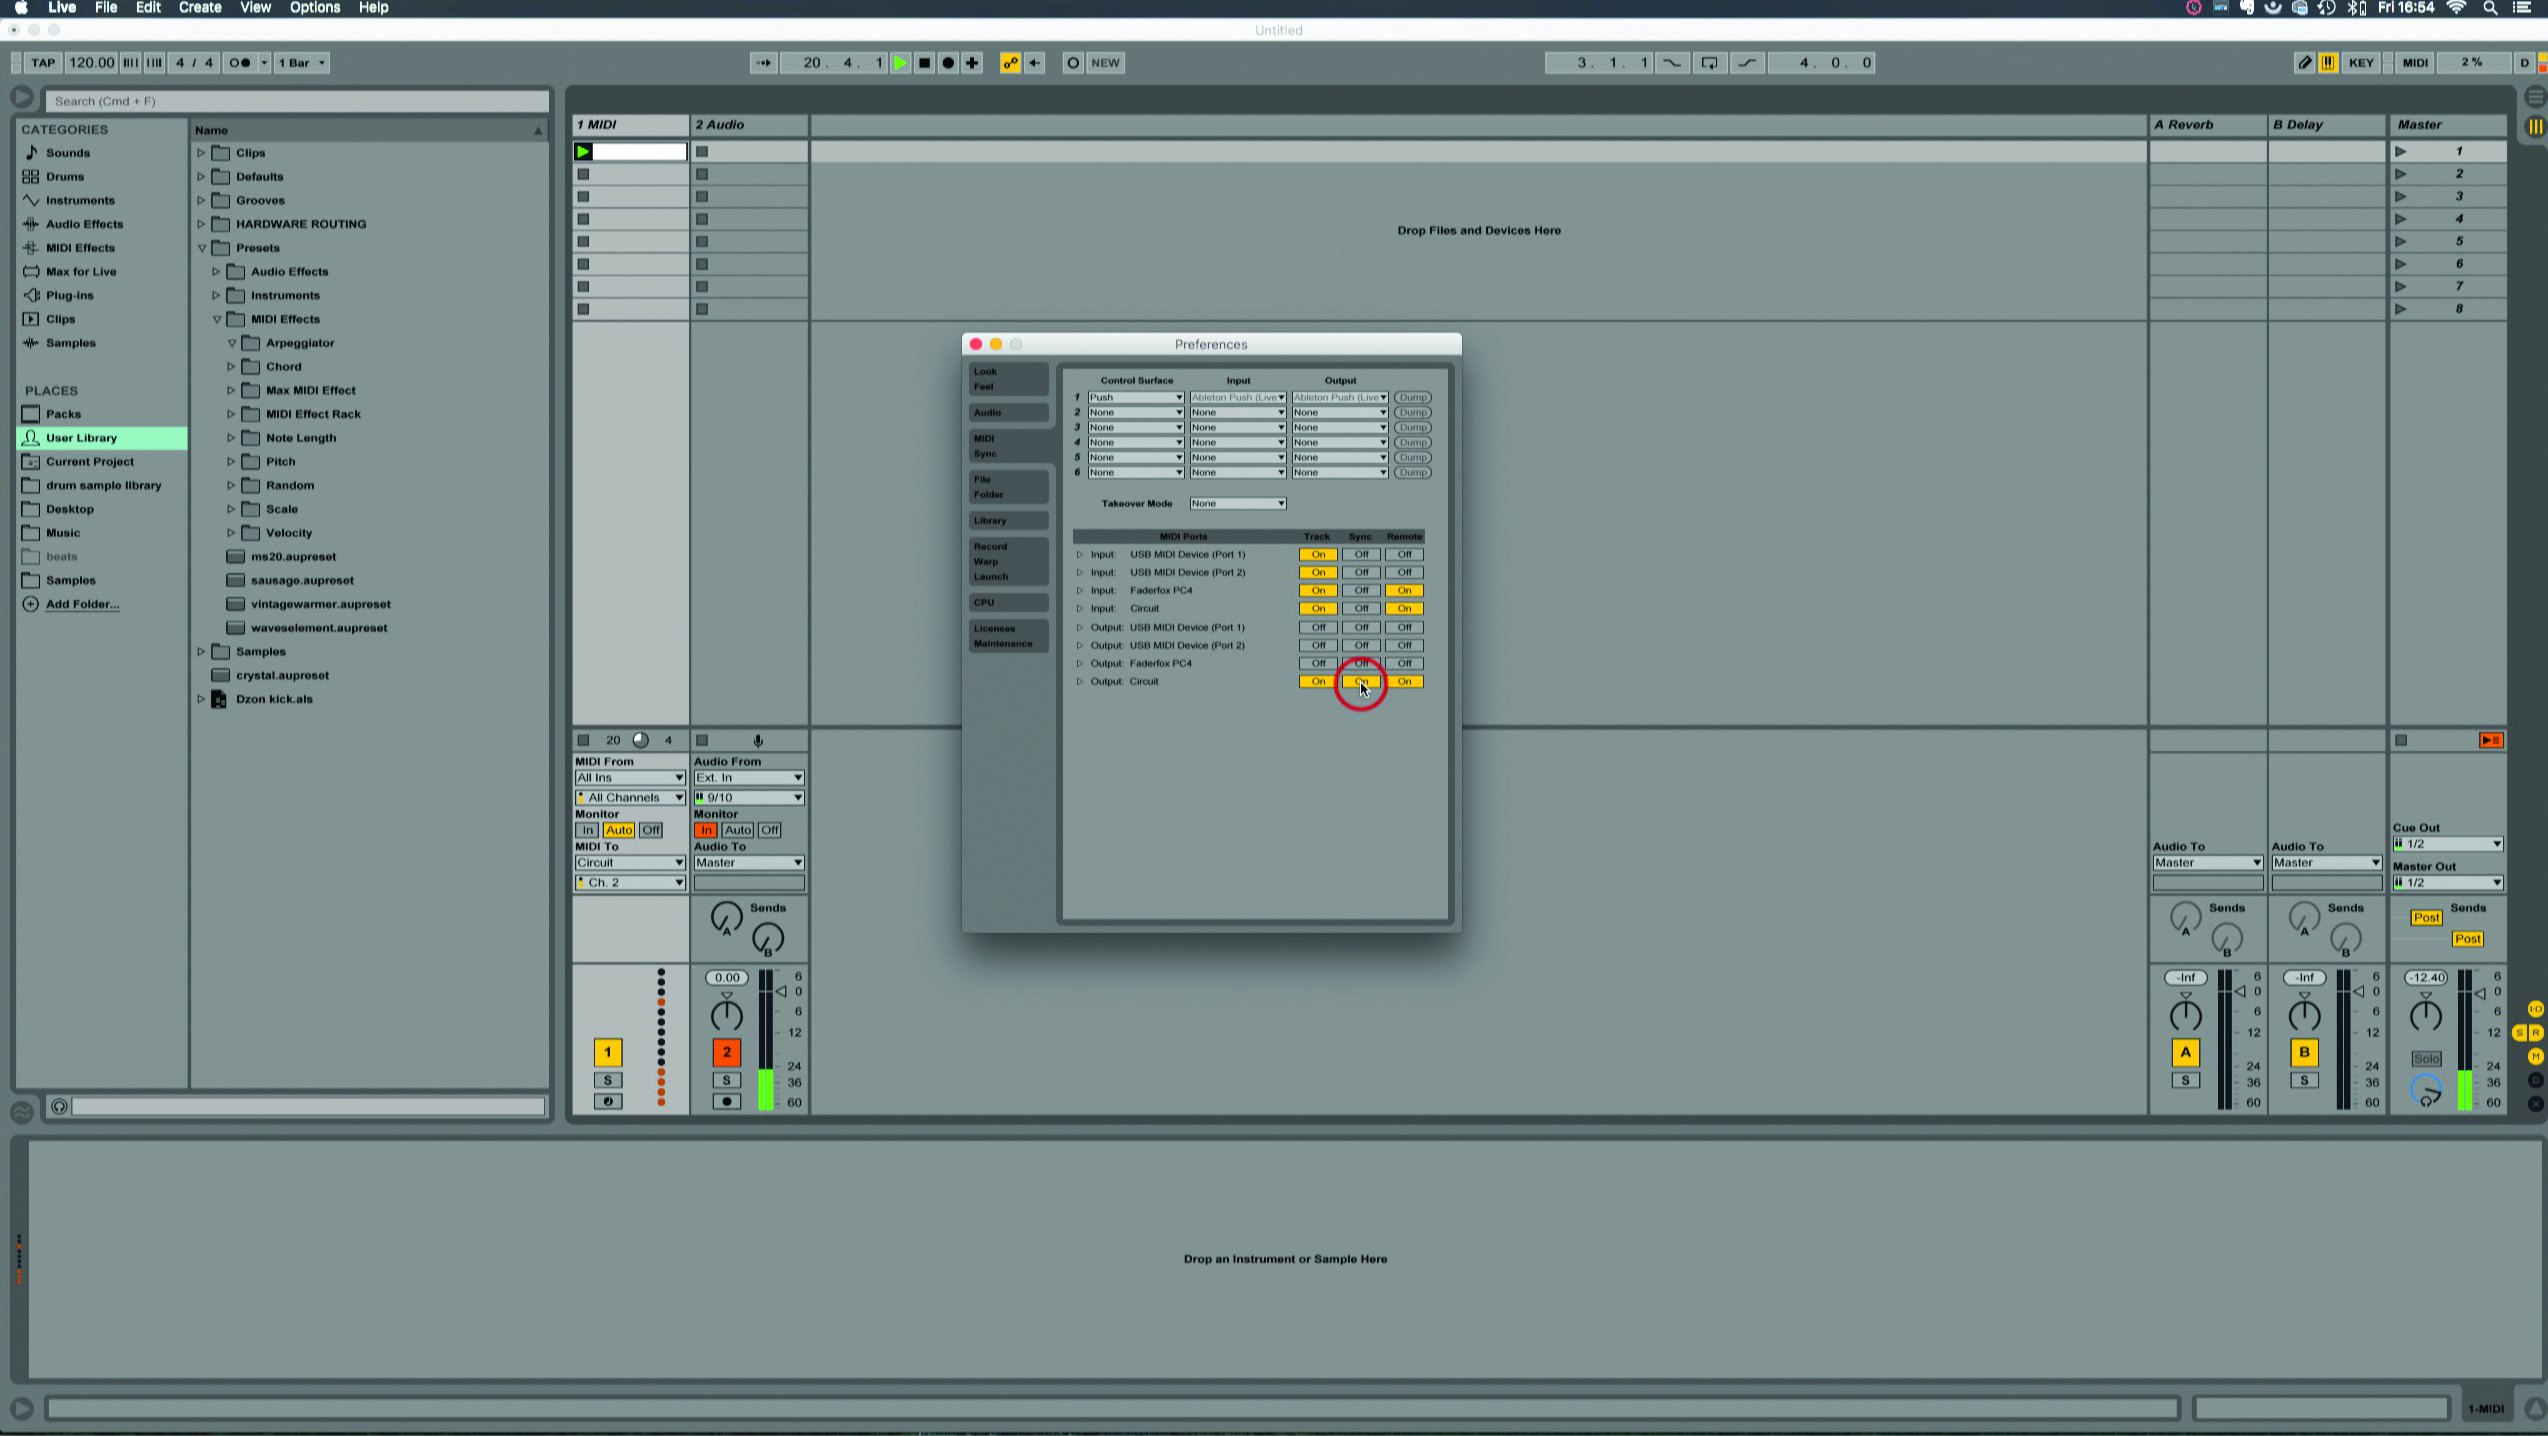
16: There’s every opportunity for two-way MIDI communication. Live can send to the hardware, or receive sync, notes, and (sometimes) CCs, from the hardware. Update your MIDI Preferences if you change the direction of the flow.
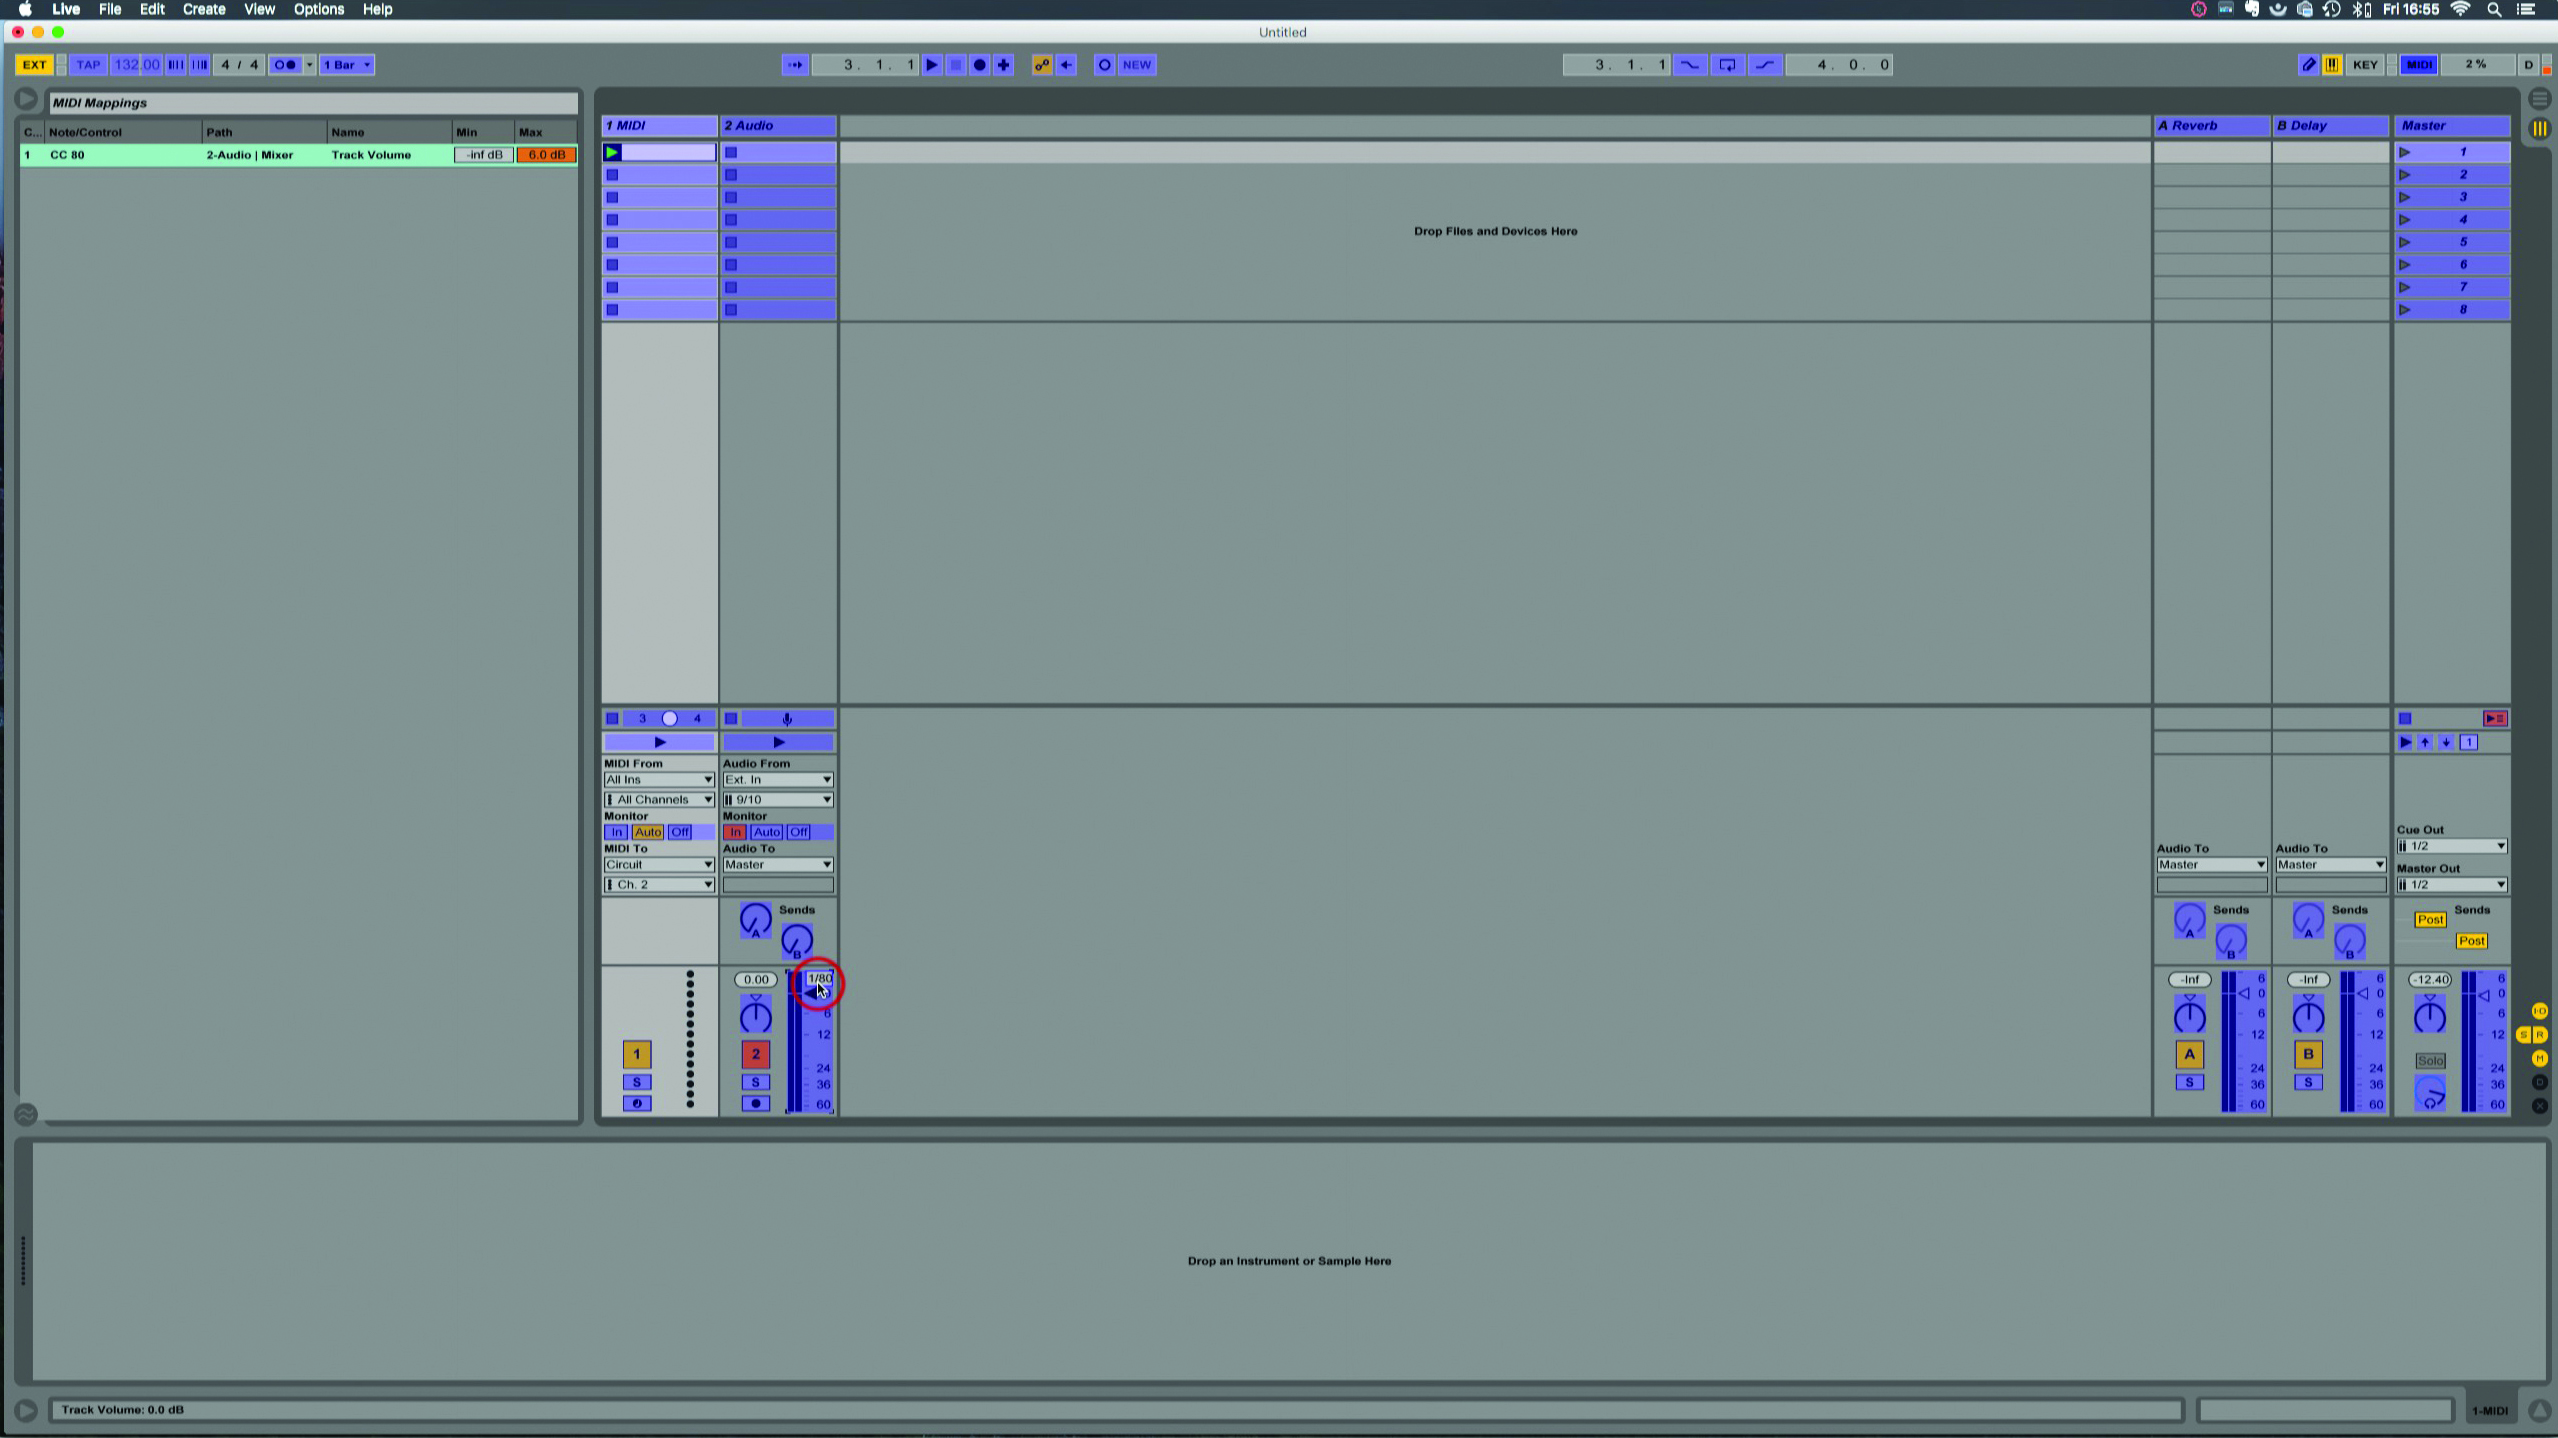
17: Some grooveboxes can send MIDI CCs from their knobs, buttons, and faders, and often they have a software editor which lets you customise these values and save the changed settings to the hardware.
18: Just because you’re controlling your groovebox from Live doesn’t mean it loses self-reliance. Your Live MIDI and audio clips can play alongside full-blown patterns from the groove box… all in sync, hopefully!
