Ableton Live Tutorial – Make Your Own Keyboard to Sidechain
Anybody can load a synth preset but it’s fun to build your own. Connect your keyboard and Martin Delaney will show you how it’s done. For this tutorial you will need the project file – Download Here We continue our Ultimate Guide by adding a simple keyboard part to our ongoing project, following on from […]
Anybody can load a synth preset but it’s fun to build your own. Connect your keyboard and Martin Delaney will show you how it’s done.
For this tutorial you will need the project file – Download Here
We continue our Ultimate Guide by adding a simple keyboard part to our ongoing project, following on from the bass last time. You like the project? Good. You don’t like the project? That’s fine too as it’s merely a vehicle for us to introduce the core techniques of using Ableton Live.
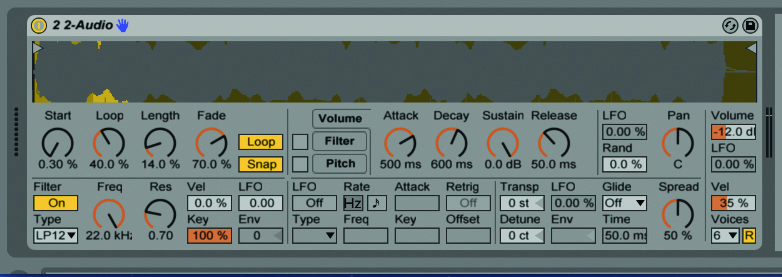
Once again we’re using the Simpler instrument device, with a sample that you can load from the provided example Live set. This works for us because there are a few different versions of Live out there – Suite, Standard and Intro, not to mention older versions counting from 9 backwards – so using a synthesizer instrument device at this point could cause compatibility issues with some folks reading this. We’re on safe ground with Simpler because it’s in every version of Live – it has to be, because drum racks in particular won’t work without it!
Either way it’s good, partly because we can now say we’re using sample based synthesis, a form of sound design that uses audio samples as well as waveforms generated by the synth instrument itself. Many synths let you combine these techniques in one preset, which really opens up the sonic spectrum.
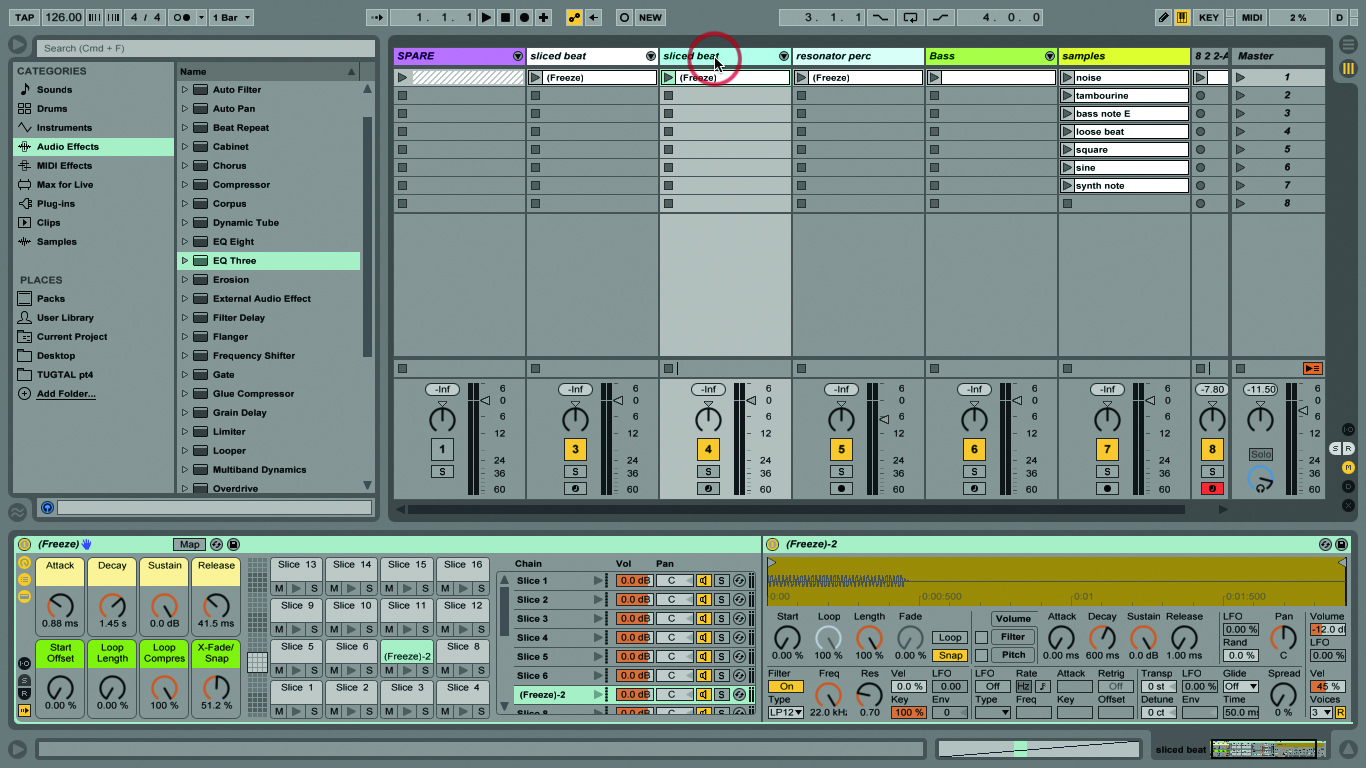
As well as adding a new sample to our set – which again, incorporates the steps from the last tutorial – I’ve taken the opportunity to reorganise, rename, and colour code the tracks and clips. Not only do I get a kick out of organising everything, it helps me recognise what I’m looking at faster and it avoids accidentally triggering or selecting the wrong clip or track. I made a ‘spare’ group track for unused tracks, and put the original beat in there. We mentioned this before – Shift-Click to select the tracks you want to group, then type Cmd-G. You can also drag additional tracks in later.
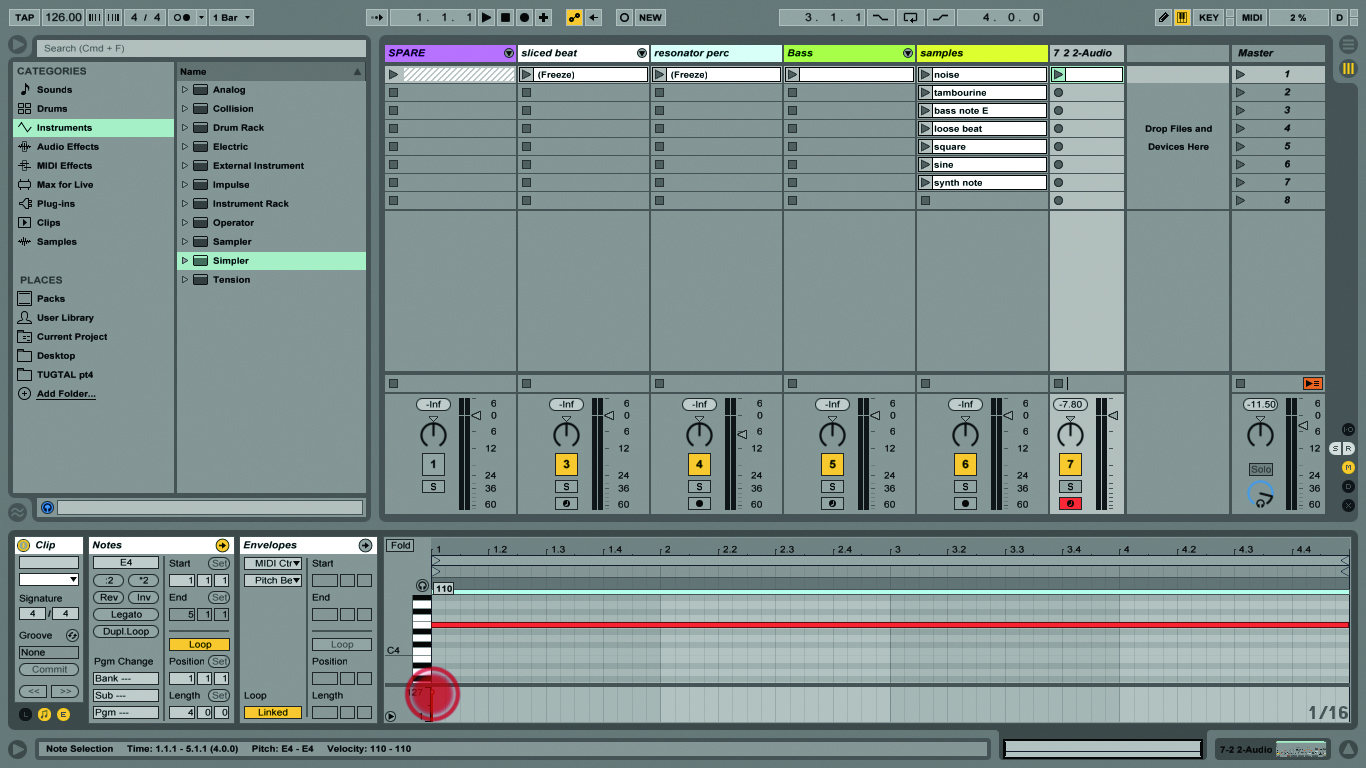
Our keyboard part doesn’t have to be too demanding. All we need for this project is something basic that doesn’t take up too much room, sonically speaking; we’ve got enough going on already. We’re just using one note, then making it move with some sidechaining instead.
Whenever we talk about creating instrument sounds, make sure you’re using a keyboard to audition the sound constantly as you work on it. If you already have a MIDI clip and notes in place, you could just keep that playing and rolling round. But if you’re working on a sound that needs to have some velocity sensitivity – some responsiveness to how hard you hit your keys or pads – it’s better to use your keyboard or pads in real time while you’re testing.
As I’ve said before, I like to use the computer keyboard as well, and when I’m doing that, I’ll keep tapping on the c and v keys to change through some different velocity settings if relevant – they’ll take you up and down through the velocity range from 1 to 127 in increments of 20. Don’t forget to keep an eye on your track and master volume levels as well as we don’t want to see any red peaks!
We don’t use any notes other than E4 for this clip, because we want to start with a drone and then find a way to make it sound a bit more interesting. If you’re not great at music theory, Live has a whole bunch of tools to help you make even a basic programmed part sound busy i.e. the MIDI Effect Devices. We’re using the Chord device a little bit here, but don’t be surprised if we come back and look at MIDI effects again.
The other thing we do to make it sound more active is to sidechain it, taking the timing of the drum track (or parts of it) and applying it to the keyboard sound to create a ‘pulsing’ quality. After you’ve loaded the Compressor into the keyboard track, you can choose any sound as a source, digging deep into drum and instrument racks to find the exact trigger you want. However, from a workflow point of view I find it much easier to work with a separate track as a source for a sidechain, that’s why we’ve copied the drum track here.
Not only do I then have something that visually helps me keep track of what’s going on, outside of the drum kit, a separate track for sidechaining, it enables me to program a totally different kick pattern to trigger the compressor if I want to, or even to keep the sidechain feed going when the drums drop out. You could even automate that sidechain track and do very weird things with it, without disrupting your drum beat. As it says in the tutorial, remember that the sidechain source can be silent �– mute the track and it still works!
If you’re a musical type of person, who can play keyboards and who understands musical theory, Live is a great tool for you anyway, especially with ‘alternative’ input devices like Push and the new Novation Launchpad Pro.
But if you’re really confident or even conscious in terms of theory, Live can really give you a boost with the MIDI effects we’ve mentioned here. It’s about as novice-friendly as it gets, and it doesn’t fail to deliver once you get more knowledgeable. We’re making good progress through this project. Next time we’ll be adding our final element – a speech sample – and processing that in a few interesting and different ways.
Focus On The Hardware
In this tutorial we’re building a keyboard sound based on a sample from a Waldorf Pulse Plus, a hardware, rack-mount synth first released in 1997 (the range is still going strong in a tabletop format).
I used the Pulse for two important reasons: one, because it would give a different texture than resampling a plug-in, and two, because it was nearby! One of the great things about Simpler is that it makes it easy to use almost any sound as a source. Hardware instruments seem to be on everybody’s mind at the moment, so the Pulse it is.
Click Here for the Step-by-Step Guide
