Ableton Live Tutorial: Video in Live – Step-by-Step
Martin Delaney begins his step by step guide to using video within Ableton Live 1: Start by downloading and opening the project file which you can get from here. I’ll be referring to it throughout the tutorial. 2: We’ve also supplied a folder which contains the movie clips needed for the tutorial – ‘Live movies’. […]
Martin Delaney begins his step by step guide to using video within Ableton Live
1: Start by downloading and opening the project file which you can get from here. I’ll be referring to it throughout the tutorial.
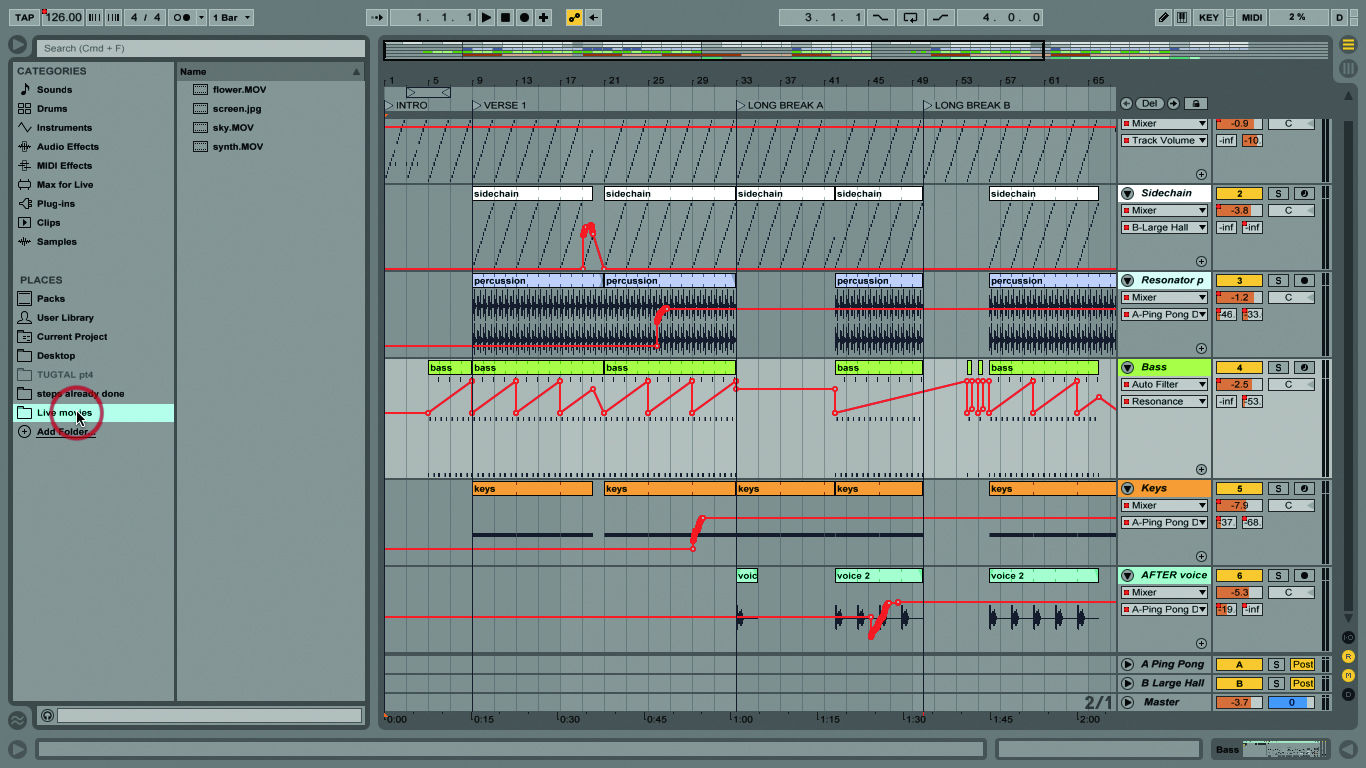
2: We’ve also supplied a folder which contains the movie clips needed for the tutorial – ‘Live movies’. You can navigate to that and drag it into your Live Browser, to save it as a shortcut.

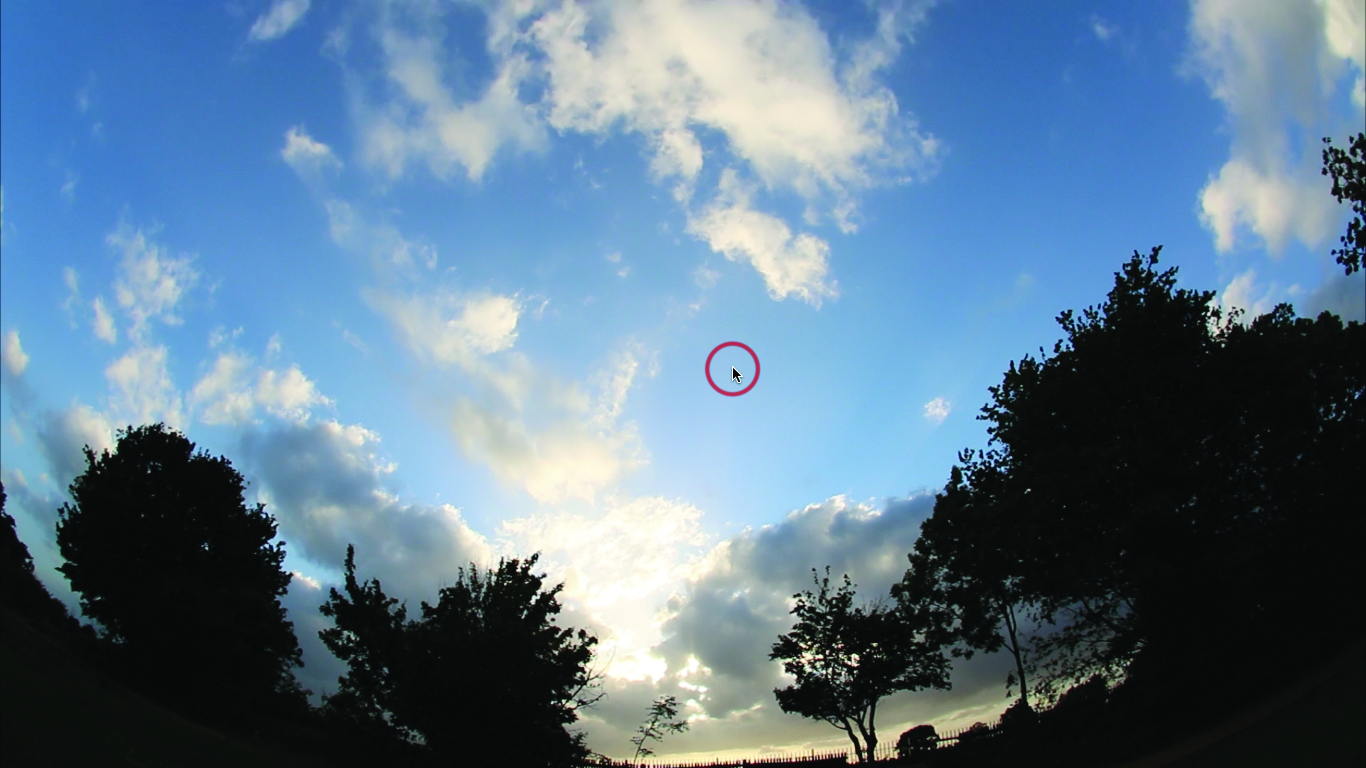
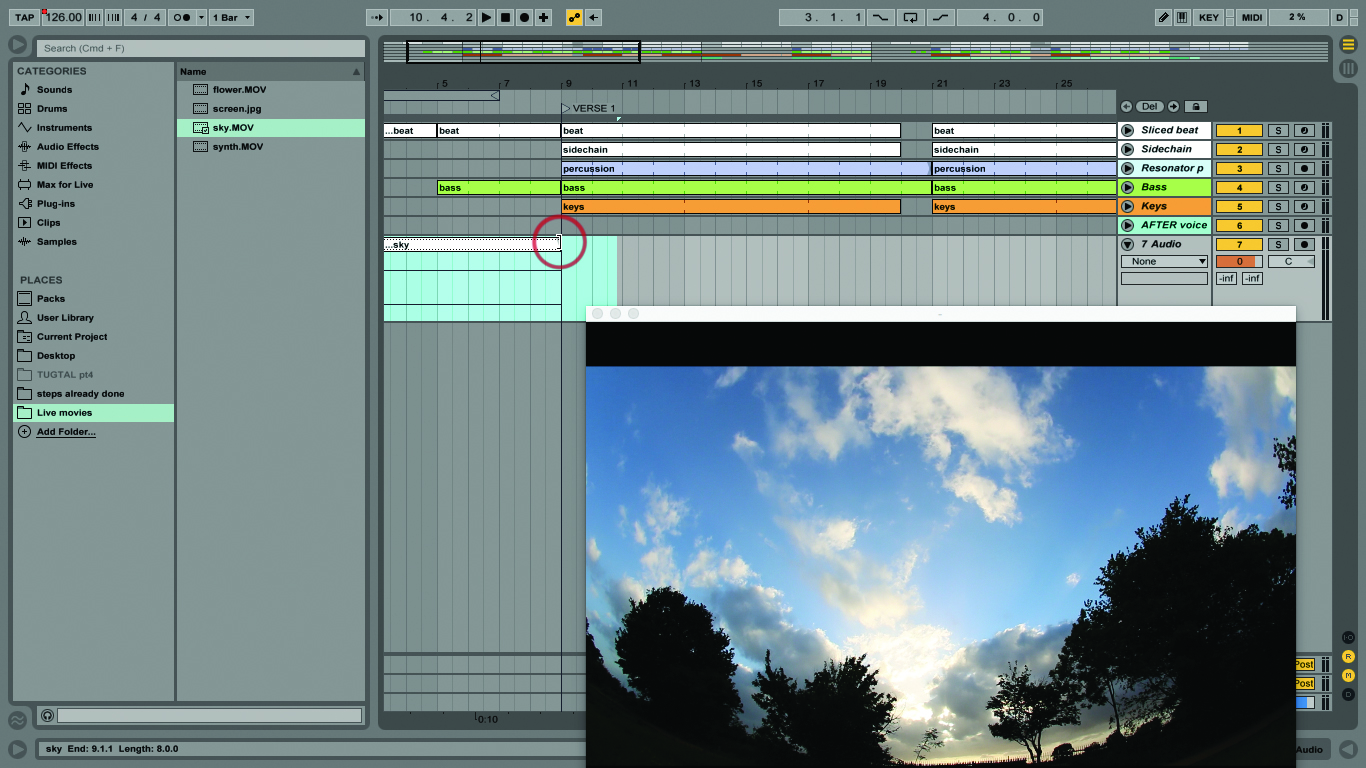
3: Drag ‘sky.m4v’ to the area under the current Arrangement tracks, at the start of the song. It’ll behave just like when you load audio clips, creating an audio track to host the clip.
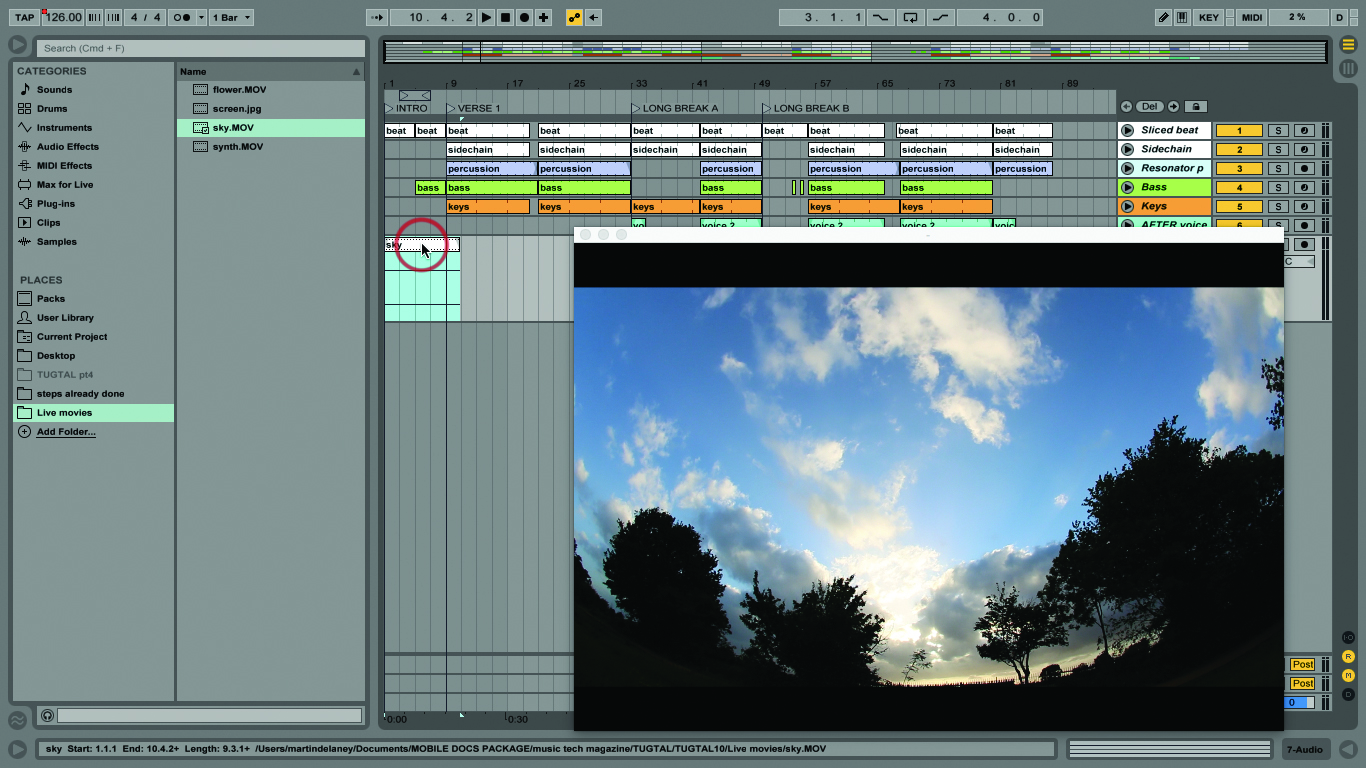
4: If you look closely, you’ll see the clip has little movie frames along the edges to differentiate it. Live should have opened the Video Window automatically. If not, use Alt>Cmd>V to show it.
5: Double-click in the middle of the video window to enter or exit full-screen mode. Start Live running, and the video will start too, it’s pretty simple. But the movie clip is very short…
6: Remember I said it’s like an audio clip? Go to the end of the movie clip, and drag the end back so the clip is exactly 8 bars long – we can ‘sync’ video cuts to our beats.
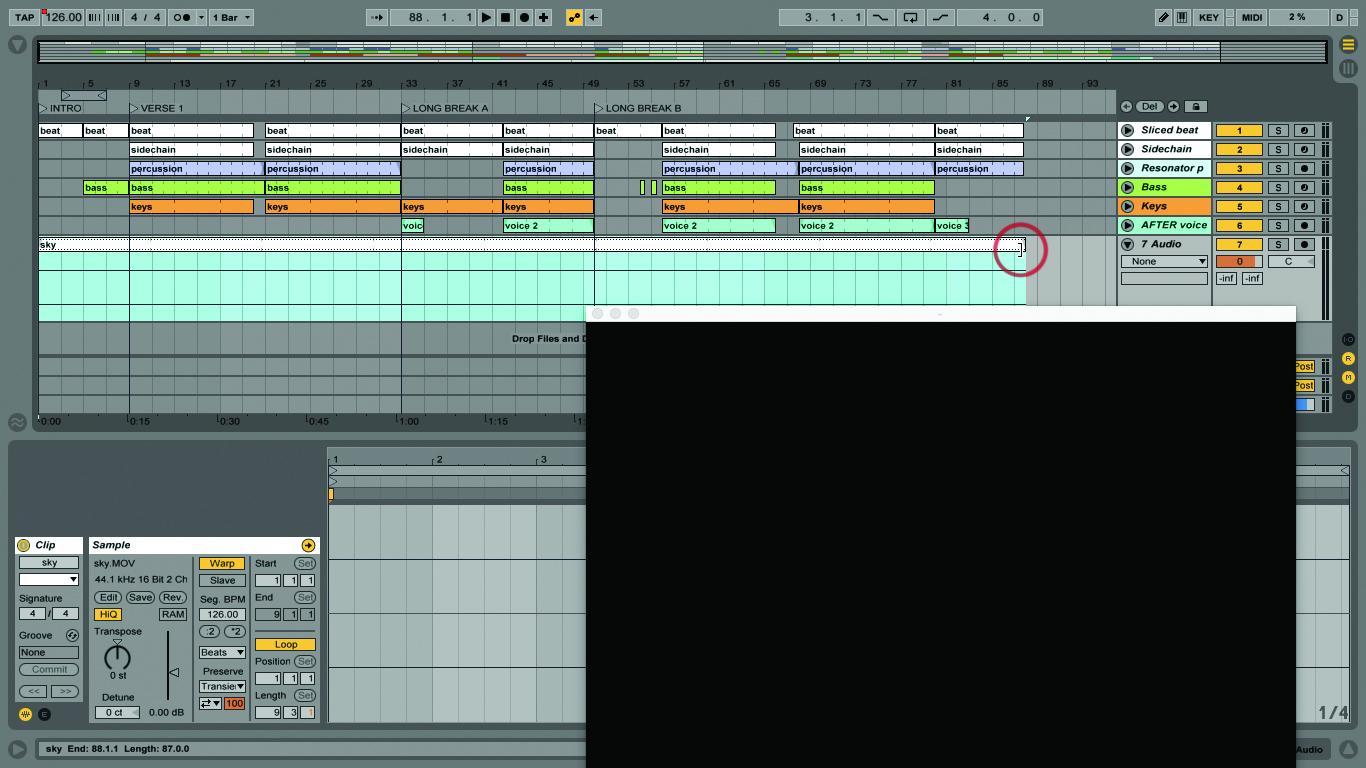
7: Now go into the Sample box and turn on Warp and Loop. Grab the end of the movie clip and drag it out so it loops to fit the entire length of the song.
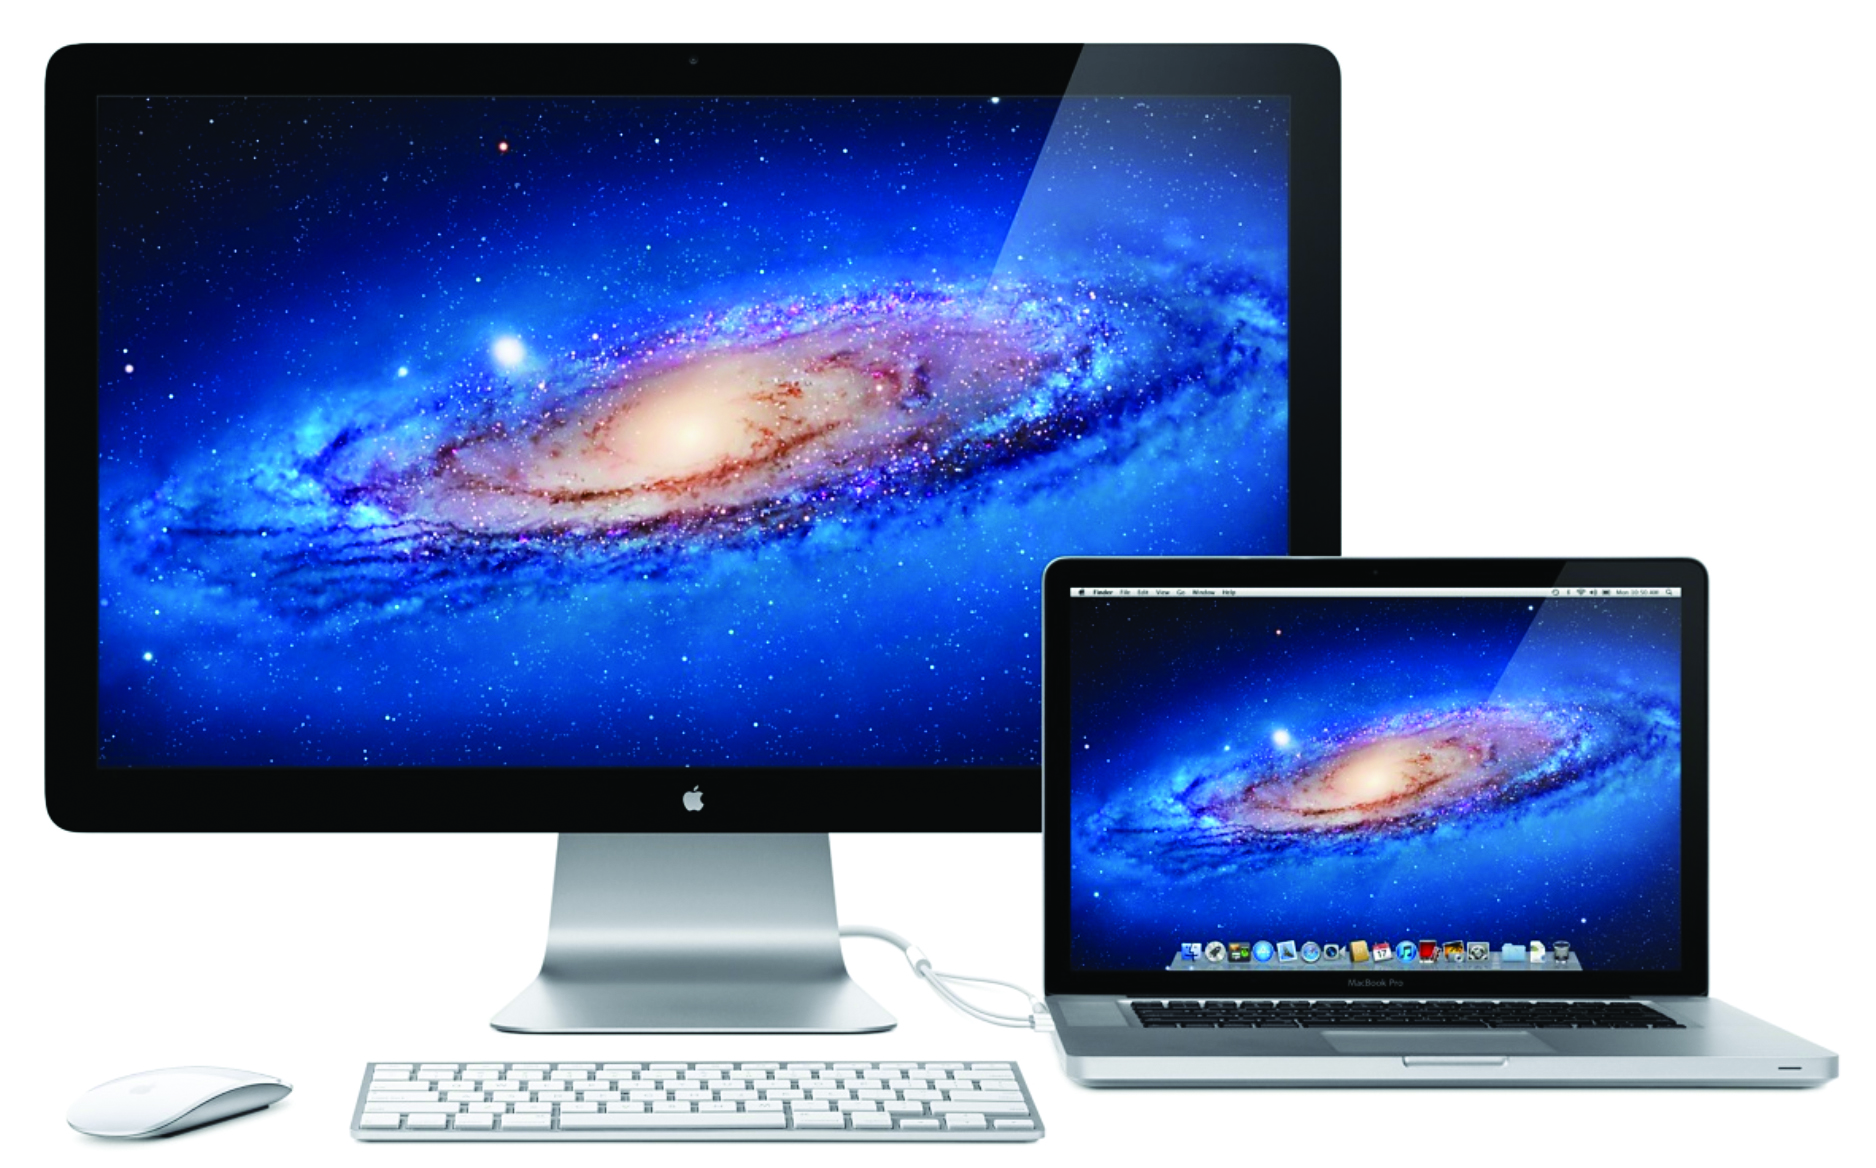
8: This all makes more sense if you have a second display or video projector connected. Drag the video window to the display/projector window, then double click it again for full screen video.
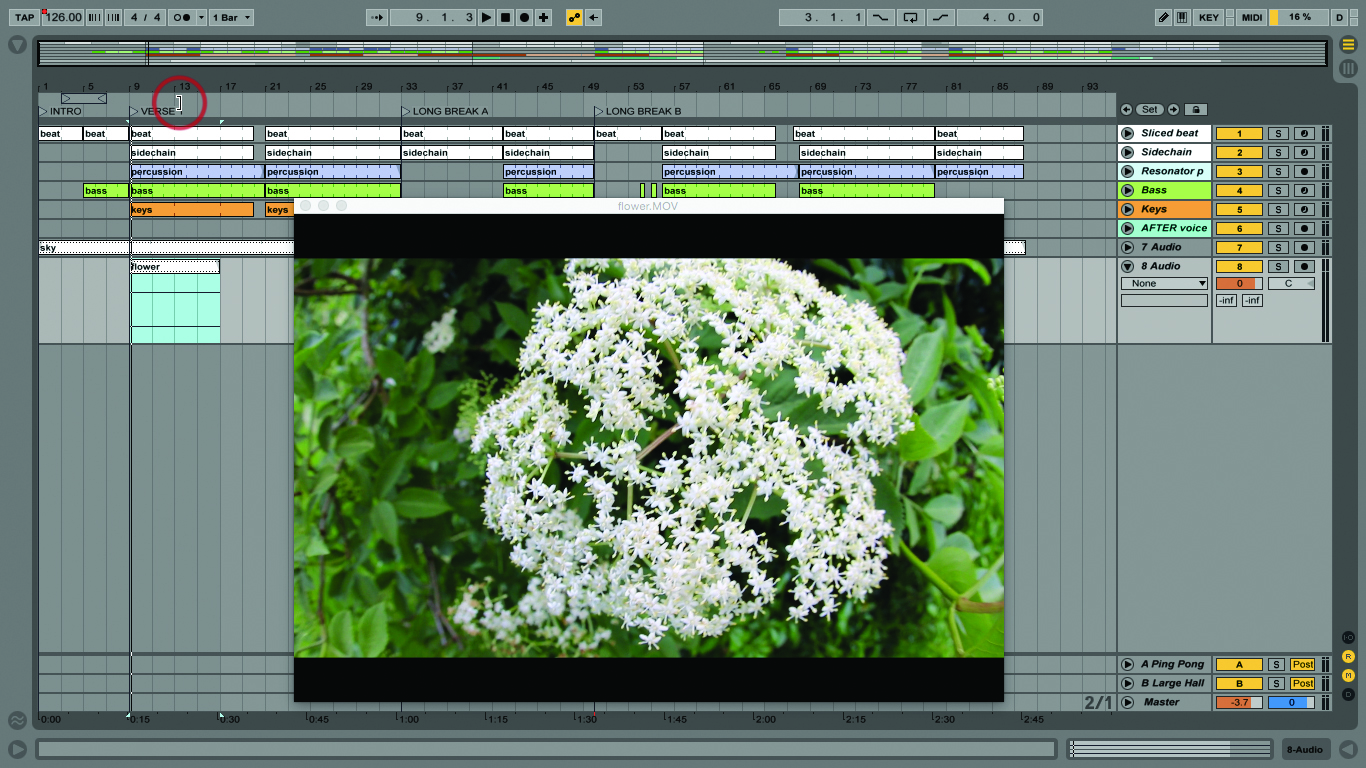
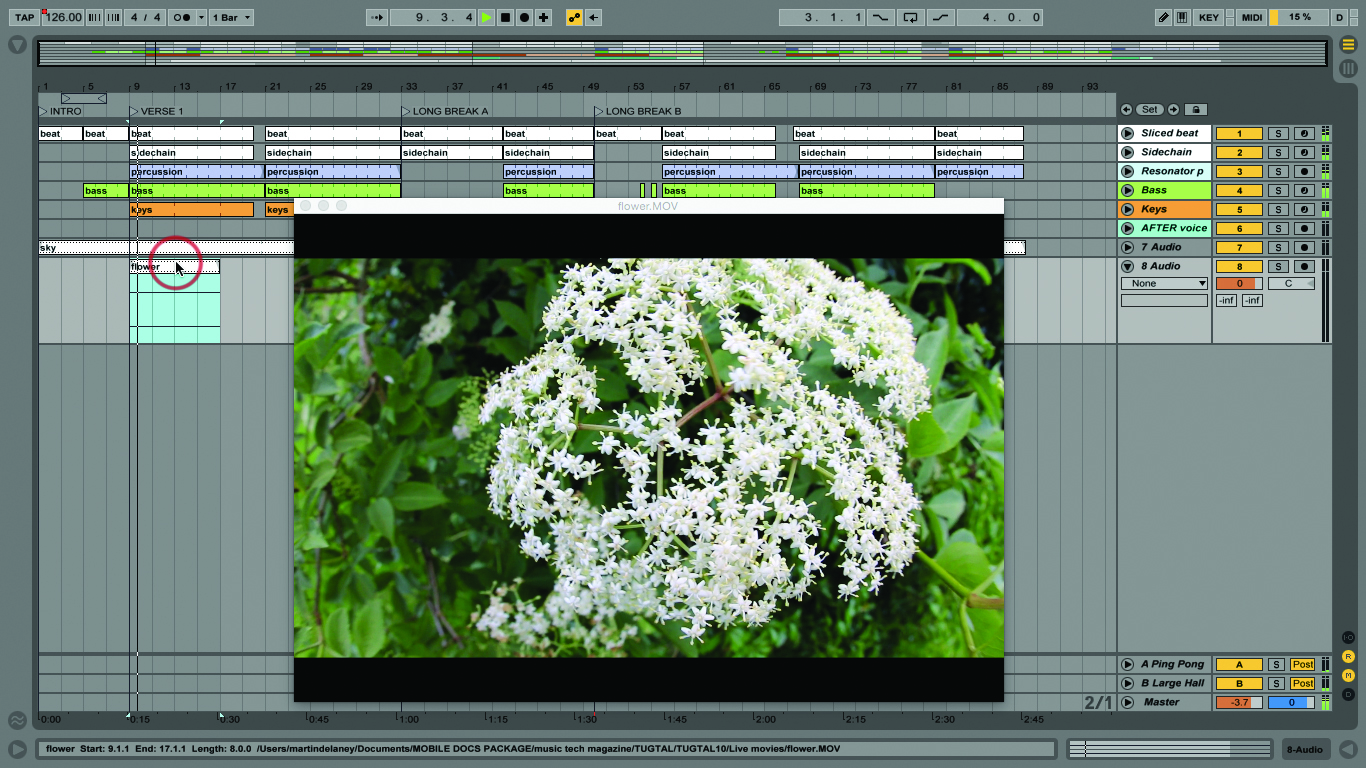
9: Drag in ‘flower.m4v’, once again creating a new track. Shorten it to 4 bars. Set it to warp and loop. Drag it to 8 bars length. Place it at bar 9 on the timeline.
10: Now play through that section. You’ll see that the video in the lower track takes priority. That’s how it always works with video tracks in Live. Hmm, this is getting to be like video editing!
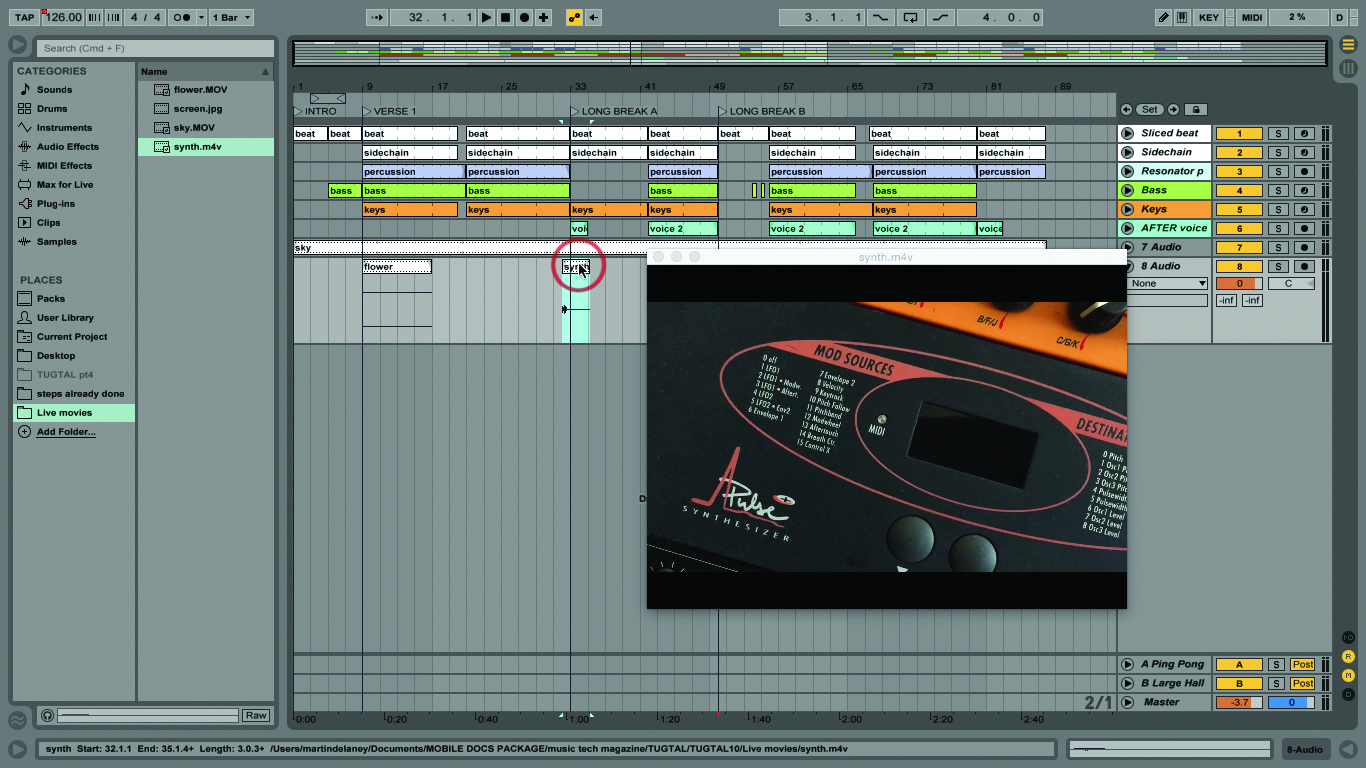
11: Load ‘synth.m4v’, but put it in the previous track at bar 32 and again at bar 53. Don’t warp or loop this yet. Yes you can put many movie clips in the same track.
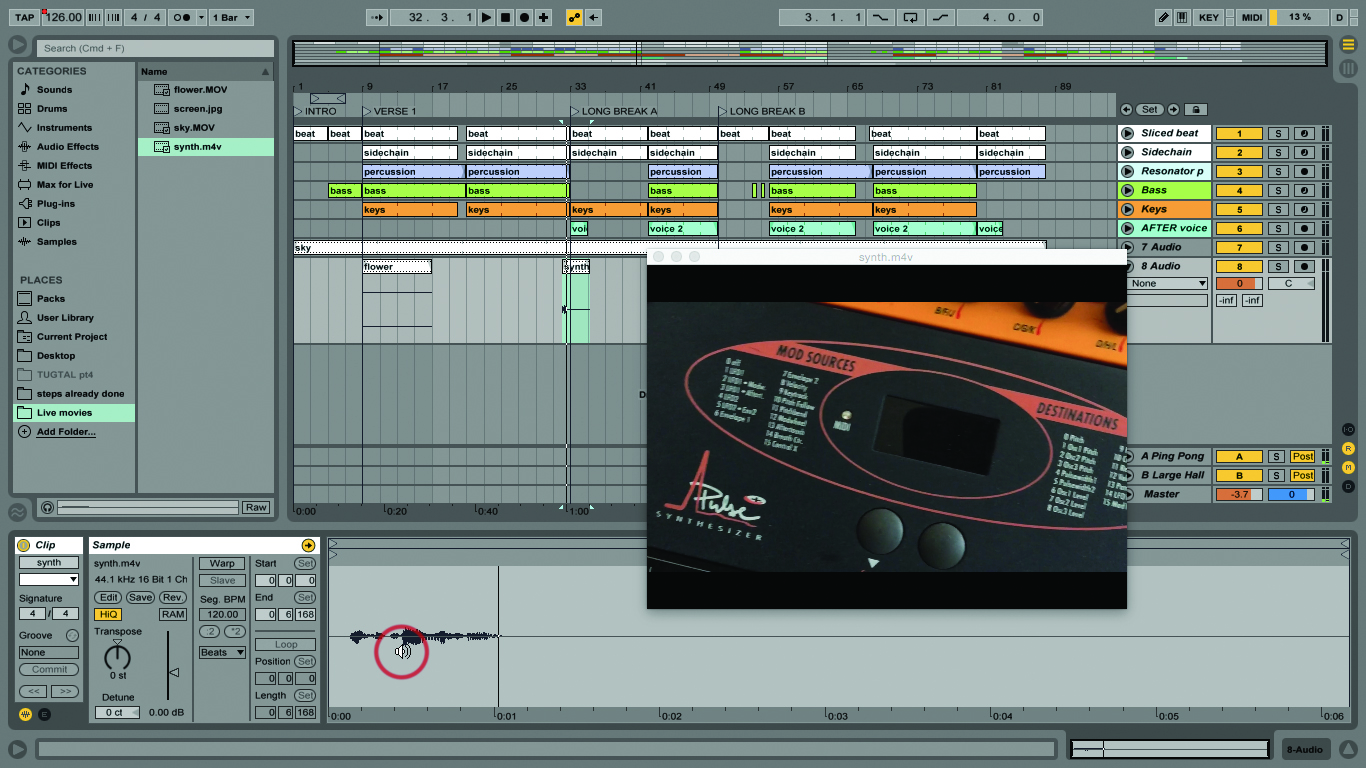
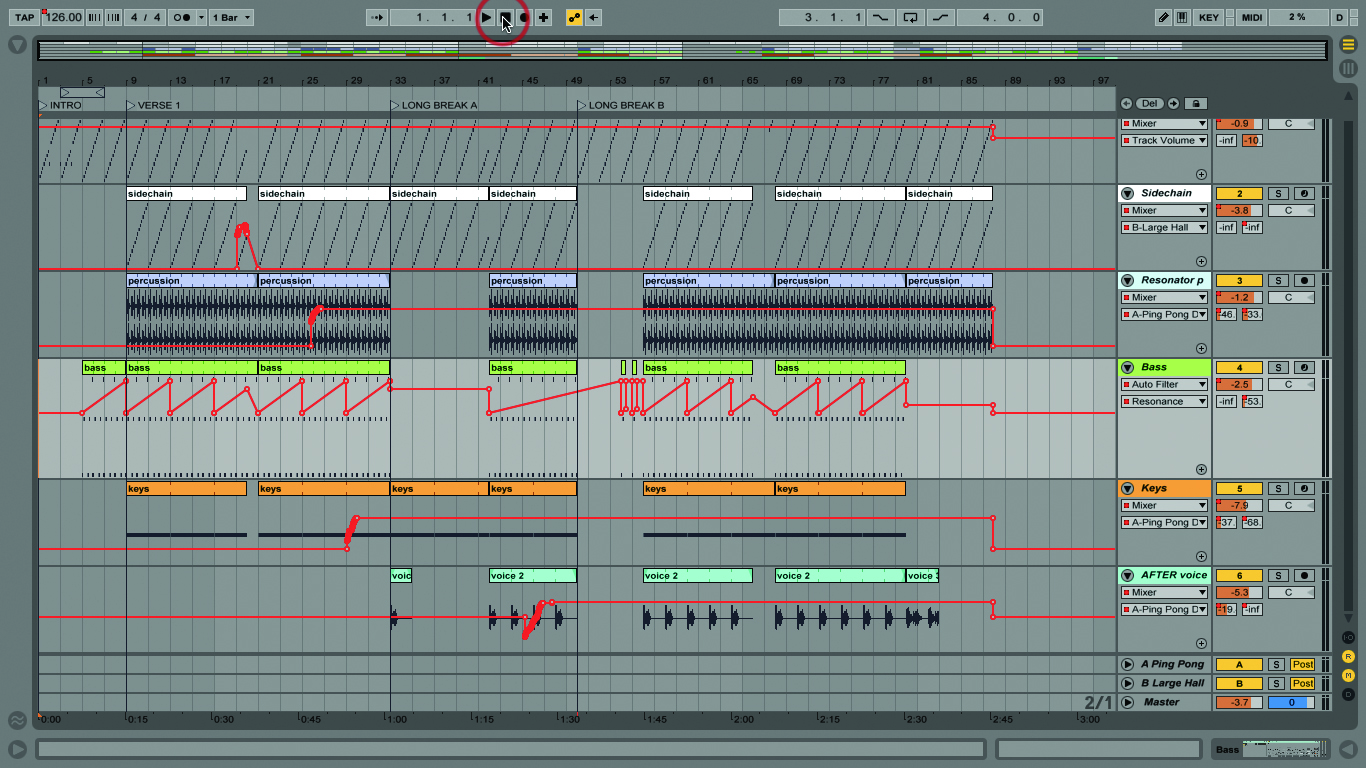
12: Double click it to see the audio waveform – it’s some speech. Try dropping Live’s Ping Pong Delay on that track, set the dry/wet to whatever sounds good to you. We can process movie audio!
Click Here to Continue
