Ableton Live Tutorials: Recording & Manipulating Speech – Step-by-Step
Martin Delaney continues his tutorial look at recording and manipulating speech in Ableton Live with a step-by-step guide… 1: For this walkthrough we have to make some assumptions about your microphone and soundcard; read our main text for more details. Connect your mic and soundcard, launch Live and go to the Preferences Audio tab. 2: […]
Martin Delaney continues his tutorial look at recording and manipulating speech in Ableton Live with a step-by-step guide…
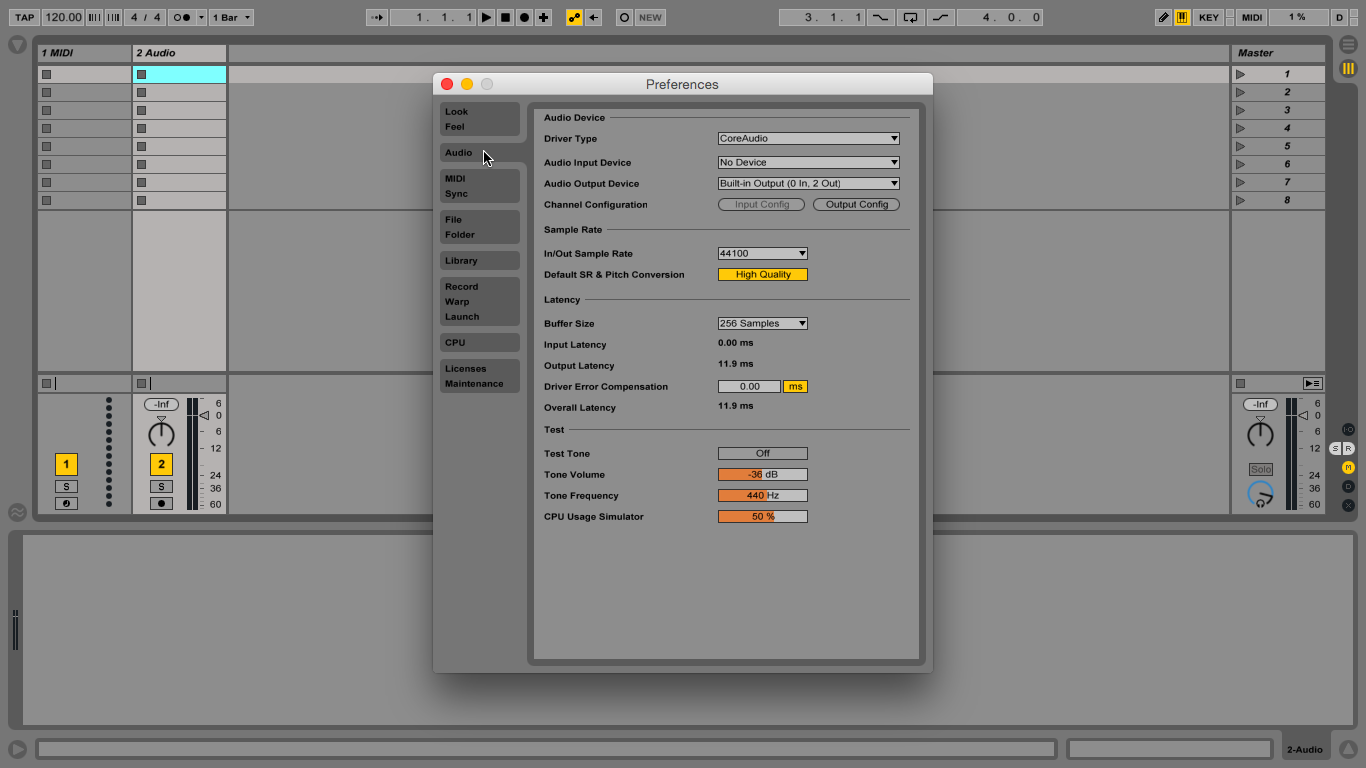
1: For this walkthrough we have to make some assumptions about your microphone and soundcard; read our main text for more details. Connect your mic and soundcard, launch Live and go to the Preferences Audio tab.
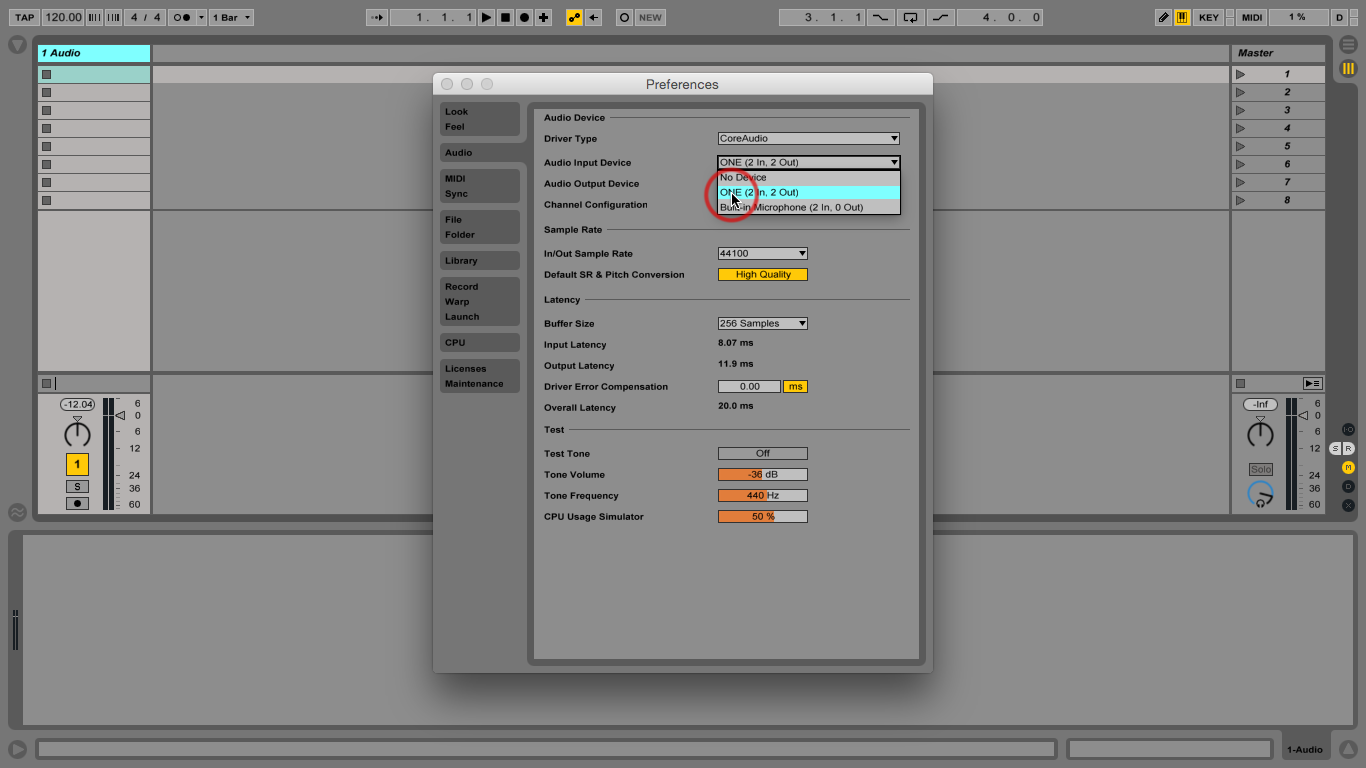
2: Choose your soundcard in the Audio Input Device and Audio Output Device lists then close Preferences. Connect your headphones to your soundcard (watch your volume) and turn your monitor speakers off to avoid feedback.
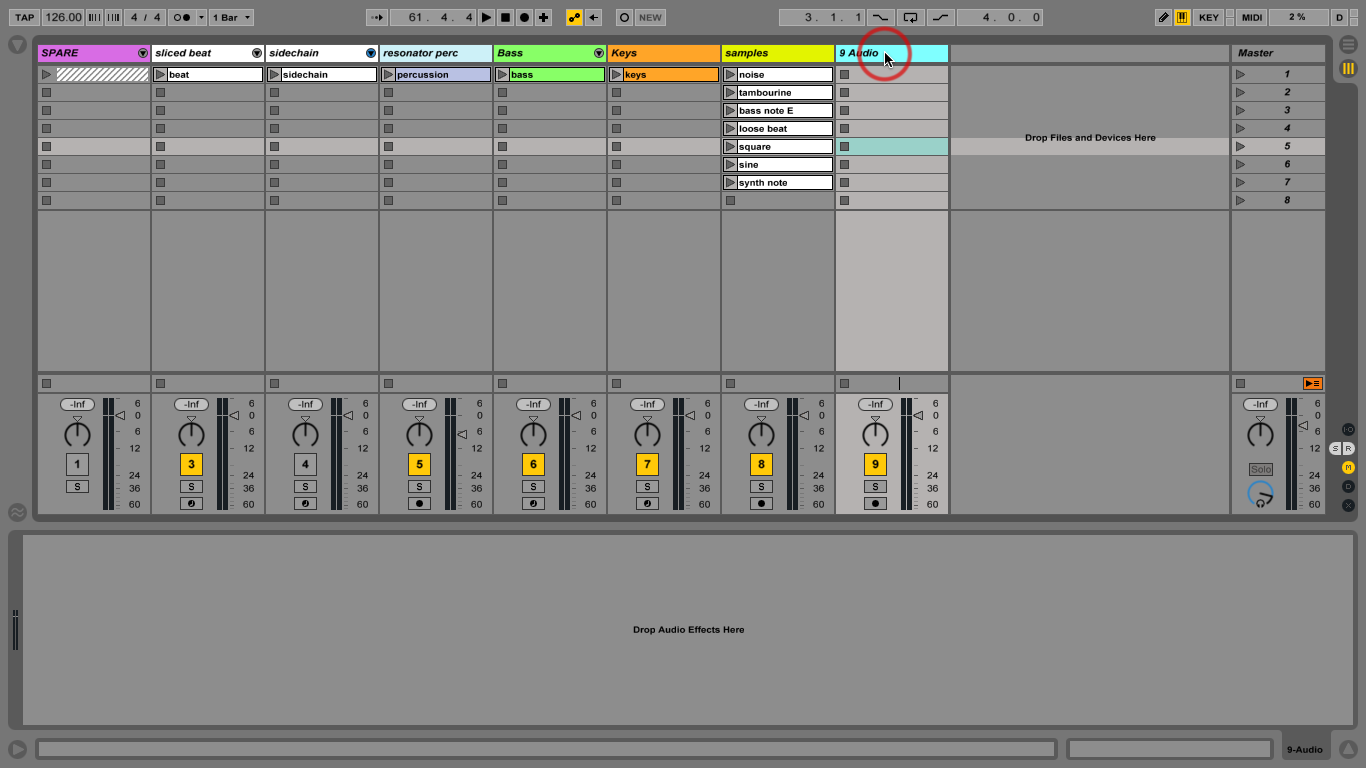
3: Open our example Live set. Make sure you’re using the updated ‘part 6’ version and use the shortcut Cmd-T to create a new audio track. We’re still working in the Session View, of course.
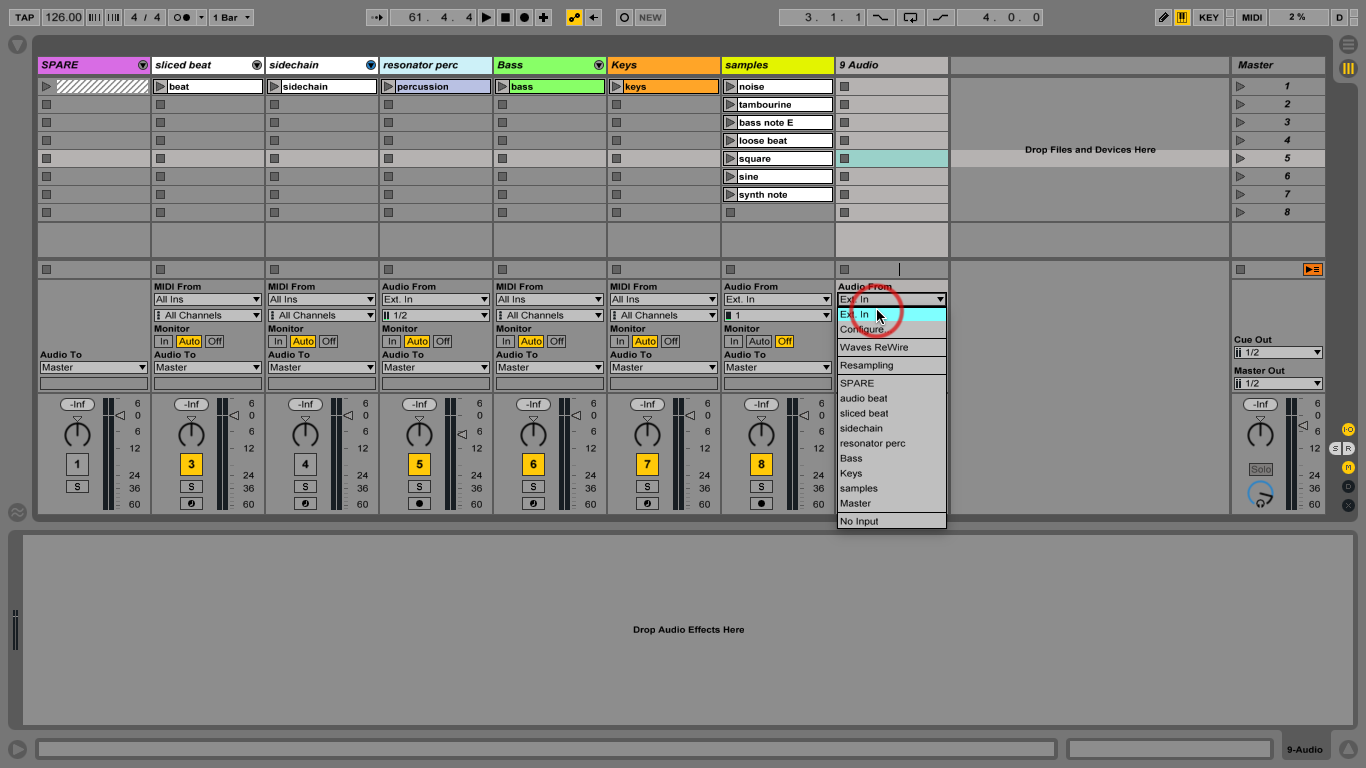
4: Use Alt-Cmd-I to open the In/Out View. This will display the audio routing options at the bottom of your tracks. Click on the Audio From chooser to select your input – Ext. In.
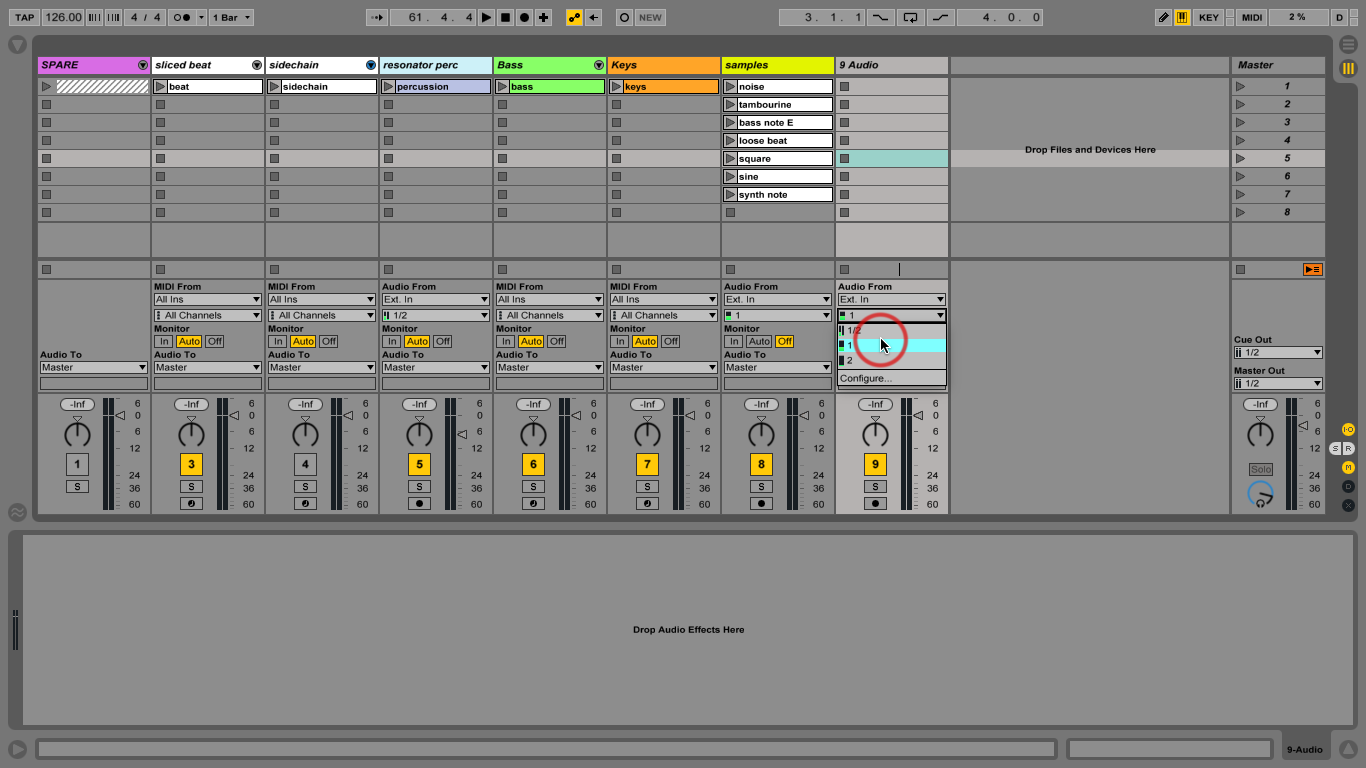
5: Below that is a list of available audio inputs – click to view the list. As you talk into your microphone, you’ll see a level displayed alongside one of those inputs. That’s your microphone. Click it.
6: Set up your microphone and mixer so you get a manageable volume level. Exactly how this works will again depend on what equipment you’re using but please avoid red peaks anywhere in the signal chain

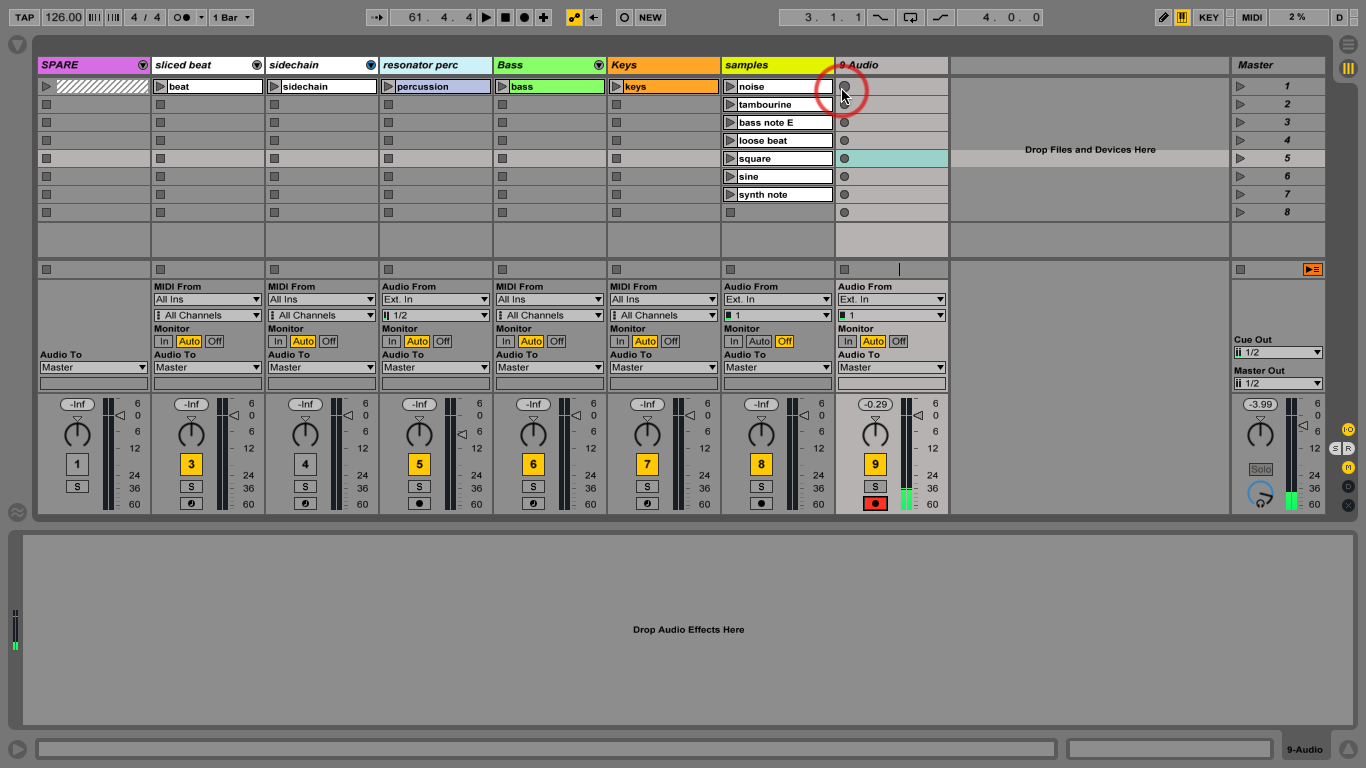
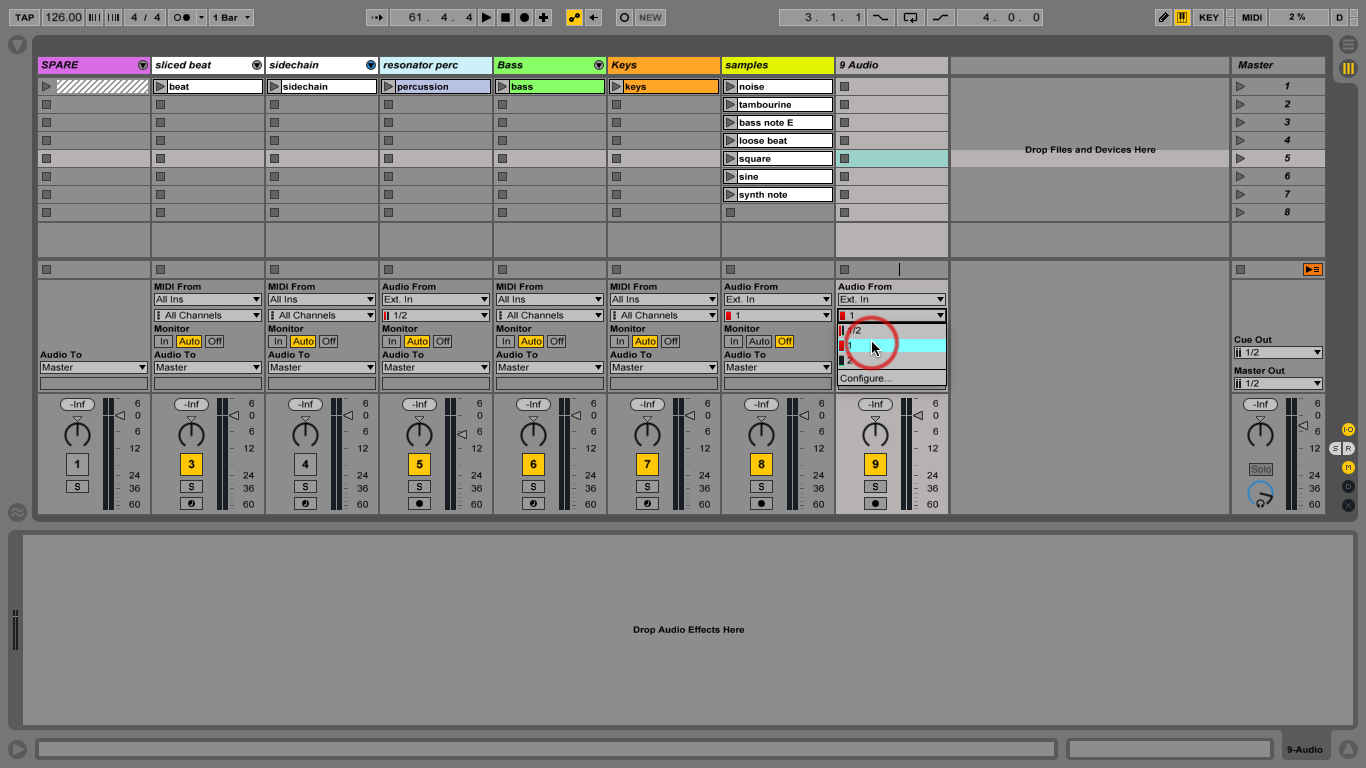
7: Set the track’s Monitor In switch to Auto, and arm the track – click the small circular button in the mixer, it goes red. Stop your other clips – you’re not singing along to anything for this one!
8: As you arm/disarm the track for recording you’ll see the square stop buttons in each empty Session View clip slot (in that track) transform into circles; that means you can record into these.

9: We’ll record a short phrase to use as a one-shot sample and a rhythmic loop. Click a slot button to start recording. Wait a beat or two, then record yourself saying ‘Please be aware’.
10: Press the space bar to stop Live when you’re finished. Note the clip length is cropped to the nearest bar. Disarm the track so you can’t record anything else by mistake and always save after recording.
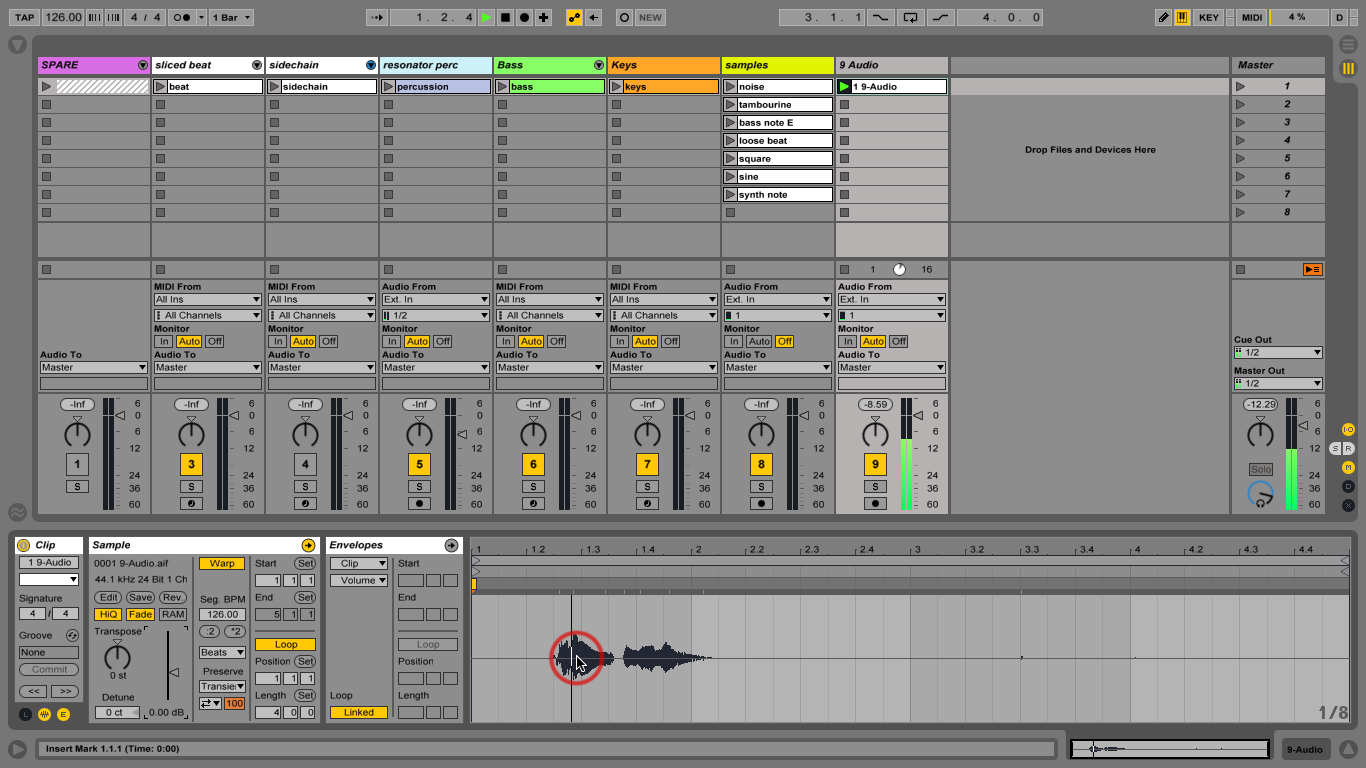
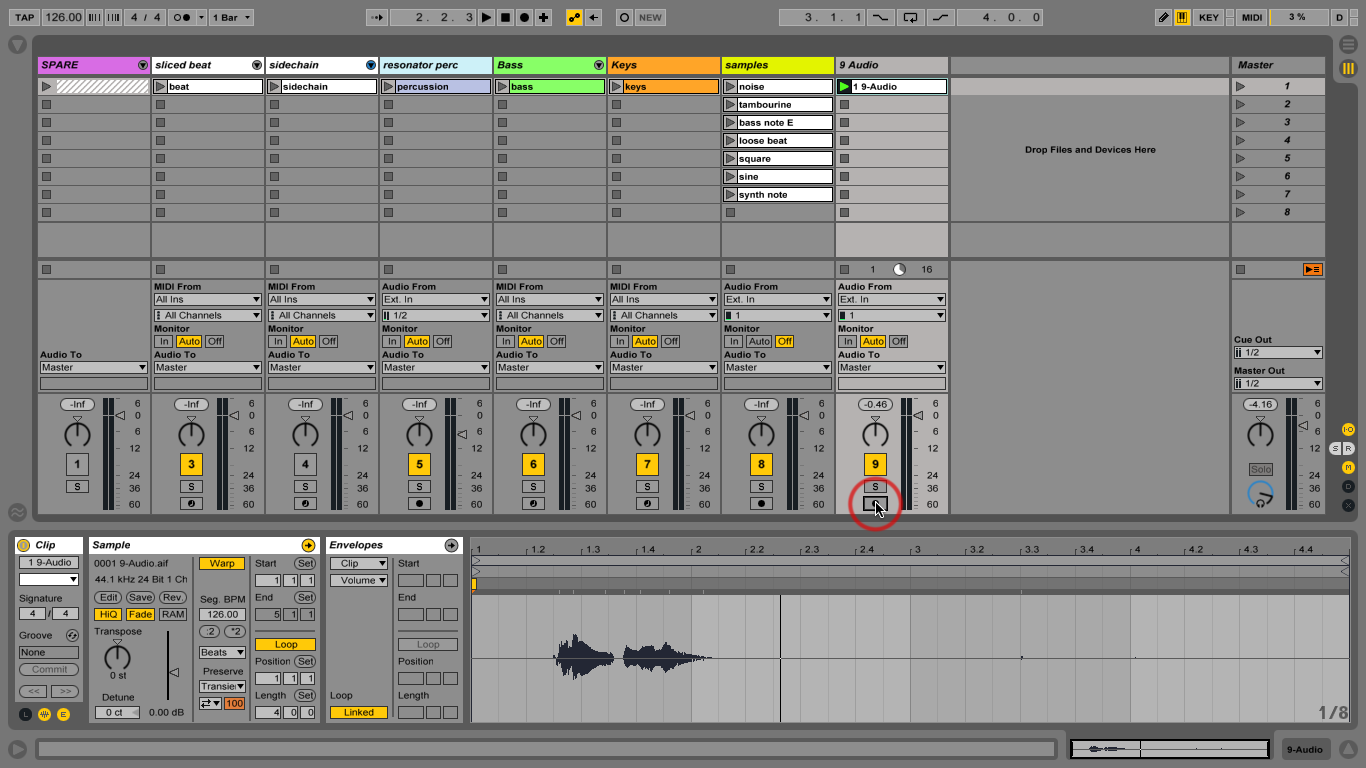
11: Before you launch your other clips again, listen to your voice recording on its own, checking for distortion and also checking that you haven’t chopped the start or end off as it’s very easy to do.
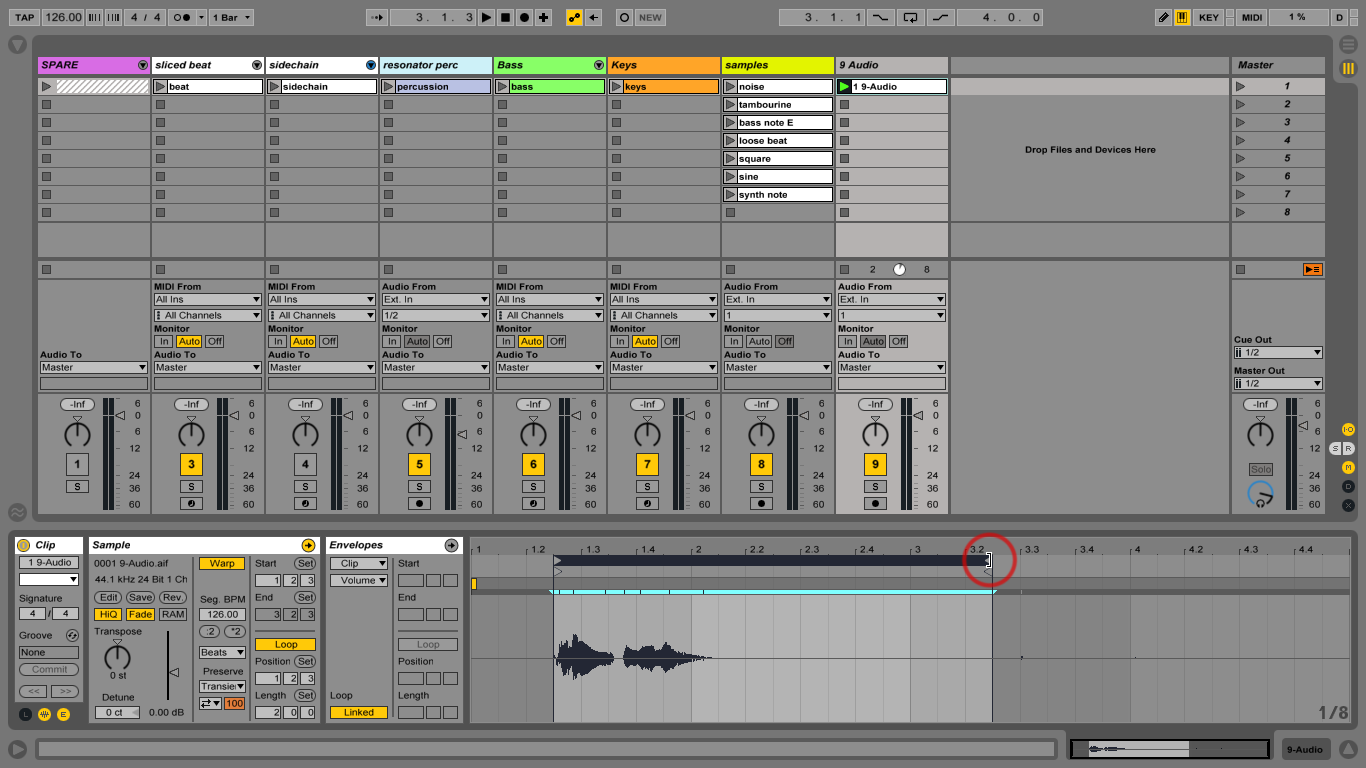
12: Double-click the clip to view the waveform if necessary. Let’s discard some of the silence around it. Position the loop brace around the ‘keeper’ part and the start marker at the front of that.