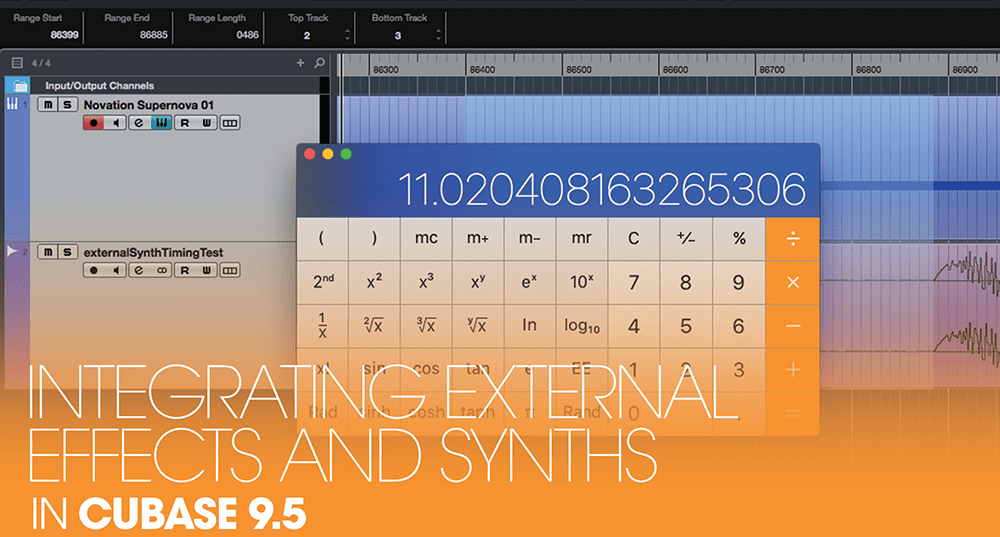
Integrating External Effects and Synths in Cubase 9.5
External effects and synths are enjoying renewed popularity. Thankfully, it’s easy to work with external hardware in Cubase. Adam Crute shows you how… We often take for granted just how amazing a modern DAW like Cubase actually is. We fire up a new project, grab a few of our favourite instruments and samplers and throw […]
External effects and synths are enjoying renewed popularity. Thankfully, it’s easy to work with external hardware in Cubase. Adam Crute shows you how…
We often take for granted just how amazing a modern DAW like Cubase actually is. We fire up a new project, grab a few of our favourite instruments and samplers and throw them into tracks. And while we may ultimately be limited by the available system resources, we aren’t directly limited in the number of instances of a synth or effect that we can use.
In a matter of seconds we can create a project setup that, once upon a time, would have required tens of thousands of pounds-worth of high-end studio gear to create.
Editing and working with effects and synths is much simpler nowadays too: Rather than squinting myopically at tiny LCD displays, we bask in the glory of detailed control panels displayed on HD screens. And of course everything is seamlessly integrated into the DAW so that parameters and settings are stored along with the rest of the project’s data.
Yet despite all of this, my first choice for reverbs and big washy effects remains my old Ensoniq DP-Pro. When a synth bass or string sound is called for, it’s my trusty Roland MKS-50 that I turn to. And if I need a searing lead or rich pad sound then I’m more likely to fire up my Supernova than to load an instance of Massive.
Why? Because the hardware invariably sounds better, even if it is itself digital hardware. Even my old Korg M1 has a slightly more characterful sound than Korg’s Legacy Collection M1 software emulation (admittedly, this is almost certainly down to the M1 having some crappier D/A converters than the pristine examples employed by my audio interface!).
Best of both worlds
One of Cubase’s lesser-known tricks is its ability to integrate with external synths and processors. Setting up the audio I/O is a doddle, and – if you’re prepared to spend time on further configuration
– it’s possible to create patch lists and control panels too.
In fact, with a bit of effort you can arrange things so that working with the external hardware feels almost identical to working with a software plugin.As an added bonus, using external hardware allows you to relieve some of the demands on your DAW’s precious system resources – such savings can be significant where reverbs and complex synths are concerned.
Making connections
In order to achieve this integration you need to hook-up the external hardware’s audio connections to Cubase. Effects processors need to receive a Send signal and pass back the processed Return signal; synths simply Return their signal to Cubase for mixing and further processing. A multi-channel audio interface is essential.
You also need MIDI connectivity between computer and external hardware. At the barest minimum, a single MIDI out from Cubase needs to be patched to all of your MIDI-equipped external hardware, but in most cases it’s preferable to use a multi-port MIDI interface, with each external device assigned its own dedicated MIDI I/O pair.
Hook-up your external hardware to your audio and MIDI interfaces before embarking on the walkthrough. What will work best for it will depend on your specific rig and requirements, so take the time to plan things out sensibly.
Hardware as a plugin
Once everything’s configured, the hardware is included in all plugin selection lists within a group named External Plug-ins. In the case of external effects, this means that you can add the processor as a Send effect and bus audio to it from each track, just as you would for any Send effect. Alternatively you can add the hardware to a track’s insert effects stack.
External synths work in much the same way as their software counterparts. You can create an instrument track based on the external plugin, or add it to the Instrument Rack and bus multiple MIDI tracks to it.
Processor delay compensation
When using software plugins we don’t have to think about the time it takes for the audio to be processed or for a sound to be generated by a synth, because Cubase’s automatic plugin delay compensation takes care of such things for us.
Things are almost as easy with external effects: at the touch of a button, Cubase sends a signal through the processor, measures the resulting processing delay and I/O latency, and applies the appropriate delay compensation.
External synths aren’t so easy, as the delay has to be measured and entered manually. Happily though, once this is done, Cubase’s delay compensation engine takes over and handles everything in its normal seamless way.
OK, so let’s stop talking about what can be done and look at how to actually do it…
Integrating external effects and synths: step-by-step
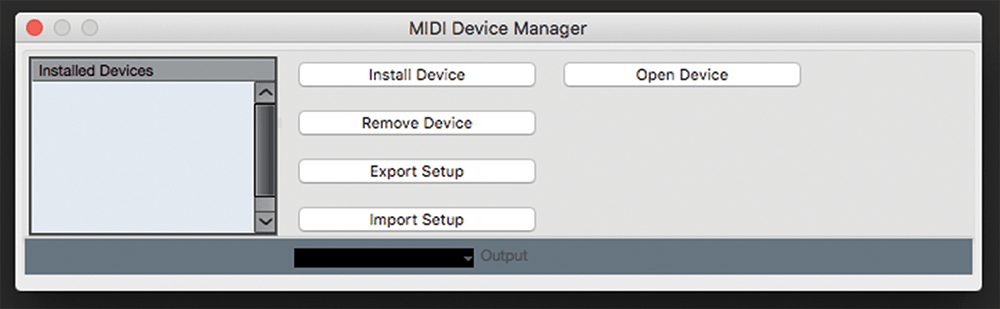
1. We’ll start off by integrating an external synth with Cubase – in our case a Novation Supernova. Go to Studio > More Options > MIDI Device Manager (in some versions it’s just Studio > MIDI Device Manager).

2. In the panel that opens, click the Install Device button – the Add MIDI Device window will appear. This shows a list of common hardware; if your hardware is listed select it, click OK and skip to Step 6.
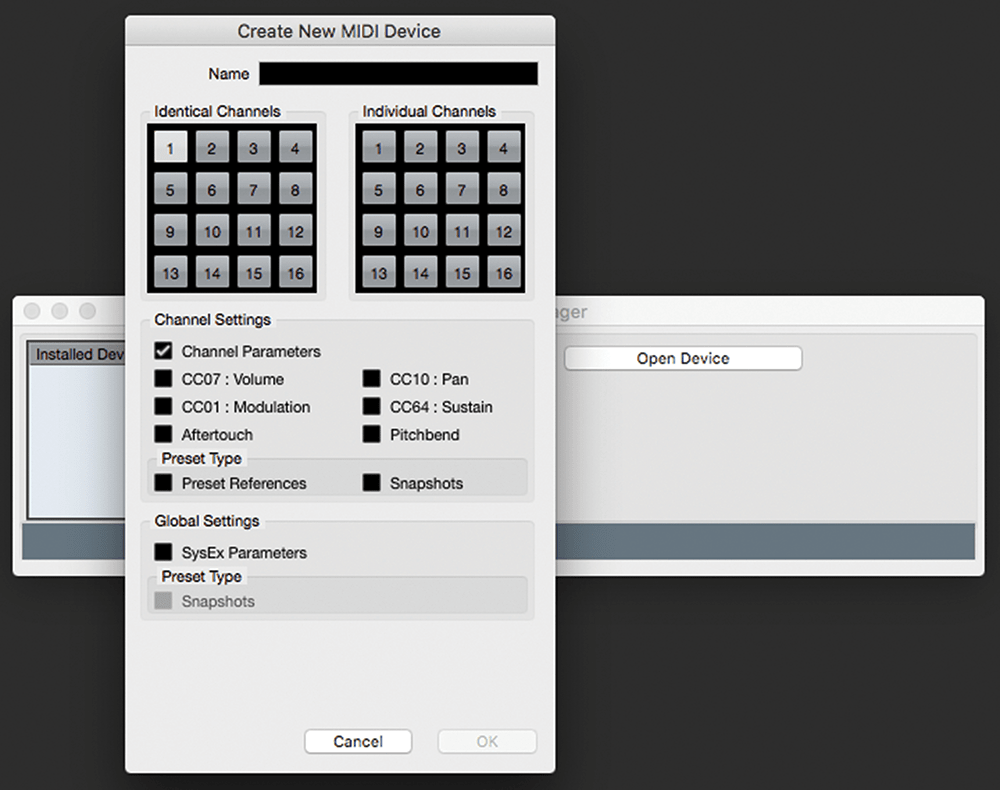
3. If your hardware isn’t listed select Define New and click OK. The Create New MIDI Device panel that opens is quite confusing – don’t worry about what it all means for now as we’ll look at it next time.
![]()
Cubase MIDI devices Cubase manages external MIDI equipment via its MIDI Devices system. This allows us to define patch names (with associated MIDI bank and program change messages) as well as to create control panels for editing and managing the external hardware.
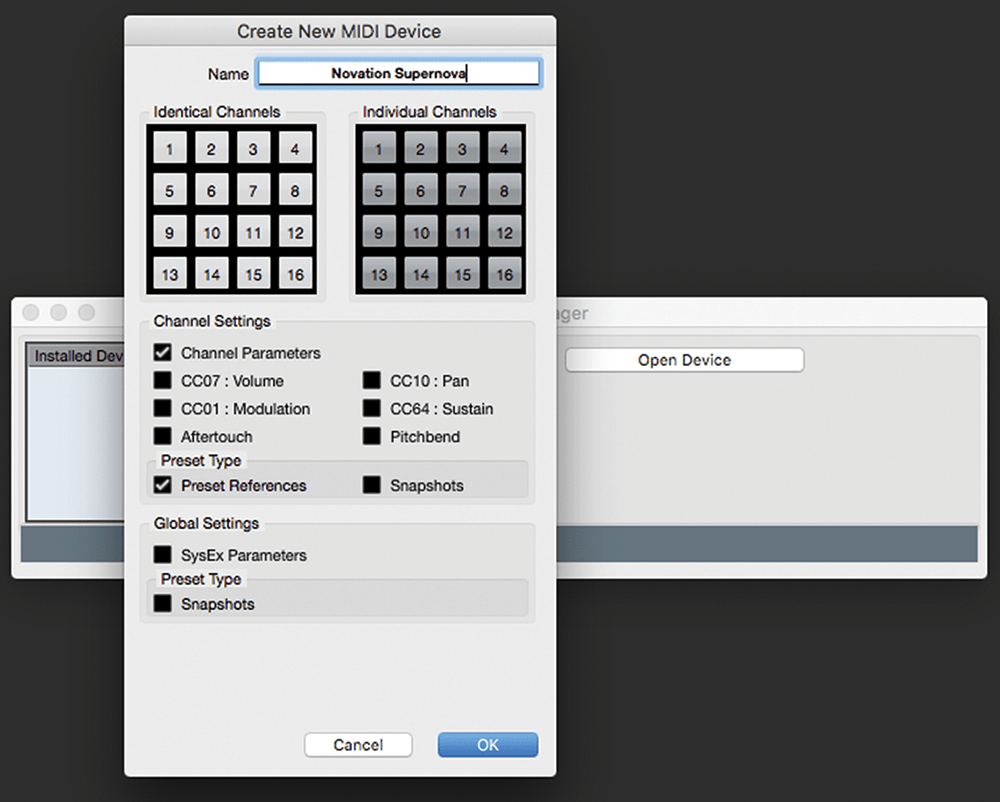
4. Enter a name for your device. In the Identical Channels grid, click on any channels that your instrument can respond to (typically this will be all 16 channels). Tick Preset References in the Preset Type section. Click OK.
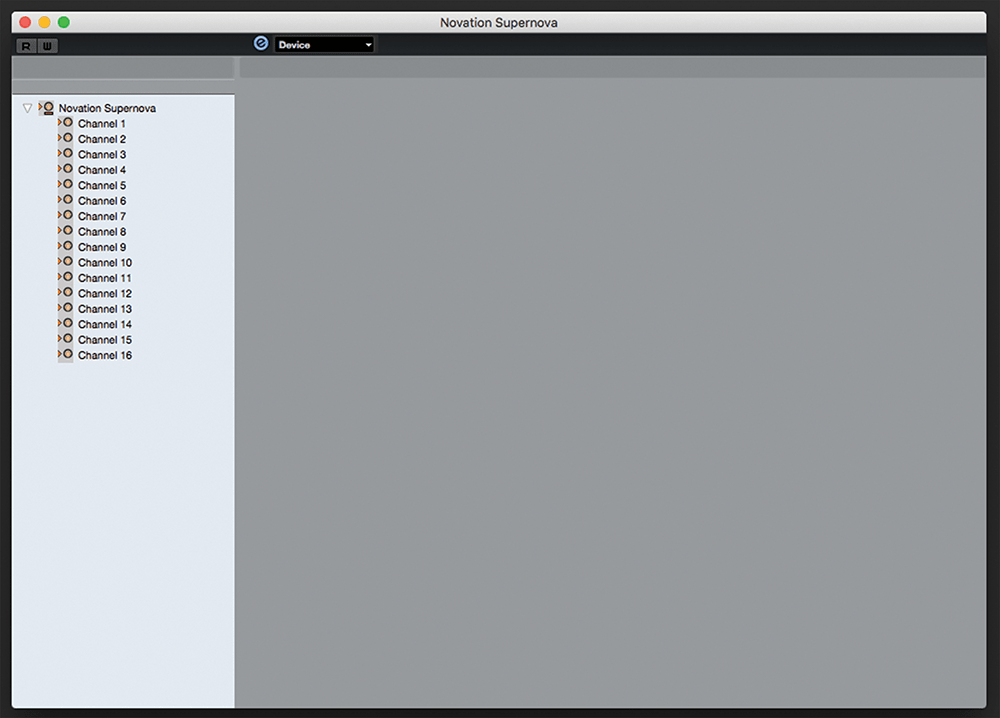
5. The Device window that opens is where we define patch lists and controller messages, and construct control panels for the device. We’ll be exploring such things next issue, so for now just close this window.
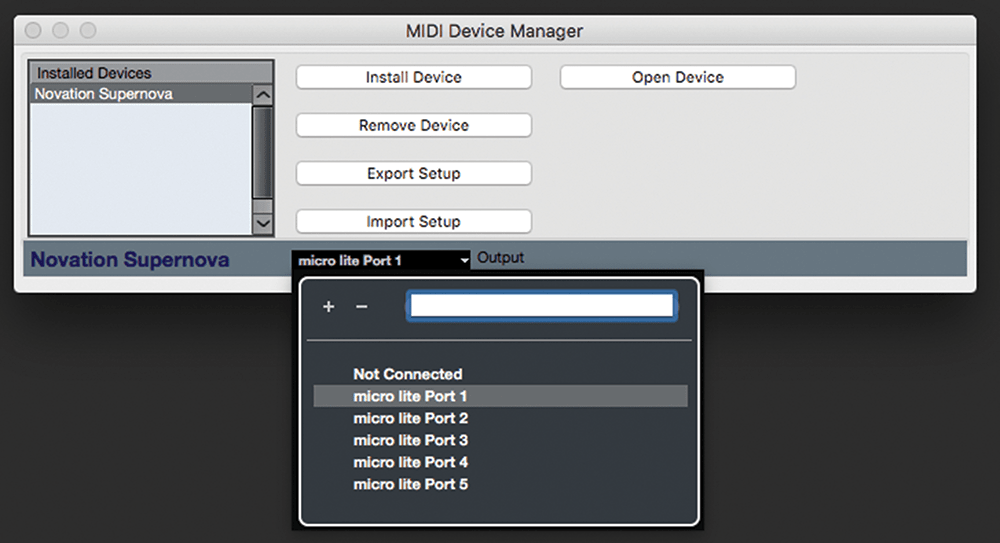
6. The external synth is now listed in the MIDI Device manager. Select its entry and use the Output drop-down list, located at the bottom of the panel, to specify which MIDI port the synth is connected to.