Understanding compressor circuit types in Logic
Logic’s built-in Compressor plug-in includes a range of different circuit types. In this tutorial, we illuminate the original compressors they’re based on, and the best ways to use them.
One of the most common questions we’re asked about in Logic Pro X is the relative difference between the various compressor-circuit types and most importantly, what instruments pair best with each compressor type. Certainly, if you’re a newcomer to Logic, the fact that there’s more than one type of compressor can seem bewildering, especially if you’re trying to get to grips with how compression works.
More experienced users will have a better understanding of the flavours of compression on offer, making an informed use and application of the types of compressor on offer, arguably with reference to the original hardware units they’re modelled on.
In this workshop, we’re going to explore these different circuit types, looking both at the original compressors they seek to emulate, as well as the sonic differences you can expect and how best to apply them in different musical applications.
Optical illusions
To understand the different compressor models, it’s worth stepping back through recording history and looking at how compressors evolved over the last 60 or so years. On the whole, there are three types of compressor design – optical, FET and VCA – all mirrored in the circuit types offered by Logic’s Compressor plug-in. One of the first types of compressor offered was a so-called optical compressor, as made famous by compressors such as the Teletronix LA-2A. Optical compressors used a light element or optical cell to control the amount of gain reduction applied – the more the light glowed in response to the input signal, the more gain reduction occurred.
Given their elaborate design, optical compressors aren’t the sharpest tools in the compression box, but what they lack in accuracy, they more than make up for with musicality. Logic’s Vintage Opto, therefore, is arguably the oldest of Logic’s ‘vintage’ compressors, and the ideal choice for softer, more retro forms of compression. It’s also one of the more colourful circuit types, so is also ideal if you’re looking to add a degree of analogue-like saturation to give the sound some extra presence and body.
Transistors
FET (or Field-effect Transistor) compressors were designed to address the problems of optical compressors, namely the slow attack and release times. In comparison to the Vintage Opto, therefore, Logic’s Studio FET and Vintage FET circuit types have a noticeably faster response. Set the Attack to fast, therefore, and you can easily attenuate sharp transients, which makes them much better at limiting. For fans of ‘colourful’ compressions, the two FET compressors also add a touch of saturation that helps make the compression noticeable rather than transparent. Technically speaking, both circuit types are modelled on the classic UREI 1176 compressor – the Studio variant mimicking a Blackface 1176, while the Vintage model recreates the more saturated Bluestripe 1176.
Given the colouristic qualities, as well as the fast-acting response times, the two FET circuit types are a great choice with drums, vocals, bass and guitar. If you want the compression to be an intrinsic component of the sound (like parallel compression, for example) then FET is an ideal choice where all your actions get heard. The flipside of this, however, is on sounds that demand a more transparent gain control (like strings, for example), or where you want to apply the compression across a buss.
Voltage control
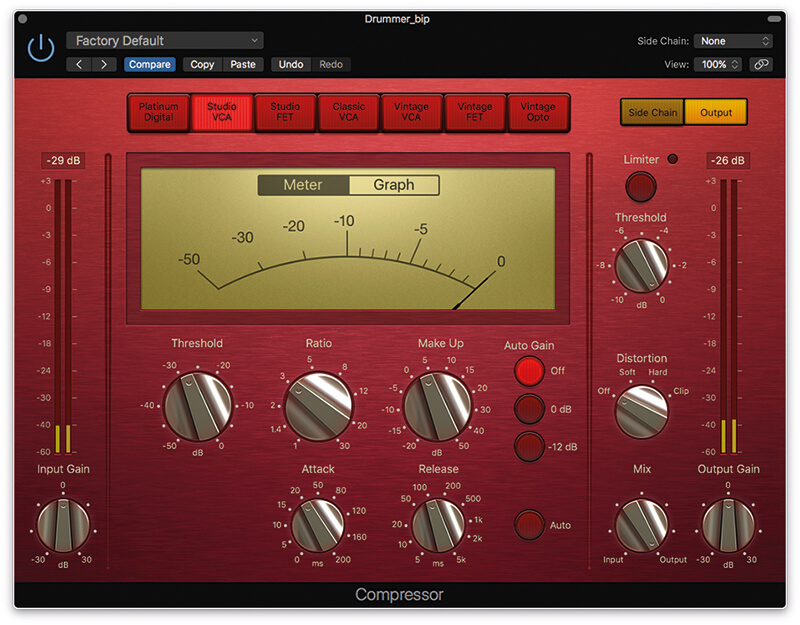
Like FET compressors, VCA have a similar fast reaction time, although given the use of solid-state electronics, a much more transparent sound. Logic actually provides three different VCA circuit types – Studio, Classic and Vintage – each with a slightly different control set and sound. The Vintage VCA is based on the SSL Bus Compressor, and is the most versatile VCA compressor, with a great Soft Knee setting that works well on groups of sounds. The Studio circuit type is based on a Focusrite Red 3 compressor, and in keeping with the original design, omits the Knee control.
The simplest VCA circuit is the Classic design, which is based on the original dbx 160 compressor. Like the original unit, there are no Attack and Release controls, so you’re left with the relative simplicity of just a Threshold and Ratio to play with. Like the original unit, it’s a bridging point between the FET circuit types and the more audiophile VCA models and a great choice for drum compression where you want a balance of ‘glue’ and character.
Hopefully, the guidance here will allow you to make an informed choice about the type of compression you use. The walkthrough goes further and illuminates both the key sonic differences, as well as some of the classic settings that tend to be applied with each circuit type. Of course, when it comes to the crunch, it’s always good to let your ears be the guide, as the ‘wrongs’ and ‘rights’ of compression aren’t clear cut. If a FET compressor sounds great on a buss, use it, likewise if the vocal sounds great on the vanilla Platinum Digital setting, don’t be afraid to roll with it!
Understanding compressor circuit types: step-by-step
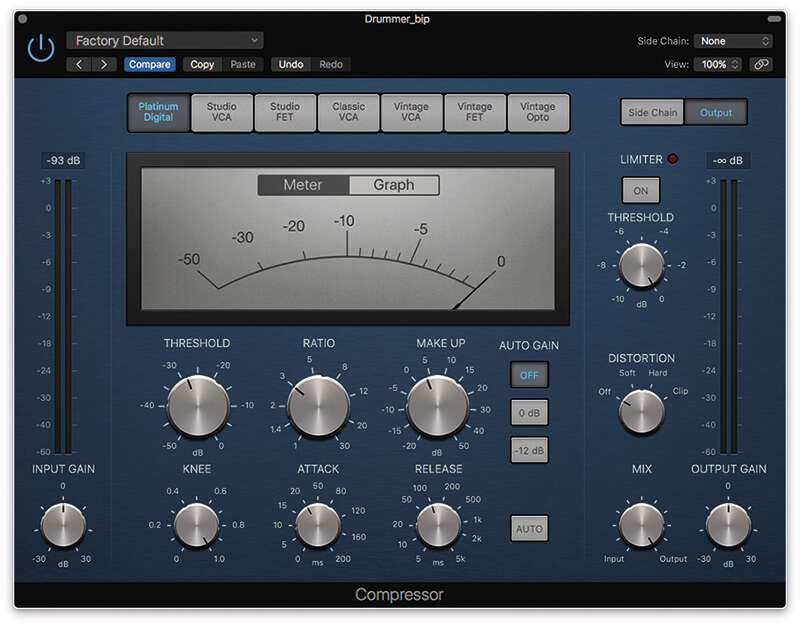
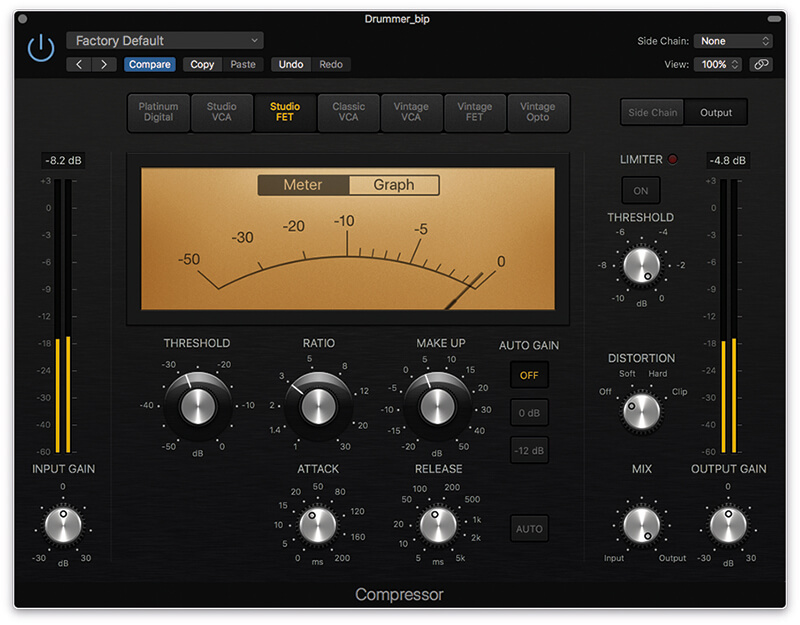
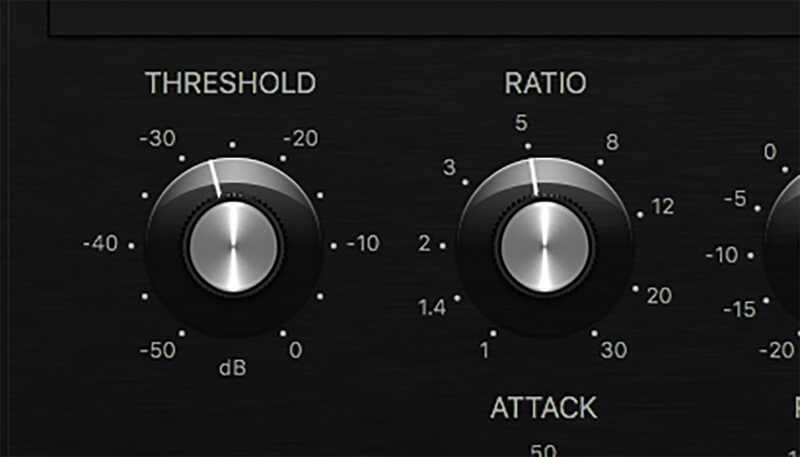
1. The Platinum Digital circuit type is Logic’s vanilla compressor. Set up a default setting: with the Ratio at 3:1, Threshold around -30, Knee at 1.0, Attack 20ms and Release at 100ms. The compression is efficient, but unmusical.
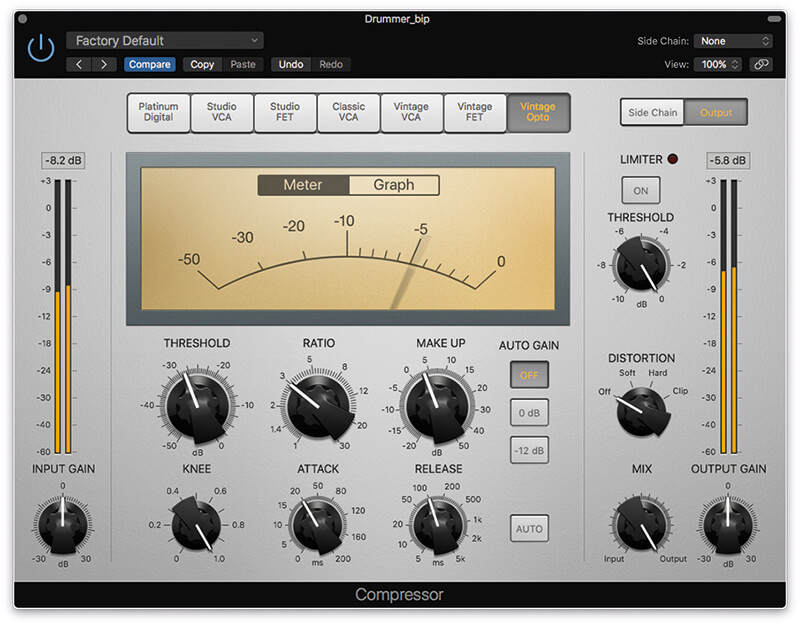
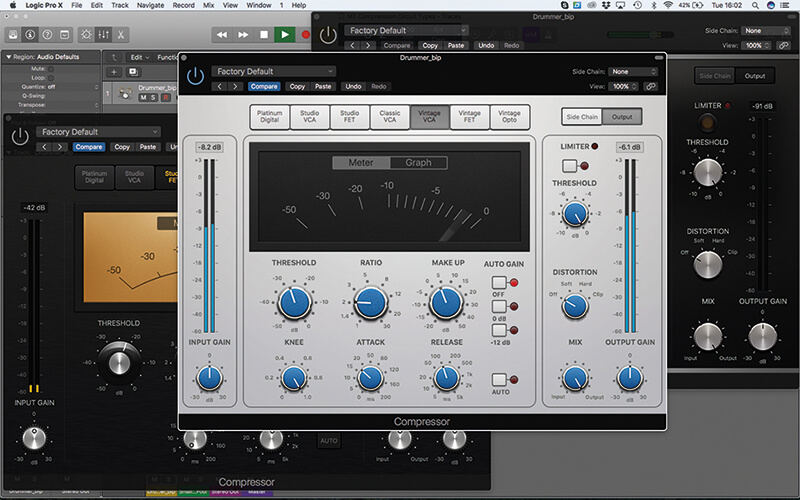
2. Now move through the compression types, staring with Vintage Opto. Notice how the response changes even though the settings are the same. The result is softer and more musical, with the room tone nicely accentuated.
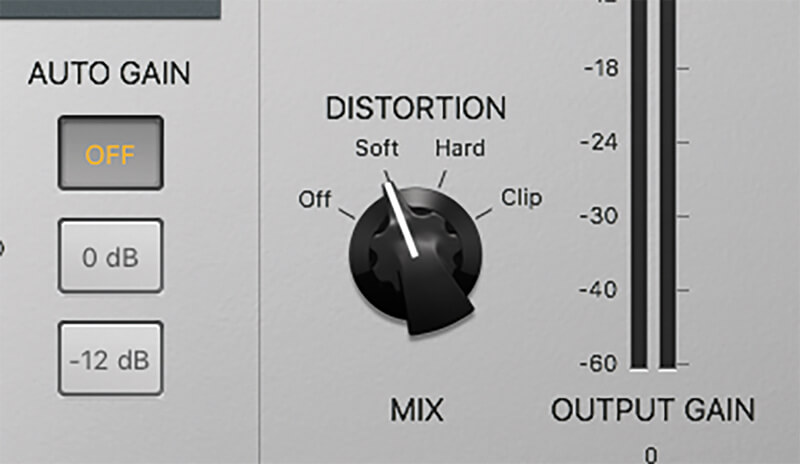
3. With the Vintage compression styles, it’s worth experimenting with the Distortion mode. Try activating the Soft setting and notice the extra harmonic saturation that’s added. Move Distortion back to Off when you’re finished.

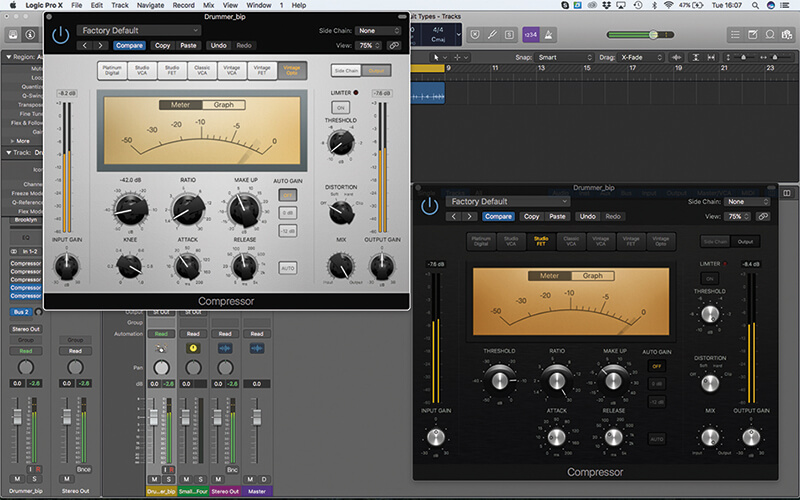
4. Now move over to Vintage FET, which is modelled on a Bluestripe 1176. Notice how the reaction times are much faster than the LA-2A-like Vintage Opto. The compression is still much more musical than Platinum Digital mode.
5. The Studio FET (also modelled on an 1176) exhibits the same fast-acting compression, although the drums have a touch more ‘thwack’ in this mode. Technically speaking, the Studio FET has slightly less saturation than the Vintage model.
6. Move back to the vintage FET to reset your ears and then select the Studio VCA model. All the VCA models sound more transparent – notice how the compression is less ‘forward’ and how you can hear around the kit.
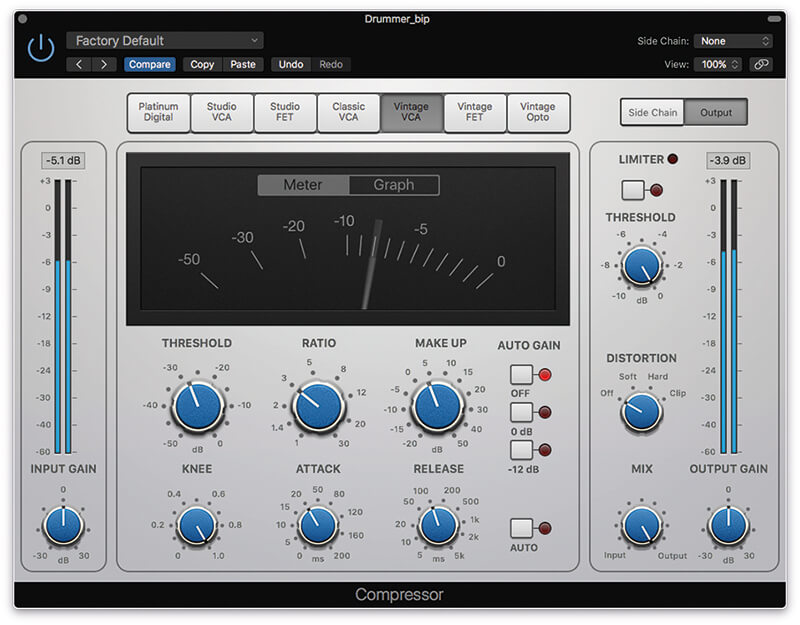
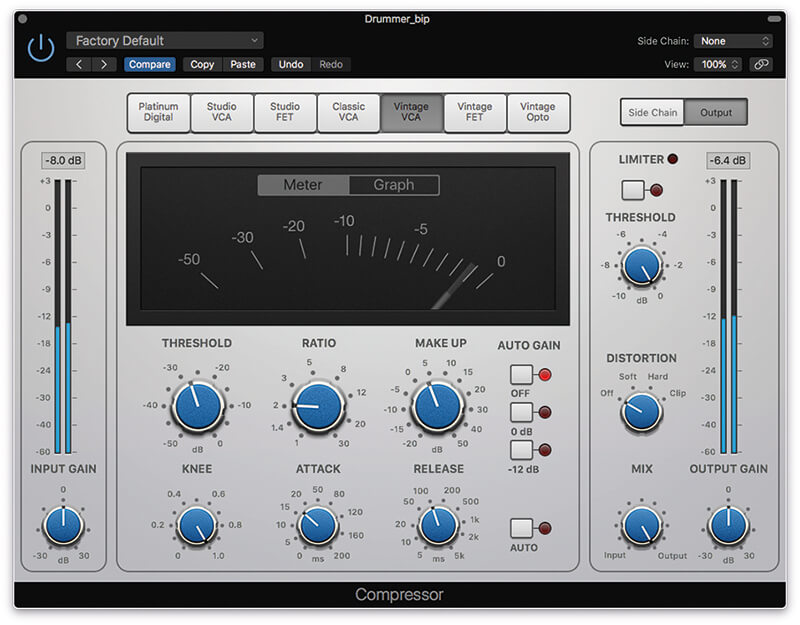
7. The Vintage VCA is based on the SSL buss compressor, with the principal addition of a Knee control. Notice how the Vintage VCA ‘glues’ the drums together, particularly with respect to the quieter parts of the performance.
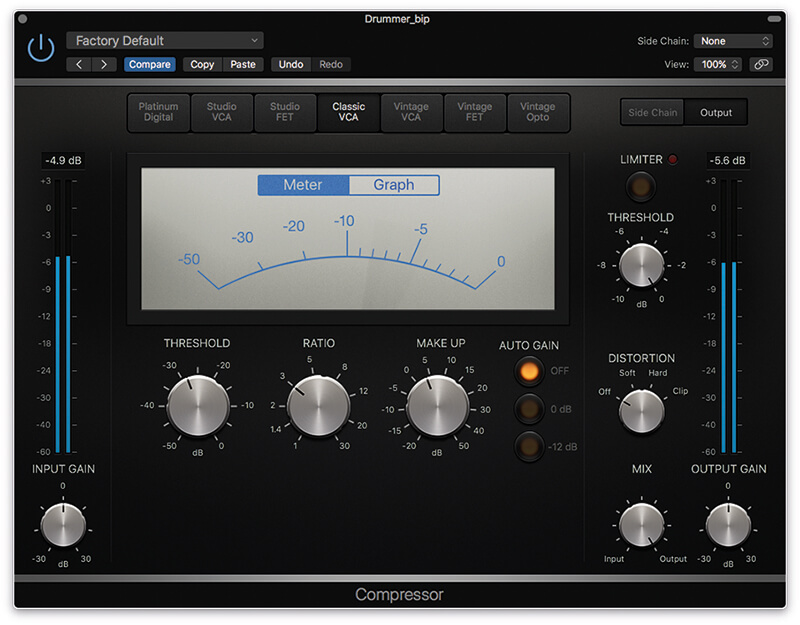
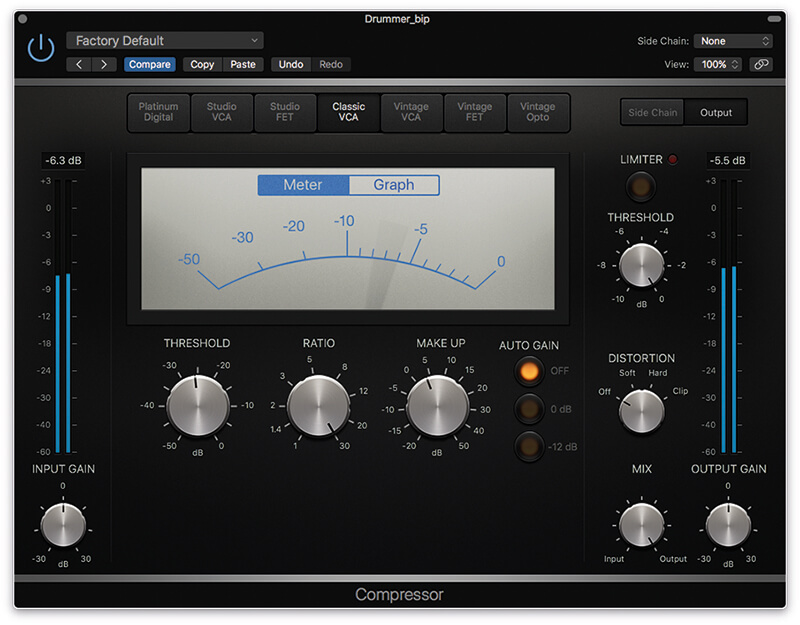
8. The final circuit type is the Classic VCA, modelled on a dbx 160. Like the hardware, the Classic VCA is a ‘no frills’ compressor, providing a less transparent operation, although with a touch of the Vintage VCA’s SSL-like glue.
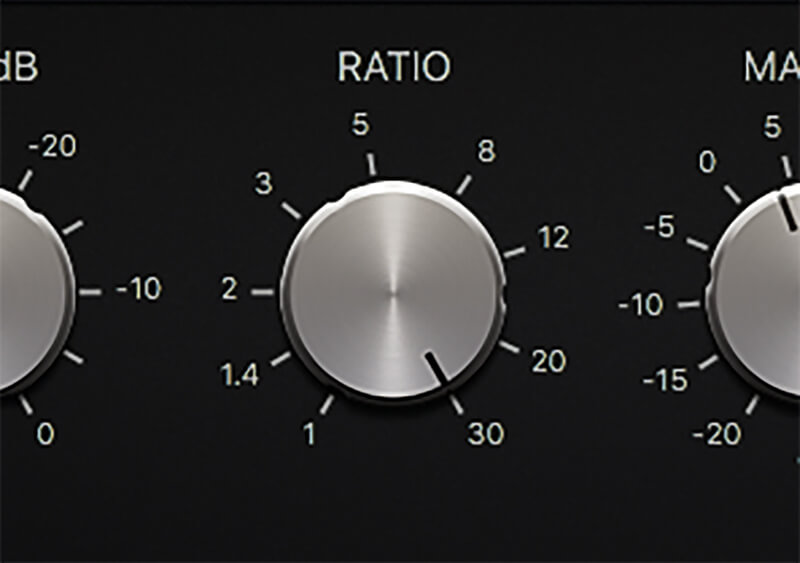
9. Having understood the different circuit types, let’s look at some classic compression settings. We’ll start with the dbx 160 hard-limiting setting. For this treatment, we’ll set the Ratio to its hardest setting – 30:1.
![]()
Knee visualisation The Graph display screen is a good way of visualising the compression you’ve applied. The Input/Output graph shows how the compressor responds to the signal levels, with higher Ratios producing a distinct kink in the line. The Knee can be seen at the transition point, with softer Knee settings producing a curve between the linear and non-linear response.
10. Given the lack of Attack and Release controls, the finesse of the dbx-style compression is in how you set the Threshold. In this case, a setting of around -25 yields a pleasing reduction of peak energy.
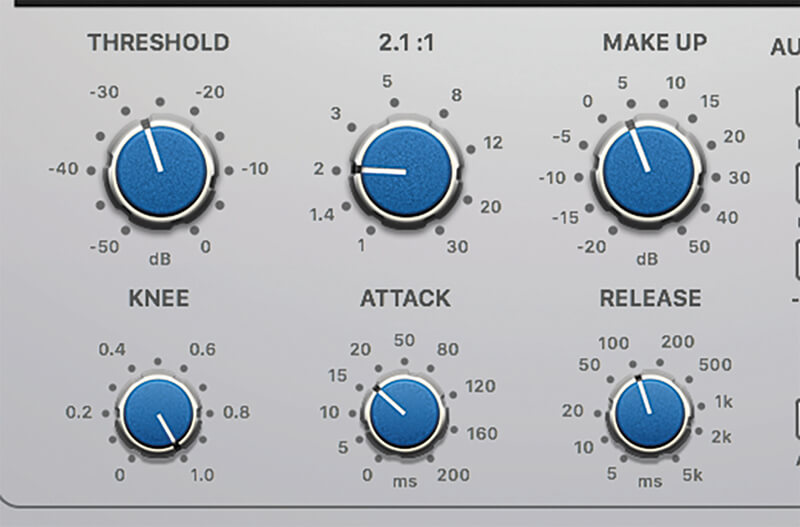
11. Now let’s look at the SSL’s ‘mix glue’ setting. The two most important factors here are a low Ratio (2:1) and a wide Knee setting (1.0). Set the Attack at around 20ms and the Release at 100ms.
12. Lower the Threshold to achieve the desired amount of gain reduction. The compression is subtle as the Ratio is graduated, starting off low at 1.5:1 and only hitting 2:1 when the compressor is really being ‘pushed’.
13. The 1176-like Studio FET is great for parallel compression. In this application, you’ll want to use a hard Ratio (5:1) and set the Threshold so that the compressor is working hard, yielding 10dB or more of gain reduction.

14. As well as the amount of gain reduction, a key to the effect is the type of movement you create. Set the Attack ultra-fast (so that it clamps transients) and graduate the Release so that you hear it breathe.

15. Given the amount of gain reduction being applied, you’ll want to increase the Make Up levels to around 10dB. Also consider setting the Distortion control to Soft, so that some extra ‘sizzle’ is added by the compressor.
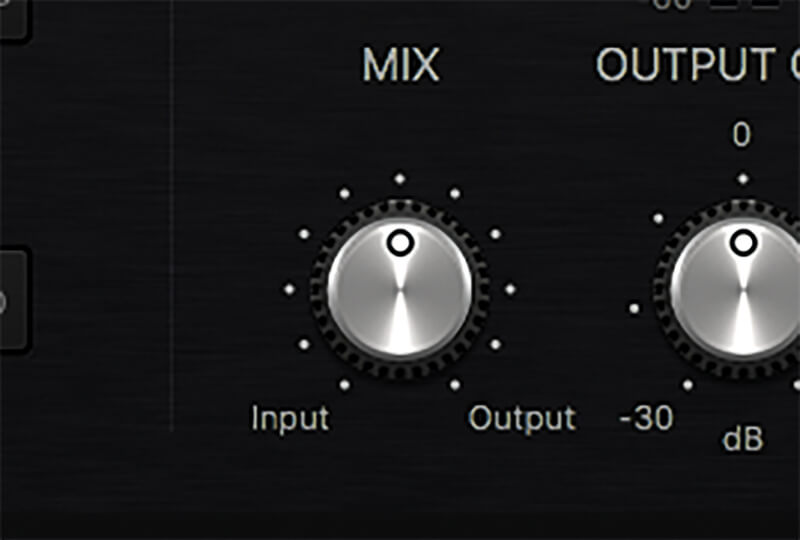
16. The final step is to reduce the Mix control, so that there’s a combination of both compressed and uncompressed signals. The transient-squashed compression adds body to the sound, dependent on the mix level.
17. Try comparing and contrasting both the styles and types of compressor. All versions present a form of ‘compressed drums’, but each has something different to offer from a musical perspective. This is the ‘art’ of compression.
18. Going further still, you can always combine these approaches in dynamic way. This final example uses a combination of soft opto compression followed by a harder 1176-like FET compressor that works on peak signals.
For more Logic tutorials and workshops, check here.