Mastering Tutorial: Separating The Frequencies – Step-by-Step
In this step-by-step guide Mike Hillier explores multi-band processing… 1: Borderline is built around a fairly standard modern rock/pop arrangement. The mix has a pulsating guitar pattern panned wide, with the bass, drums and vocal needing to occupy the centre and push the track forwards. 2: We’ve already done a little processing in this mix, […]
In this step-by-step guide Mike Hillier explores multi-band processing…
1: Borderline is built around a fairly standard modern rock/pop arrangement. The mix has a pulsating guitar pattern panned wide, with the bass, drums and vocal needing to occupy the centre and push the track forwards.
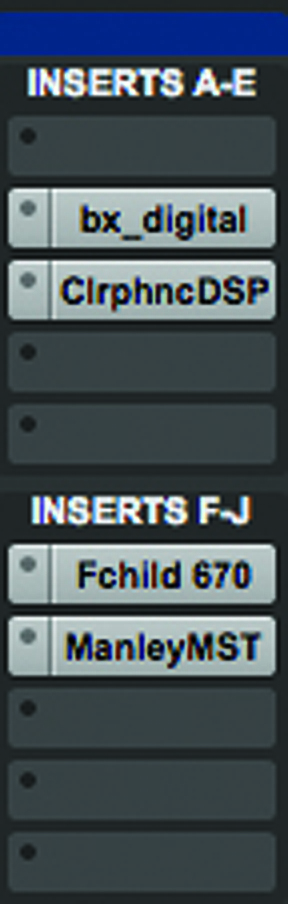
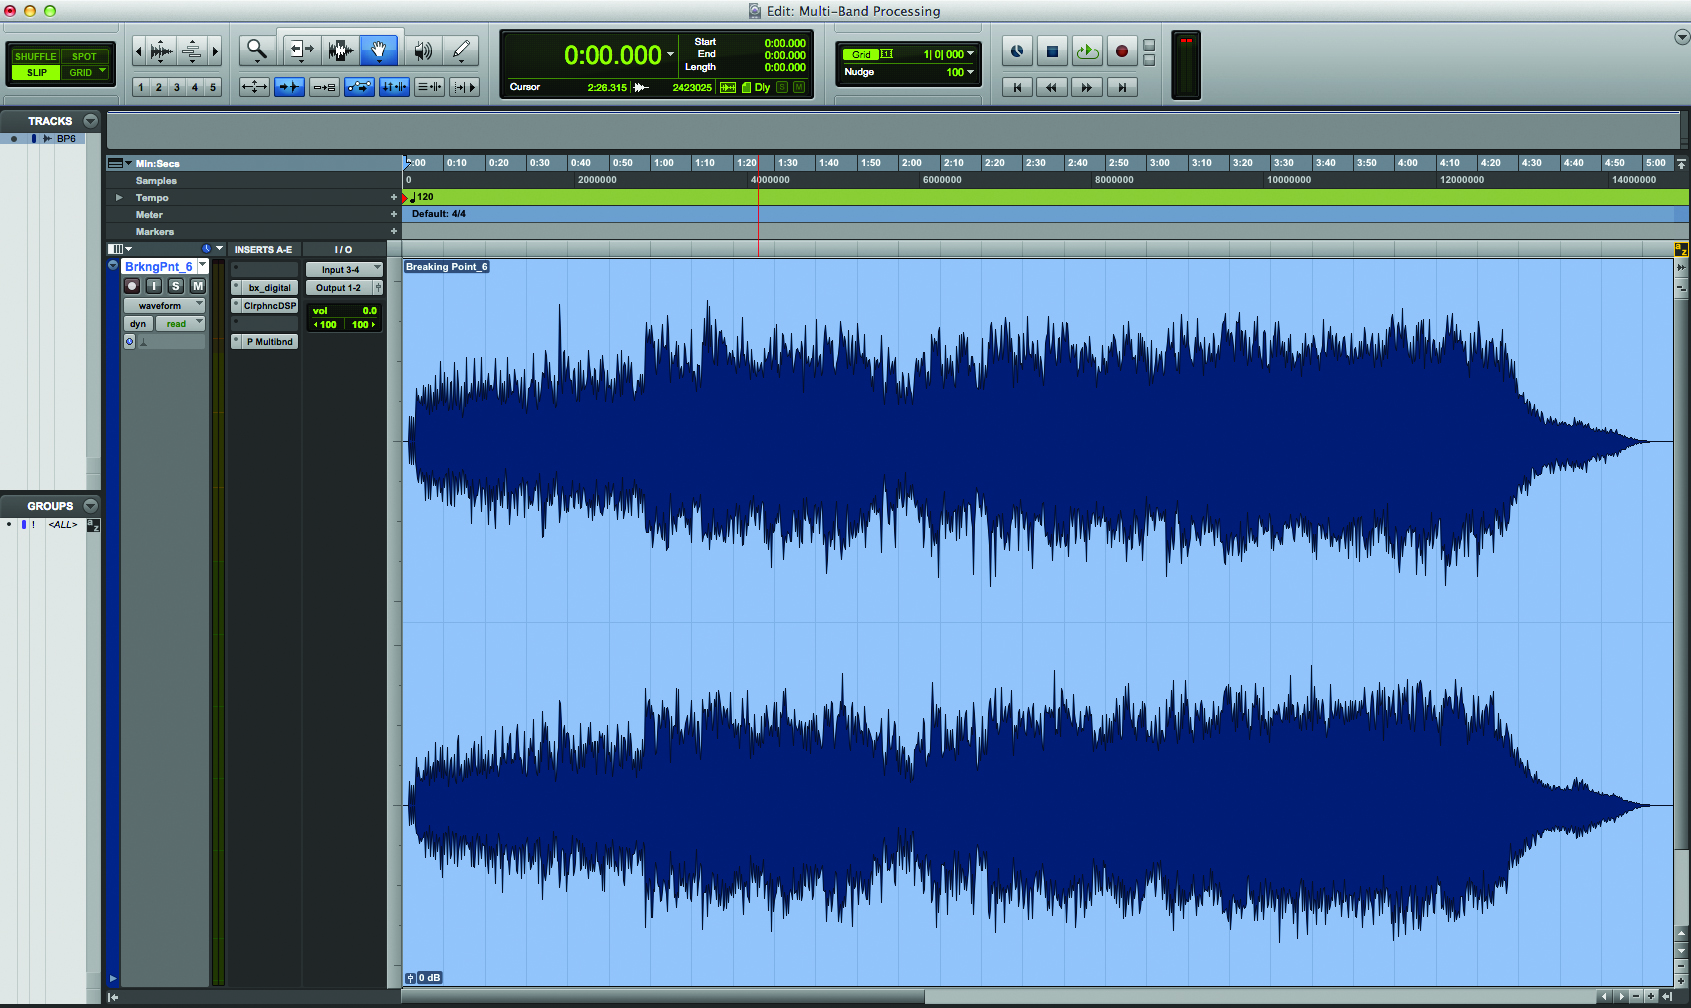
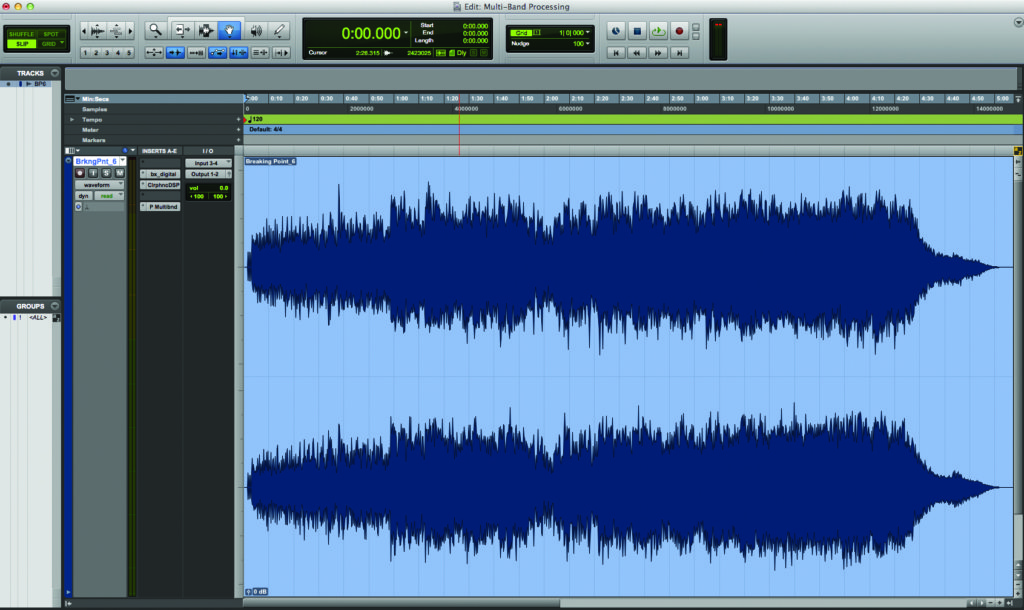
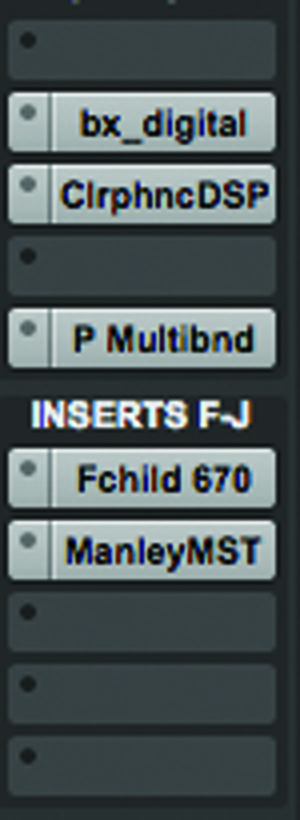
2: We’ve already done a little processing in this mix, using techniques discussed in previous workshops, using the Brainworx bx_digital V2 for mid-side processing, the Clariphonic and UAD Manley Massive Passive MST for EQ and the UAD Fairchild 670 for compression.
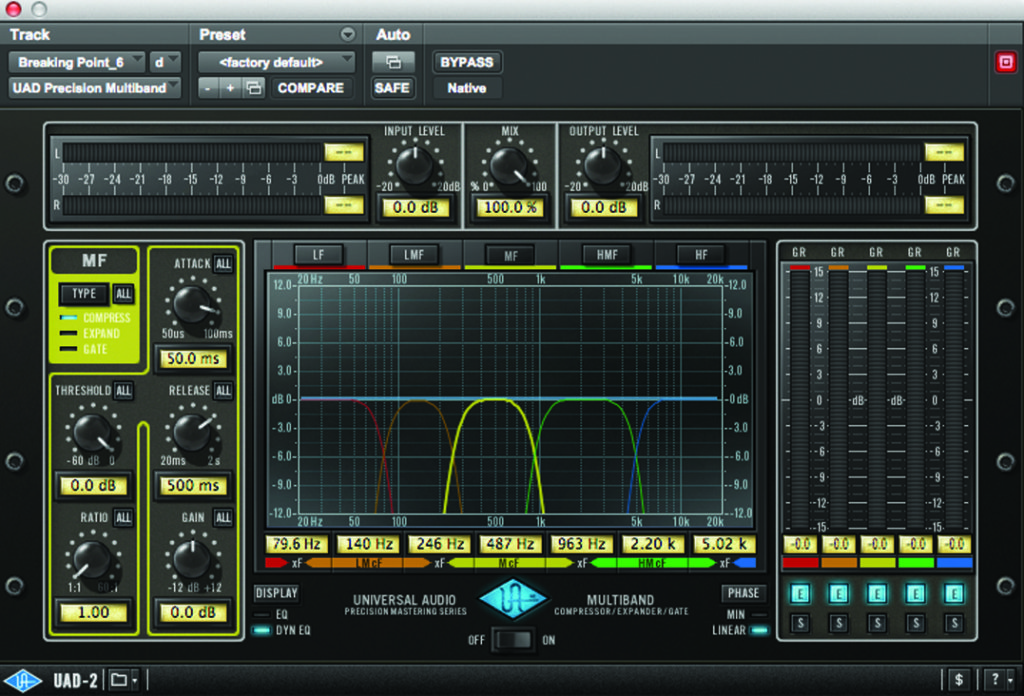
3: We’re going to use a multi-band dynamics processor to try to bring the wide guitars under control, and to control the weight in the bottom end of the mix. The UAD Precision Multiband is one such tool, with several very useful features, but there are many alternatives.
4: The placement of the multi-band processor in the signal chain is very important. We’ve opted to use it before the stereo compressor in our signal chain, in order that the Fairchild 670 won’t have to respond to any specific frequency that overpowers the mix.
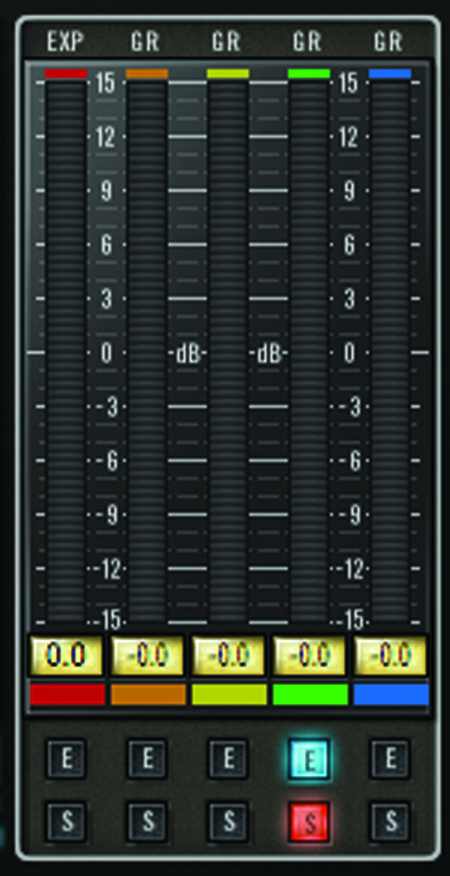
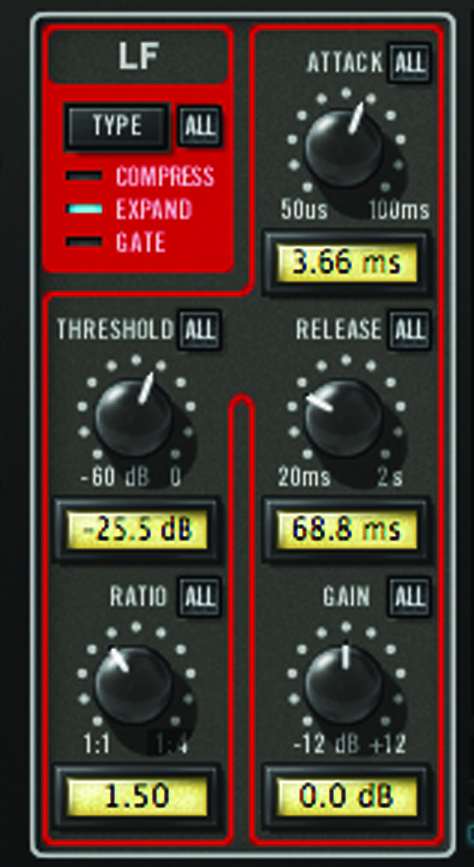
5: Solo the band you want to process and drag the crossover frequencies in to isolate the area of the spectrum you want to focus on. Here, we’ve used the HMF band between 1.39kHz and 3.03kHz.
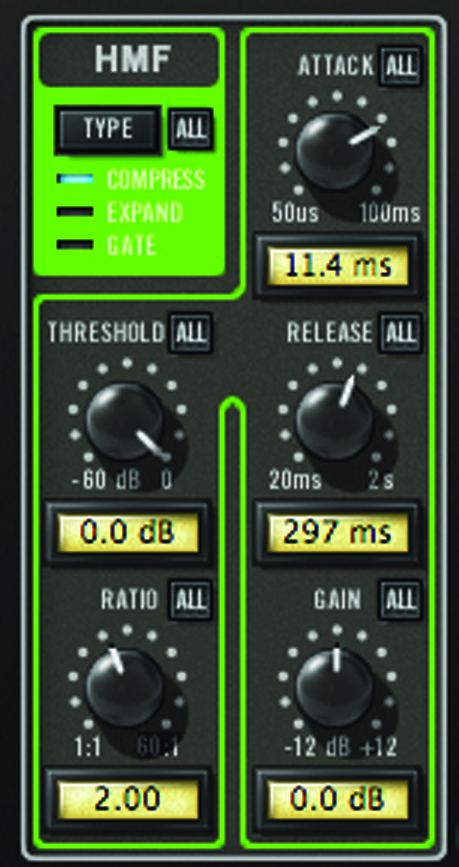
6: With the band set to Compress, set the dynamics parameters as you would using a standard compressor. A low ratio, fast attack and slow release is going to give us the most natural sound on these guitars, but may also affect the vocal.
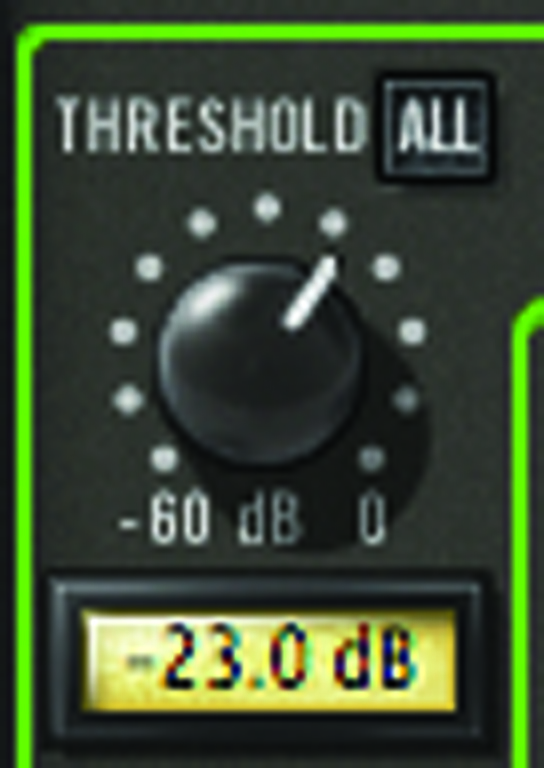
7: Now bring the threshold down to achieve the amount of compression you want. We’re aiming for no more than 2-3dB here.
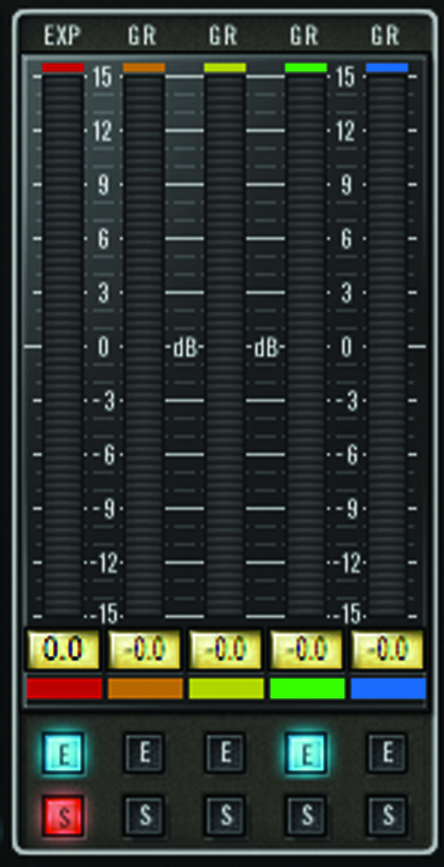
8: To deal with the bottom end, we again want to solo the frequency band in the processor and tune the crossover frequency to isolate only the fundamental of the kick, without processing the bottom of the bass guitar.
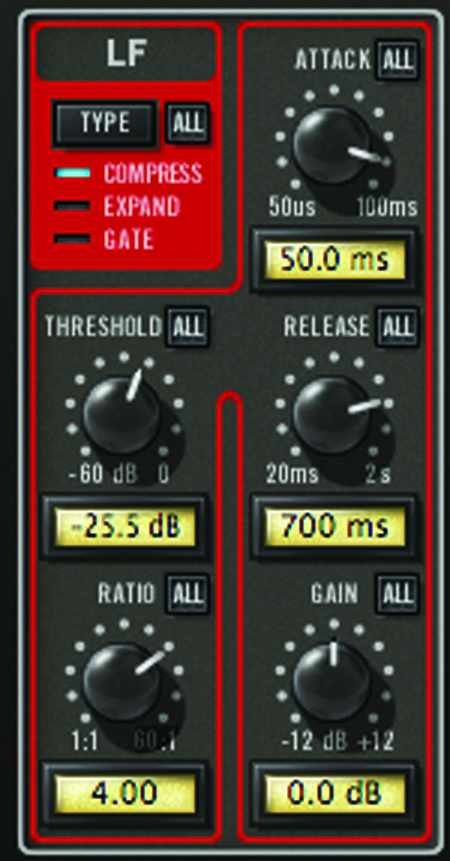
9: Here, we’re going to use a slow attack and slow release to try to control the bottom end, while still allowing most of the kick attack through.
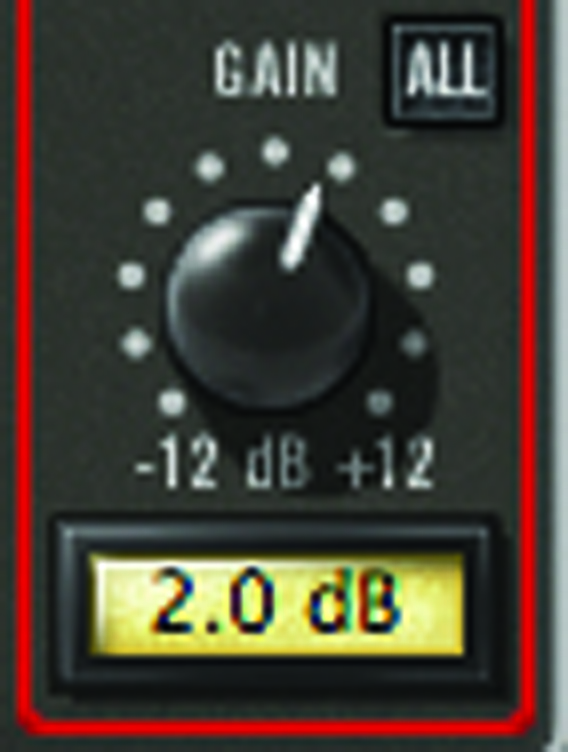
10: If you want to control a region, such as the bottom end, and then bring it up to add more weight, you can do so with EQ after the multi-band processor, or by using the make-up gain for each band within the multi-band processor.
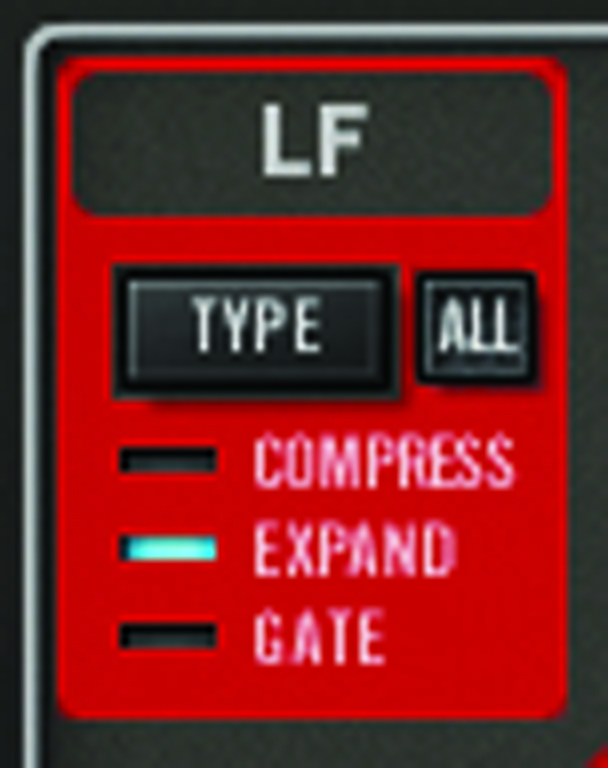
11: An alternative means of adding weight to the bottom end, rather than controlling it by bringing it down as we have here, would be to switch the bottom band from a compress mode to expand.
12: With an expander, you want a fairly fast attack and to then time the release to add to either the attack portion of the kick, or the whole body of the kick. Very low ratios go a long way, so don’t go overboard. We often stay below 1:1.5.
