MIDI Routing And Recording In Ableton Live: Step-By-Step (Continued)
Martin Delaney continues his guide to MIDI routing and recording in Ableton Live. If you missed it, make sure to check out part 1 7. The clip will loop round at the end of the bar, so you can play your drum hits one layer at a time. If you make a mistake, undo only […]
Martin Delaney continues his guide to MIDI routing and recording in Ableton Live. If you missed it, make sure to check out part 1
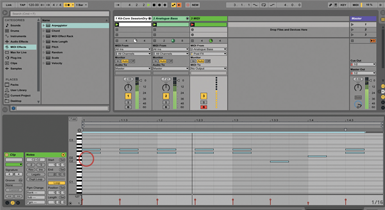
7. The clip will loop round at the end of the bar, so you can play your drum hits one layer at a time. If you make a mistake, undo only takes out the last recorded layer.
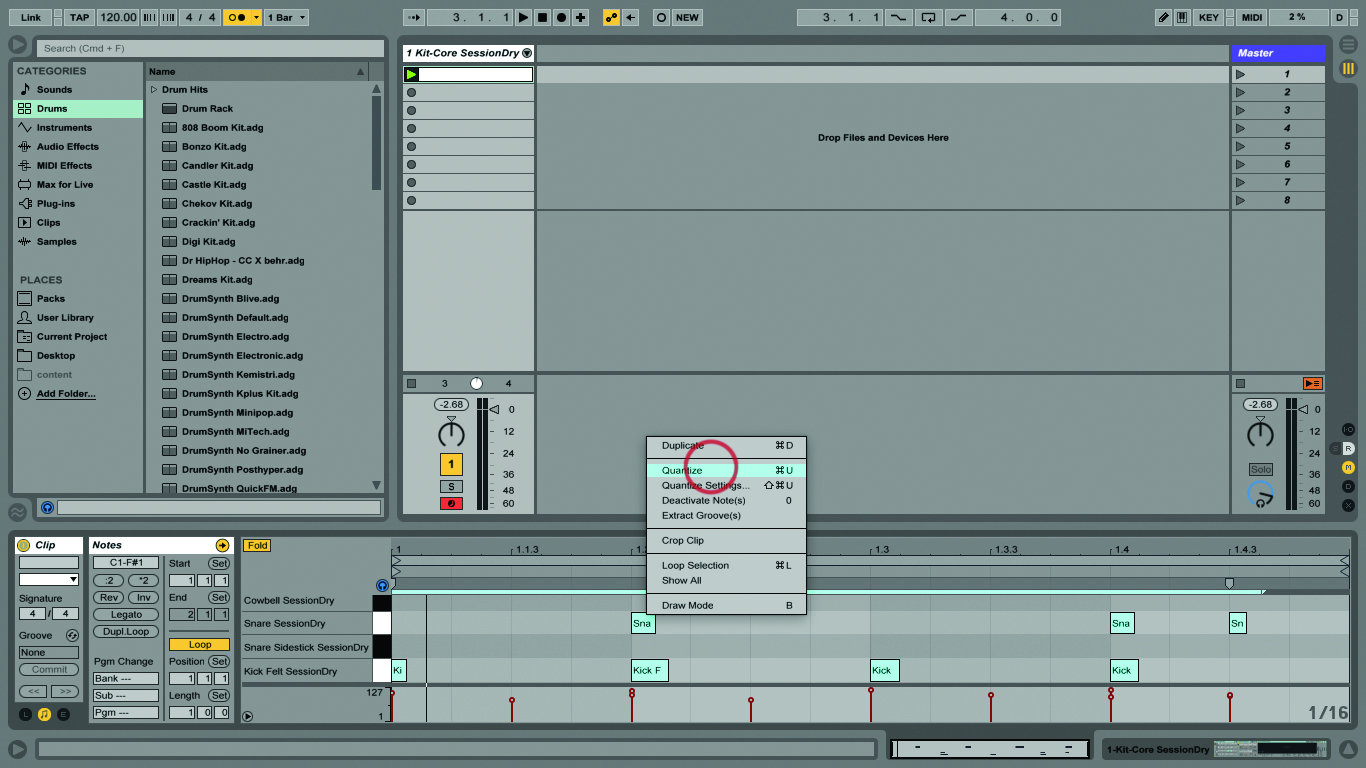
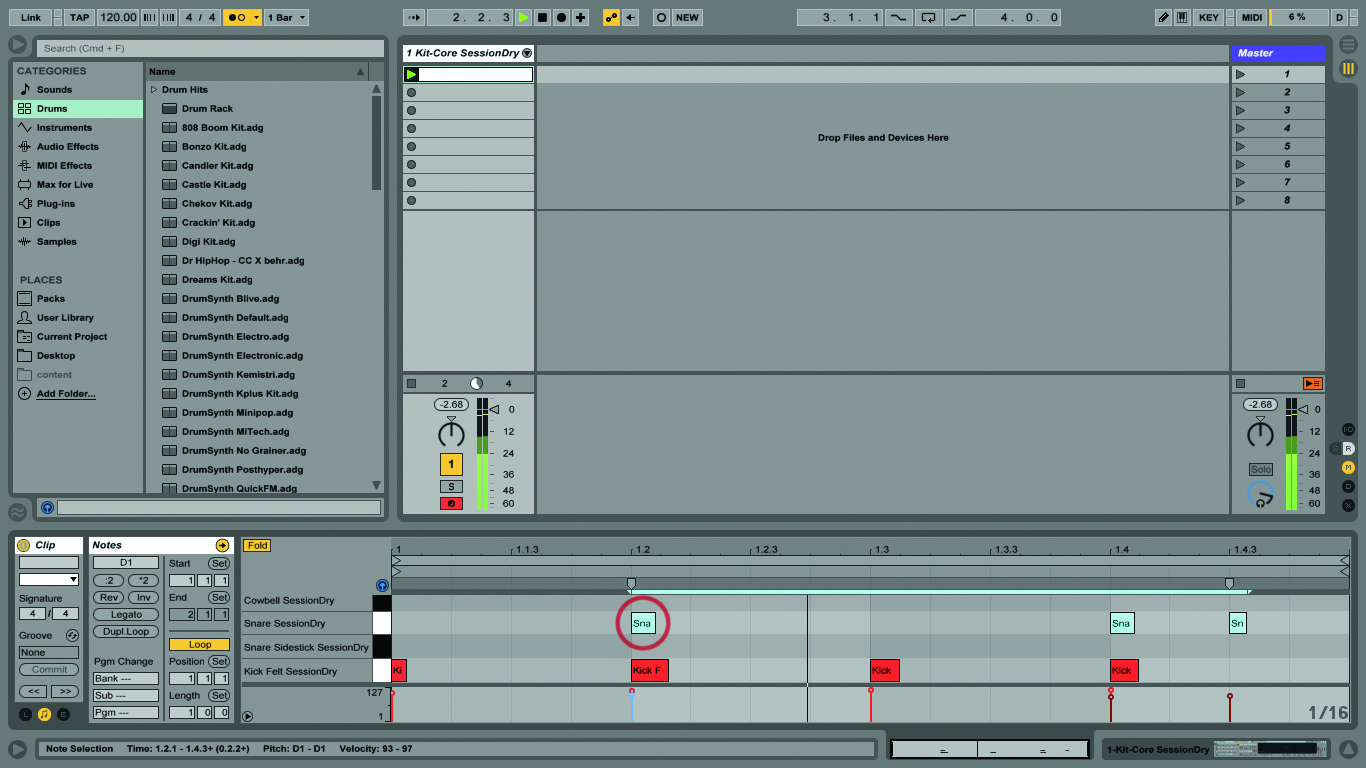
8. Stop Live. Double-click the clip to view what you’ve recorded, if not visible already. If you forgot to enable Record Quantisation, you can select the notes now and use Cmd-U to quantise them.

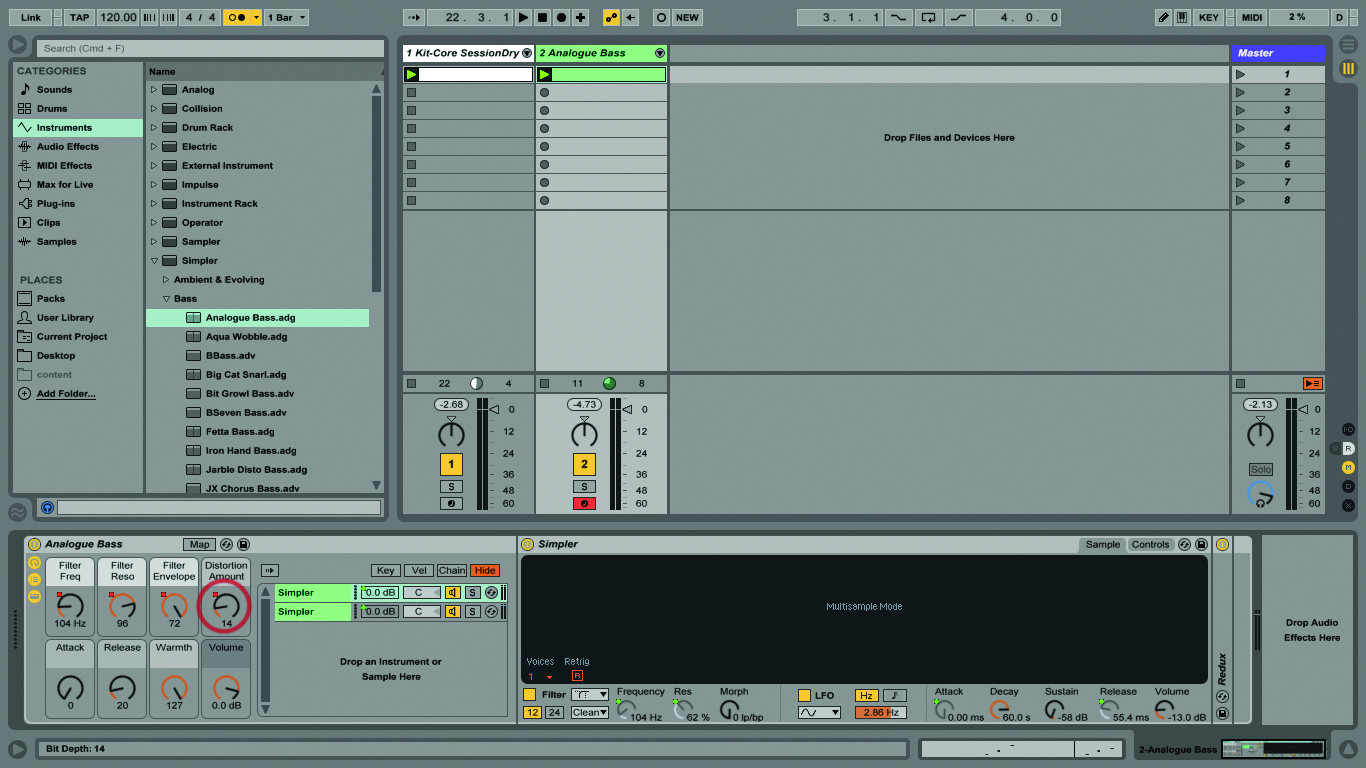
9. Load a keyboard instrument like this Simpler bass preset into a new track, and arm it. Make another new MIDI clip, but this time, use the clip info box to change to length to two bars.
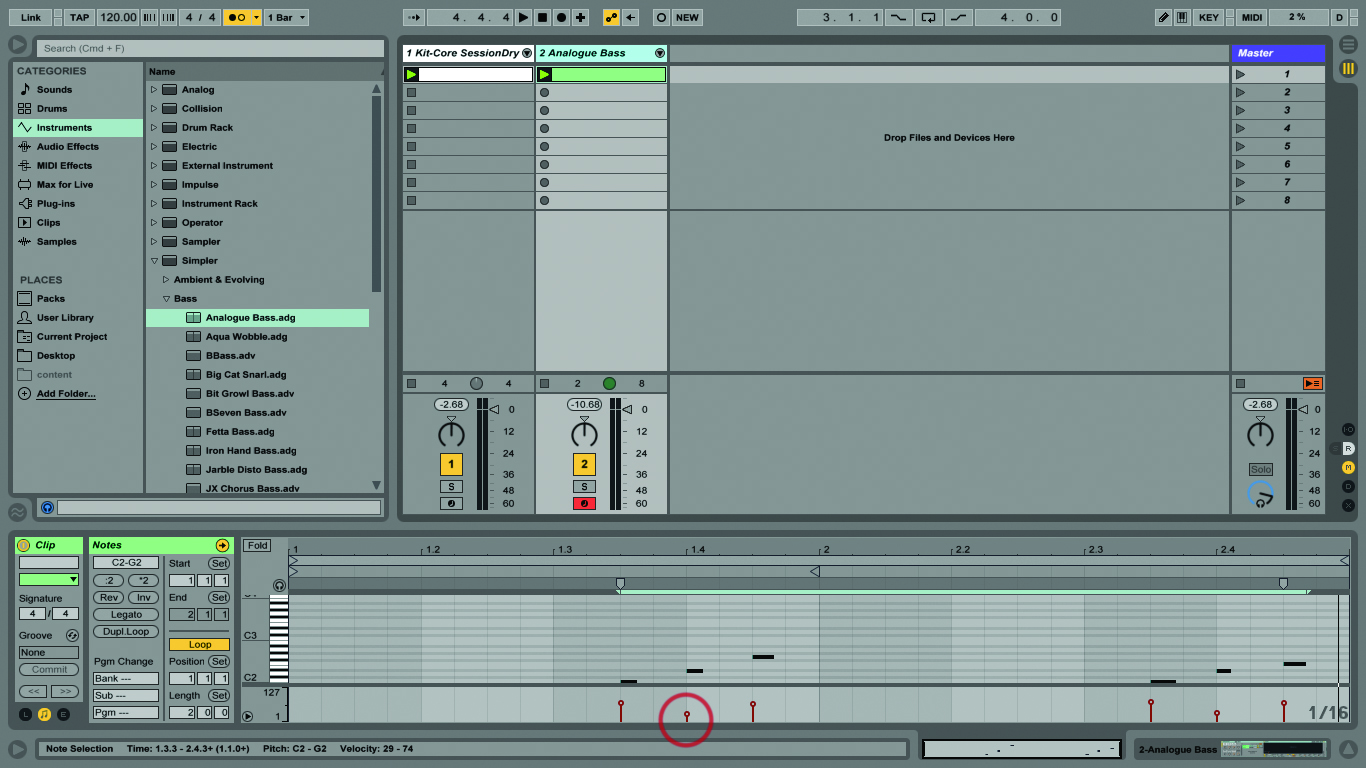
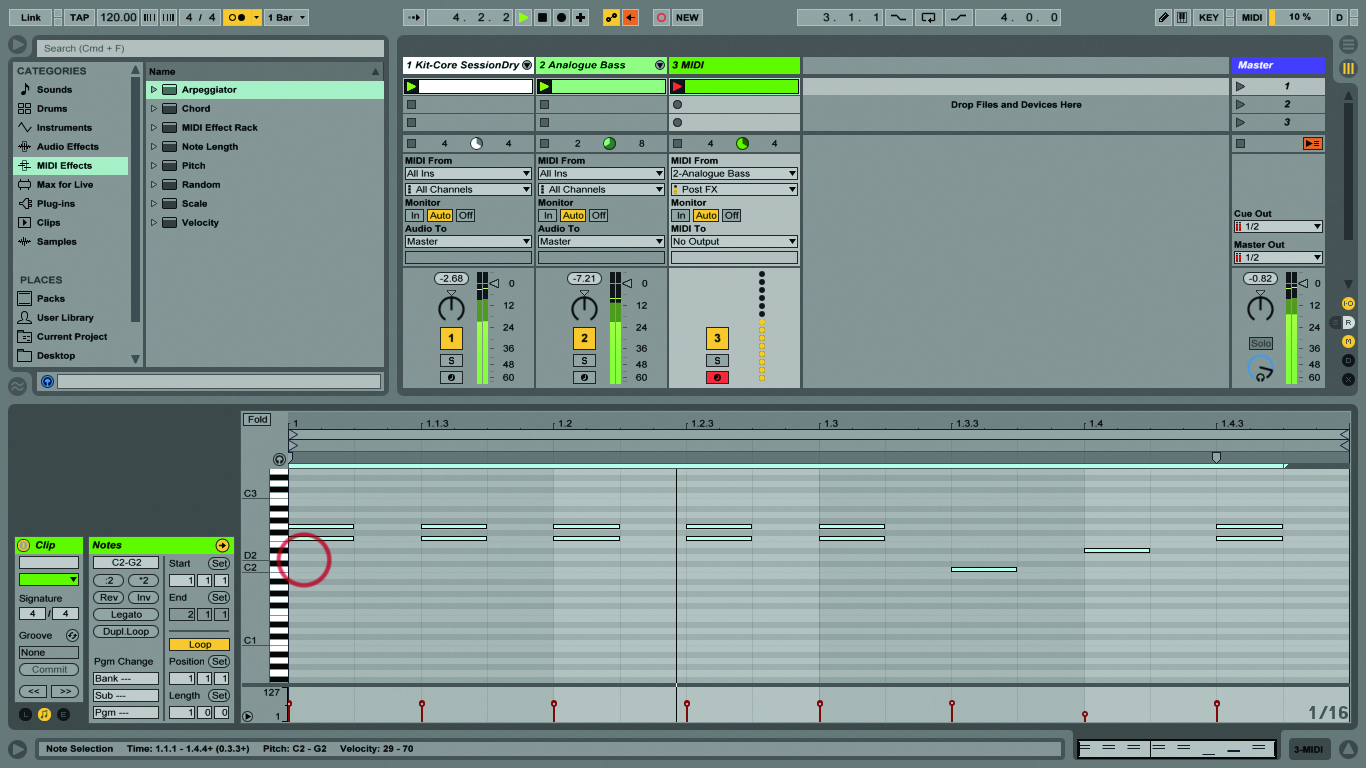
10. Now use your keyboard to record a bass part into that clip. When you’ve done, look at the notes, you’ll see they’re different shades, according to their velocities (how hard you pressed the keys).
11. If the automation button in the control bar is active, and you move assigned knobs or faders on your controller, those movements are recorded as automation. Watch for the tell-tale red dots!

12. You can have MIDI effects loaded in the tracks while you’re recording and playing back, but they aren’t applied to the recorded notes, which is good, because you’re still free to change them later.
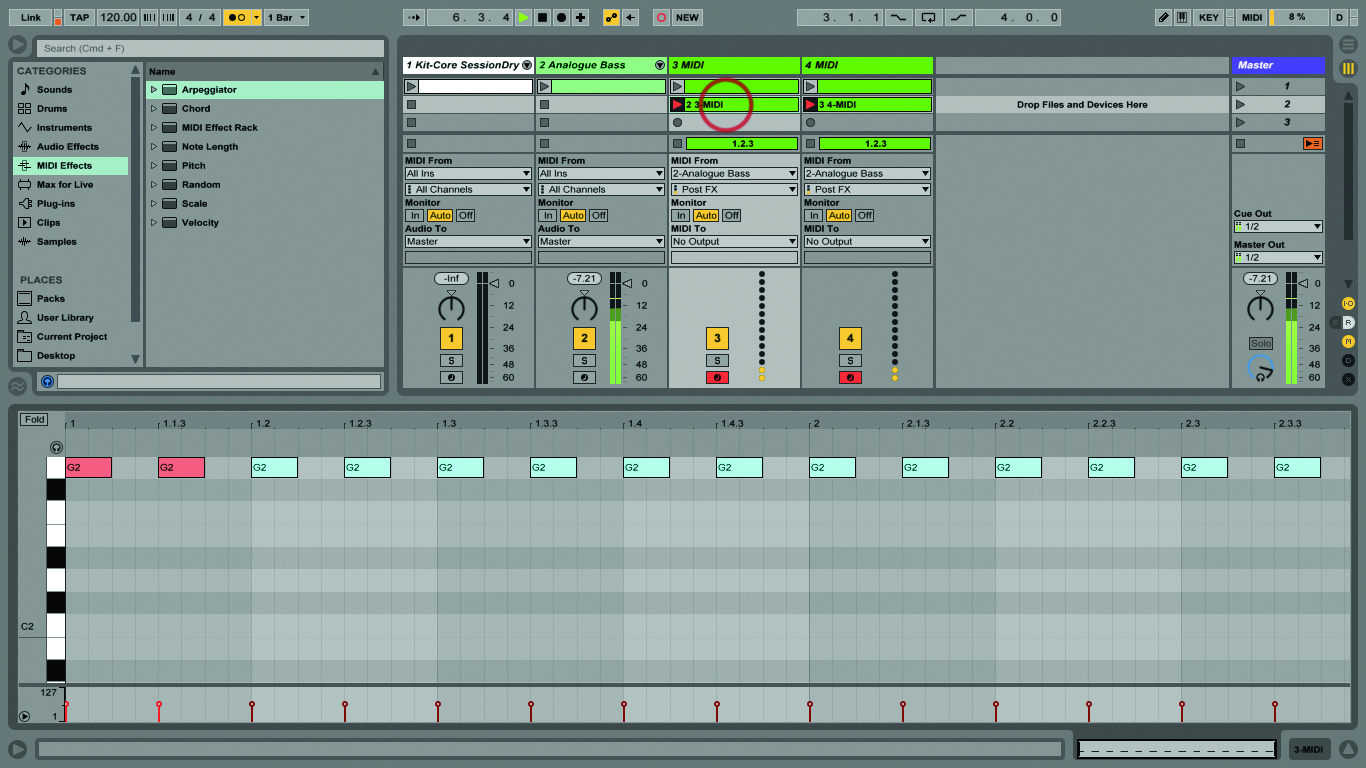
13. If you do really want to capture and keep those MIDI effects, you can do it by routing that track’s MIDI output to another MIDI track and recording it in there.
14. If you like, you can record MIDI into several tracks simultaneously, either coming in from different controllers/sources, or from one input across several tracks – use the In/Out View to set this up.

15. You can also send MIDI out from your clips to other tracks in the project, or to any hardware that you’ve connected via a MIDI interface. There are many options, as you’ll discover.

16. If you’re sending MIDI from one source to several tracks, you can use the MIDI Pitch effect device to filter out notes that you don’t want the instrument in that particular track to play.
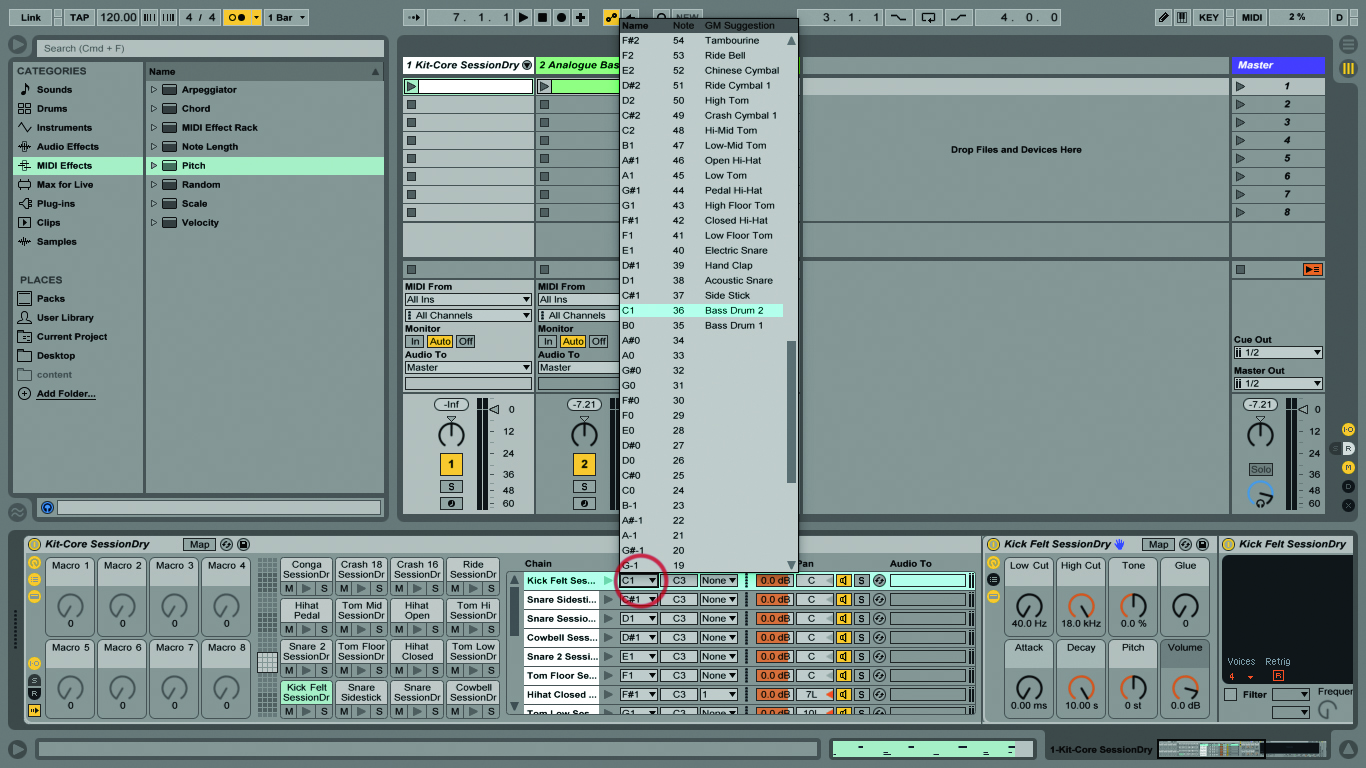
17. If you have problems getting your drum pads to send the right MIDI notes to the sounds in a drum rack, you can unfold the drum rack and remap where each incoming one goes.
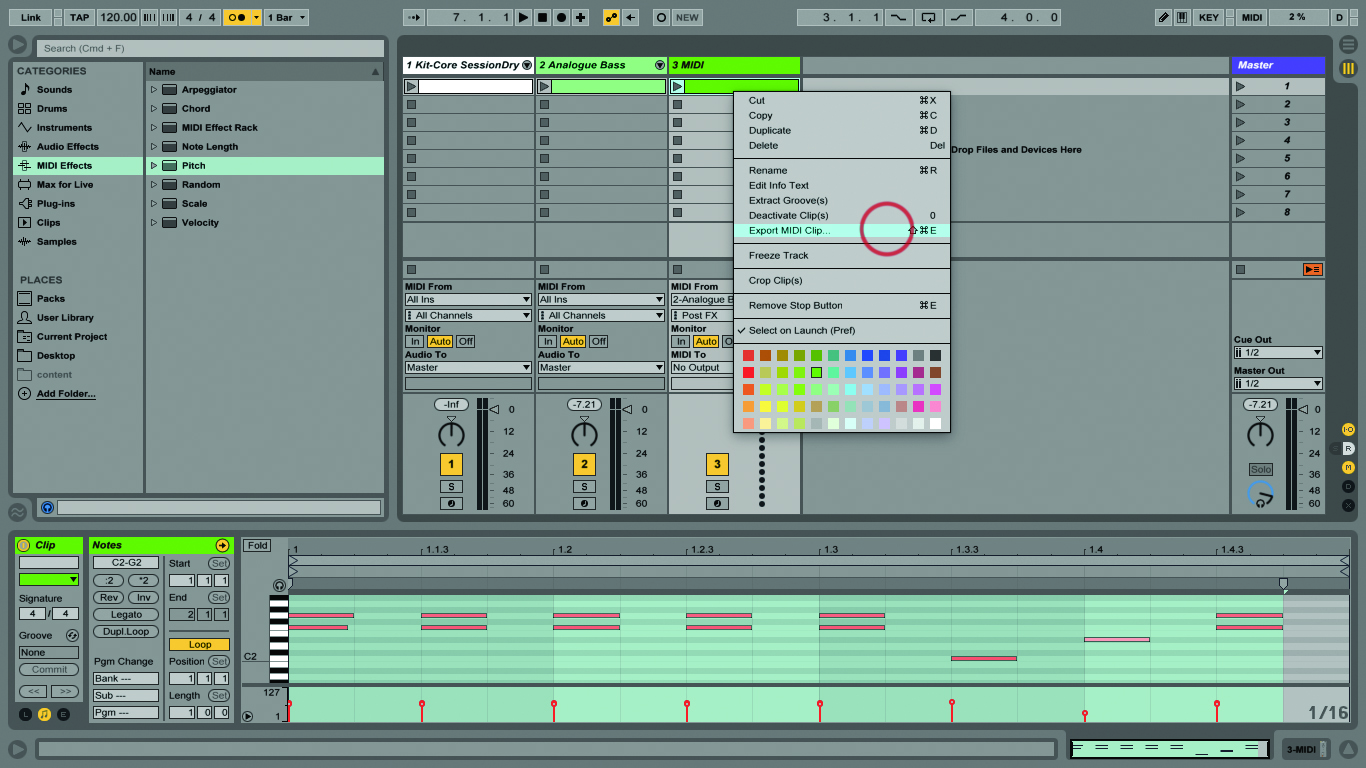
18. You can export your Live MIDI parts by using the Context Menu (right-click), and choosing Export MIDI Clip. This will be a standard MIDI clip, usable by any other MIDI software or even hardware.