What’s new in Cubase 9.5
To coincide with the release of the latest version of Cubase, Adam Crute digs in to the new and updated features of iteration 9.5 of Steinberg’s DAW… I cut my music-production teeth on Cubase, way back when it was merely a MIDI sequencer (not to mention the best reason for owning an Atari ST). And […]

To coincide with the release of the latest version of Cubase, Adam Crute digs in to the new and updated features of iteration 9.5 of Steinberg’s DAW…
I cut my music-production teeth on Cubase, way back when it was merely a MIDI sequencer (not to mention the best reason for owning an Atari ST). And it’s still a major part of my armoury today, having matured into such a flexible DAW without sacrificing the core fundamentals that made it so good in the first place (and that defined the template on which practically all modern DAWs are based). This latest version has maintained the pattern of incremental improvement, but has some exciting additions, too.
Improved automation tools
If you’ve ever tried creating a smooth automation curve with Cubase, you’ll know that it’s something of a fiddle. A common method is to create a straight line between two control points and then manually create additional intermediate points, pulling them into an approximation of the desired automation curve.
If you find later that you need to tweak, say, the value of the final control point in a curve, or the time over which the curve occurs, then it’s back to all of that fiddly positioning of intermediate points.
But not anymore! Cubase 9.5 allows us to create curved lines between control points, while updates to how the mouse tools work with the automation data makes editing multiple control points much simpler. For example, to create a curve between two control points, one simply clicks and drags the line between the points.
If you wish to modify the position or value of either control point, just move it in the normal way and the relative shape of the curve will be maintained. If you want to modify multiple control points at the same time, use the Range tool to drag out a range selection within an automation lane, and then adjust by using the ‘handles’ that appear around the selection.
In the zone
The Pro variant of Cubase 9.5 sees three new sections added to the right-hand ‘zone’ of the project window. From a workflow point of view, the best of these is the integrated file browser: having access to your media files from within the Cubase project window may seem a small thing, but it’s very convenient. Coupled with the advanced filtering and searching features, it really speeds up the creative process.
The second addition to the right-hand zone is a Control Room section, which provides convenient access to cue and monitor mixes (if you’re using Cubase’s Control Room features, that is).
Finally, for the right-hand zone, there’s a new master and loudness meter; Cubase’s lack of options for metering has been a weakness for some time – peak meters are all well and good when track laying, but are of limited usefulness during mixing and mastering, so this addition is very welcome. (We’ll come back to metering in Cubase in a future column.)
Destructive processing without the destruction
Offline processing, and bouncing the results of a processor or chain of processors back to a new track, have long been ways of clawing back system resources, but they have the downside of reducing sonic flexibility at mixdown (and/or of increasing project complexity with many hidden tracks and disabled plug-ins).
Cubase Pro’s new Direct Offline Processing feature provides a workable solution to this: any process, plug-in or plug-in chain can be applied to one or more selected events, with those events remembering the plug-ins and settings used so that they can be adjusted later, if required.
What else is on the table?
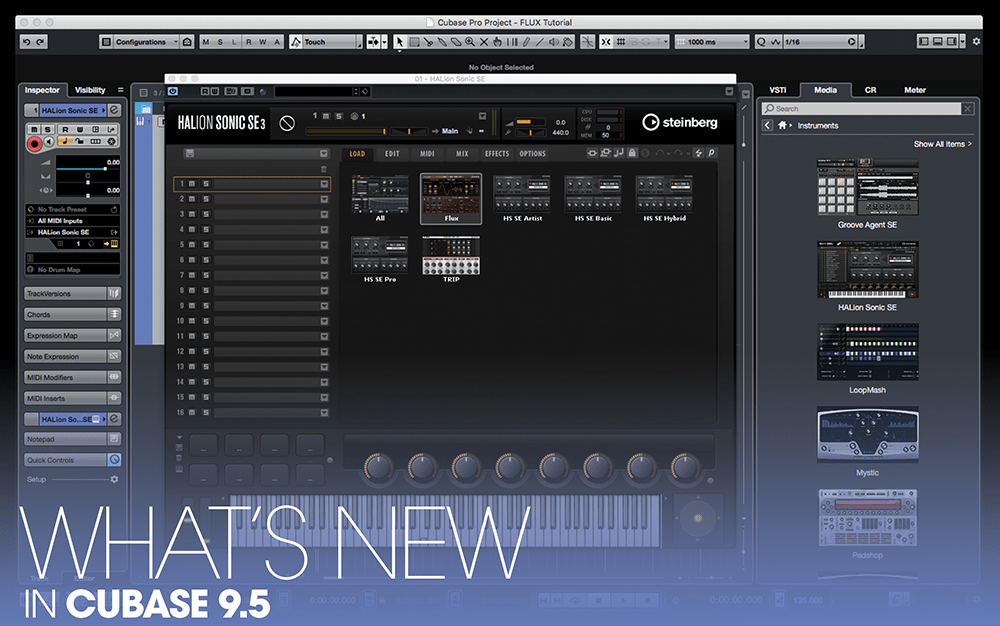
One of the best additions in Cubase Pro and Artist is Flux, a new wavetable synthesiser library for HALion Sonic SE 3 (the HALion Sonic SE VSTi is included with Cubase). Unlike conventional subtractive and ‘sample and synthesis’ methods, wavetable synthesis uses neither simple waveforms nor samples as a sound source. Rather, a wavetable synth’s oscillator derives its sound from a position within a collection – or table – of waveforms.
An easy way to understand this is to think of an imaginary ‘Sine to Saw’ wavetable; the first waveform in the table would be a Sine wave, and each subsequent waveform would become increasingly Saw-like, until reaching a pure Saw wave as the final waveform in the table; wavetables can also be more extreme, morphing through relatively disparate or dissimilar waveforms.
Whatever the content of the wavetable, though, the raison d’être of this form of synthesis is its ability to modulate the wavetable position using an LFO, envelope or other modulation source, thereby creating sonic variations and evolutions that aren’t possible to create by using simple oscillators or samples.
In Flux’s case, its pair of wavetable oscillators have access to a bank of more than 70 wavetable sources and are controlled via a simple interface (which includes a real-time readout of the current waveform). The synth engine being driven by the wavetable oscillators is standard subtractive fare, but the oscillators themselves are deserving of a bit more investigation, so let’s take a closer look…
What’s new – Flux overview step-by-step:
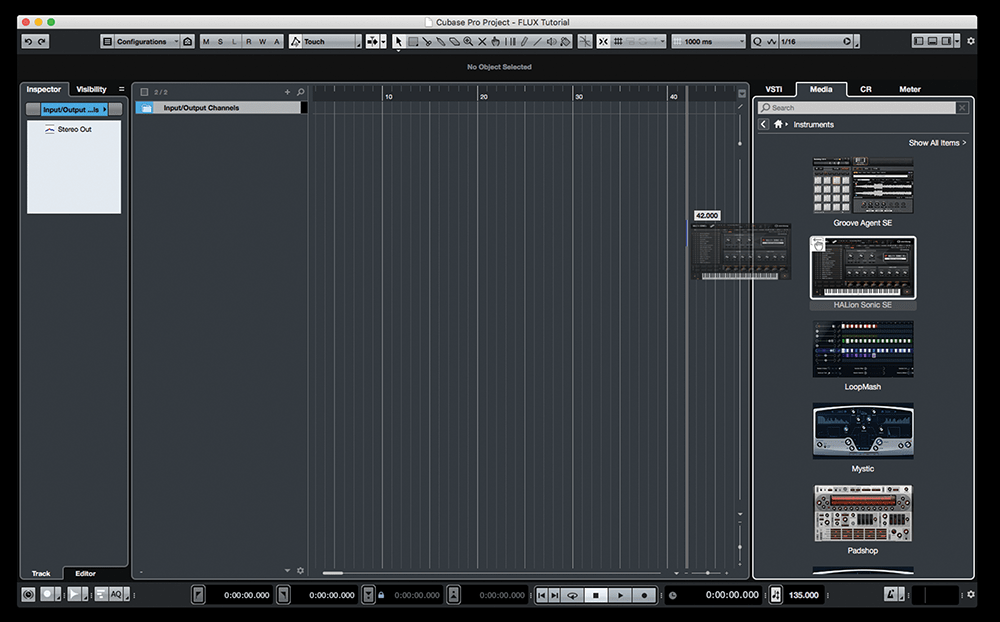
1. Fire up Cubase Pro or Artist 9.5, and create a new, empty project. We could create an instrument track and assign HALion Sonic SE 3 to it, but let’s use the new right-hand zone media browser instead.
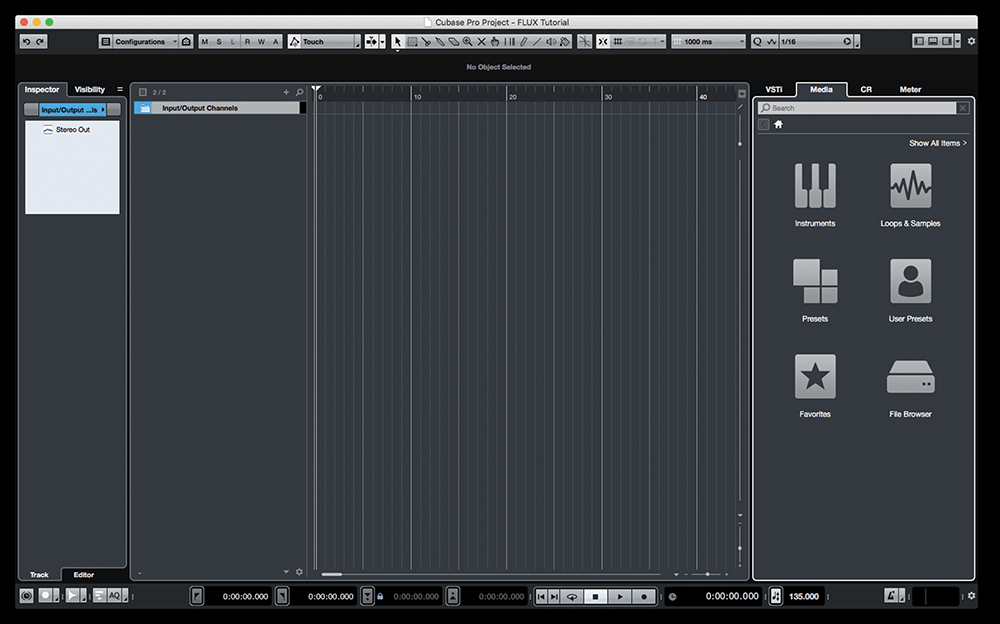
2. If the right-hand zone isn’t visible, then click on its button, located at the upper-right of the Cubase project window. The zone has a set of tabs across the top – click on the Media tab.
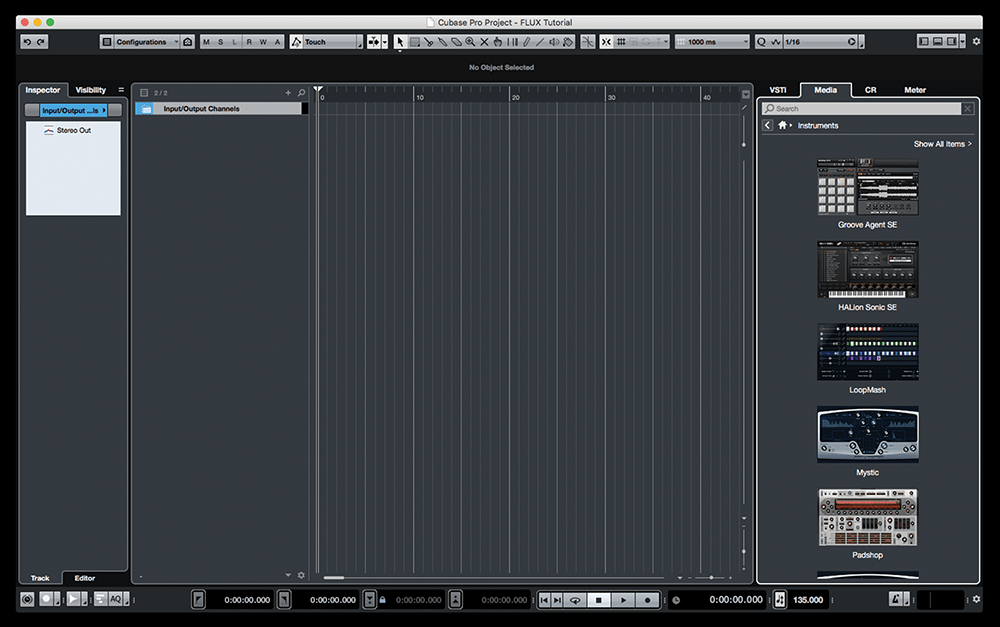
3. Inside the Media tab are various icons representing different types of content. We want to load an instrument, so click on the Instrument icon to see a list of Cubase’s bundled VSTis (third-party instruments aren’t shown, sadly).
![]()
Back on track Tracks now have twice the number of Insert slots for building some epic plug-in chains. The green separator in each track’s plug-in stack is a draggable line that defines the pre- and post-fade status of the plug-ins; everything above is pre-fader, everything below, post-fader.
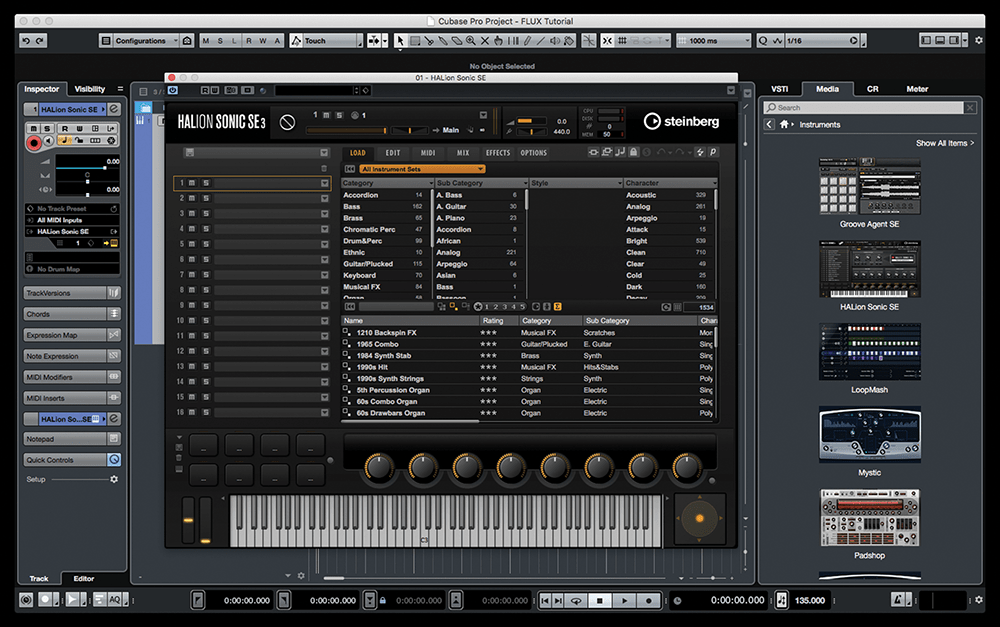
4. Drag the HALion Sonic SE item to the project window to create a new instrument track from the VSTi. The HALion Sonic window also opens, showing the plug-in’s Load content browser view.
5. Cubase ships with a number of different HALion Sonic content libraries; to choose which library is displayed in the browser, click the orange menu button that sits above the browser’s attribute filters section.
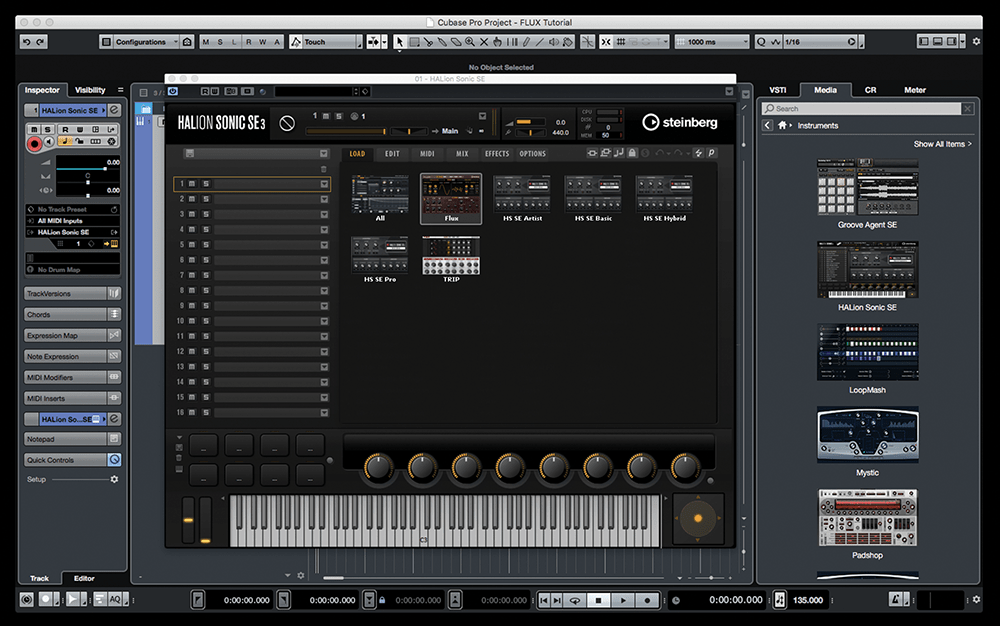
6. You will now see a set of icons representing each of the content libraries available to HALion Sonic. Click on the Flux item to return to the browser and have only the Flux sounds listed.