Freeware Tutorial: Create pitched vocal chops from samples
Breathe new life into old vocal samples with this technique.
A well-performed vocal track can add immense character to your song, but it can be challenging to find the right vocalist. A workable alternative can be using full vocal samples, but you’ll need to dig through thousands to find something that fits the vibe of your track. You also have to consider the source. Most popular sample packs will have been downloaded by hundreds of artists. While kicks and snares might not stand out in your productions, a vocal sample that’s been used countless times will be obvious. If we want something unique, we’ll need to modify the source sound drastically.
In this tutorial, we’ll show you how you can take advantage of your DAW’s built-in editing tools and plug-ins to turn a vocal track into something unrecognisable. We’ll create a glitchy, rhythmic vocal loop by slicing, pitching, rearranging, and resampling. This will give us full control over the sound and makes choosing a sample a much simpler process.
You can expect the following sort of result:
What you’ll need:
- A DAW
- A vocal sample
- MeldaProduction MFreeFXBundle, available here.
Preparing the sample
Before we can start slicing, we must choose a vocal sample. There are very few rules to follow here, but we want something with a range of dynamics and lyrics. One-shots won’t produce a particularly effective result. The sample’s key doesn’t matter either, but we need to know it to pitch it up or down to maintain our song’s key. When loading your sample, you’ll need to disable time stretching, depending on your DAW’s configuration. When the time-stretch algorithms try to compensate for large BPM differences, you can end up with unpleasant artefacts.
Since we know our sample’s key, we’ll start by adjusting the overall pitch to bring it closer to our track’s key. Most DAWs have a built-in tuner plug-in or the facility to re-pitch audio. If yours doesn’t, MeldaProduction includes one in their excellent MFreeFXBundle. We will use the tuner and bring the pitch up until most of the sample is in key. Our sample is in D minor, and we are working in F# minor. While we could pitch up the sample four semitones to put the entire sample in key, this will produce a ‘chipmunk’ effect, as the difference in pitch is too great. Let’s bring the tuning up one semitone; this won’t place every section in our key, but it gets us closer. Once we chop it up, we can make further adjustments to the individual slices.
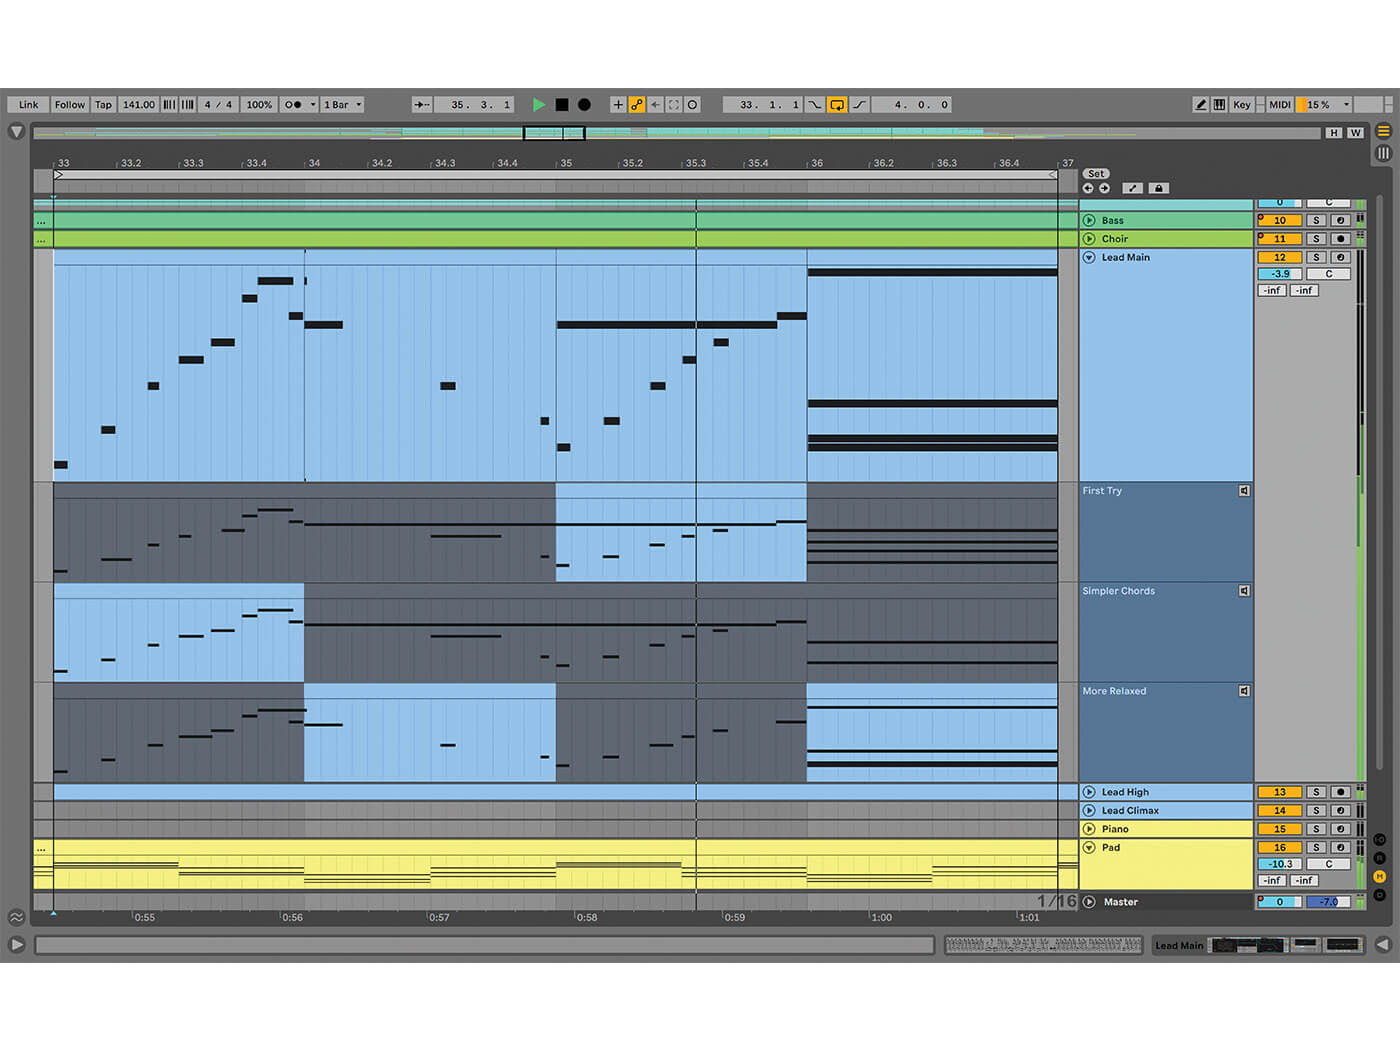
When we are ready to chop up our sample, it’s helpful to play the audio from different points to see how it might sound if we add a slice there. If you are working with a longer sample, we don’t need to use the entire thing. Lyrics often repeat, and having too many slices will make arranging them more difficult.
We also want to slice out a bit more than we think we need; we’ll trim them after anyway. Bring your DAW’s grid division down to its smallest value, or turn it off completely, to make selections easier. Make sure to leave space in your DAW’s timeline before or after your vocal sample to dump each of your slices as you go.
Editing and Arranging
We can next start placing our slices under our beat. We want to find an arrangement that plays off the drums; this step can take a lot of trial and error to find the right groove. To further complicate things, we’ll be changing each sample’s pitch later, which will change the lengths of the slices if we choose not to time stretch them. Let’s create a basic arrangement by lining our slices up, using a 16th-note grid to guide our placement. As we place our slices, we can adjust their length as needed to create an ear-catching rhythm.
Let’s check out our final arrangement.
We’re going to make our vocal loop more interesting by making some drastic pitch adjustments to some of the slices. We’ll try to work with the slices that are already out of key so that we can put them in key at the same time. For everything else, any pitch adjustments should be kept to octaves, or fifths, if we are working from the root note. Getting the pitch changes to sit well can take some trial and error. Re-pitching and creating the rhythm are the two most time-consuming processes.
With time stretching disabled, our pitch adjustments have changed the length of our slices. This may be the desired effect for you, but if the results aren’t pleasing, we’ll need time stretching to adjust the pitch without changing the sample’s length. Switching between your DAW’s different algorithms can add interesting artefacts, or clean the sound up – experiment to find the sound that fits.
We can add some final variation to our loop by reversing some of the samples.
We’ll also add fades to prevent any clicks or pops. This is the last step to make any changes to our base sound before we bounce it to audio to finish it off.
Harmonising and Resampling
Let’s add some reverb to give the vocals some space and continuity. We want the tail from one slice to run into the transient of the next a little bit. We can use our DAW’s stock reverb plug-in for this. We can set a medium decay and then use the filter to remove the low end. Let’s keep the mix pretty low so that we don’t wash it out.
The last few processes we will be doing will make the most significant difference to the sound, and leave us with some ethereal vibes. Let’s select all of our slices and consolidate them into one audio clip. Then we can create a duplicate track that we can pitch down an octave to create a harmony.
Now we can take our two tracks and bounce them to a single audio file. When creating sounds in this way, it’s important to be flexible with other elements in your track. Our beat will now need significant tweaks to make it sit better with our vocal effect.
The original vocal is now almost unrecognisable in our finished sound. You could take this further with some EQ, and even slice and rearrange the final result to create variations. Here’s how it sounds if we reverse the entire thing.
Share your results and tell us what tutorials you’d like to see in the MusicTech Creator Community on Facebook.