For more Pro Tools tutorials and workshops, check here.
Understanding multi-buss mixing in Pro Tools 2019
It’s a principle that many mix engineers swear by, yet it can be a fiddly and complicated process to understand. So let’s take a closer look at mixing with multiple busses in Pro Tools…
by Mike Hillier
When you purchase through affiliate links on MusicTech.com, you may contribute to our site through commissions. Learn more
Stereo buss compression is one of the essential techniques of any mix engineer. You don’t have to use it every time, but it’s incredibly important to understand how to use it, so you know when to bring it to the table and when to leave it off. But while stereo buss compression can work wonders at bringing focus to a mix, glueing all of the disparate elements together, and adding a sense of character, it can also be a source of immense frustration – even for some of the biggest engineering names in the business.
Buss route
The problem is that as you approach the final stages of the mix, any change to one instrument is going to have ramifications on all of the rest. You might want to lift the vocal slightly, but this could result in the bass then sounding weak, so you lift the bass and all of a sudden the drums aren’t sitting right. You end up chasing your own tail lifting and then ducking everything in turn.
It was exactly this problem that led engineer Michael Brauer (Coldplay, John Mayer) to experiment with the buss-routing options on the SSL 6000 and later, 8000 and 9000 consoles. With these consoles, audio can be routed to one of several stereo busses, which can be processed separately and then further summed to the master outputs.
Originally, the technique used different audio going to different busses: so the A buss might have the vocals, keyboards and strings routed to a Neve 33609 compressor going into a pair of Pultec EQs, while the B buss would have the drums and bass routed to a different combination of compressor and EQ, and C would have the guitars, with again another compressor option. By compressing in this manner, Brauer was able to get exactly the sound out of each instrument group that he wanted without affecting the tone of any other instrument group.
As the technology grew, so did the technique, with a D buss later added for stereo spreading or adding valve warmth and finally routing audio directly to the output as a fifth buss with no compression. Then by combining audio routed to two or more of these busses, Brauer is able to get even greater control over the sound, combining parallel compression techniques by routing vocals to, for example, the A, D and clean stereo buss simultaneously.
Vocal building
Brauer has continued to refine this technique, and as well as using multiple mix busses, now additionally uses multiple sends with fixed signal paths, which are then combined at the stereo mix buss, in order to process the lead vocal. Instead of routing the vocal through any of the A, B, C or D mix busses, Brauer would send the vocal to four very different-sounding compressor chains, using a Fairchild 666, a Gates Sta-Level, an 1176 and a Distressor all in parallel, and blend the resulting four or five compressors to create the final vocal sound. The intention here is to combine the best parts of each compressor sound into a single compelling vocal, without at any point sounding overly compressed.
Emulating this process in Pro Tools is fairly simple, and while emulating it exactly at each stage would require a fairly heavy investment in plug-ins, it is possible to achieve similar results using combinations of whatever compressors and EQs you already have.
Think carefully about what combinations you want to use in each position. A fairly clean compressor, with plenty of sustain across the A buss for pads, paired with a warm-sounding EQ will do a good job of recreating the Neve 33609 and Pultec EQs. For the B buss, you’ll want something a little faster, with plenty of aggression. Brauer uses a pair of Distressors and an Avalon EQ in this position.
For the guitar buss, Brauer has experimented with Joe Meek and Pendulum compressors, but you could get equally good results out of an 1176 emulation, for example. For the warmth buss, rather than a compressor, you could try using a tape emulator or saturation plug-in, while for stereo spread, a simple combination of M/S processing with a fairly fast clean compressor should do the job – or even a compressor with built-in M/S manipulation.
To emulate Michael Brauer’s vocal chain, simply route the main output of the vocal channel nowhere and use four or five sends to instead put it through four or five very different compressors.
Remember to apply an EQ after each one to give you more control over the final sound, using one send for crushed vocals with plenty of low-end roll off, to exaggerate the midrange and another with a deep, warm compressor tone, enhancing the low end, with perhaps a little midrange rolled out to complement it. Once you start experimenting with this method of mixing, your session template can get very big and very messy very quickly, so be sure to colour-code and name everything carefully.
Multi-buss mixing in Pro Tools 2019: step-by-step
1. Firstly, open the project on the DVD, which you can download here. For this tutorial, we’re starting with an empty project, containing no audio.
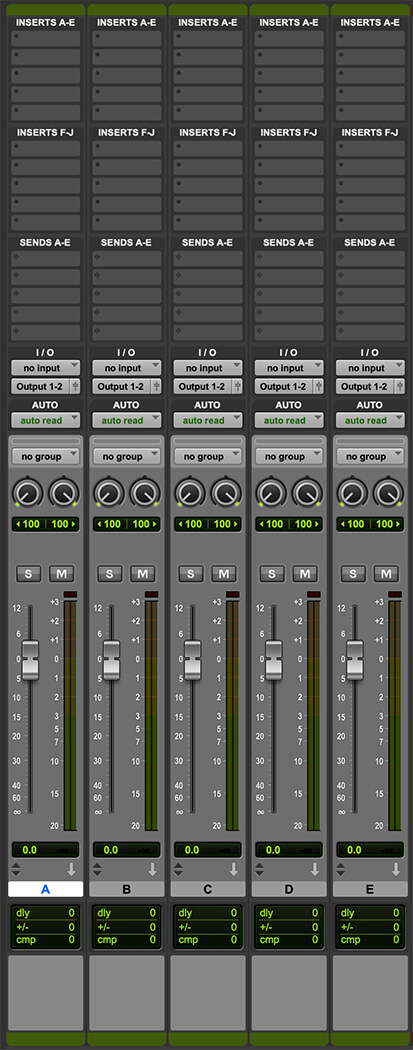
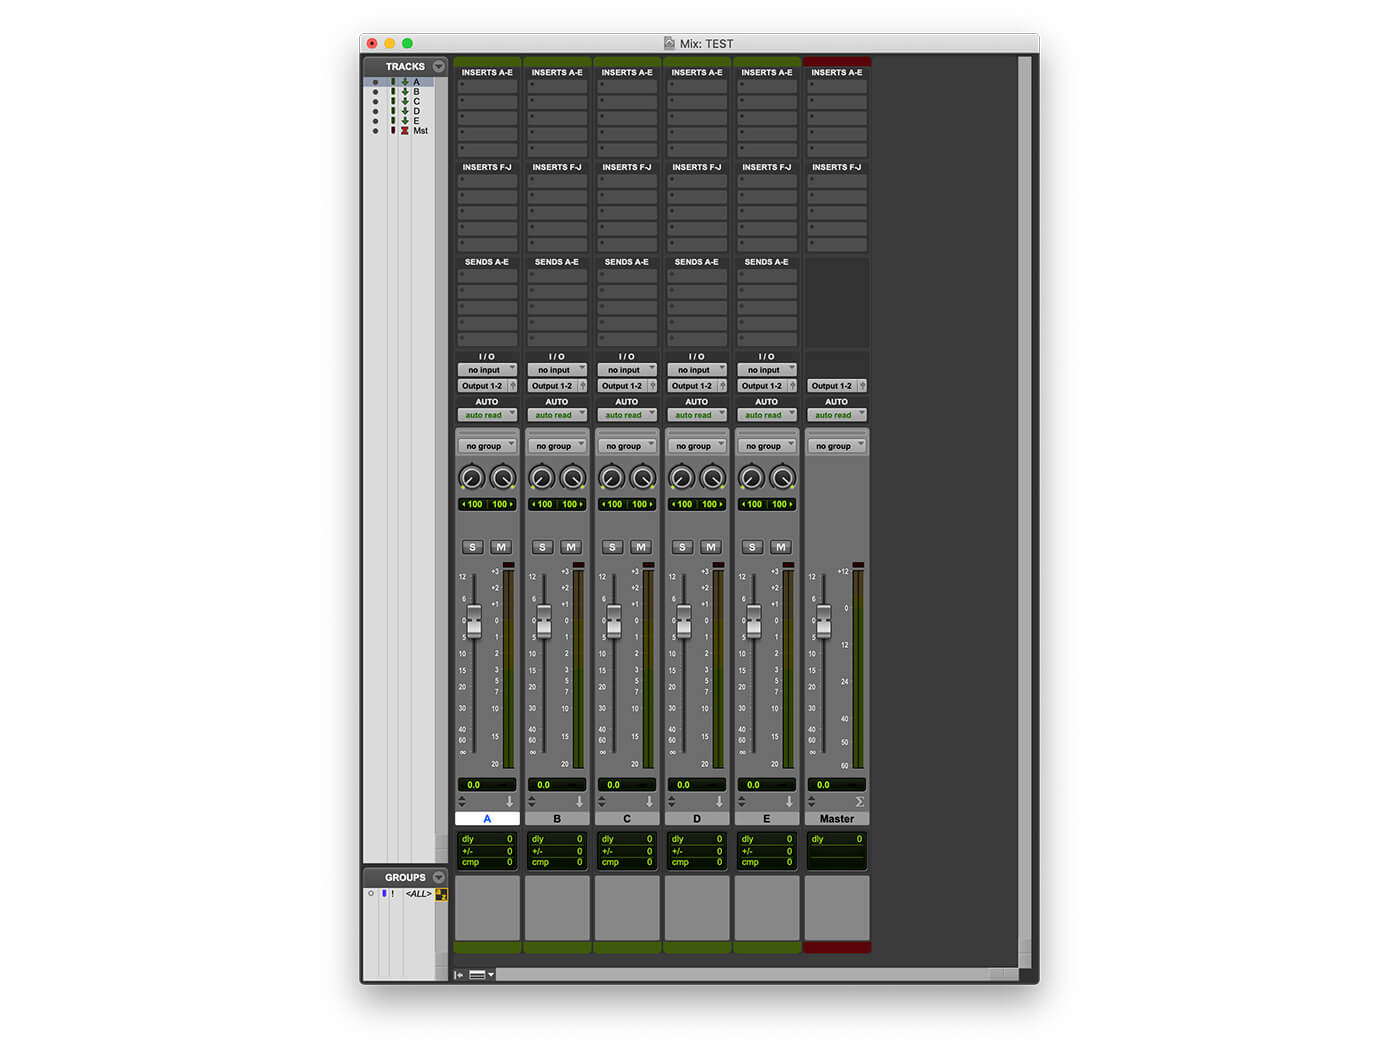
2. Add five Aux channels – and for simplicity, we’re going to title these A, B, C, D and E.
3. Now add a master-buss channel. This will be your final stereo output. All sub-mixes will be routed through here. If you want to use any metering plug-ins, or a limiter for reference, place them here.
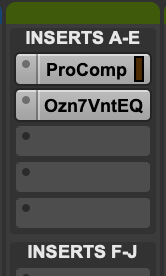
4. On the first of these four Aux channels, add your favourite clean compressor for pad sounds and a warm EQ. Here, we’re using the Avid Pro Compressor and Ozone Vintage EQ.
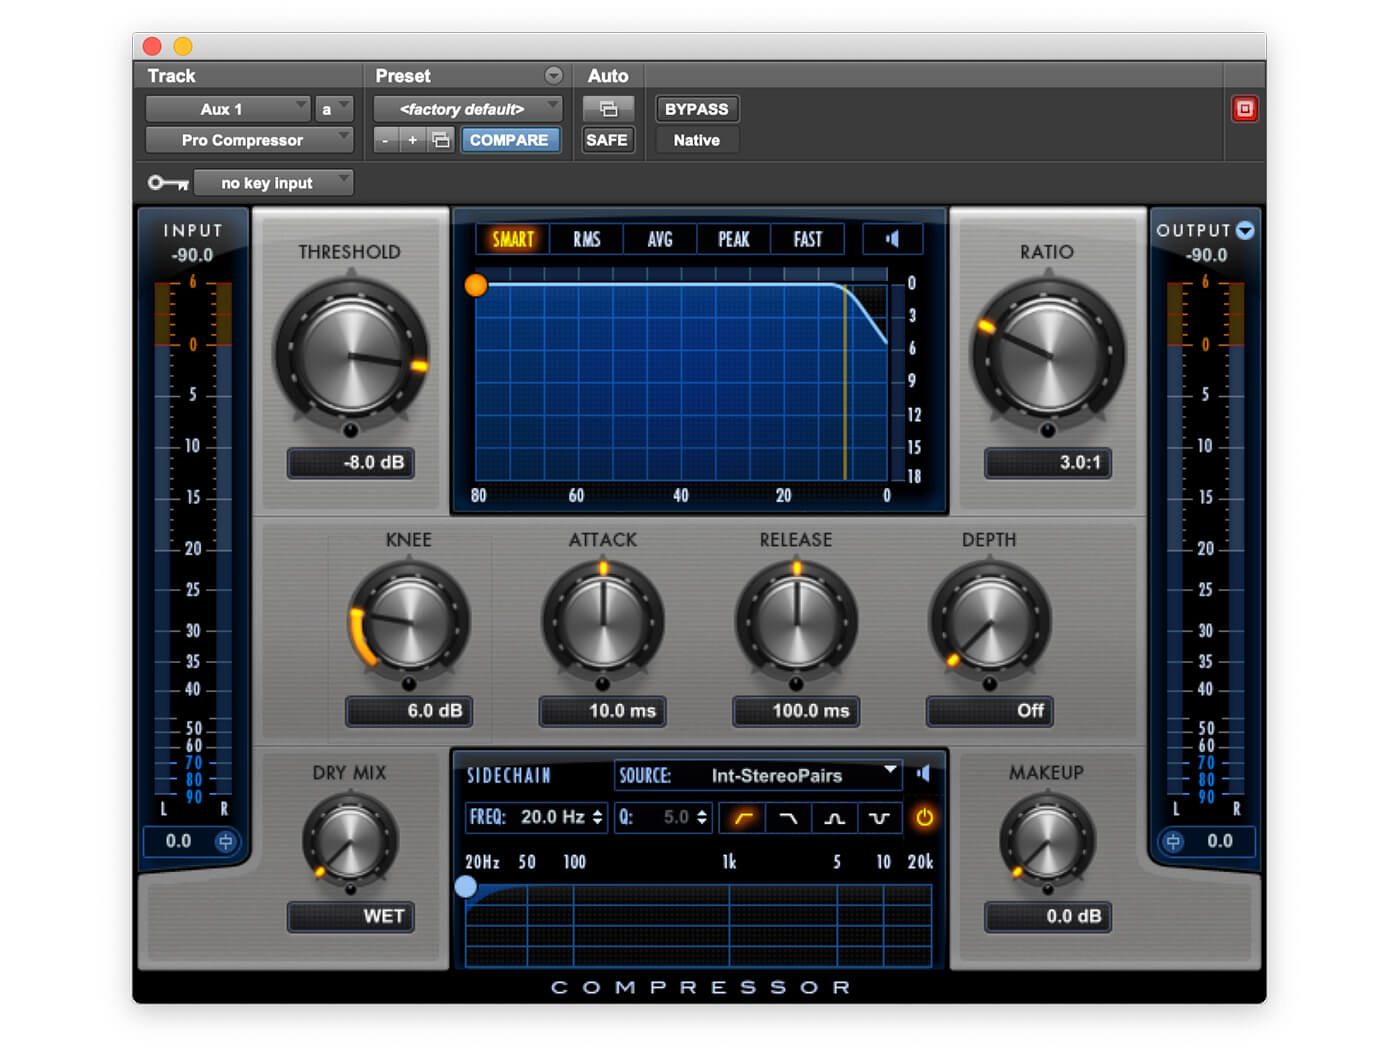
5. This buss will be mostly pads and vocals, so we’ve set up the compressor accordingly with a restrained ratio of 3:1, soft knee and moderately slow attack and release settings.
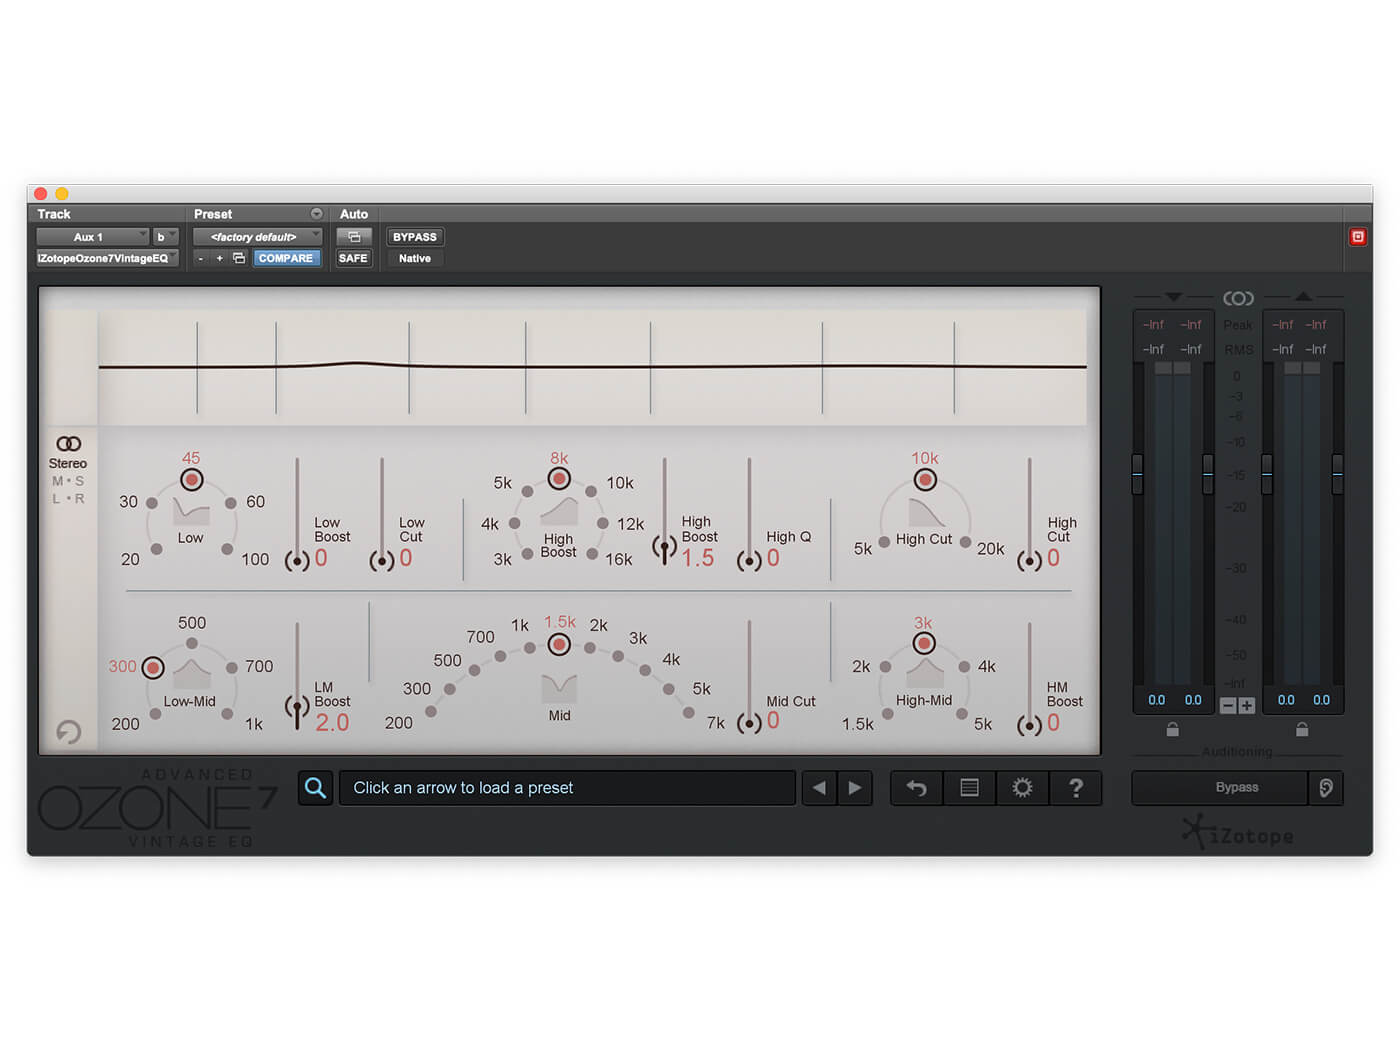
6. For the EQ, we’re looking to bring out a little additional warmth in the low end and a little extra openness and presence at the top. Nothing clinical, as that will be dealt with on the individual channels.

COMPENSATION It is incredibly important when using this technique that you have delay compensation turned on, ideally at the highest setting. Latency isn’t important in mixing, in the way that it is with recording, so you can ramp that up, too.
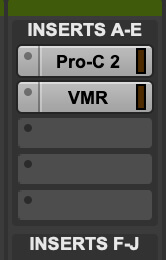
7. For the B buss, add your favourite drums and bass processing options. We’ve opted for the FabFilter Pro-C 2, coupled with SlateDigital’s Revival plug-in.
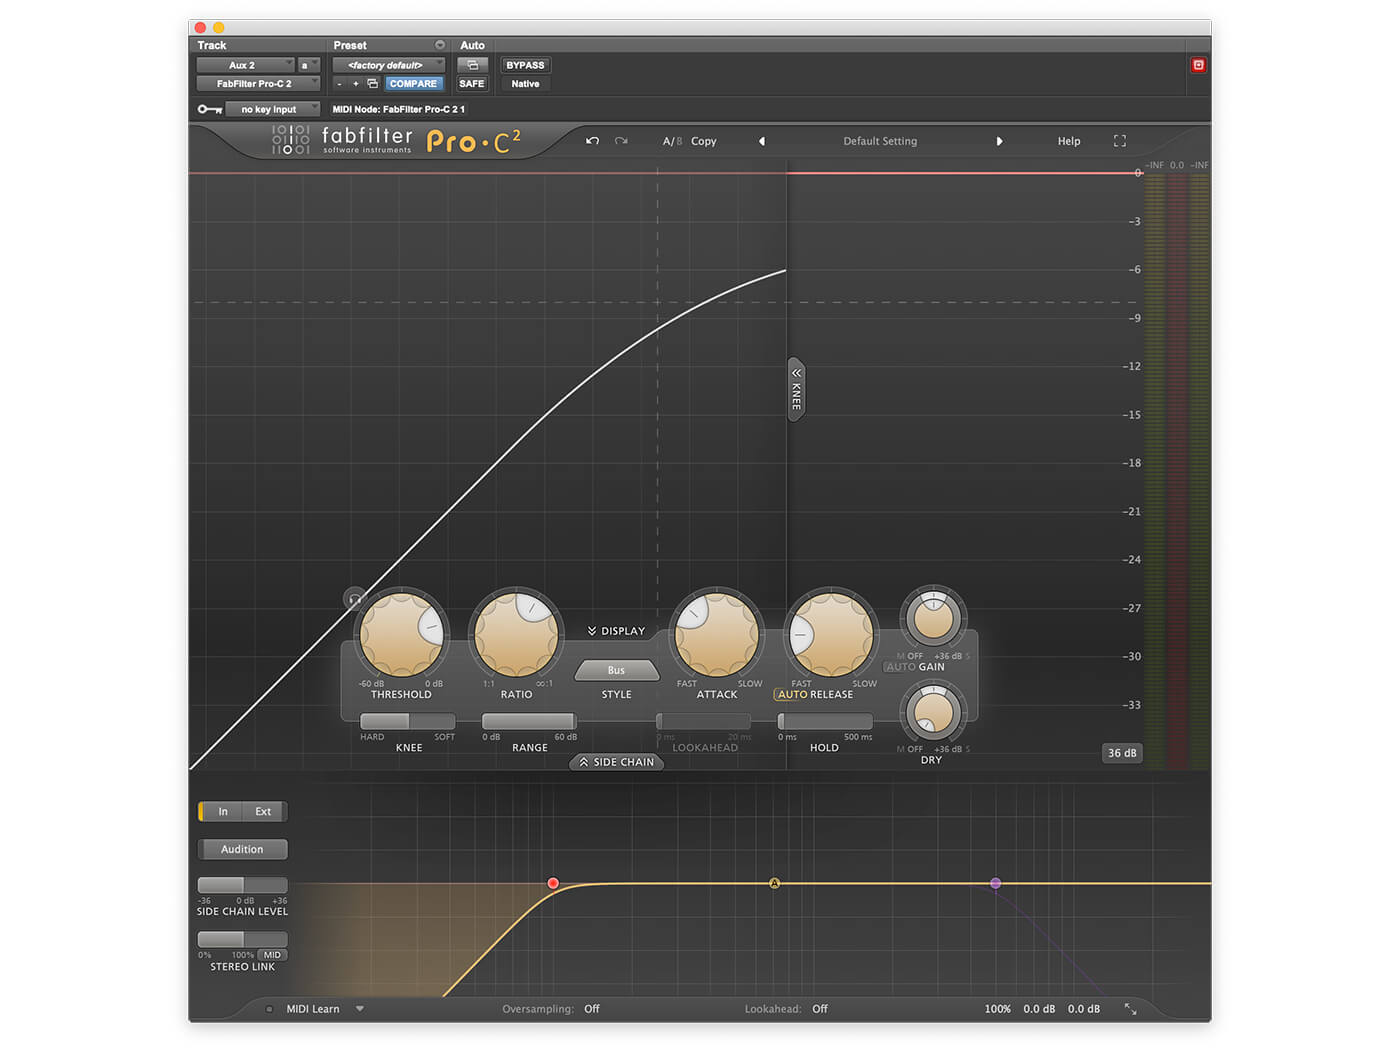
8. On the drums buss, we’ve gone for a fairly slow attack and fast release, along with a stronger ratio of 4:1 – again with a soft knee and we’ve used the sidechain to prevent low end from triggering the compressor – pushing the kick that little bit further forward.
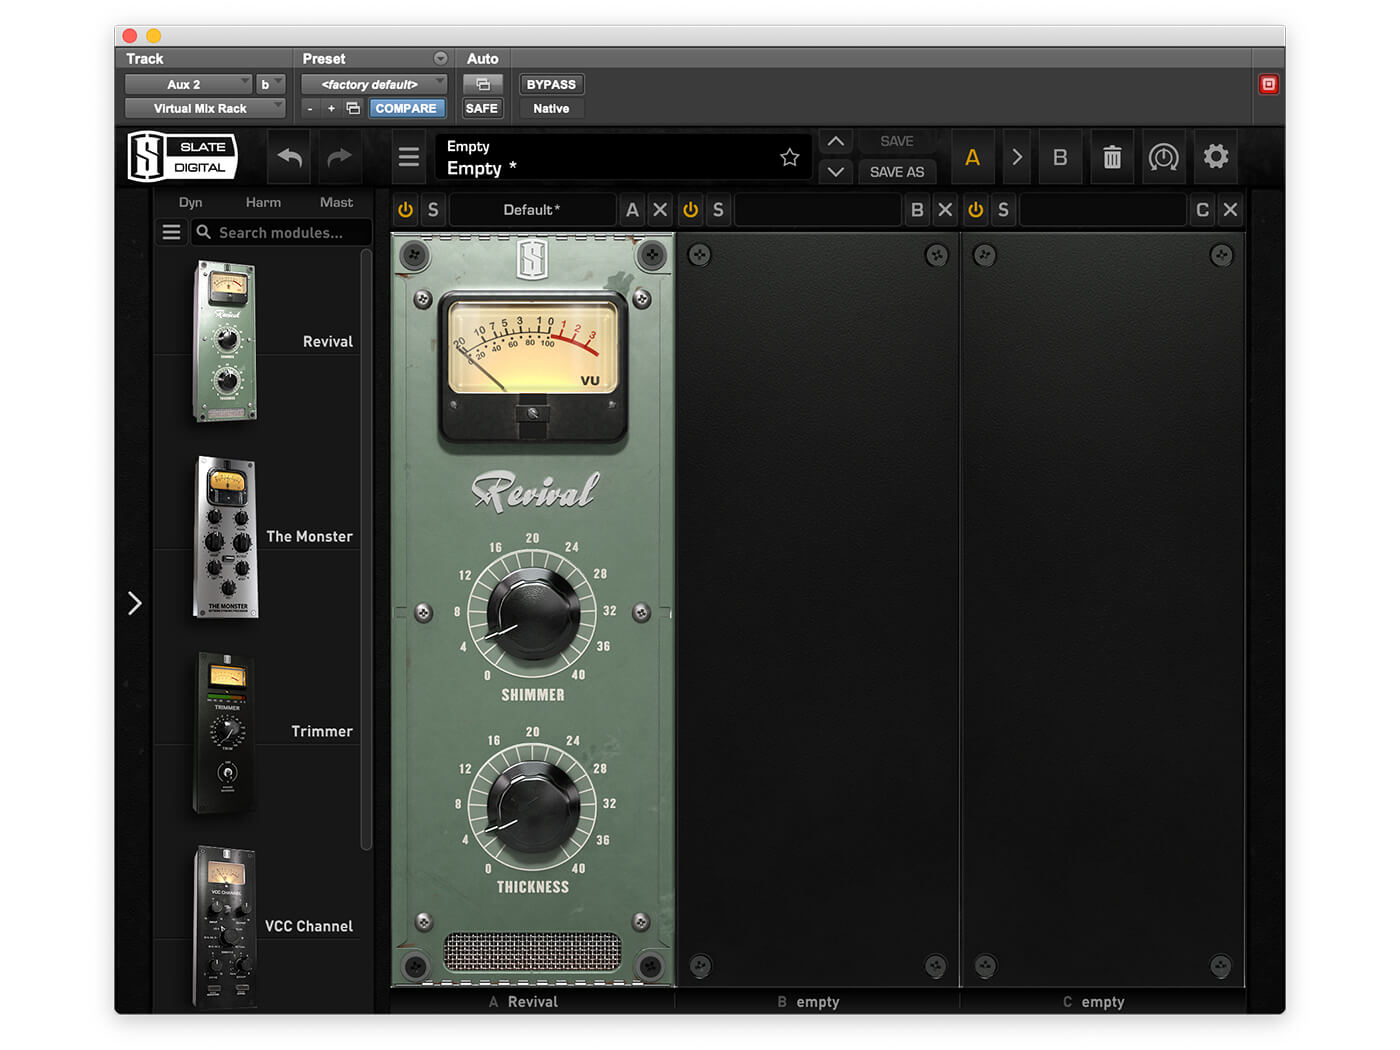
9. The free Slate Revival plug-in is a favourite of ours for bringing out additional weight and sparkle to drums. Just dial in a little of each for a fairly modest smile curve.
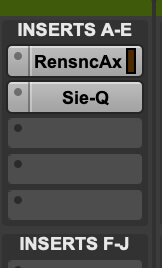
10. For the C buss, we’re going to use our favourite guitar-processing options. We’re big fans of the Waves Renaissance Axx plug-in for this, alongside Soundtoys Sie-Q.
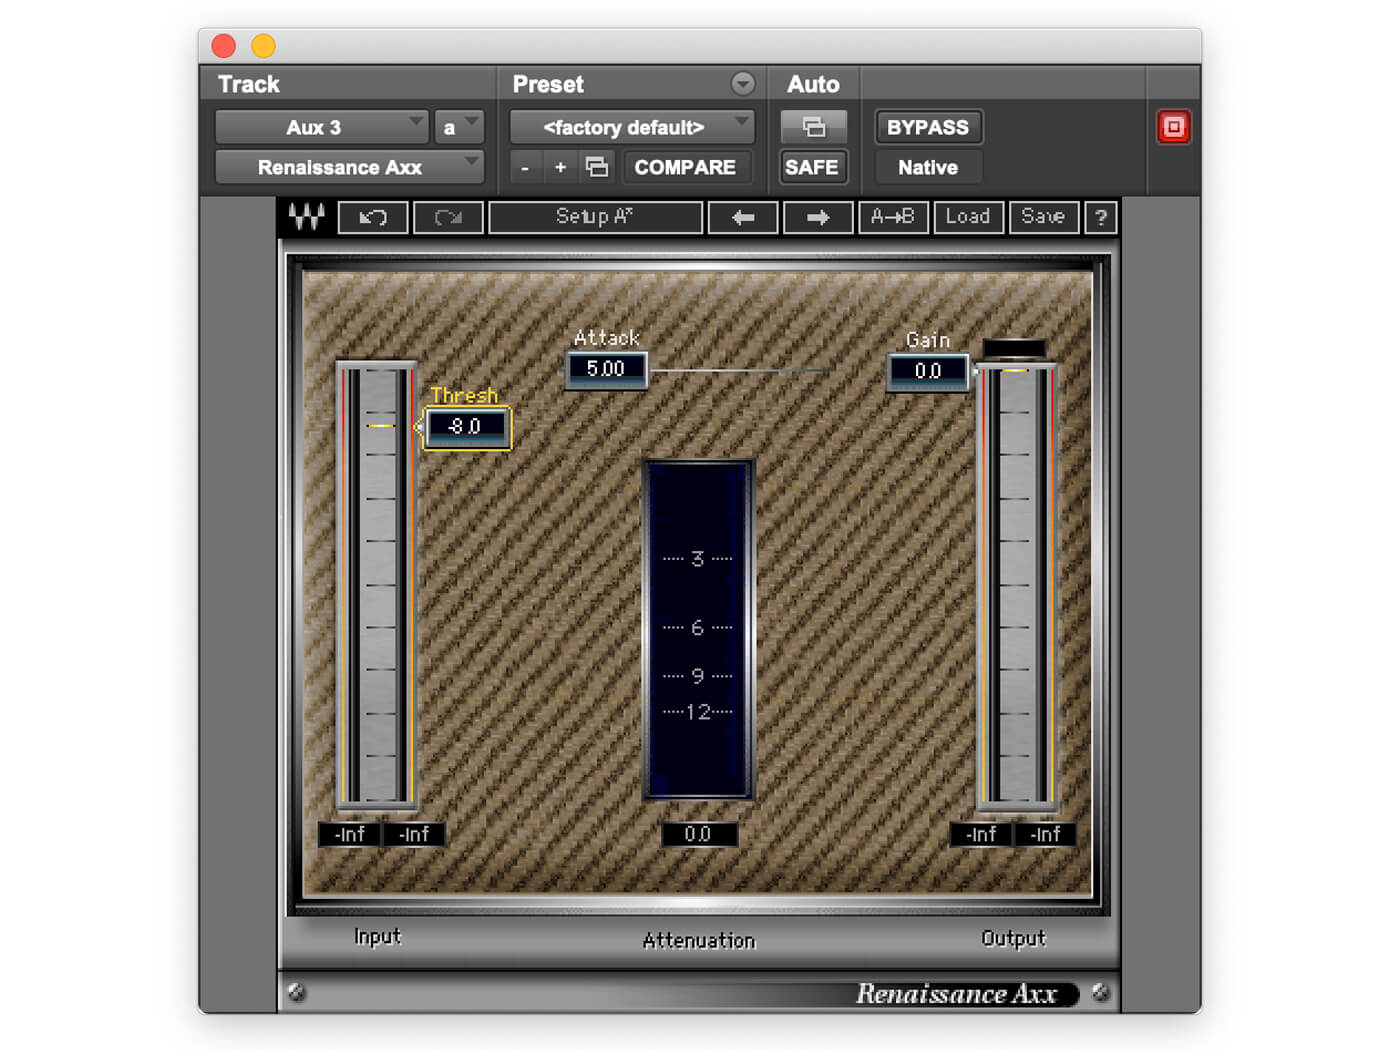
11. The Waves Renaissance Axx doesn’t have all that many parameters, but it sounds fantastic on guitars. Just bring the Threshold down a touch until it bites and use the Attack for tone.
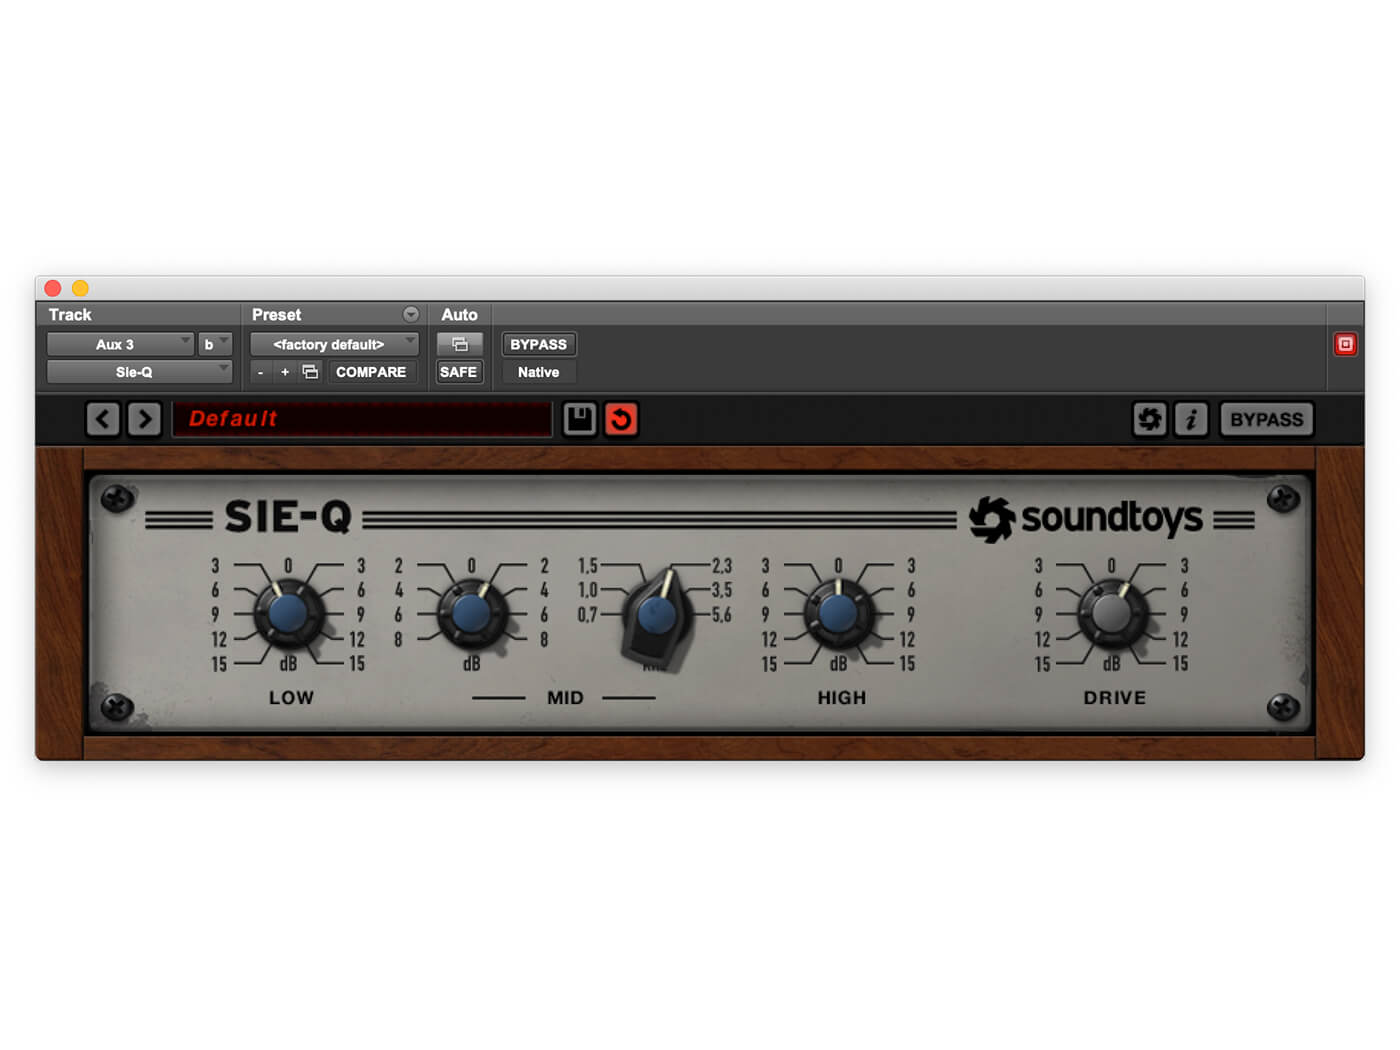
12. The Sie-Q is great for pulling out midrange on guitars. We’ve dialled the top and bottom down a touch and boosted at around 2.2kHz. We’ve also dialled in a little drive, because you can never get too much overdrive on your guitars.
MAKE LIFE EASY Once you’ve created your own multi-buss setup, be sure to save it as a template, ready to be used to start every mixing session. You could also save it as a Channel Preset, ready to be imported into any pre-existing projects.
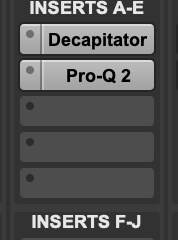
13. For the D buss, we’re going to add Soundtoys Decapitator and because this will provide plenty of tone, we’ll pair it with a clean, yet powerful digital EQ; FabFilter Pro-Q 2.
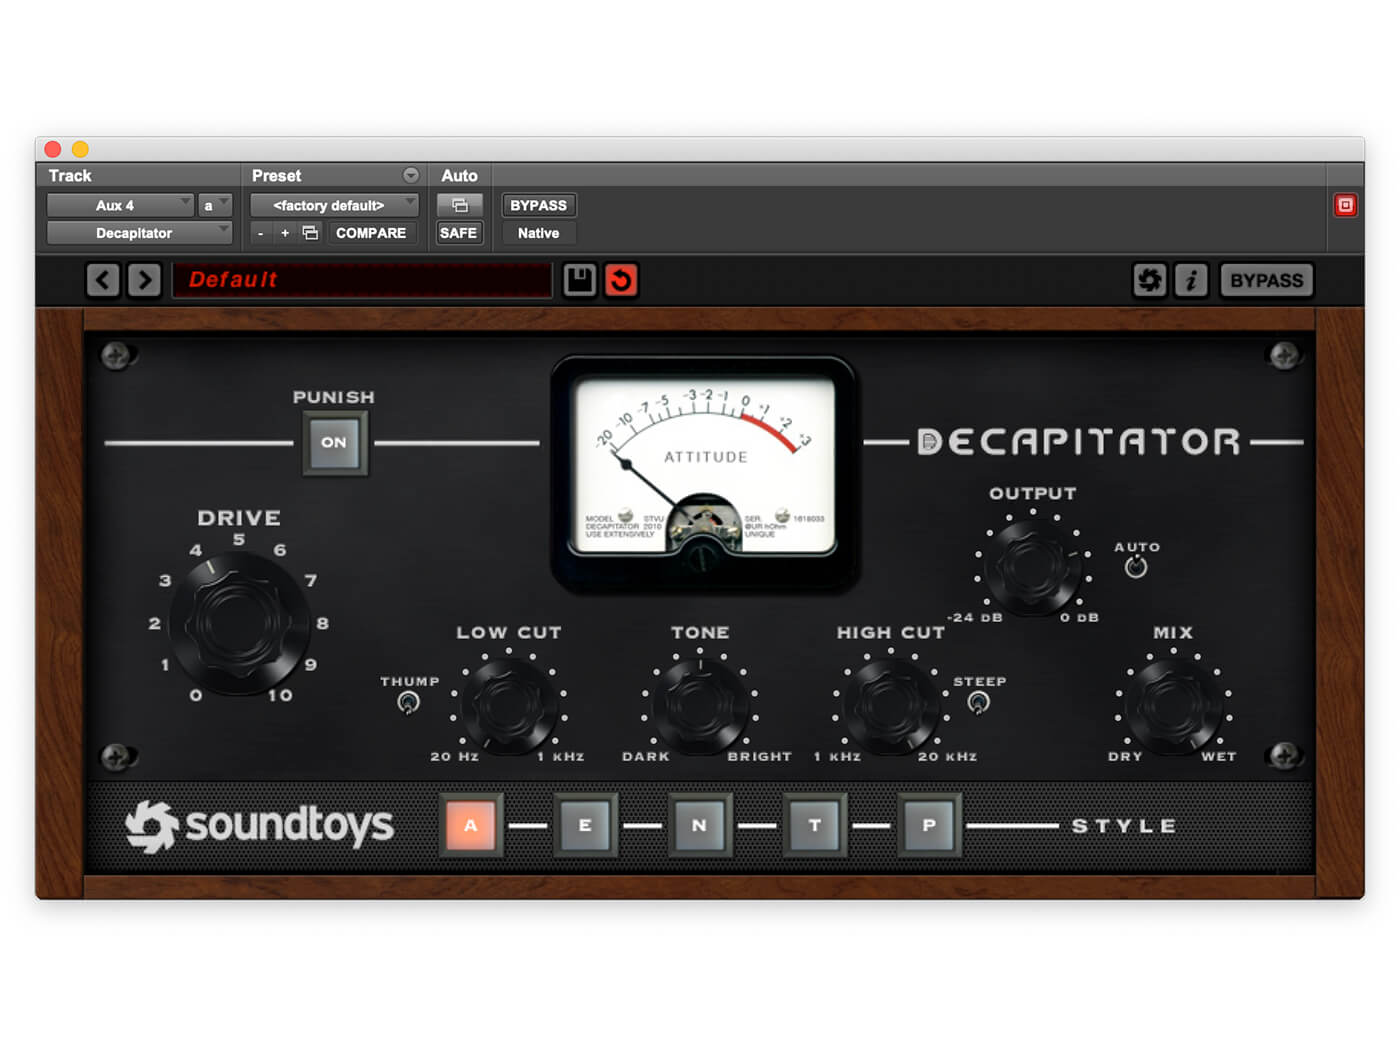
14. Decapitator is one of the most versatile distortion plug-ins we’ve ever seen; everything from subtle saturation to extreme crunch. Here, we’re just dialling in a little tube colouration, using the A distortion style.
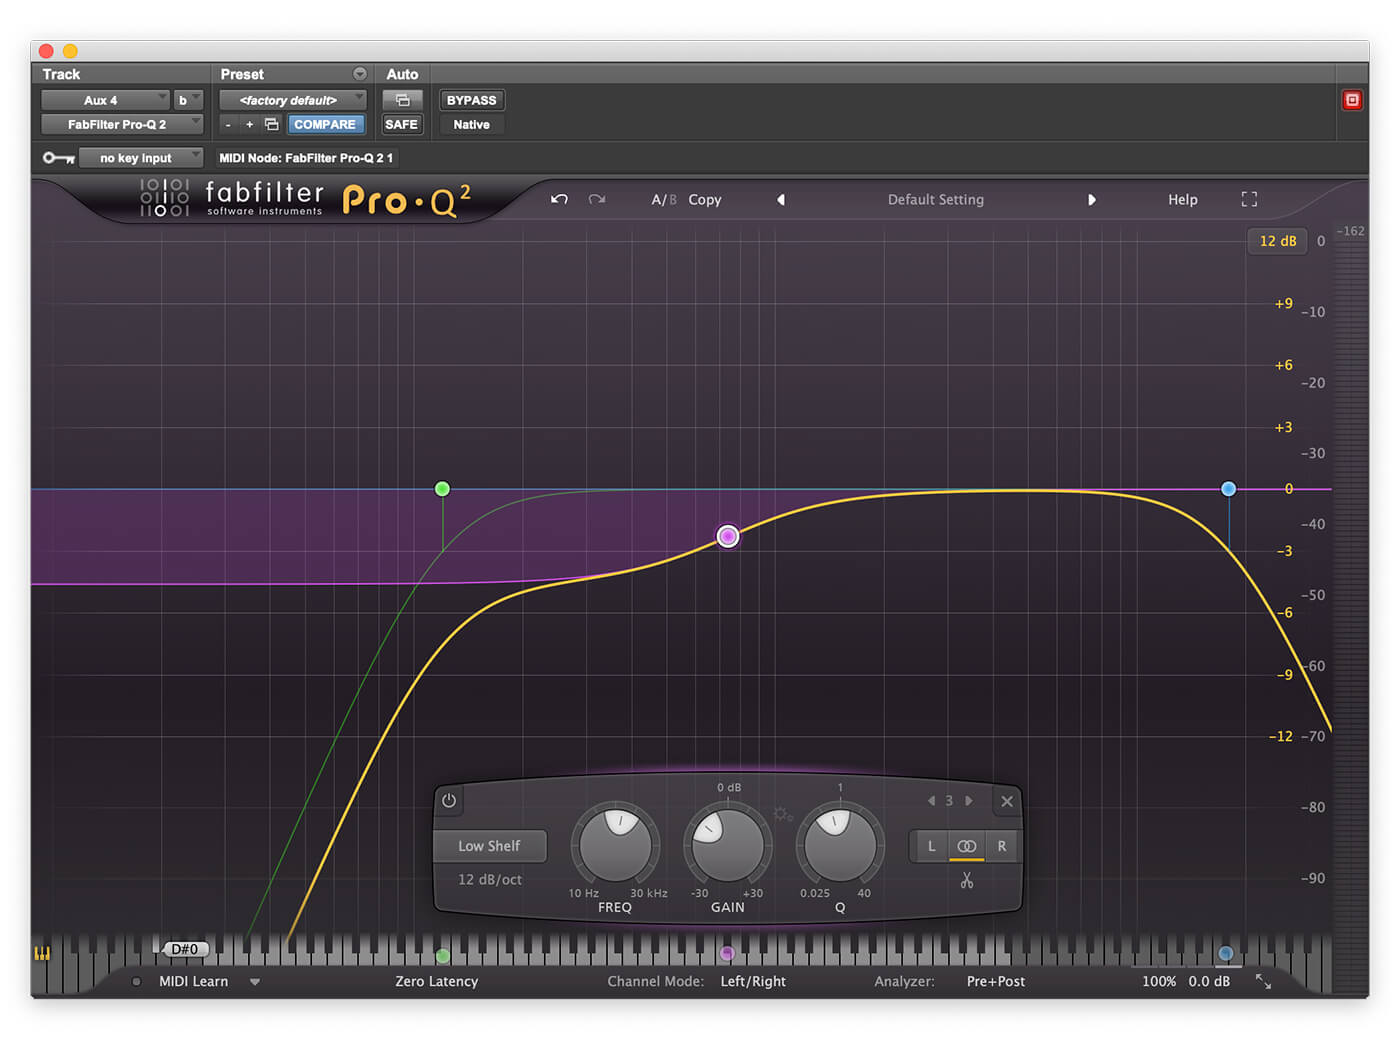
15. The EQ here is being used to heavily shape the distortion colour, pulling out lows and highs fairly sharply.
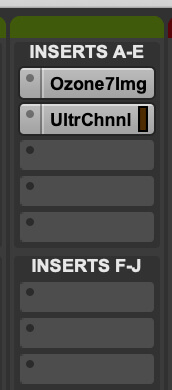
16. Finally, for the E buss, we’re going to use a stereo-spread setup. We’re going to use iZotope’s Ozone Imager, paired with the OmniPressor in Eventide’s UltraChannel plug-in.

17. Ozone Imager is one of our favourite stereo-width tools right now. In this setting, we’ve left the low end alone and added just a little width through the mids, but plenty to the highs.
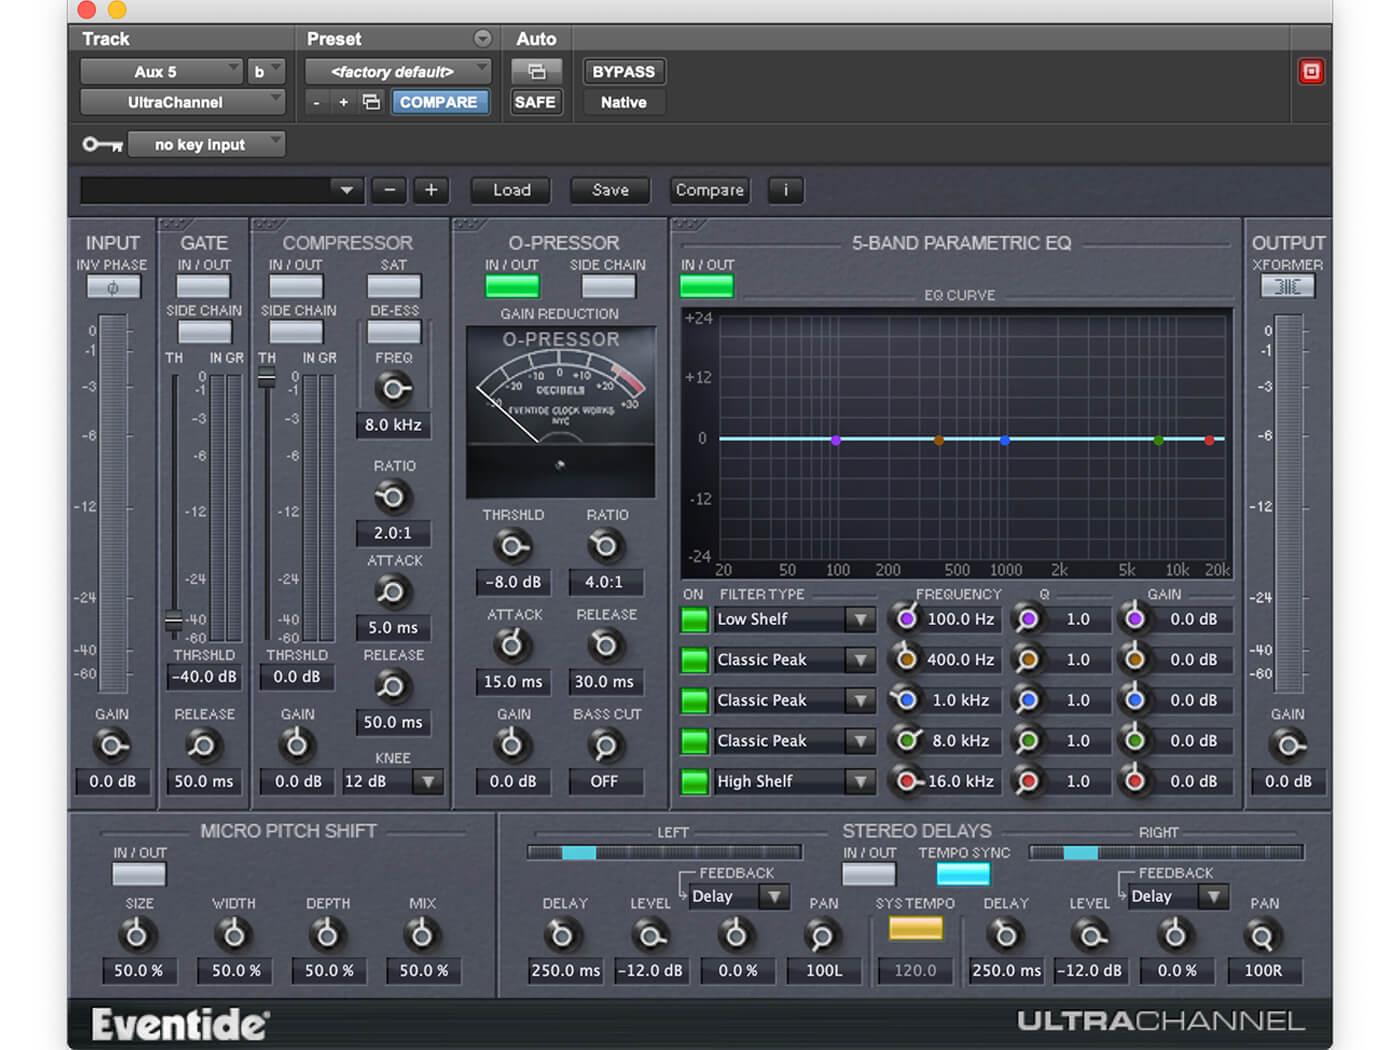
18. To control anything going through the Ozone Imager, we’ve added the Eventide O-Pressor compressor, and left in the EQ, too, should you need any additional shaping. There are plenty of further stereo-widening tools in the Ultra-Channel, too, should you feel you need more adding to the mix.