Using ChromaVerb in Logic Pro X: Step-By-Step (Continued)
We rejoin Mark Cousins as he continues to guide us through Logic’s visually arresting ChromaVerb. If you missed it, you can read Part 1 here… 7. In most applications you’ll want to set Pre-Delay in milliseconds. Increase the Pre-Delay so that you just hear the tail as separate (in this case, around 50 ms) and […]
We rejoin Mark Cousins as he continues to guide us through Logic’s visually arresting ChromaVerb. If you missed it, you can read Part 1 here…
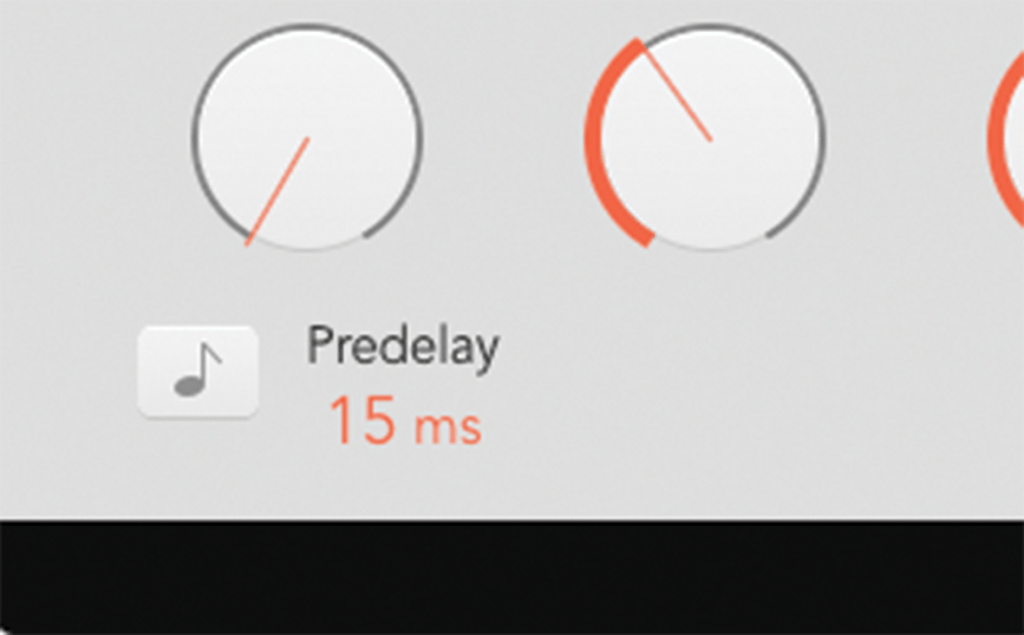
7. In most applications you’ll want to set Pre-Delay in milliseconds. Increase the Pre-Delay so that you just hear the tail as separate (in this case, around 50 ms) and then back it off slightly, to around 15 ms.
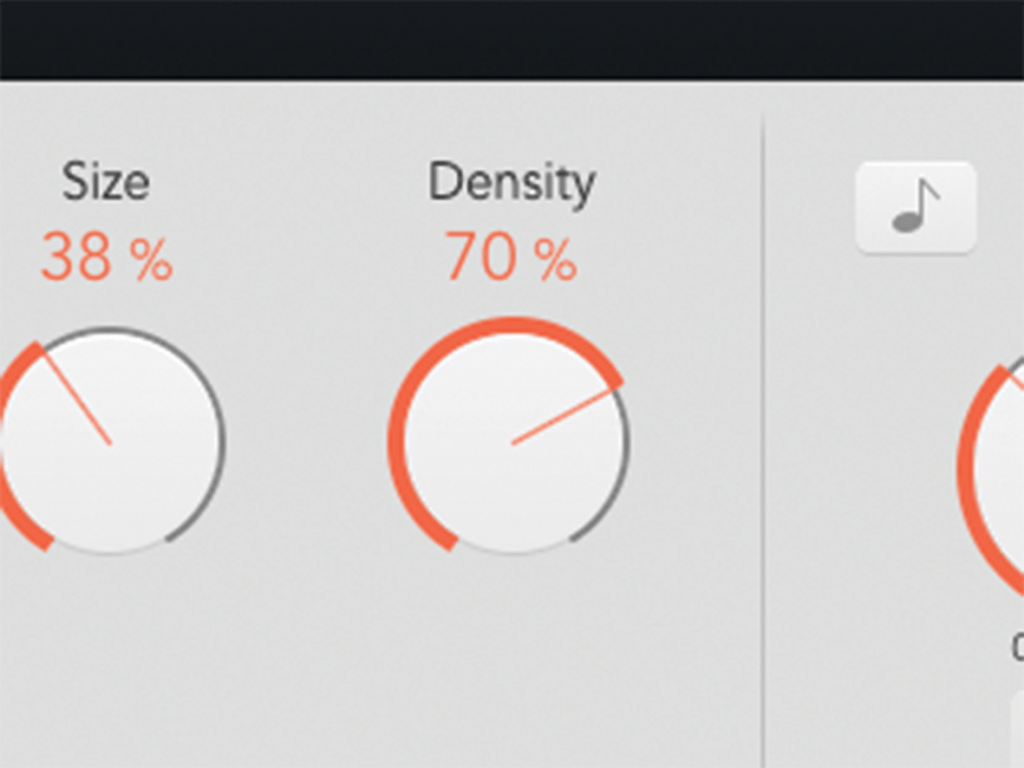
8. Density sets the relative coarseness of the reverb, sometimes referred to as its diffusion. High Density settings sound better on rhythmic sources, whereas Low Density is better on smoother pad-like sounds.
9. The best feature of ChromaVerb is its bright, spectral water drop display. As drums have a wide range of frequencies, the colour range of the spectral ‘water drops’ – or the reverb, in other words – is equally wide.
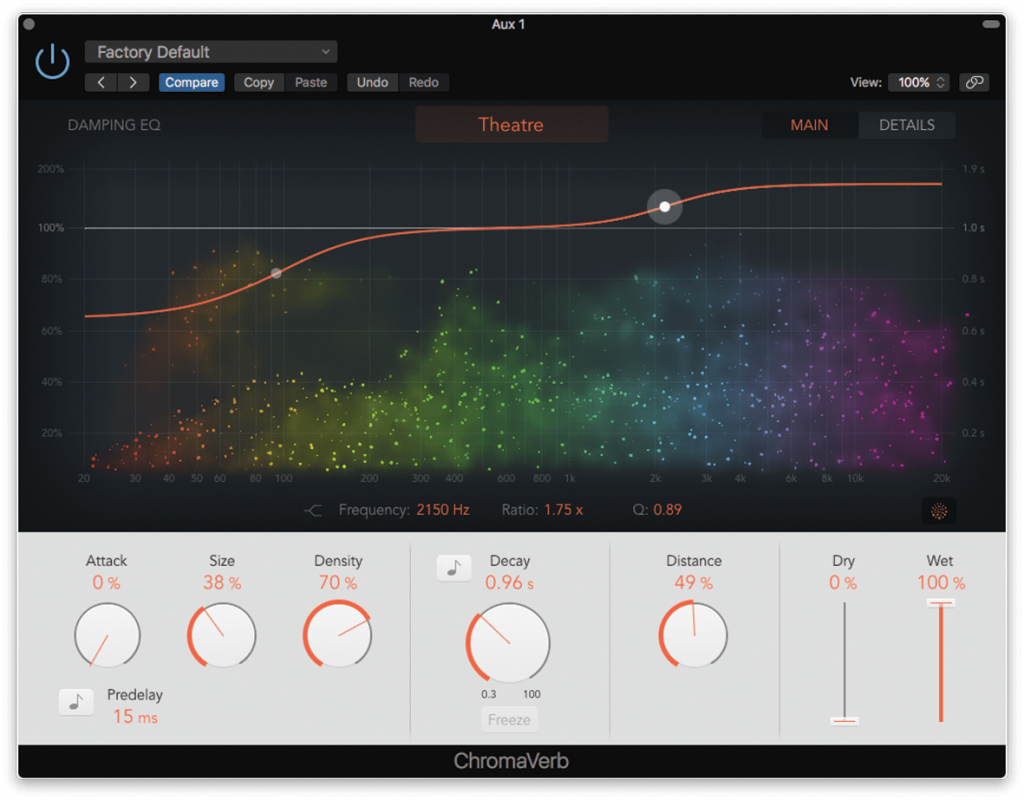
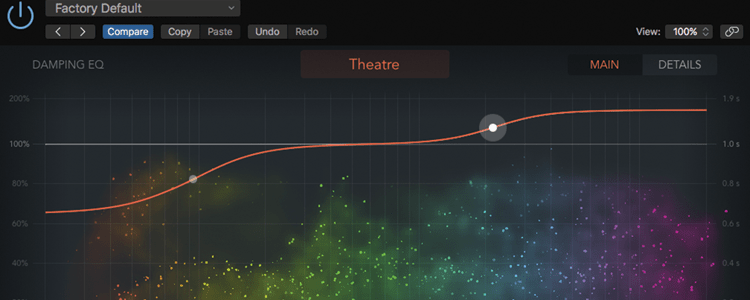
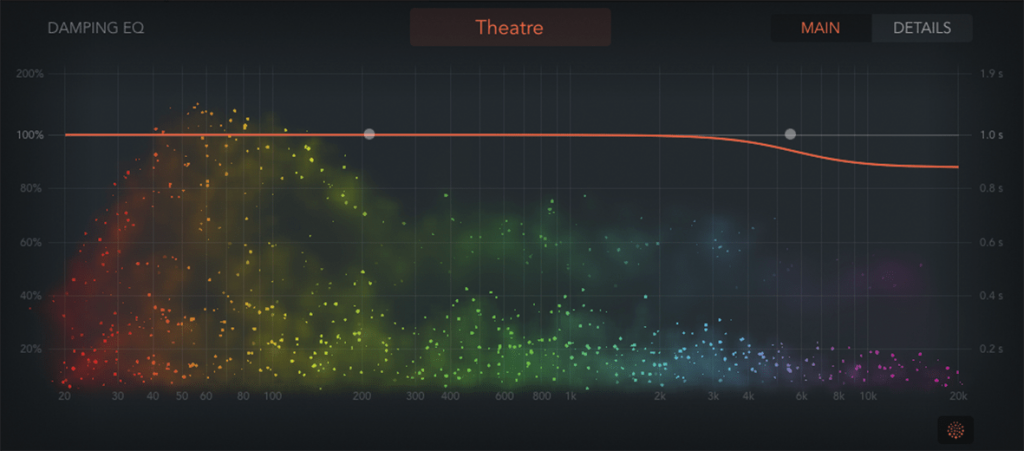
10. The Dampening EQ affects the regenerative qualities of the reverb in respect to frequency. Try cutting the low-end to make the reverb less bloomy over time, or lift the high-end, to make the reverb shimmer more.
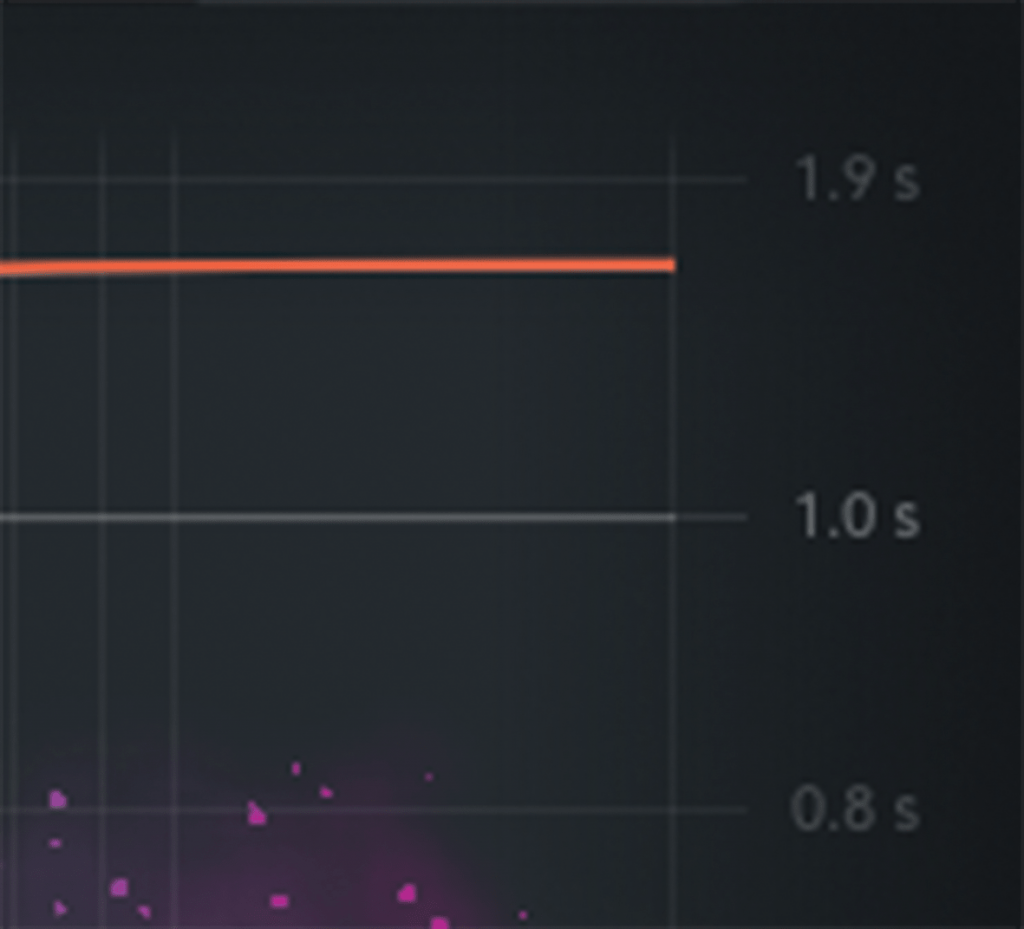
11. Changes made in the Dampening EQ will change how quickly the ‘droplets’ die down. Note how the vertical axis measures the reverb time rather than the amplitude scaling of a conventional equalizer.

12. The Details page sets various further features of the reverb. Prominent here is the Output EQ, which is a static colouring effect (on the output of the Reverb), rather than the regenerative properties of the Dampening EQ.
![]()
Reverb pads You can achieve interesting effects either using ‘frozen’ reverbs of long reverb as a source for pad sounds. Render the reverb by bouncing the long/frozen reverb tail as an audio file, and then import this into the EXS24. The effect has great ‘back of the room’ sound.
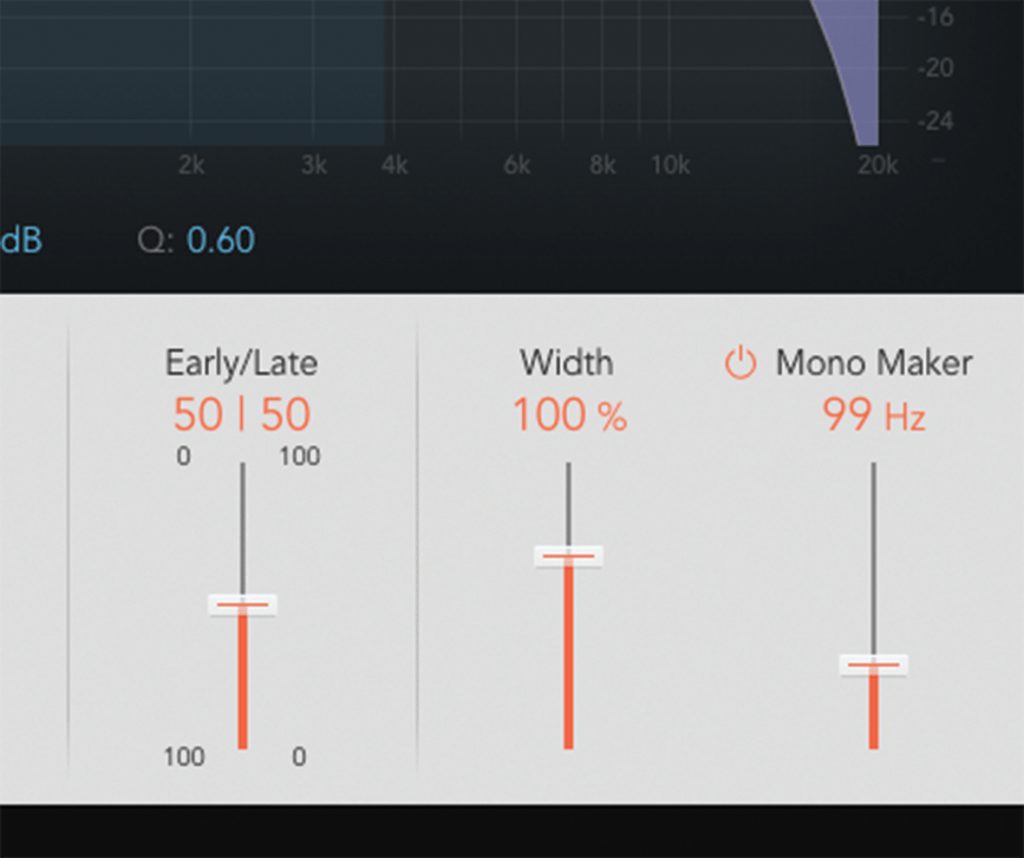
13. Width and Mono Maker are useful ways of defining the stereo-ness of the reverb, from mono (Width at 0%) to wider-than-stereo (Width at 150%). Mono Maker tightens the low-end, by mono-ing the reverb beneath a frequency.
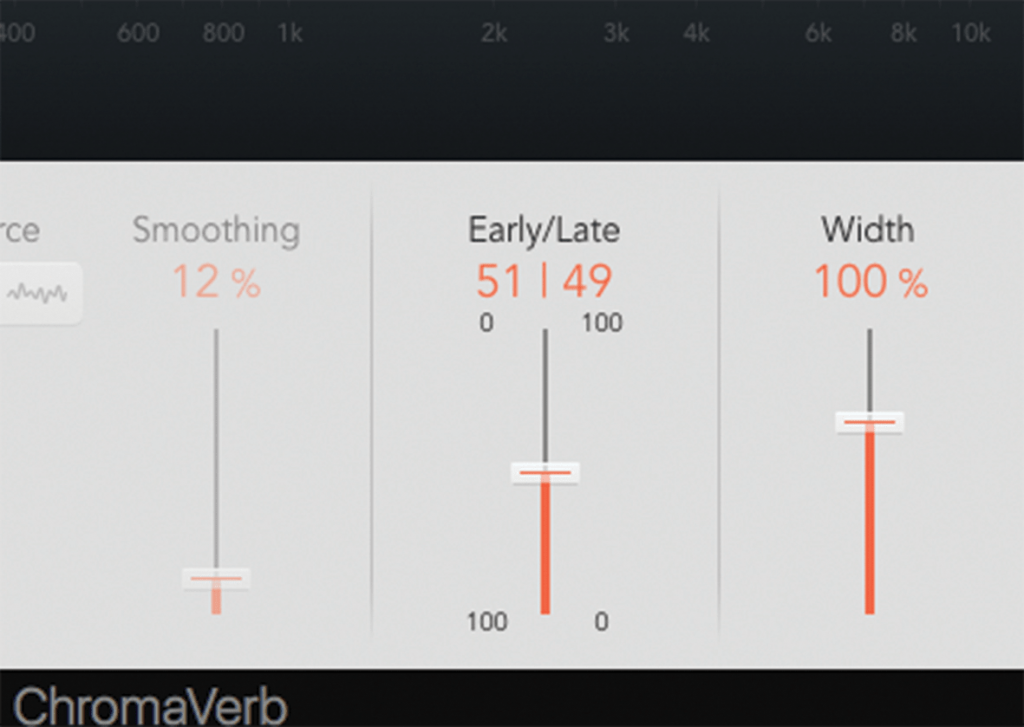
14. Like Distance, Early/Late works like a depth control, setting the balance between Early and Late reflections in the reverb tail. An Early bias favours the initial ‘flutters’ of reverb, while Late brings out the less-diffuse tail.
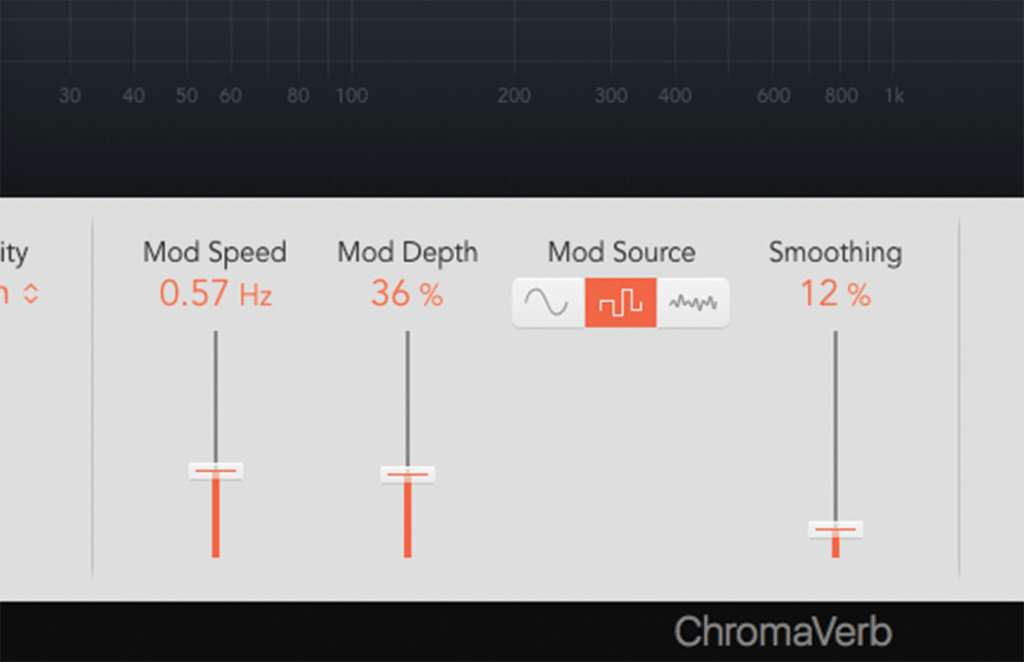
15. The modulation section adds a small amount of pitch modulation to the reverb, something that can be useful as a means to make it less sterile. Be wary of using on Piano or any instrument with a ‘fixed’ pitch.
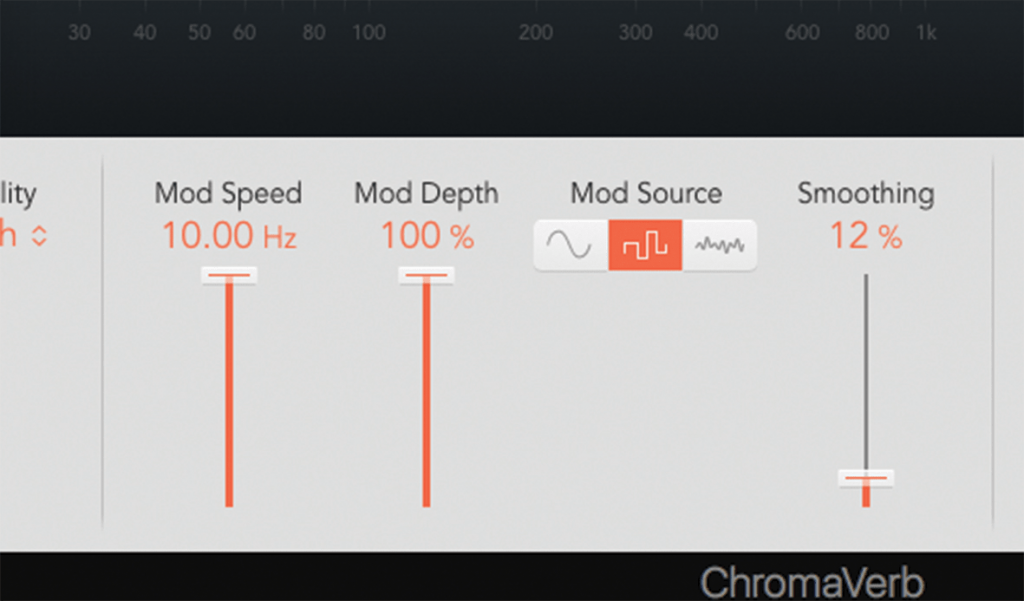
16. Try experimenting with some reverb on the synth pad, which we’ve left without any of its own modulation. To hear the effect, use extreme amount of Mod Depth and Mod Speed, and set the effect to 100% wet.
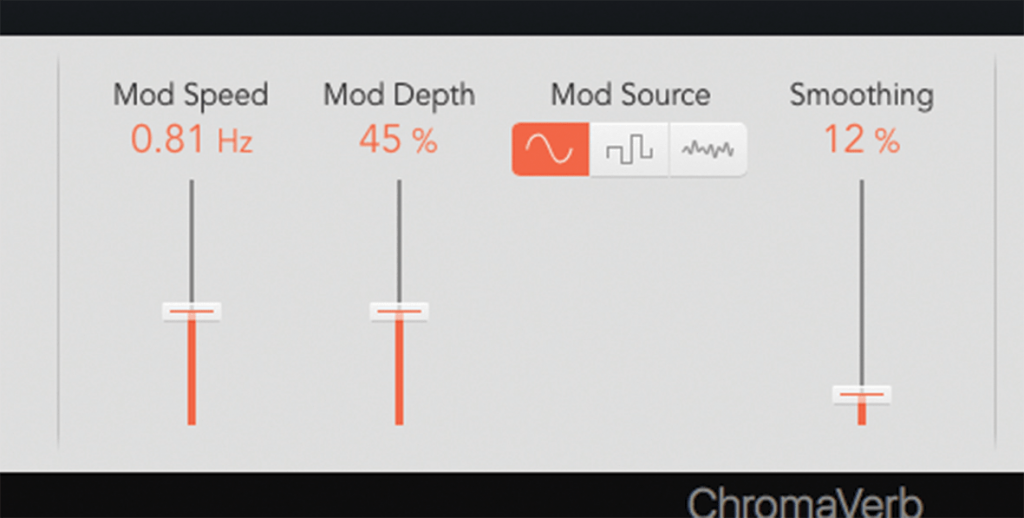
17. In reality of course, you’ll want to back-off both the depth and speed so that the pitch modulation on the reverb isn’t too extreme or noticeable, just enough to add a small ‘shimmer’ to the reverb.
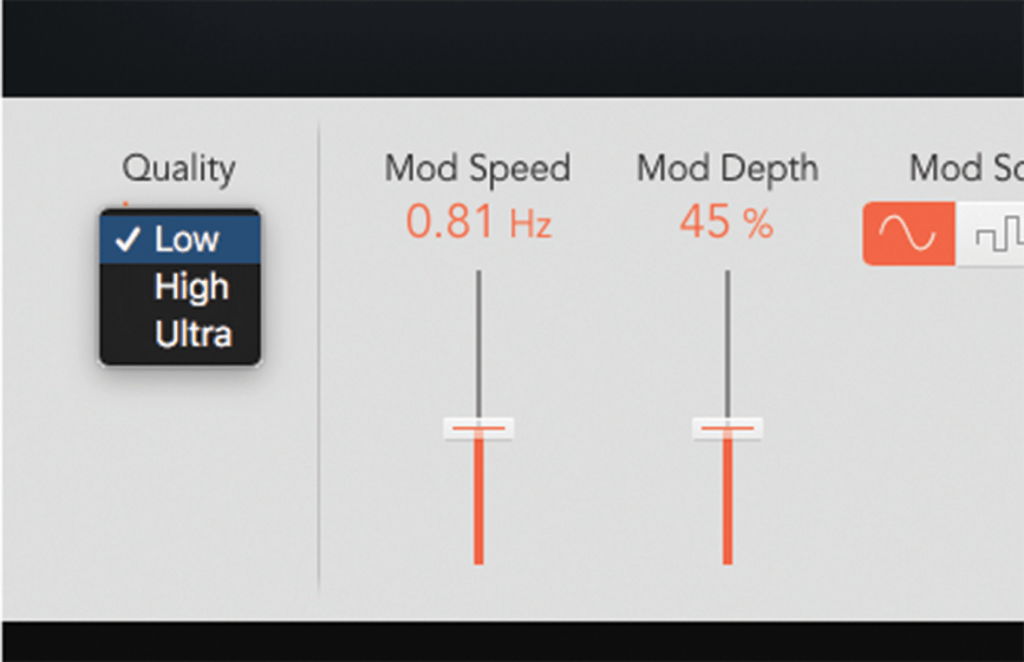
18. You’d assume that the Quality slider should be set to Ultra. However, the Low setting is useful if you want to preserve CPU resources, or if you want to recreate the gritty sound of early digital reverb.
