Using Edit Modes in Pro Tools
The four Edit Modes in Pro Tools – Shuffle, Spot, Slip and Grid – change the functionality of the Edit Window. Mike Hillier masters the four Modes and explains how and when to best use each of them… In this workshop we’re going to look at one of the most basic elements of editing in […]
The four Edit Modes in Pro Tools – Shuffle, Spot, Slip and Grid – change the functionality of the Edit Window. Mike Hillier masters the four Modes and explains how and when to best use each of them…
In this workshop we’re going to look at one of the most basic elements of editing in Pro Tools: the four Edit Modes available in the Edit window. If you’ve been using Pro Tools for any time you’ve no doubt used one or two of these already, but to truly master Pro Tools you will need to learn how and when to use each of the Edit Modes.
There are four Edit Modes in Pro Tools 2018: Shuffle, Spot, Slip and Grid. Switching from one to another will change the behaviour of various other tools in the Edit window, such as the Trim, the Selector or the Grabber tools.
Slip mode
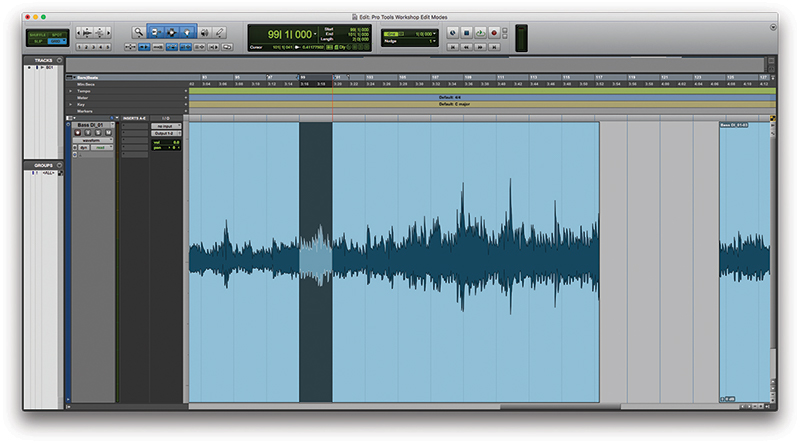
Slip mode is the simplest, and perhaps most common Edit Mode in Pro Tools, and unless you are working with predominantly grid-based music you are likely to want to remain in Slip Mode most of the time. With Slip Mode engaged you can perform edits on audio at up to sample-level detail. The Trim, Selector, Grabber and Pencil tools have complete freedom, and clips can be laid over each other, which will enable you to create crossfades or hard edits where necessary.
Grid mode
The next most commonly used Edit Mode is Grid mode, which works a lot like Slip Mode except that this time any edits you perform with the Trim, Selector, Grabber or Pencil tool are fixed to Grid intervals in the timeline, defined by the currently selected Time Scale and Grid size. This mode is ideal for working with loops that fit within a predefined grid.
Set your Time Scale to Bars and Beats and the Grid size to the length of bar or beat you’d like to be able to edit, and any edits you make will snap into place. This enables you to highlight exactly one bar of a phrase and chop it from your arrangement, then copy another bar from elsewhere and paste it into the empty space without worrying about timing issues. With other Time Scales it is possible to snap to minutes, seconds, or milliseconds, or to a round number of samples.
There are actually two Grid Modes available in Pro Tools – Absolute Grid Mode, and Relative Grid mode. In Relative Grid mode you can select audio with the same precision as Slip Mode, but rather than edits being snapping to the Grid itself, edits become constrained to the relative position from the nearest Grid.
So for instance, if your clip is one beat long and is on beat three of the bar and your grid is set to bars, moving the clip to the next bar will snap it to beat three in Relative Grid Mode, whereas in Absolute Grid Mode it would snap to the first beat of the bar.
Relative Grid Mode isn’t constrained to just the sub-domains of the Time Scale either. If your Kick is 20 samples after the beat, moving it to the next bar will maintain that exact 20 sample relationship with the bar marker. For most music recording purposes, a combination of Slip Mode and Grid Mode is all you’ll use on a daily basis.
Shuffle mode
Whereas in Slip and Grid Modes any editing only effected the clips that were selected. In Shuffle Mode, any edits you make are likely to have an effect on any clips in that track. Adding a clip to the end of a track will instantly place it next to the final clip in the track with no gap. Placing a clip at the start of a track will move all later clips later in the track by the same length as the clip being inserted. Removing a clip, or a section of a clip, in a track will move all tracks after the removed clip to be moved earlier by the length of the removed clip.
This mode can be used to try new arrangements in loop-based music, by shuffling the bars around. We also find it the most useful Mode to have engaged when editing interviews for Podcasts or similar, as it enables you to chop sections out of the recording, while ensuring that this doesn’t simply add a large section of silence.
Spot mode
This is probably the Edit Mode we use the least for music production, but it remains incredibly powerful. Spot Mode can be used to place clips at exact locations, using any of the Time Scales. With Spot Mode engaged selecting a clip with the Grabber tool, or dragging a clip into the timeline from the Clip list or Workspace Browser will bring up a dialog box asking for the exact position you’d like the clip placed. This Mode is incredibly useful for post-production where clips need to be positioned to precise frame locations.
Using edit notes: step-by-step
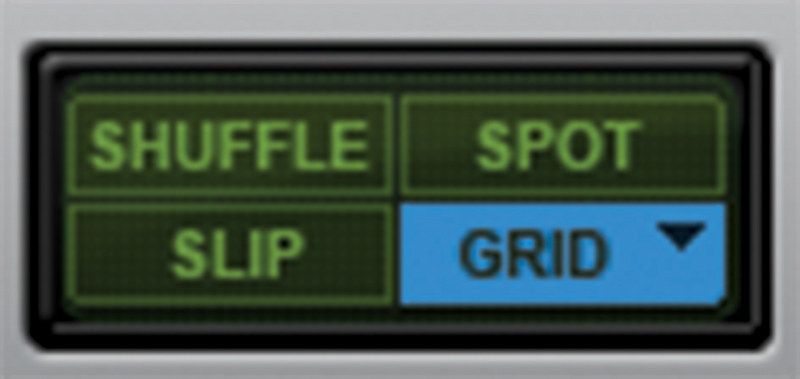
1. There are four Edit modes in Pro Tools: Shuffle, Spot, Slip and Grid. Each one changes the behaviour of the Pro Tools Edit window, enabling you to edit your session in different ways.

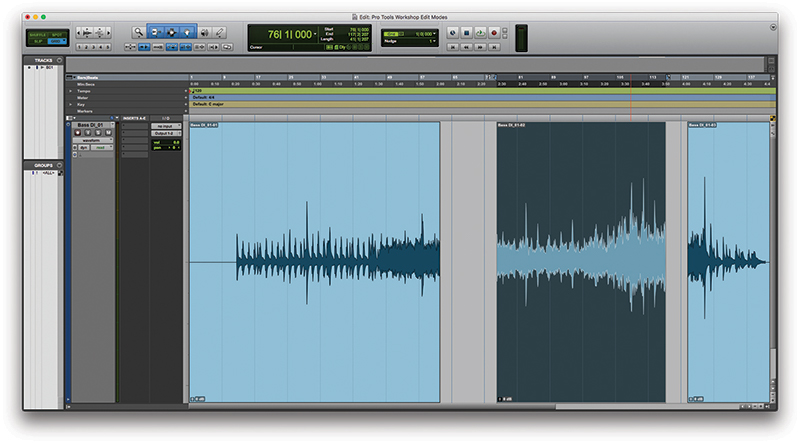
2. Engage Slip mode by clicking on the Slip button or pressing [F2]. This is the simplest of the four modes to understand. With this mode engaged you can make selections, and move the cursor or clips freely.
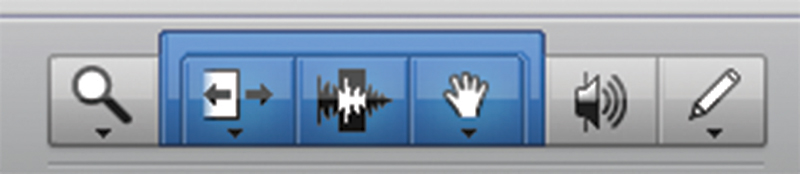
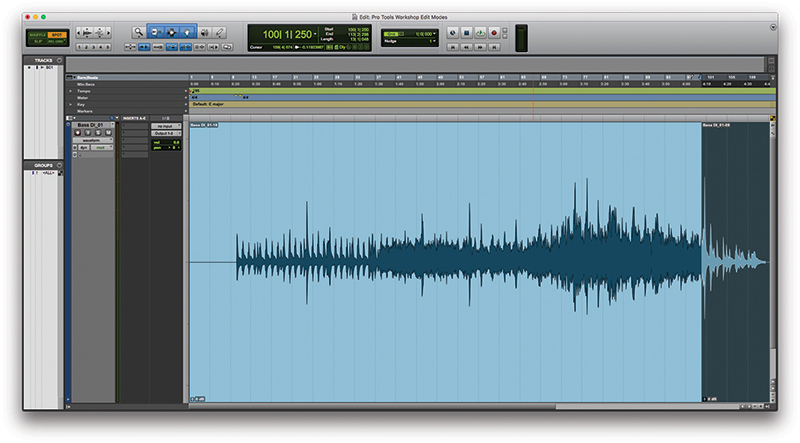
3. Engage the Smart Tool by clicking on the small space above the three Trim, Selector and Grabber Tools, or by pressing [F6], [F7] and [F8] together.
![]()
Selecting tools with the Smart Tool engaged Pro Tools will automatically select the Trim, Selector or Grabber tools depending on exactly where the mouse pointer is relative to the clip.
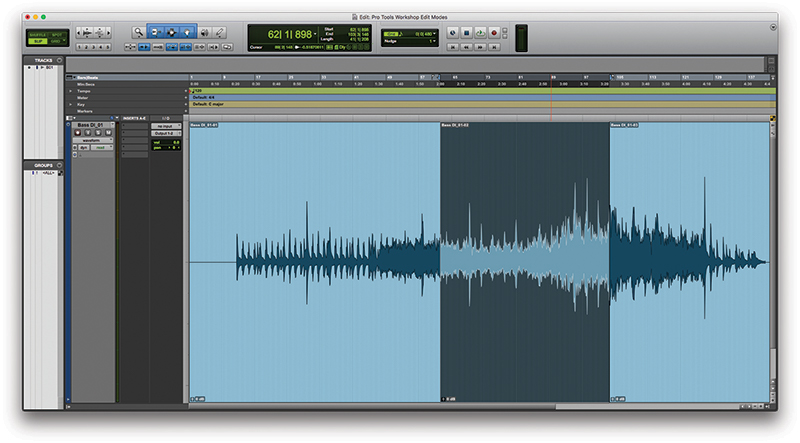
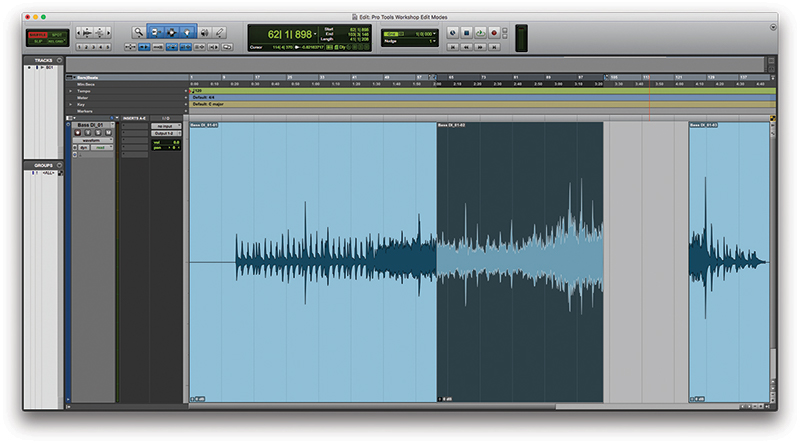
4. You can now freely select audio from the timeline with the Selector tool. Highlight a region of audio and press [B] to separate it to create a new clip (requires AZ mode engaged).
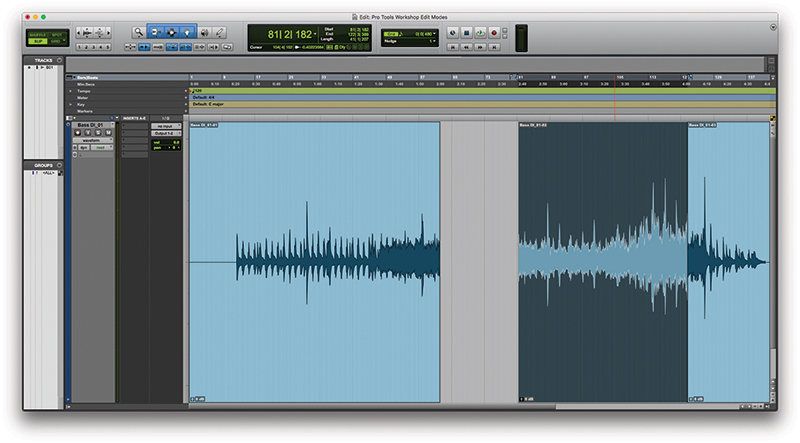
5. Now highlight the new clip with the Grabber tool and move it to a new part of the timeline. Note how you can place it on top of other clips, and you have complete freedom over where it lands.
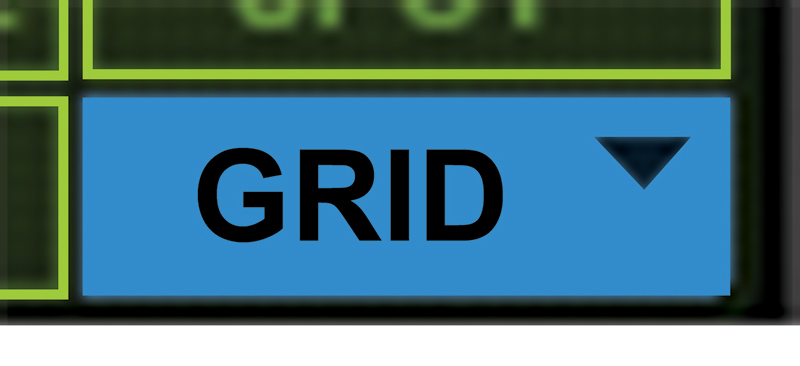
6. Engage Grid mode by clicking on the Grid button or by pressing [F4]. If you accidentally find yourself in Relative Grid mode, press the button or [F4] again to revert to standard Grid mode.
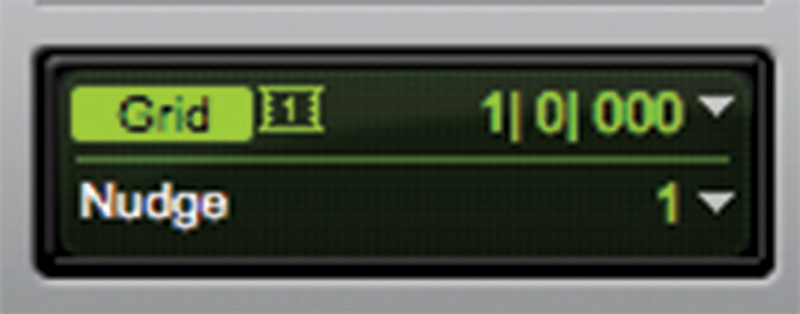
7. Ensure that your Time Scale is set to Bars and Beats, and your Grid Size is set to 1 Bar.
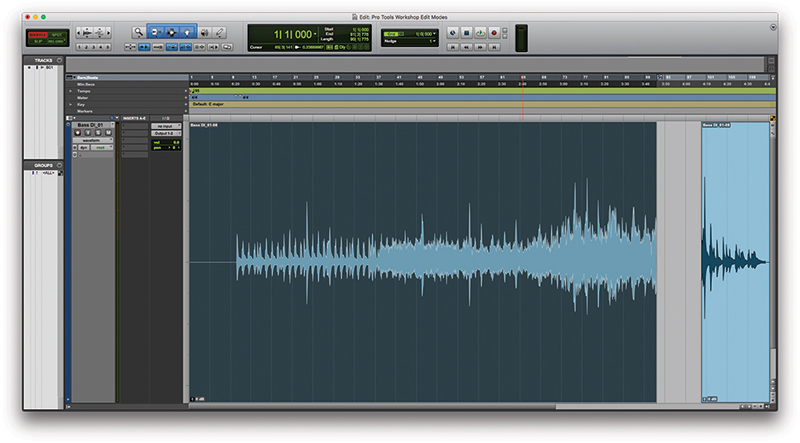
8. Now when you try to move the clip you created before it will snap to the nearest bar.
9. Similarly, when you try to select audio from within a clip with the Selector tool you can only select a full bar at a time.
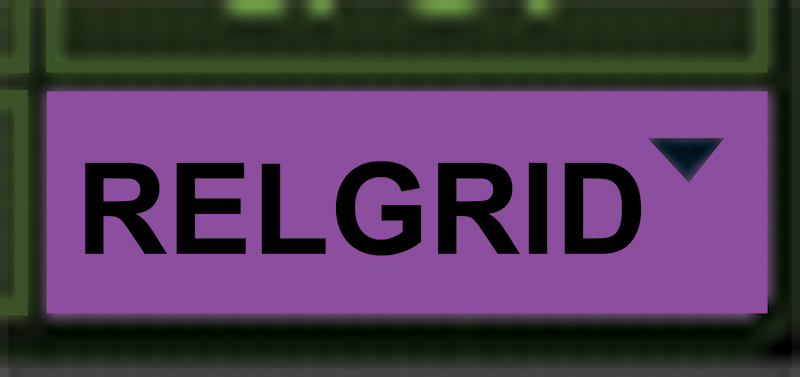
10. Next, enter Relative Grid mode by clicking on the Grid button or [F4] again.
![]()
The Smart Tool can also be used to quickly draw fades by clicking with the mouse pointer in the top left or right of the clip (the pointer should change to display a square with a diagonal line and shading) and dragging inwards.
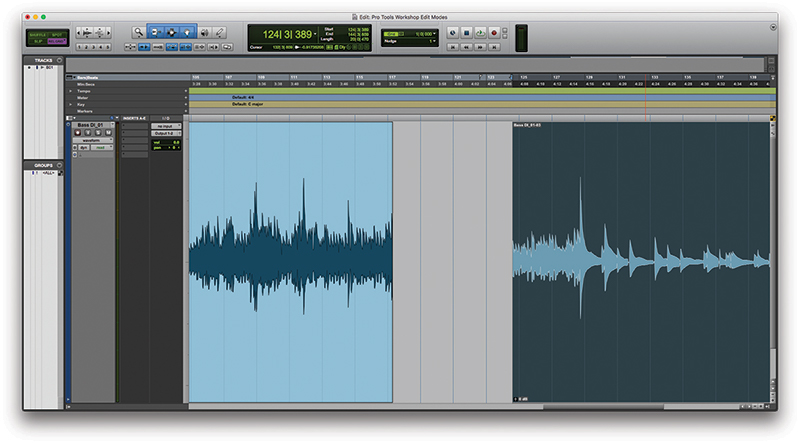
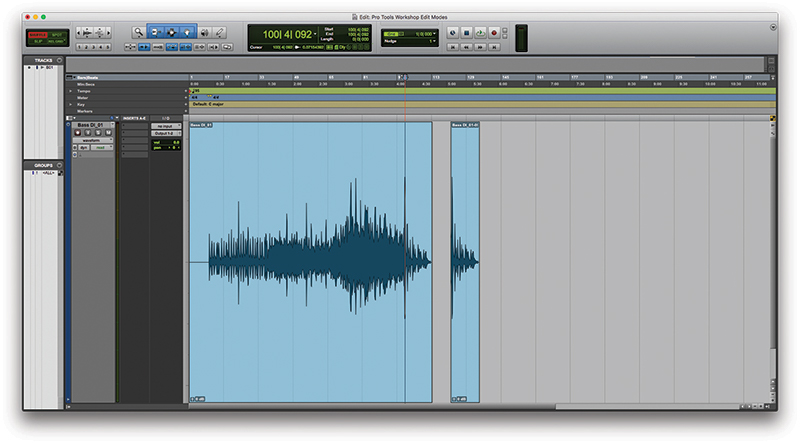
11. Now use the Grabber tool to move a clip one bar later and notice how the clip doesn’t snap to the grid, but rather to its relative position in the grid.
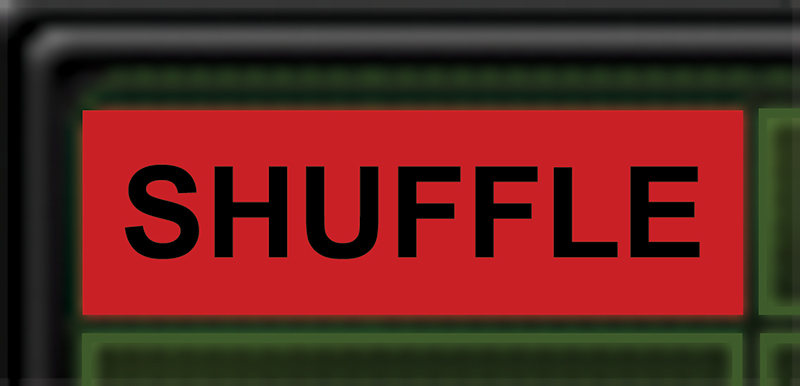
12. With Shuffle Mode engaged [F1] any clips you move will automatically position themselves next to the previous clip when moved.
13. By moving the clip that we chopped out back next to the clip at the start we should find that we have put this edit back together.
14. Glue the two clips back together by highlighting the first and second clips and pressing Ctrl+[H] (PC) or Cmd+[H] (Mac).
15. Use the Trim tool to expand the clip to the end. Note how the clip at the end of the track moves out to make way for the expanding clip before it.
16. Put Pro Tools into Spot mode by clicking on the Spot button or by pressing [F3].
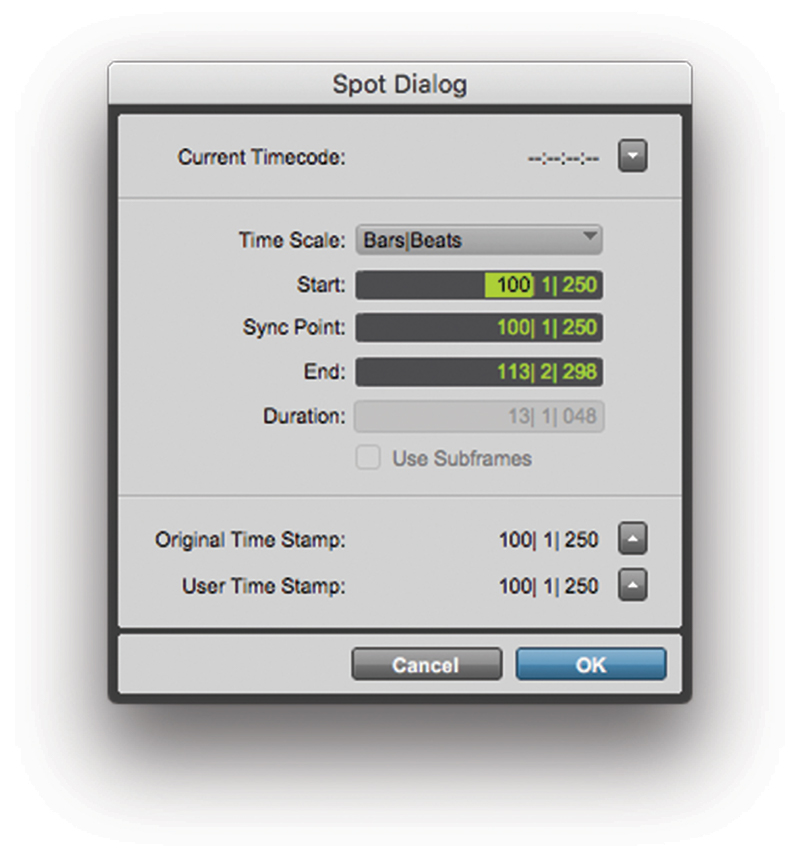
17. Click on the clip at the end of the track that has been moved out of its original position. This will display the Spot dialog box.
18. You can put a clip back in its original position by using the Time Stamp. Click on the Original Time Stamp to enter this time into the Spot Dialog and press OK. The clip will now be back into its original position.