Ableton Live Tutorial: Create Custom Drum Racks
Drum Racks are one of Live’s most powerful features, whether you’re using them for just for beatmaking with drums and percussion, or for far more. Martin Delaney flexes his drumming fingers… For this tutorial you will need the project files – download here Drum Racks are the main building blocks for programming or re-sampling beats […]
Drum Racks are one of Live’s most powerful features, whether you’re using them for just for beatmaking with drums and percussion, or for far more. Martin Delaney flexes his drumming fingers…
For this tutorial you will need the project files – download here
Drum Racks are the main building blocks for programming or re-sampling beats in Live. Whether you’re entering notes with a mouse or trackpad, or recording in real time from pads, Push or a MIDI keyboard, Drum Racks are Ableton’s most important beat-making tools, as well as being useful hosts for other types of sounds and effects.
A Drum Rack is a group of Live devices which contains up to 128 drum pads, and uses Live’s Simpler instrument to host the sample content for each of those pads. Alongside Simpler, you can also expect to see MIDI and audio effect devices, as well as third-party instrument or effect plug-ins.
This is backed up with the potential for very sophisticated MIDI and audio routing, as well as macro controls for more accessible hardware controller assignments and, vitally, the ability to save the entire thing as a single preset.
Did I mention that each pad can also contain another Rack? That means you get Racks within Racks within Racks. This is powerful stuff but luckily, it’s also easy to get started with.
Our focus here is on customising existing Drum Racks, but there’s an empty Drum Rack provided in the Live Library, so if you want to start from scratch, use that, and drag in your samples, letting Live put them into instances of Simpler automatically – you can also browse and load samples from Push.
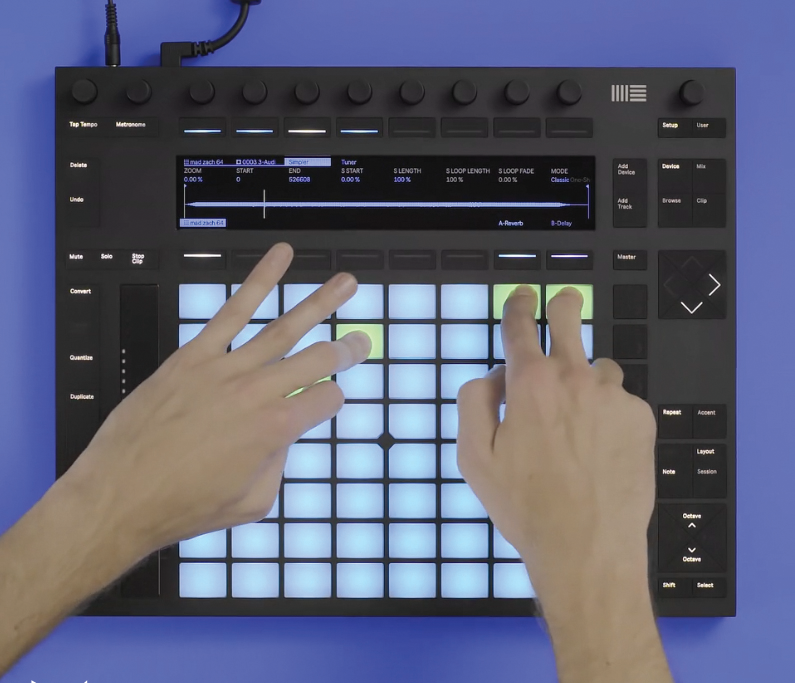
Drum Racks are visually complicated things at times, so it’s a good idea to use the small buttons at the left to fold and unfold elements on demand, or else double-click on the Rack name and fold it right up, in the usual Ableton style. As I’ve said, there are many ways to trigger the sounds in a Drum Rack, but I find that it usually comes down to the computer keyboard if I’m travelling, or Push if I’m at home – one extreme to the other.
I love to add synth tones to Drum Racks, whether it’s to add simple synth-based drum sounds or squelches, or to incorporate some full-on instrument sounds and patterns within the Rack. Operator is my go-to synth for this – I like how it sounds and how the interface works, and I’ve been using for a while, so I have a good idea of where I’m going when I start it up. You’ll have your favourites, but if you haven’t tried Operator, I’d recommend giving it a go.
Another angle on this would be to add the external instrument device so you can incorporate your pet hardware drum machines and synths into your Rack – of course, that means you always need them connected and powered up when you use that Rack.
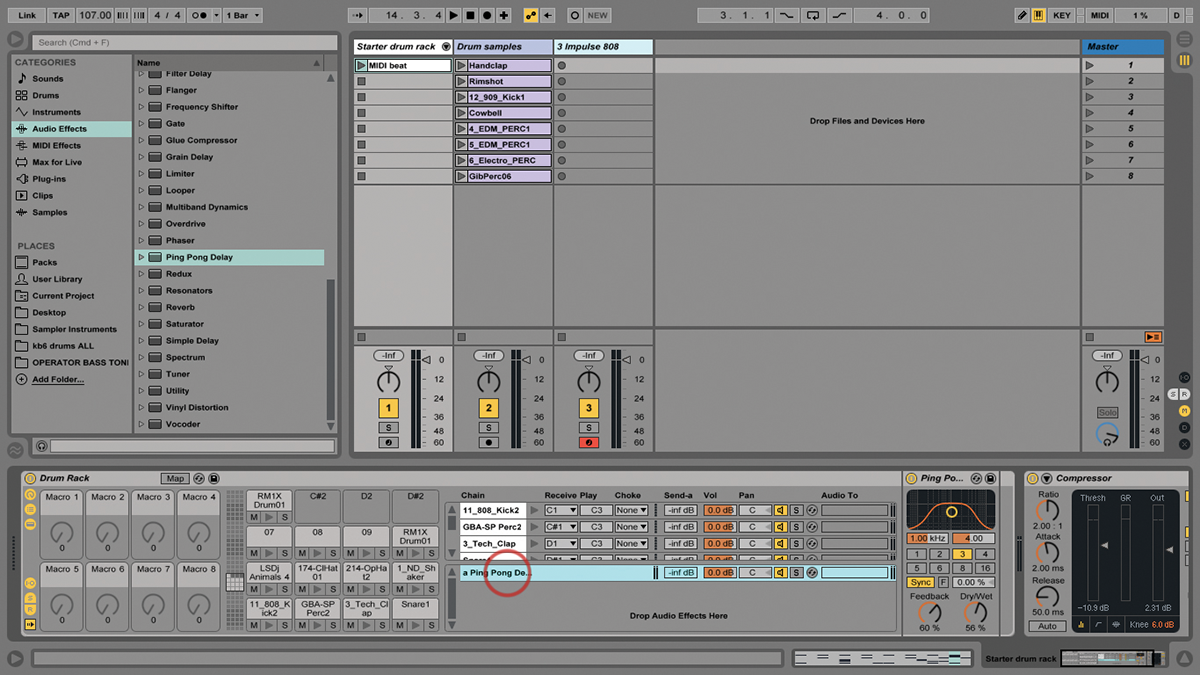
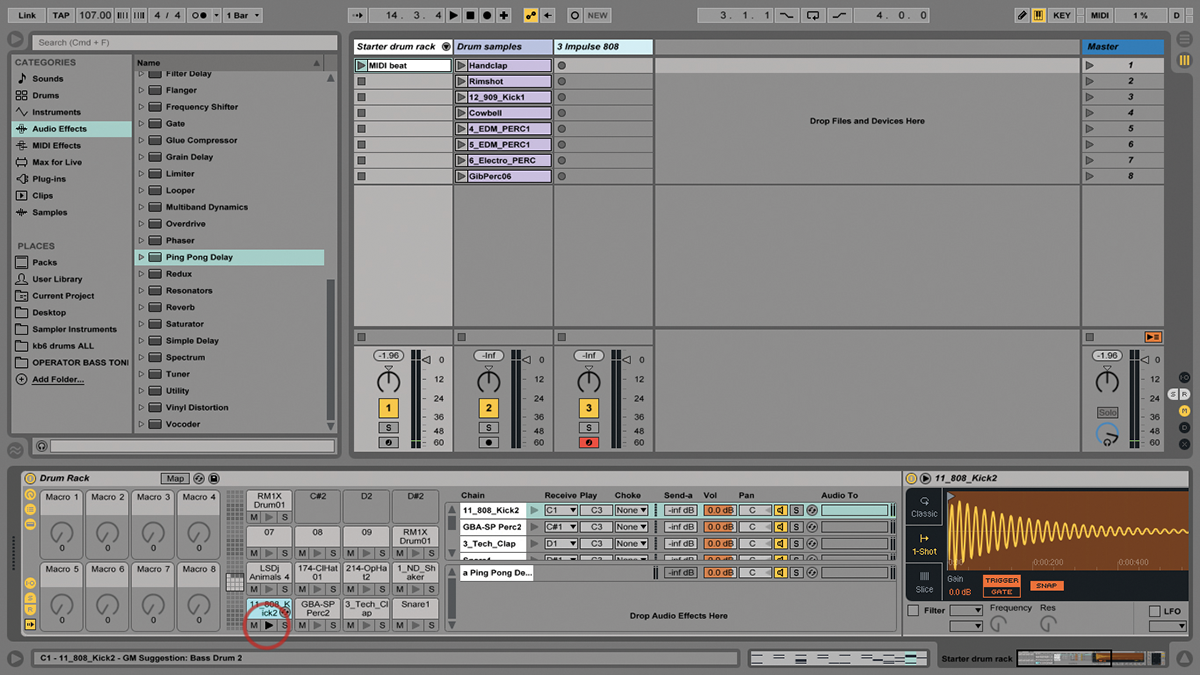
When you start using software instruments inside Drum Racks, it’s a good moment to consider using MIDI effect devices as well; other than Velocity, the most obvious candidate is probably Arpeggiator, which means that when you play a pad, you’ll get a pattern playing, even without a clip in the track. By combining Arpeggiator with time-based audio effects like Beat Repeat, Simple Delay, and Ping Pong Delay, you can get a lot of activity out of one note.
On the same topic – sounding busy without doing much – you could be launching loops from inside Simpler instruments in the Rack at the same time, and they’ll run and loop even if Live’s transport isn’t running, which I think is pretty damn cool. You can have a whole bunch of looping tracks as a single recallable preset. This instant recall of complex Racks goes on with audio effects as well. Not only can you add audio effects to the entire Rack or individual chains, you can use the Rack’s built-in send effects slots, then mix each chain to them just as you would with Live’s return tracks.
The advantage of this is that, once again, it’s recallable – one Drum Rack preset with your sounds, MIDI effect patterns, Simpler loops, and effect sends and returns.
I wish there was a way to expand the chain list upwards, so I could see more chains at once, but what you can do is unfold the tracks containing Drum Racks, and view each chain in a more typical Session View-type layout.
You can access this view from Push, as well. Those chains can be rearranged by dragging them around to reorder them and, naturally, you can also duplicate or delete them, as well as rename and colour code them. You can also drag chains out of the Rack to create new tracks, and drag the contents of pads to other pads. As of Live 9.7, Drum Rack pads can be coloured individually, directly from Push.
It’s great if you need to highlight certain pads, or you dream of creating an 8×8 pixel image for your Rack. These colours are remembered by Push whenever you load the set or select the individual Rack, or reload the saved preset Rack into a new project. There’s more we could mention, like choke groups or MIDI note
filtering, but that just gives us something to look forward to!
The best way to get a handle on Drum Racks is to explore Live’s factory Racks and then start building your own – and a hardware controller with pads will make all the difference
Focus on Impulse
Live did drums before it had Racks, you know. Originally, Live used the Impulse instrument to contain sample-based drum kits. Impulse is a very basic-looking device, but it has its fair share of sound-shaping tools, and of course you could always put it in a Drum Rack.
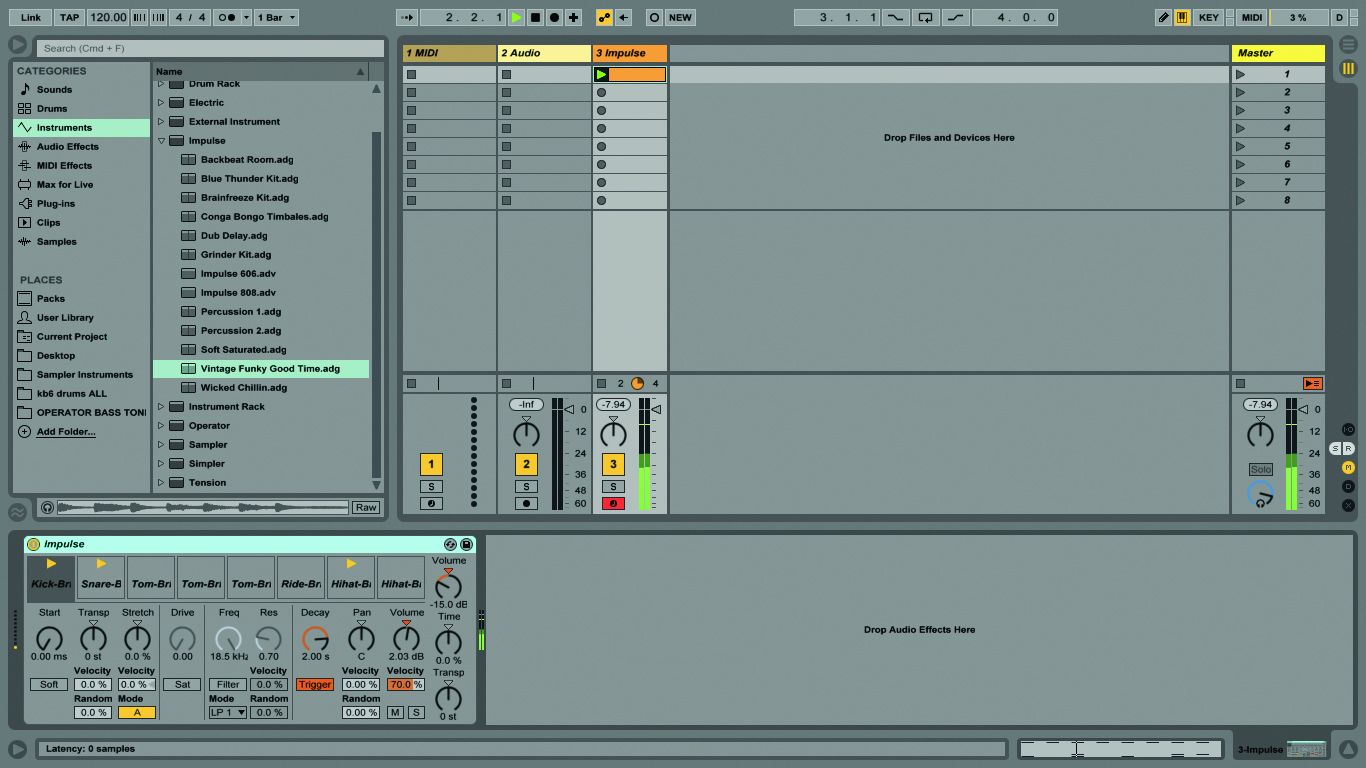
Impulse is still included with Live (mainly, I guess, for legacy purposes like opening old projects). I could imagine Ableton dumping it altogether and creating a Drum Rack ‘Impulse legacy mode’ where it automatically creates a Rack with eight chains when you open a project with Impulse in it.
Step-by-Step – Create Custom Drum Racks
1:The Drum Racks you’ll have available in your sets will vary depending on which Live Packs you’ve got installed, so we’ve provided a Live set with a custom Rack with a mixture of samples.
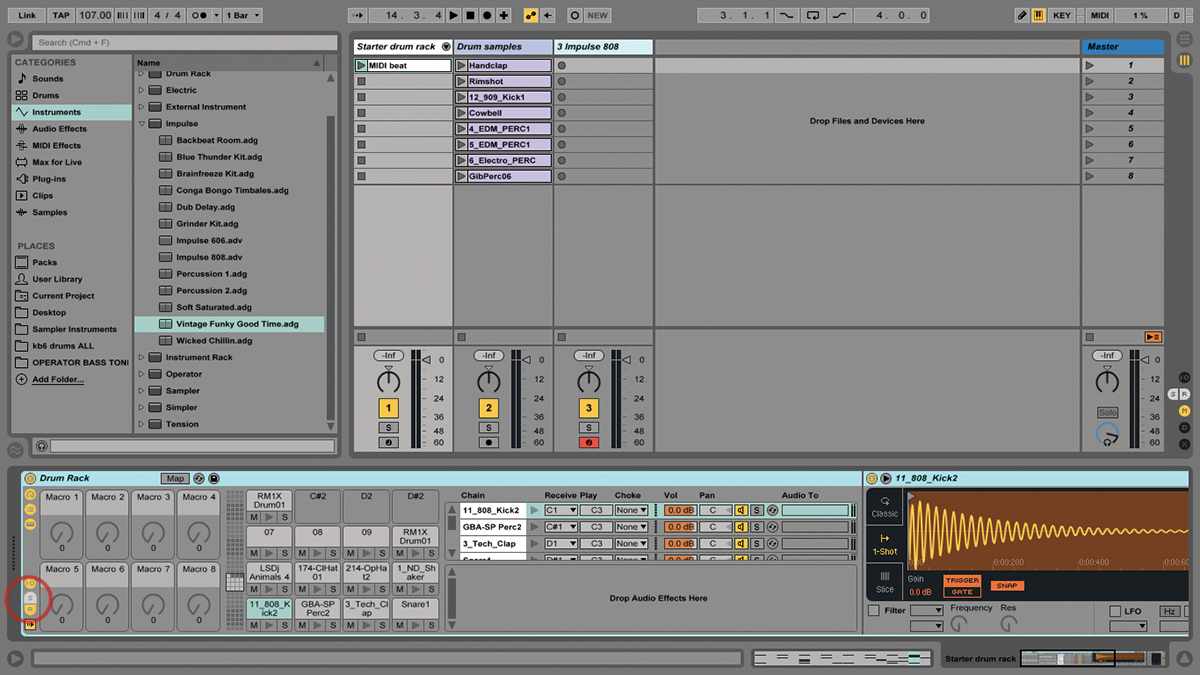
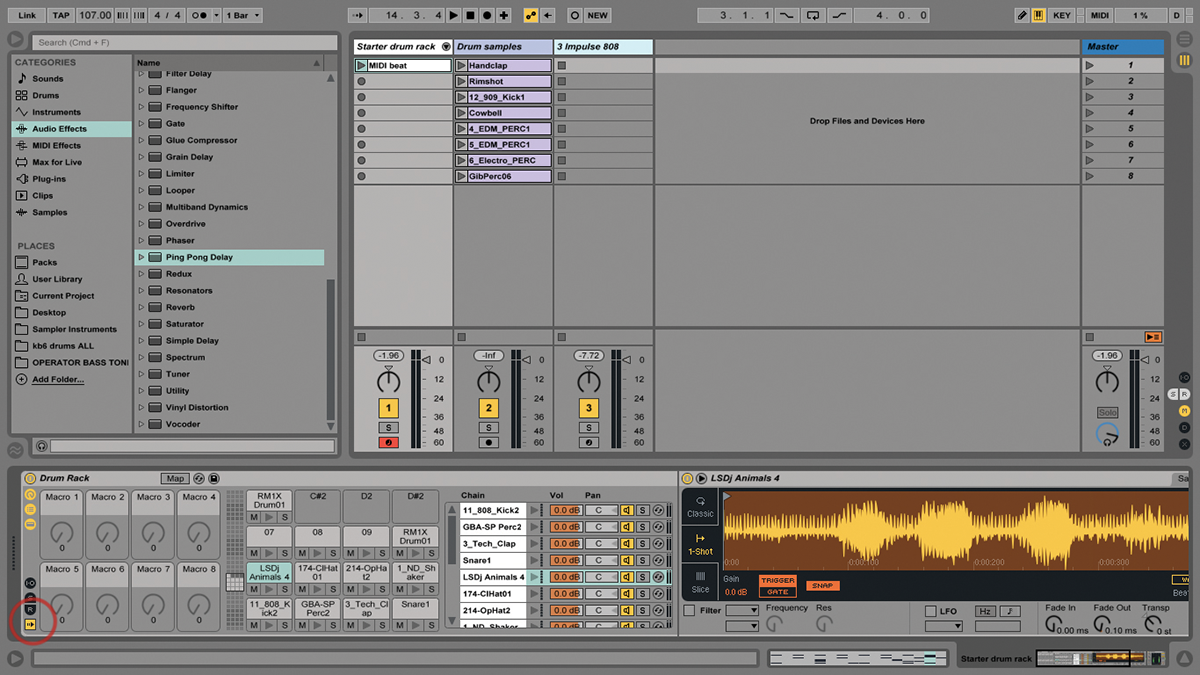
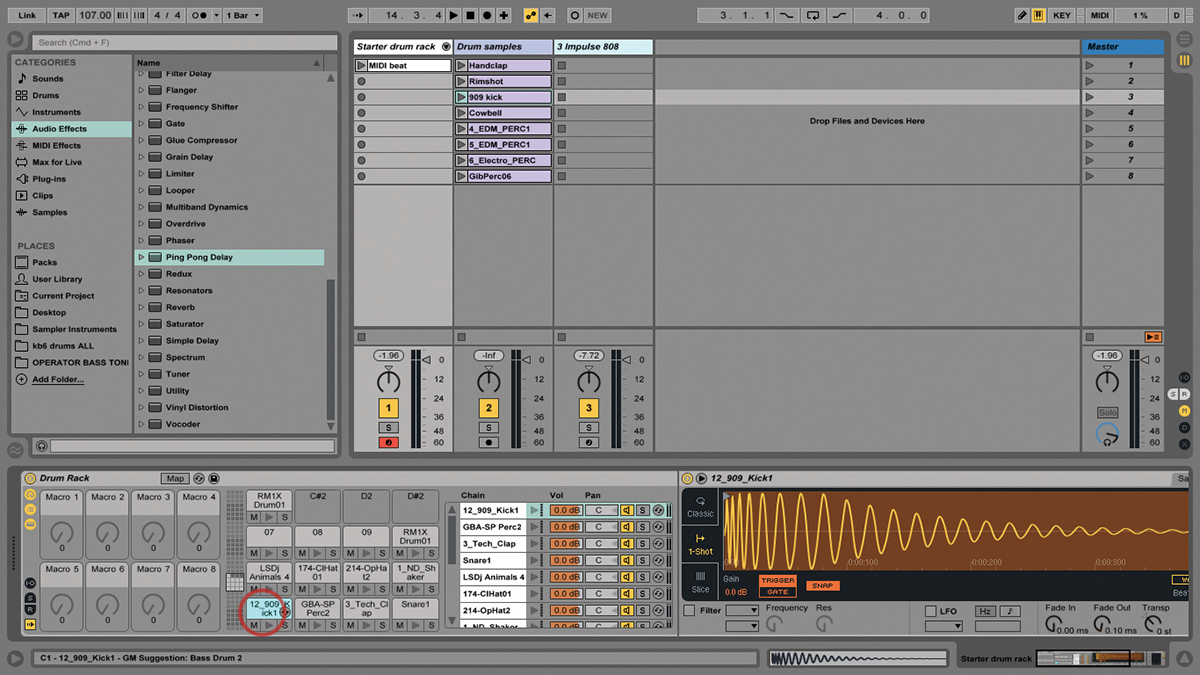
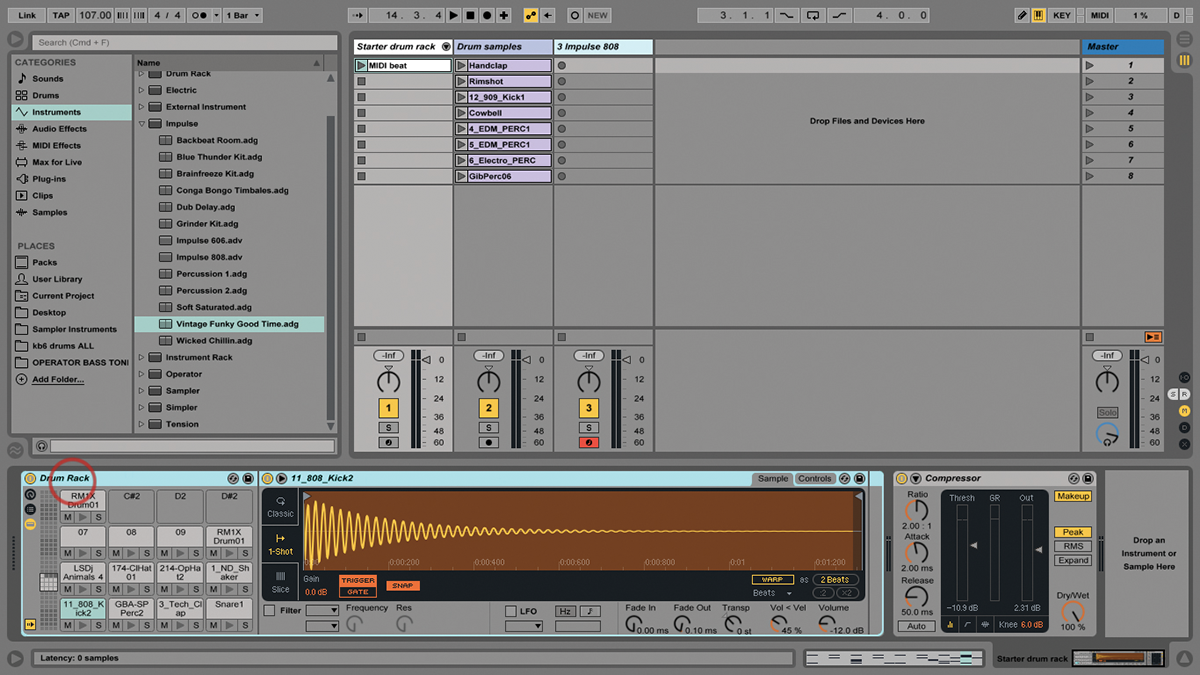
2: Keep clicking on the black buttons at the left of the Rack until you’ve unfolded everything. Going from left to right, you’ll see macros, pads, the chain list, an instrument and audio effects (if any).
3: The effect situation is complicated by the fact that Racks can include effects that apply to individual chains or the entire Rack, and also it can include other Racks. It’s deep… get used to it!

4: Trigger the sounds in the Drum Rack in several ways. Use Live’s virtual MIDI keyboard – aka computer keyboard – or any MIDI keyboard or a pad-device like Novation’s Launchpad or Ableton’s Push.
5: Drum Racks usually default to note C1 triggering the bottom left pad, which is typically a kick drum. If you’re using the computer keyboard (Shift>Cmd>K), use Z and X to transpose octaves.
6: The very lowest black button is Auto Select – a very useful navigational aid. When enabled and a pad triggered, the relevant chain is highlighted. This saves a lot of scrolling in complicated Racks!
Click Here to Continue
