For more Live tutorials and workshops, check here.
How to record guitars with Ableton Live 10
Ableton Live has undoubtedly matured as a production and performance platform – and Live 10 in particular has so much to offer guitarists and bass players, whether they’re technophobes or dedicated gear-heads. Strap it on and plug it in!
When you purchase through affiliate links on MusicTech.com, you may contribute to our site through commissions. Learn more
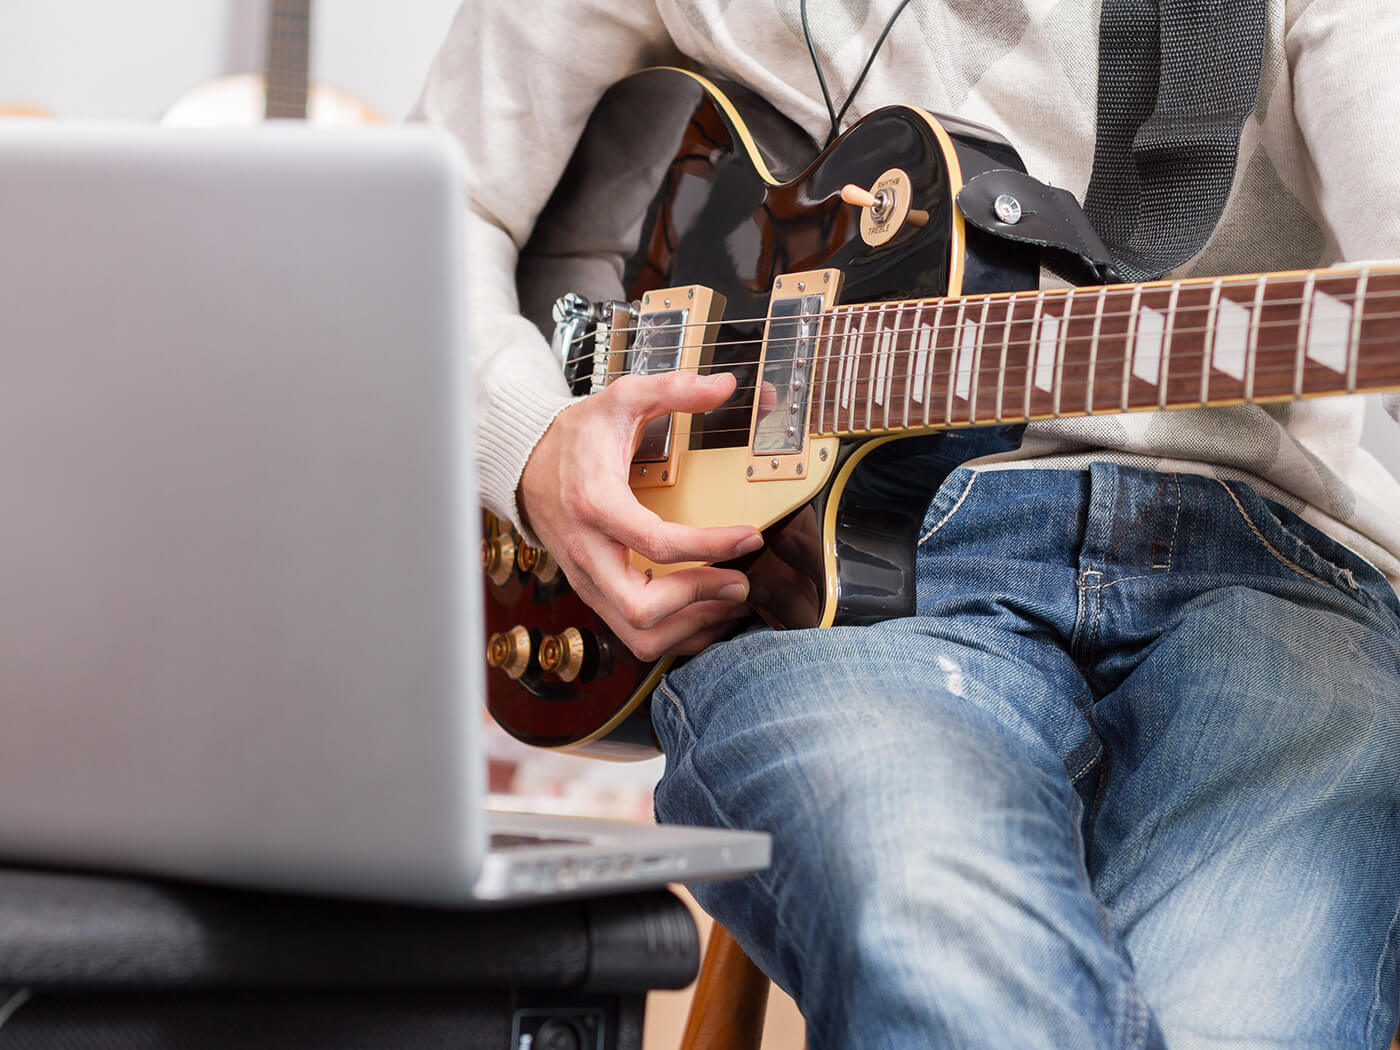
Image: Shutterstock
For a long time it seemed like guitarists were resisting using computers, and it’s actually quite easy to understand why. However, a new generation of guitarists are far more comfortable with software, computers and mobile devices, so there’s no excuse for anyone to be a tech hold-out any longer. Ableton Live has always versatile, and that’s just as true for guitarists and bass players as for synth heads or anybody else. You can put it to work for practice, performance, looping, control, and production, using it instead of, or alongside, your beloved hardware.
It also makes for a fantastic portable mini-rig if you need to travel light or on a budget. Live 10 in particular has added features that make it easier than ever to run a fully functional computer guitar rig. Use it to reproduce your current sound in a digital format, or blow the doors off and expand into entirely new sonic territory.
Guitar, meet DAW
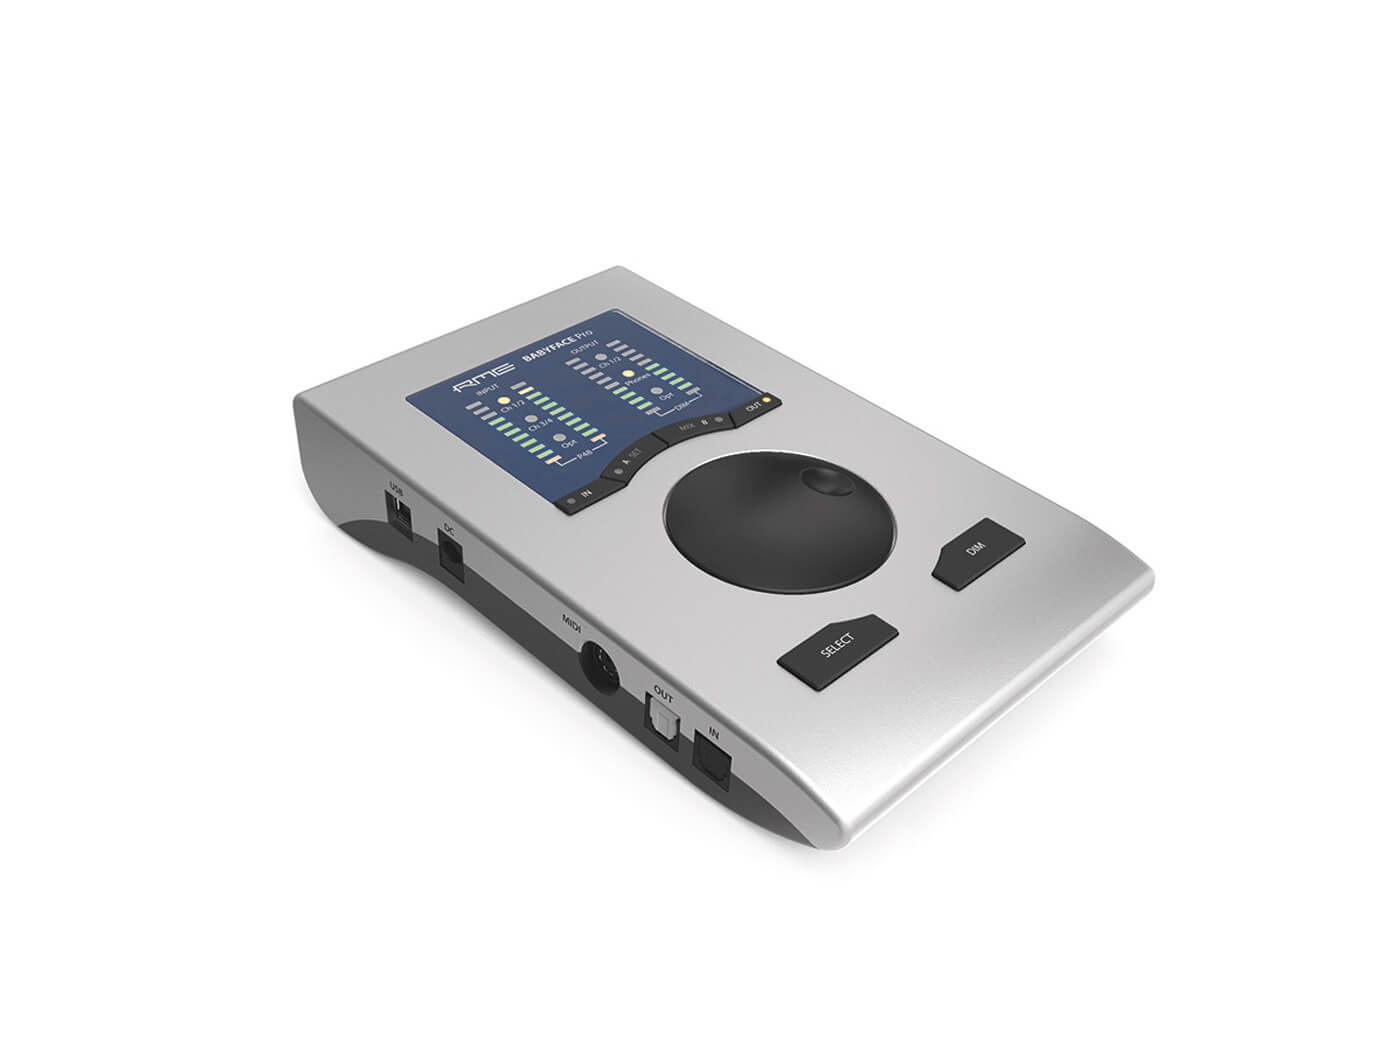
You can use any audio interface that has an instrument input, although not all are created equal – you want a clean signal with plenty of gain, otherwise you’ll have to add external boosters which is kind of against the point. If you’re likely to have a lot of music gear connected, then Live 10 allows you go into Preferences and name each audio input and output, which can make it faster to set up.
When working on guitar sounds, perhaps more than any other, it’s important to alternate monitoring with headphones and monitors. It’s shocking how different they can sound – it’s not like using a guitar amp. This used to be the weak link with amp-modelling software and hardware. It’s a small thing, but it was such a relief when Live got a tuner (incidentally, valuable for tuning samples as well)!
In the walkthrough, we build a guitar rig from scratch, but there are plenty of presets to explore, for Amp and Cabinet individually, but also filed as racks under Amp Simulation in the Audio Effect Racks section of the Browser. We don’t use these presets, but they’re good illustrations of what’s doable, especially when you look at the preconfigured macro controls and their labelling.
Live 10 took a giant step with the addition of the Tuner, Pedal, and Echo effects (the Tuner is technically an effect, too); we have used all of these in real-world production situations. Once again, experimentation is required and it’s usually an idea to load the defaults for Pedal and Echo and start from there.
There’s no limit
Let’s also put in a word for the Limiter audio effect, which is essential for optimising volume levels and reducing the likelihood of distortion (the unwanted digital kind). The only additional guitar-specific plug-in that we use here is Line 6’s Helix Native, which sounds good, has a huge range of amps, cabs, and pedals, and allows the use of two chains at once. It’s also MIDI controllable and the presets are compatible with the Helix hardware as well. For deeper texture, we can use that in a chain with the Live audio effects as needed for the project.
When you’re creating chains with amps, cabs, and effects, remember that they will behave differently depending on the order, so try dragging them around to hear what changes. Reverb could go before or after your amp/cab, depending on what kind of result you want. In front, it’ll sound like a reverb pedal on the floor in front of an amp, after, it’ll sound more like you’re trying to build a room sound.
It’s become a habit to always use some kind of tape compressor plug-in on guitar tracks, it just immediately makes them feel more organic. One of the prime benefits of working with software in this way is the potential to re-amp – to replace the amps and effects used at the time of recording with different ones later. Live doesn’t ‘print’ the audio effects used unless you route to another track or freeze the track. That means you can strip it right back to the original, dry, guitar sound and start again, or create duplicates/alternatives with parallel amp setups that would’ve been expensive/impossible not long ago – and it’s all saveable as presets that can be recalled later, even if they include racks and third-party plug-ins.
Everybody plays guitar differently, so the examples we’ve provided here may not fit your style and music straight out of the box, but hopefully they’ll give you an idea of what’s possible in Live 10. It’s not unusual to use Live exclusively for guitar sounds and recording and there’s nothing we haven’t been able to achieve, even if it means adding a plug-in or two. Guitar amp and effect modelling is easily good enough these days, and Live is the perfect host.
Using guitars with Ableton Live 10: step-by-step
1. Let’s look at some of the Live tools that work great with guitar, as well as a few recommended add-ons. There’s no demo set, but you’ll need Live 10 to access some of the effects we discuss. If you don’t have it, download the demo from here.
2. Connect your audio interface to the computer (usually via USB or Thunderbolt), then connect your guitar or bass to one of the inputs – they might be multi-purpose mic/line/instrument inputs and you may need to press a hardware switch to set the correct level.
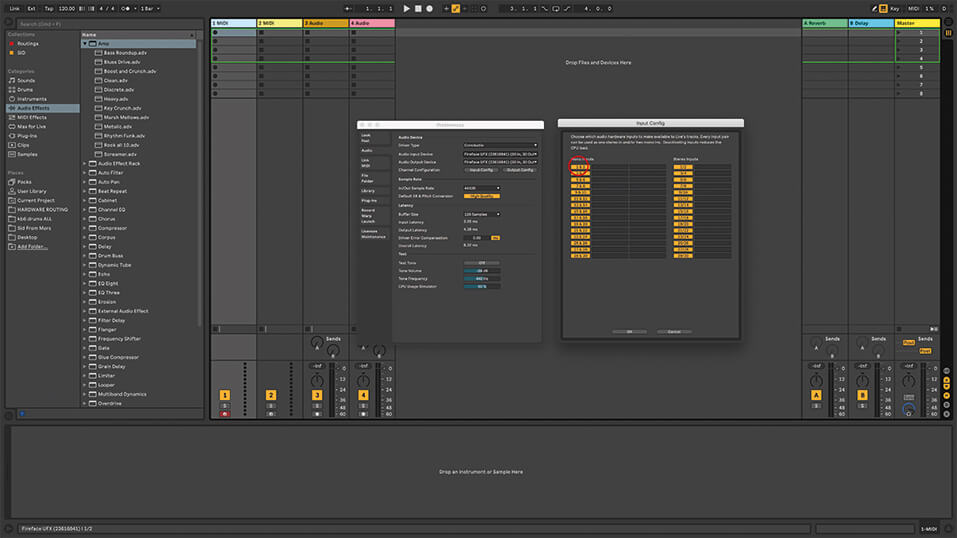
3. Launch Live and open Preferences. Click on the audio tab and configure your interface, making sure the input you’ve connected your instrument to is enabled. Set up your audio outputs as usual, so you can hear your work on headphones or monitor speakers.
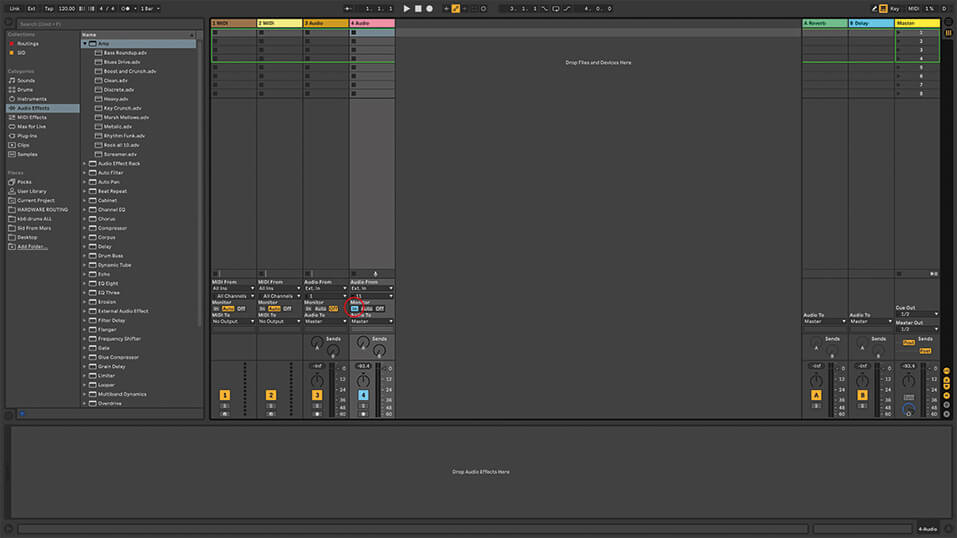
4. In Session View, add an audio track. Toggle the In/Out View on and select external audio as the Audio From source and below that, specify your guitar input track. Set the track monitoring to In, so you can listen without arming the track for record.
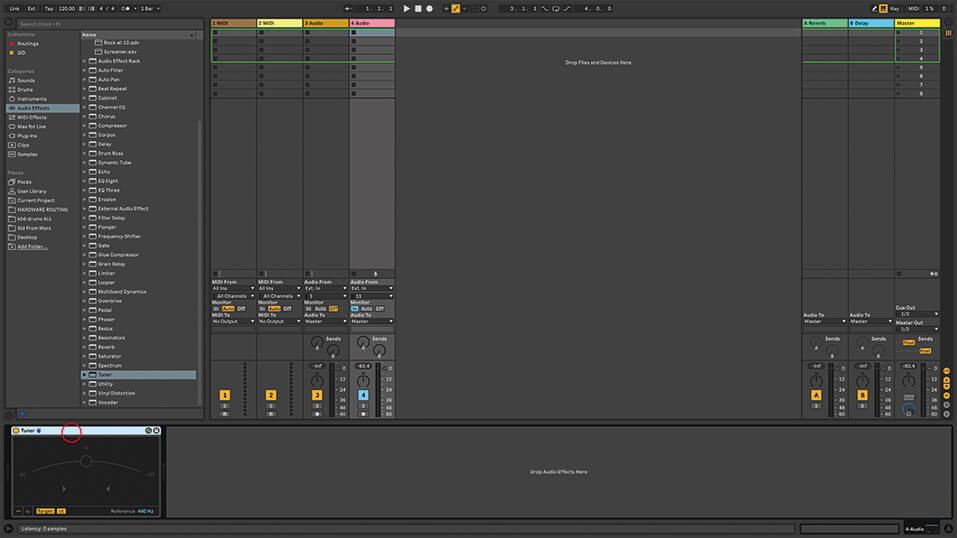
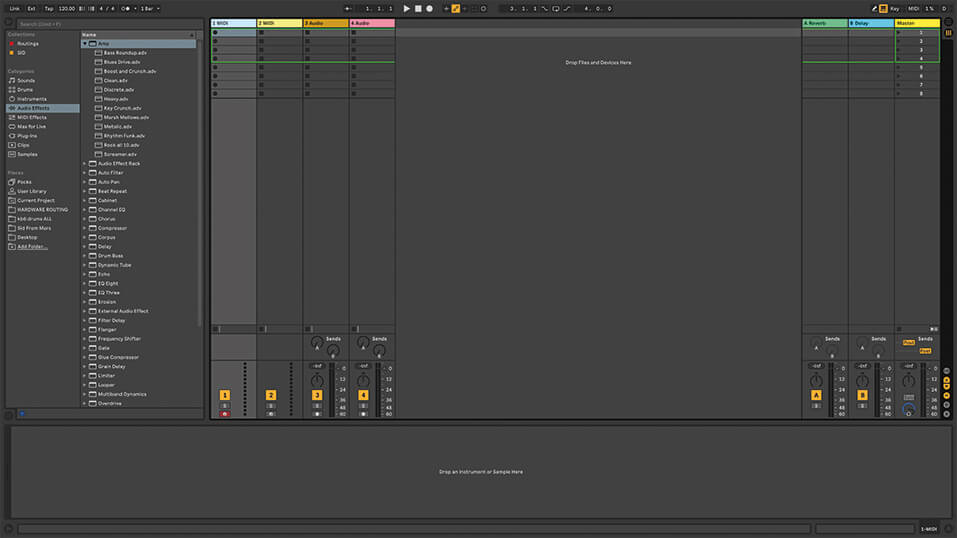
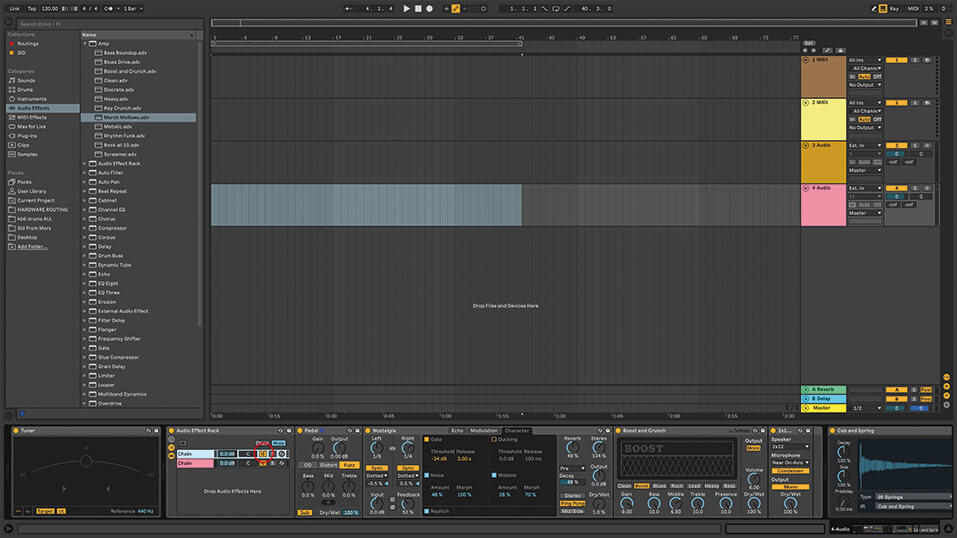
5. If you play your instrument now, all you’ll hear is the totally clean sound. We can jazz it up a bit, but first add the Tuner from Live’s Audio Effects Browser to the audio track, that’ll now be first in the signal chain. Now get tuned up!
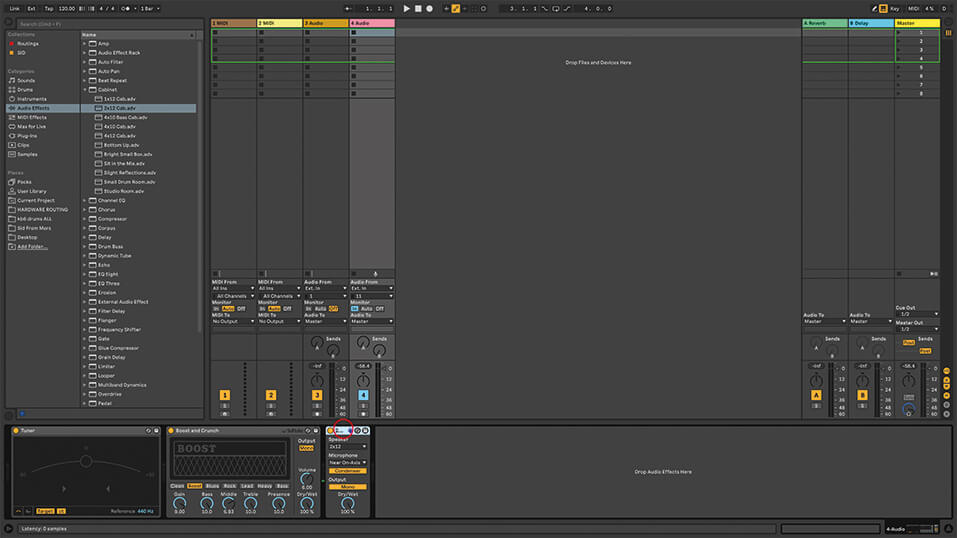
6. Drop the Audio Effects/Amp/Boost and Crunch preset into the audio track after the Tuner. Something’s still missing, so after that got to Audio Effects and add Cabinet/2 x12 Cab. Now this is behaving a bit more like a real guitar setup, don’t you think?
![]()
PLUG ’N’ PLAY One of the many benefits of using Live for your guitar work is that you get an incredibly compact setup – laptop, audio interface, maybe a controller – and that’s it. Not only is this a powerful system, it’s one that’s easy and cheap to tour with!
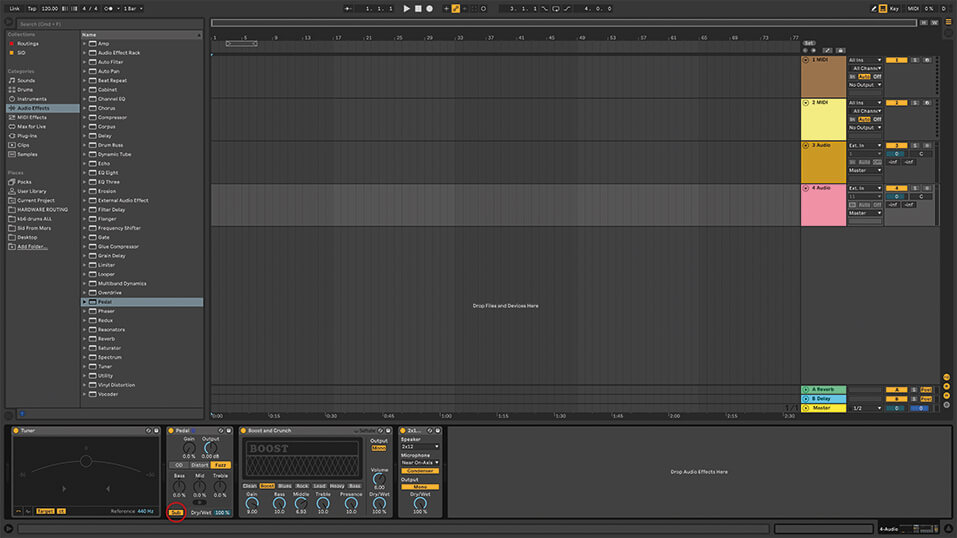
7. Swap those with any amp/cabs you like, it’s just a starting point. Now add Audio Effects/Pedal (no preset) before the amp. Turn on Fuzz, then turn on Sub, it can sound delicious, though you might find it causes bass chaos in a mix!
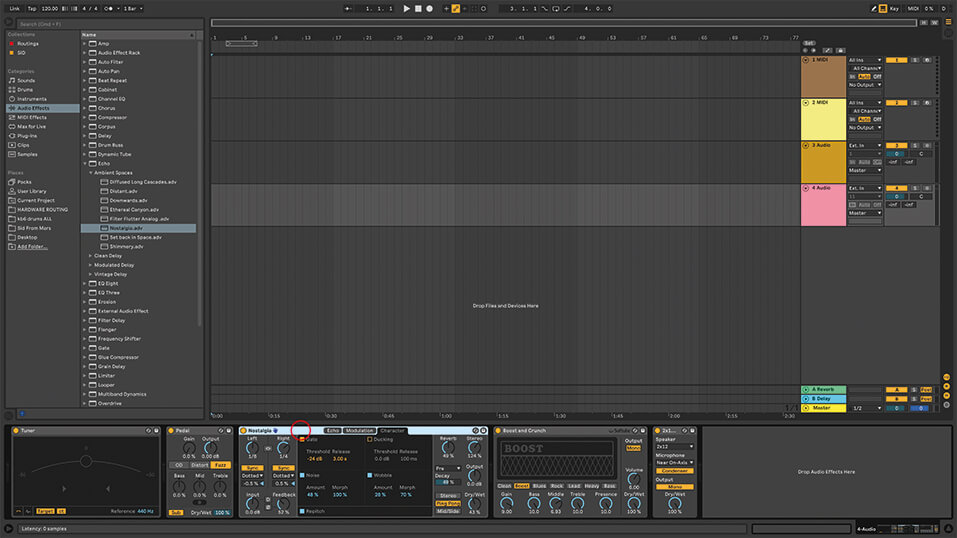
8. For a classic effects feel, try adding the Echo/Nostalgia effect after Pedal. Echo’s an excellent simulation of an analogue delay, capable of creating a wide range of effects, culminating in total noise if you want it. Set the Dry/Wet to around 1%, though.
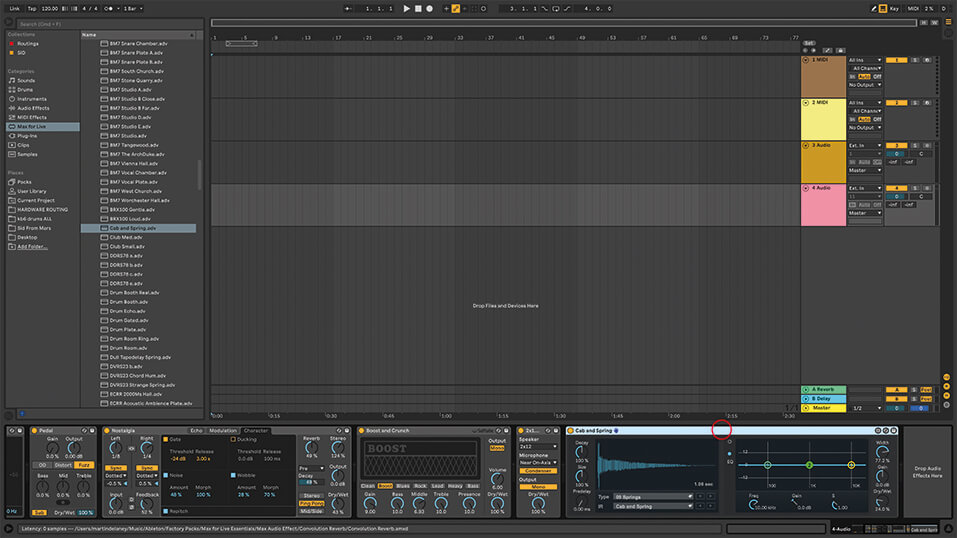
9. You’ll probably want some reverb, and Live has tonnes of that – there’s the Reverb effect, and the reverb inside Echo and the excellent Max For Live Convolution Reverb – try the Cab and Spring preset, you might need to experiment with the Dry/Wet mix again.
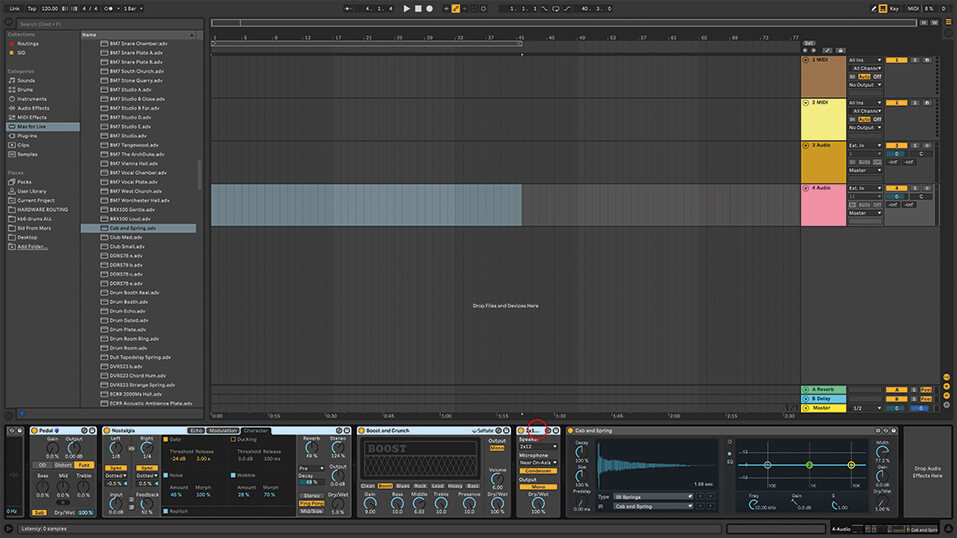
10. So it’s easy to create a simple custom guitar rig, but suppose you want something that better exploits the computer’s flexibility? Audio effect racks are a good way to do this. Select all of the devices from Pedal to Cabinet and type Cmd-G.
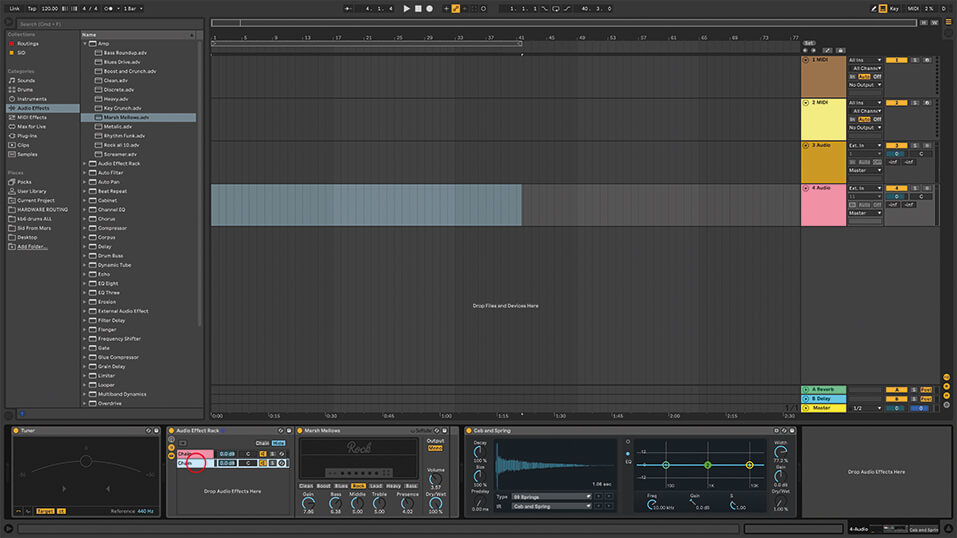
11. Now you’ve created an audio effect rack, if you add other effects, amps, and cabinets to the area under the first chain, you’ll hear that they all play at once, so you can create very complex multi-amp setups and save them for future use.
12. You can use up to 127 chains in a rack; that should be enough amps for anybody. Judicious use of the mixer at the front of the rack, and some EQ, will bring out the best of your monster wall of sound.
![]() OCCUPATIONAL HAZARD A computer is too risky? We’d argue that guitarists have always dealt with tech issues – fuses blow, strings break, you forgot to put a new nine-volt in the pedal, whatever. But on the embarrassment scale, we’d rather restart a computer in front of an audience than fix an amp or restring a guitar.
OCCUPATIONAL HAZARD A computer is too risky? We’d argue that guitarists have always dealt with tech issues – fuses blow, strings break, you forgot to put a new nine-volt in the pedal, whatever. But on the embarrassment scale, we’d rather restart a computer in front of an audience than fix an amp or restring a guitar.
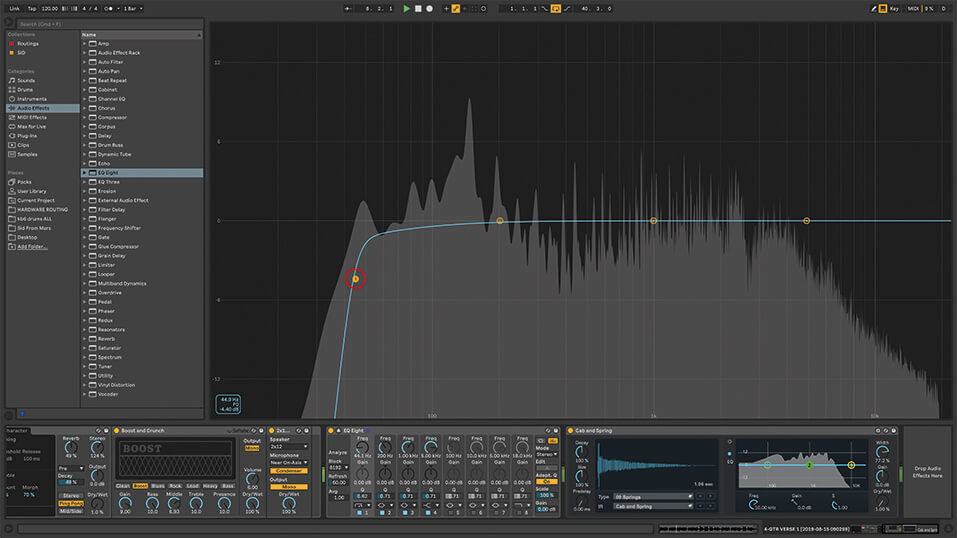
13. It might seem a shame to apply EQ to thin out a fat sound, but that’s necessary if it has to share a mix with other instruments, otherwise it can be overwhelming. The EQ Eight spectrum is a good diagnostic tool, along with your ears!
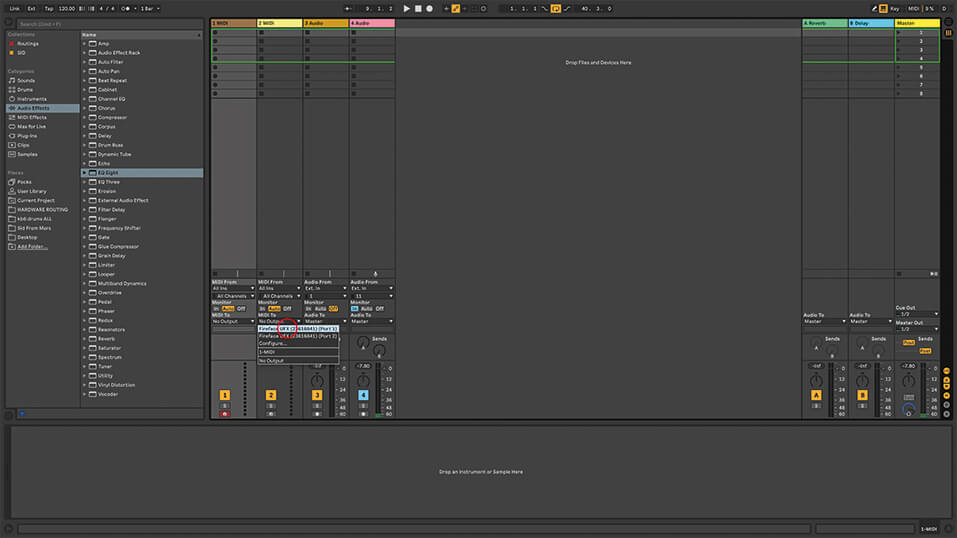
14. MIDI is present in (some) amps, and hardware effects, drum machines… it’s all over the place. So bear in mind that Live can send messages from MIDI tracks to control those devices – loading different presets, keeping everything sync’d, changing instrument or effect parameters.
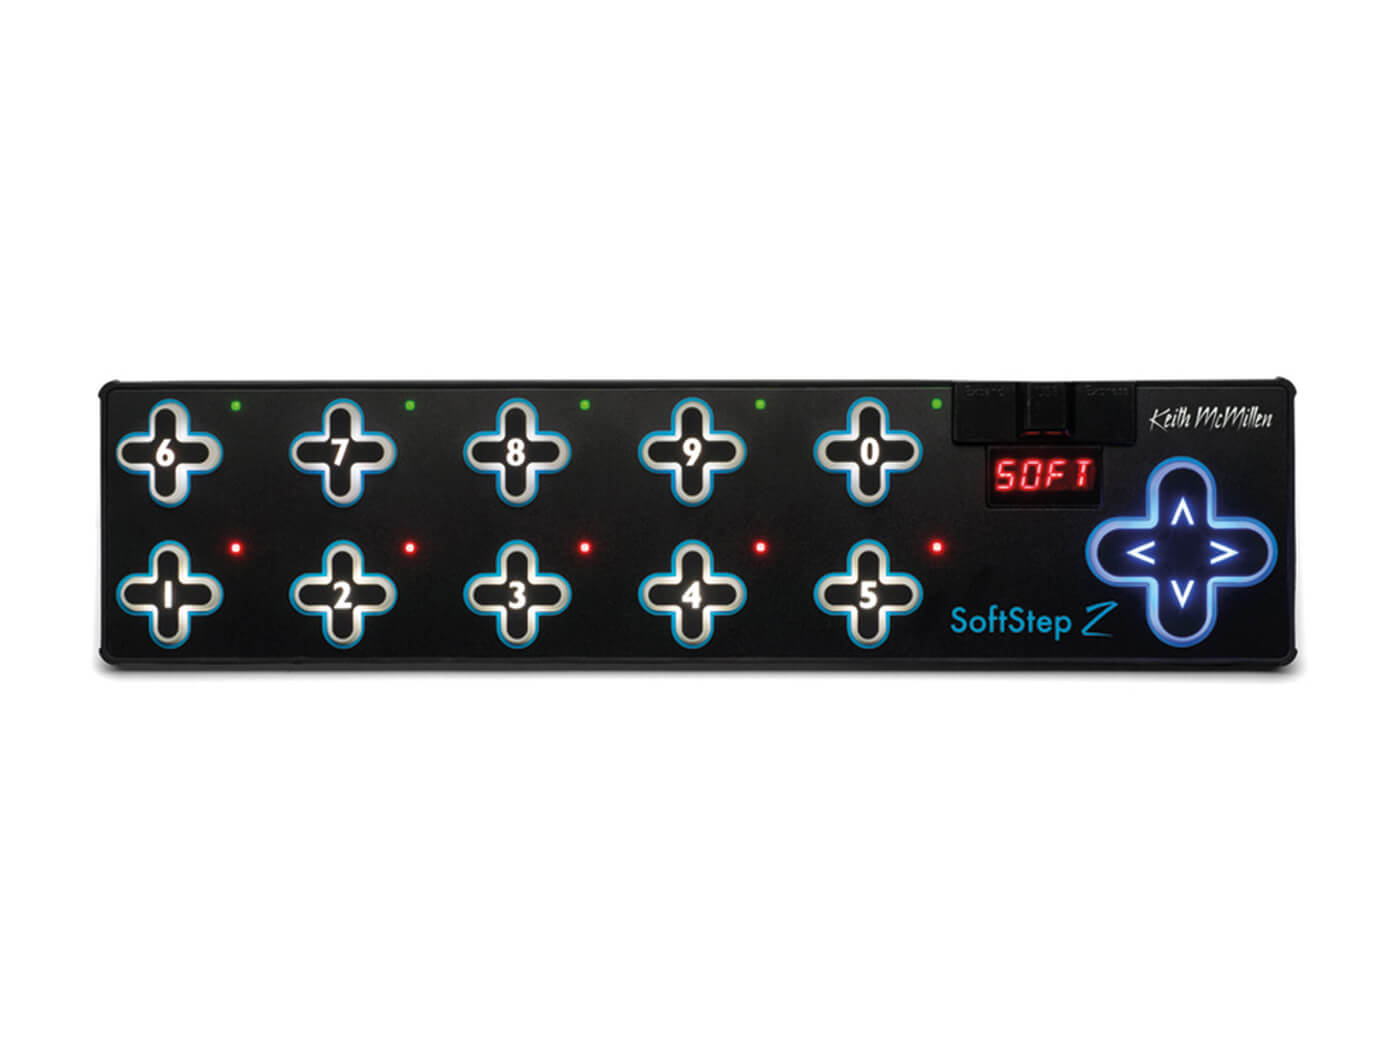
15. You can also use MIDI foot switches, or full pedalboards like the Keith McMillen SoftStep, to control pretty much everything in Live while your hands are full playing your instrument. The SoftStep is great, because it’s compact and physically tough as well.
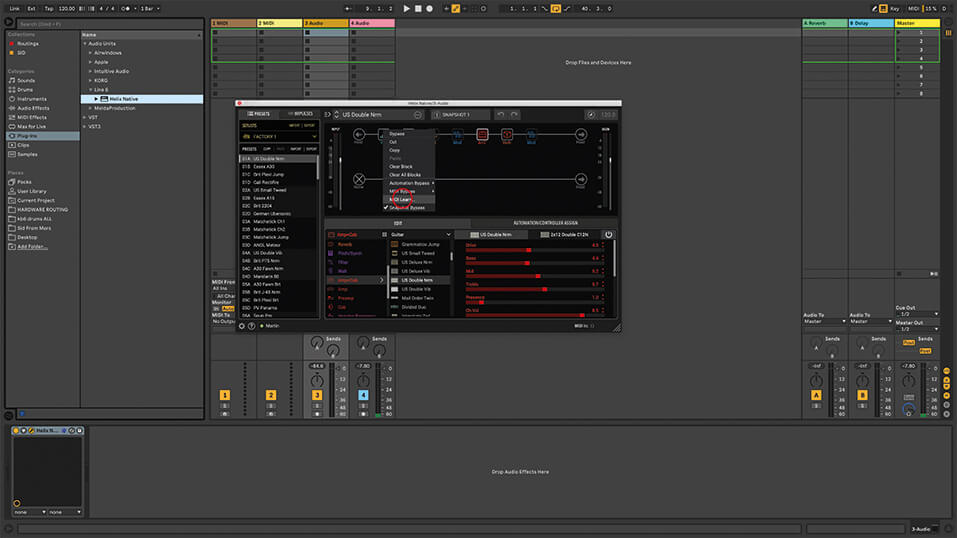
16. If you want more sonic variety than Live’s built-in Amp and Cabinet, there are many ways to expand while keeping everything in the box. I’m a big fan of Line 6’s Helix Native plug-in, which includes amps, cabinets, and effects.
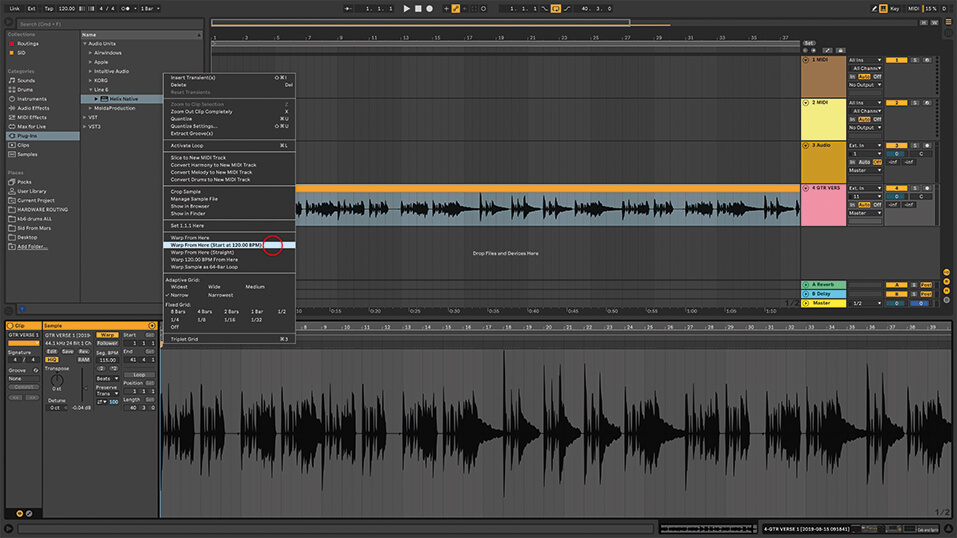
17. When it comes to working with recorded guitar tracks, you can turn off warping (time stretching) to get the most faithful possible sound, or warp sections or entire tracks so you can change tempo after the fact, which can be incredibly useful.
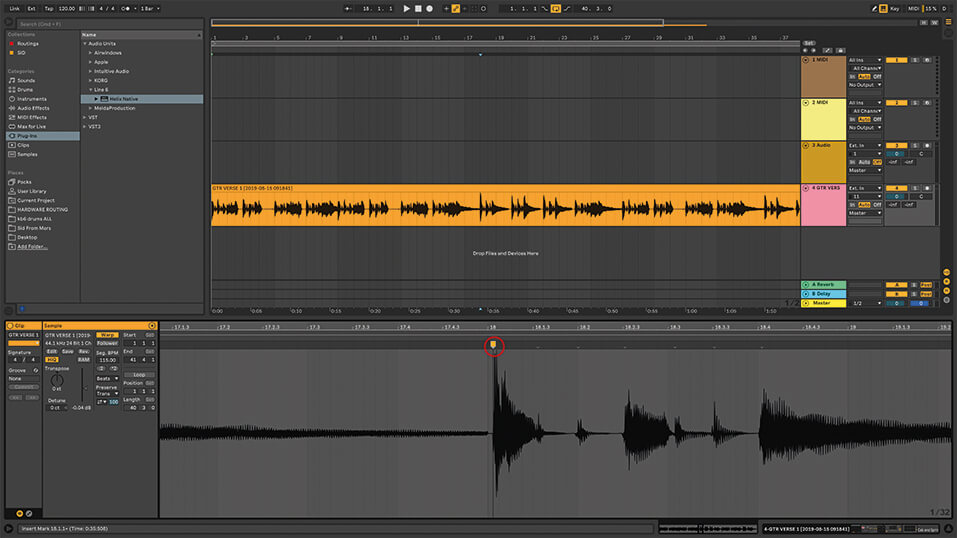
18. You can also use warping to correct timing in a recorded performance. Add warp markers to the relevant area and drag the part into the right place. A good way to save an otherwise ideal take, and again you only need to apply it to specific sections.