Recording, Editing and Mixing Vocals in Ableton Live 10: Step-by-Step (Continued)
When it comes to recording, editing or mixing vocals in Live, exercising restraint and shying away from the warp controls sometimes is a skill we can all benefit from, as Martin Delaney continues to demonstrate… 7. Crop the clip to lose unwanted material at either end. Check for noises between words or phrases, you can […]
When it comes to recording, editing or mixing vocals in Live, exercising restraint and shying away from the warp controls sometimes is a skill we can all benefit from, as Martin Delaney continues to demonstrate…
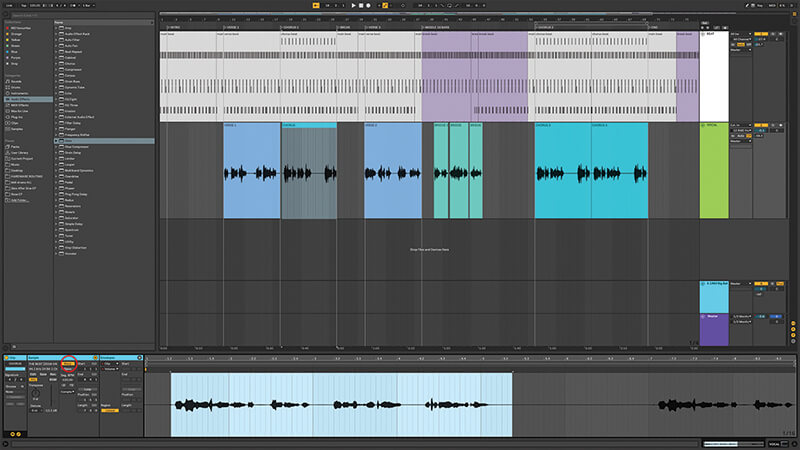
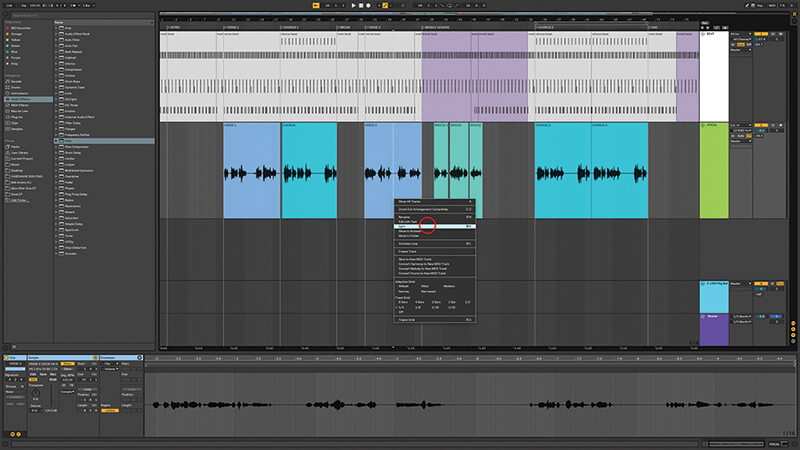
7. Crop the clip to lose unwanted material at either end. Check for noises between words or phrases, you can slice these out in Arrangement, or use clip envelopes to mute them if that section is warped.
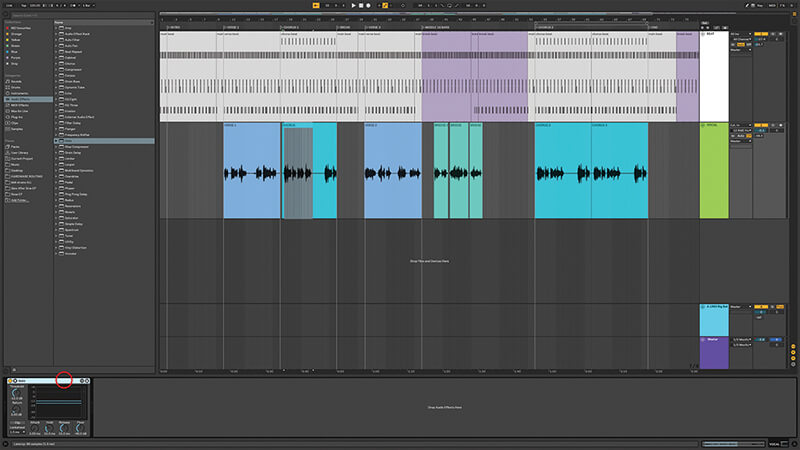
8. Along with that, you can use Live’s Gate audio effect device to reduce background noise in the quiet parts of your recording. Adjust the threshold so it’s cutting noise but not hurting anything it shouldn’t.
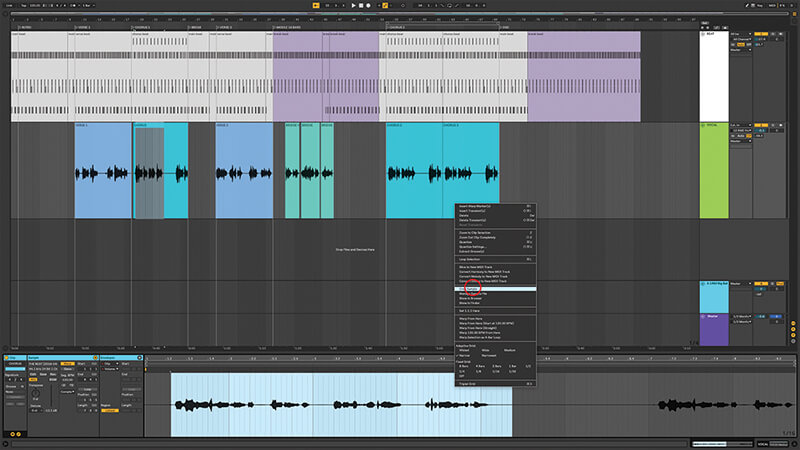
9. For ultimate audio quality, disable warping. You don’t need it unless you change song tempo later, or you need to adjust timing, in which case you could split the clip and just warp the necessary section.
10. It depends on your material, obviously, but you can slice a clip and arrange the sections on the timeline to the right positions if you want to avoid warping (or combine the two techniques).
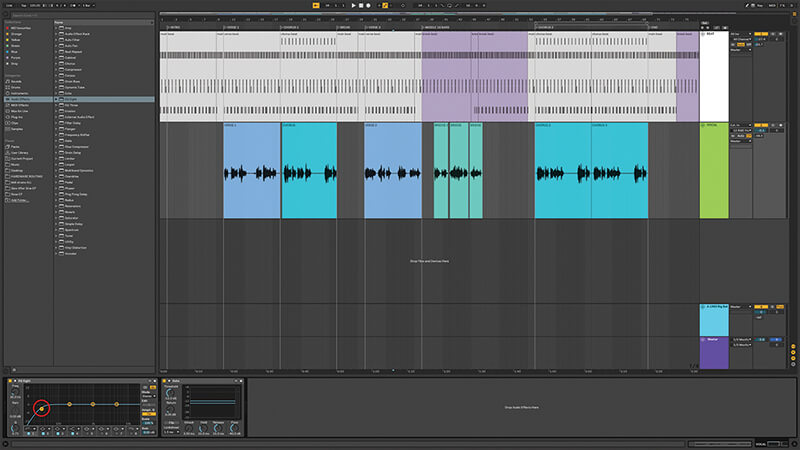
11. EQ Eight can remove some of the lows from vocal tracks, there’s probably a lot of unnecessary information in there, even more so if you’re layering harmonies. I also add Waves Vocal Rider to every voice track.
12. For harmonies, you could duplicate the track and try transposing the clip up and down using the Transpose control. You’ll need warping for this, and probably Complex Mode. It can sound very unnatural but also quite cool!

Many advantages Live doesn’t provide traditional DAW functions for vocals – and you might still need those as well – but the advantages are the same as always: immediacy, flexibility and portability to a live situation. For most of us, Live’s both a straightforward and incredibly creative tool.
13. Or… record more tracks. Use your knowledge of chords (or look some up) and organise the parts accordingly. Your vocal range will limit you, if you’re doing them yourself. You might need some pitch correction.
14. Be aware that doing all the harmony parts yourself is likely to sound a little bit bland; you need to work harder to keep them interesting, or get other people to add their voices too.
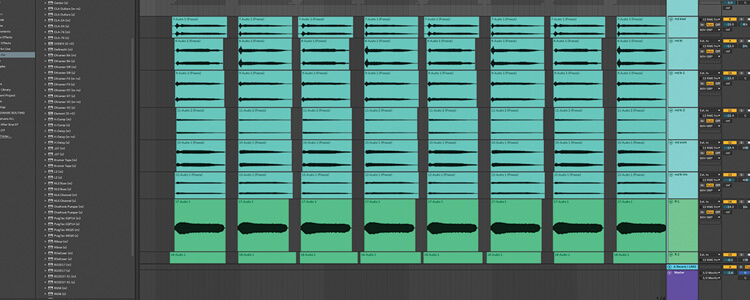
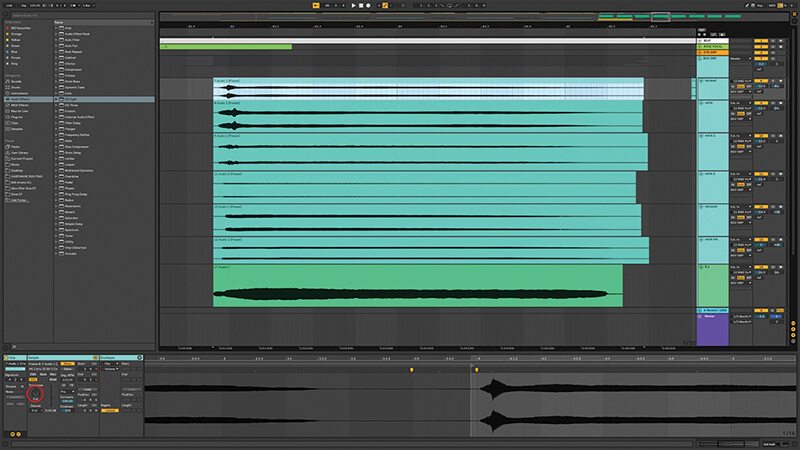
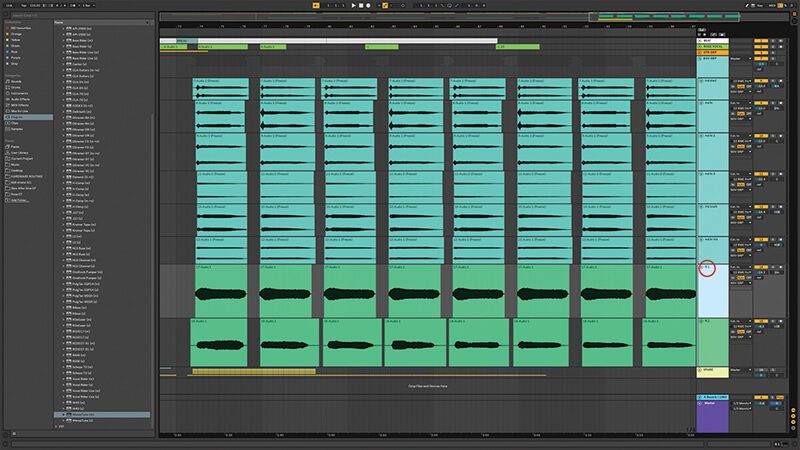
15. Once you’ve got a few vocal tracks down, select and group them with Cmd-G. This makes it easier to treat them as a whole and make changes that’ll glue them together sonically speaking.
16. Depending on how much you’ve EQ’d each separate track, you might want to EQ the entire group again, especially if you’ve done all the voices yourself, just to thin out the most-packed frequencies.
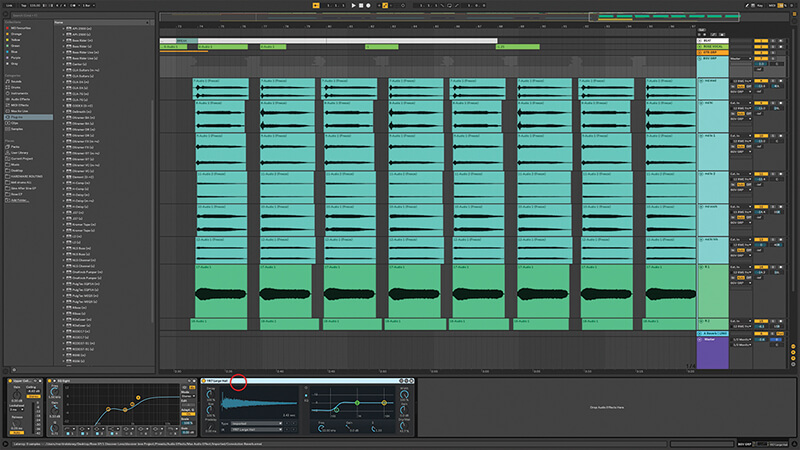
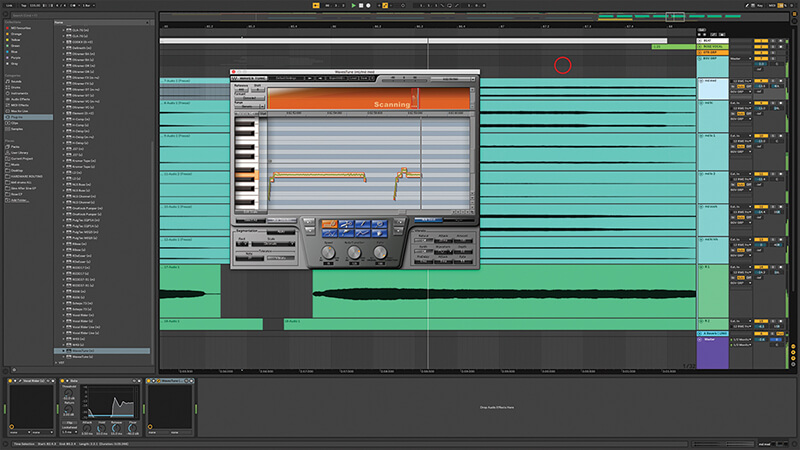
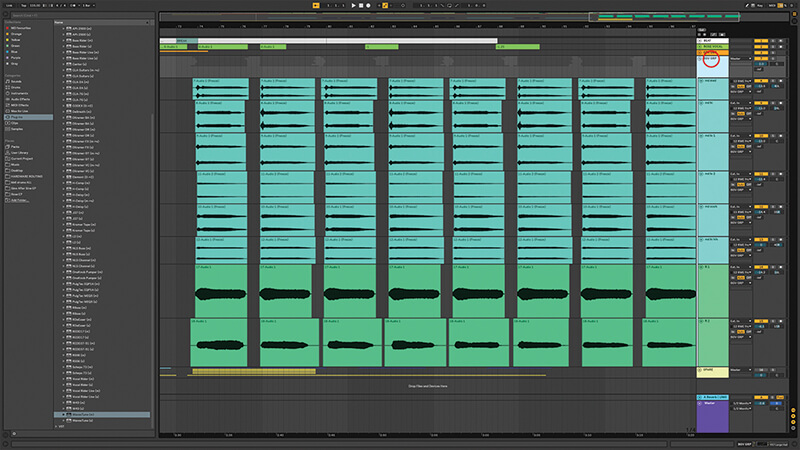
17. Add some reverb to the group as a whole, so all parts sound like they’re in the same space. Live 10’s Max For Live Convolution Reverb is great for really nice, lifelike spaces.
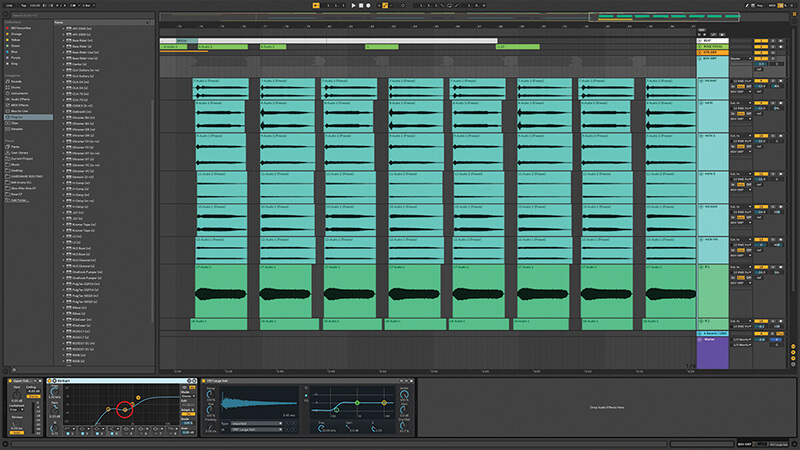
18. Finally with grouped vocals, spread them by panning each one to a different position. If there’s a bass voice try keeping that in the middle. Once you’ve done this, review your levels and EQs again.