Workflow And Arrangement View: Step-By-Step (Continued)
Join Martin Delaney as he continues to guide us through the updated workflow and arrangement in Live 10 and how to exploit its new tweaks. Don’t continue if you’ve yet to read part 1. 7. If your Arrangement has so many tracks that you can’t fit them all on screen vertically, type ’S’ to minimise […]
Join Martin Delaney as he continues to guide us through the updated workflow and arrangement in Live 10 and how to exploit its new tweaks. Don’t continue if you’ve yet to read part 1.
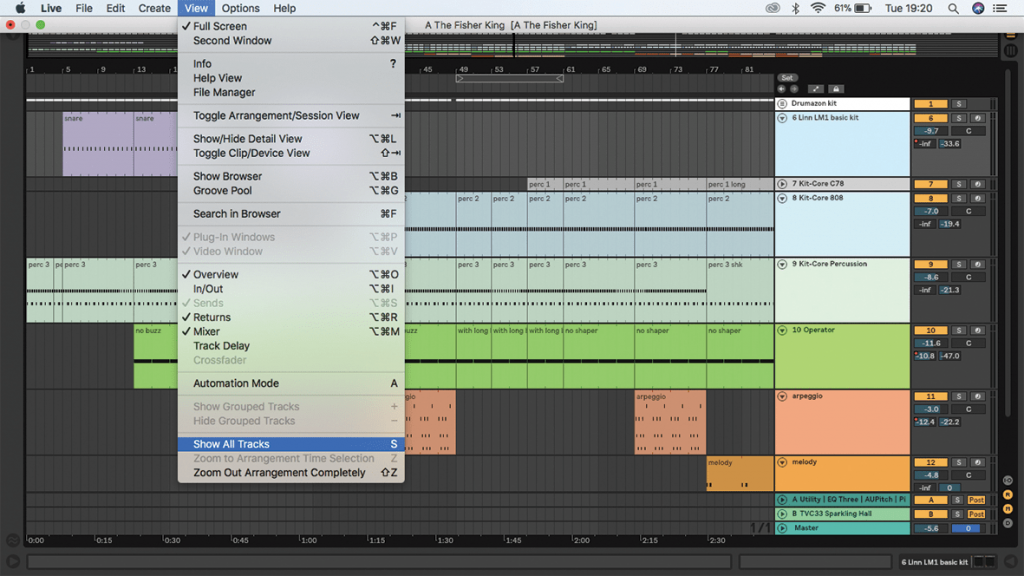
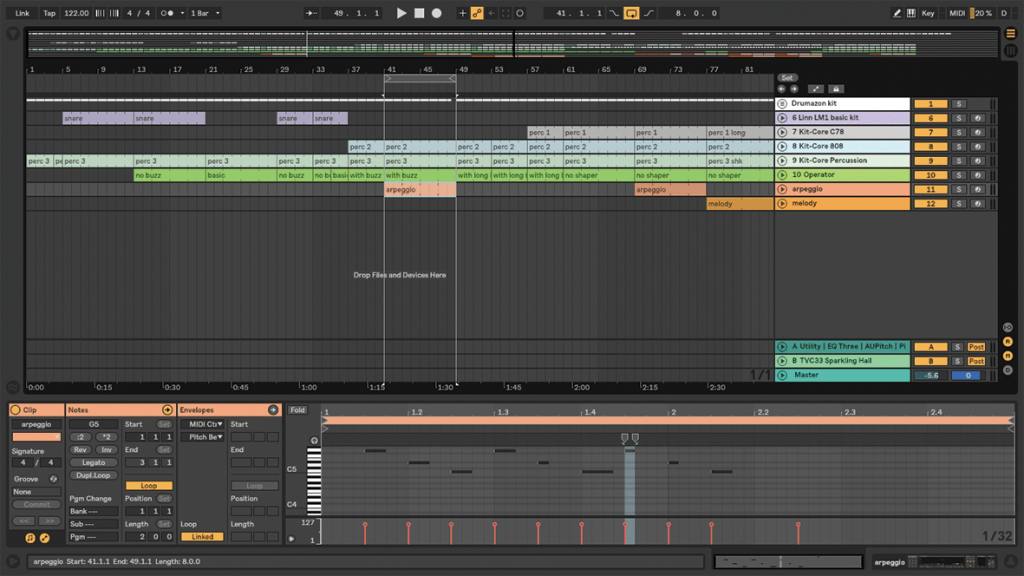
7. If your Arrangement has so many tracks that you can’t fit them all on screen vertically, type ’S’ to minimise and view them all at once – also available from the View menu. This one’s indispensable already.
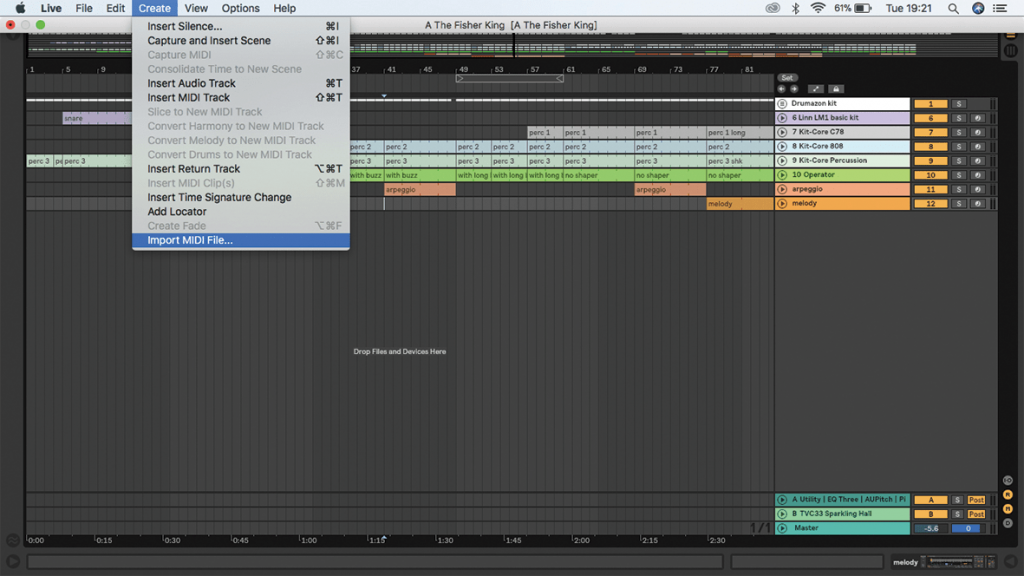
8. You can now import MIDI and audio files straight into Live from the Create menu. In Arrangement View, they’ll be added at the current insert-marker position.
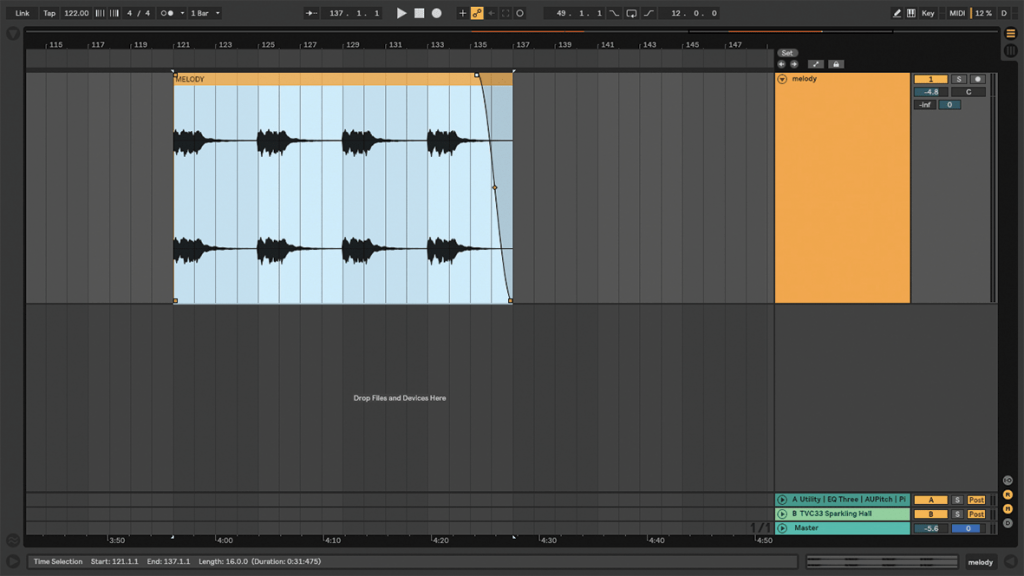
9. As you mouse towards an audio clip, the clip fade controls appear at the start and end. Grab these to manage the start/end fades of the clip. This previously required a keyboard shortcut.
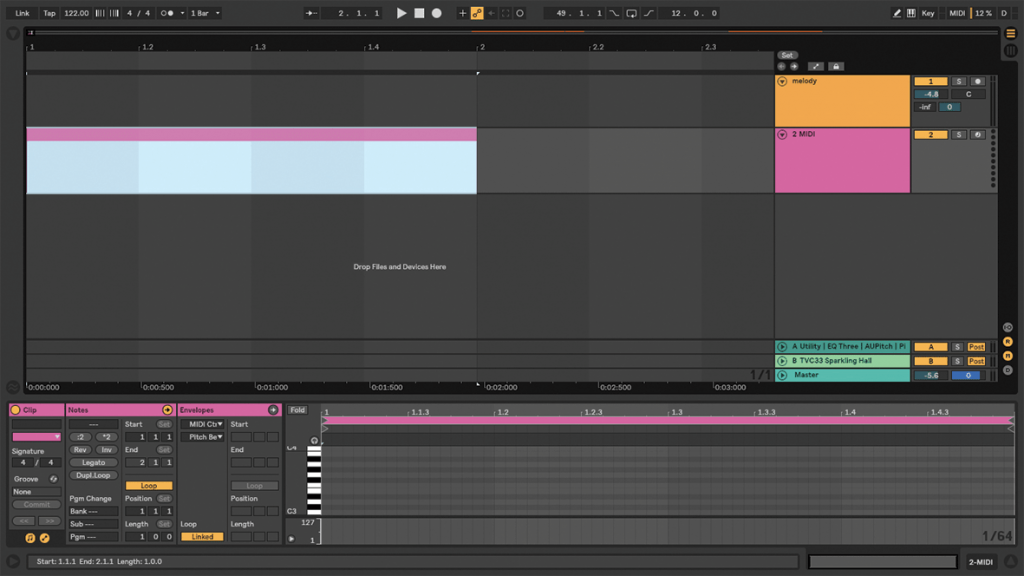
10. Double-click in an Arrangement View MIDI track to create a clip – the length is set by grid resolution. The old option still works – click and drag to select an area, then type Shift-Cmd-M.
11. Cmd-L/Ctrl-L has always turned on the Arrangement Loop, containing the currently selected area, but now it toggles it off as well – which, now you think of it, it should have done already.
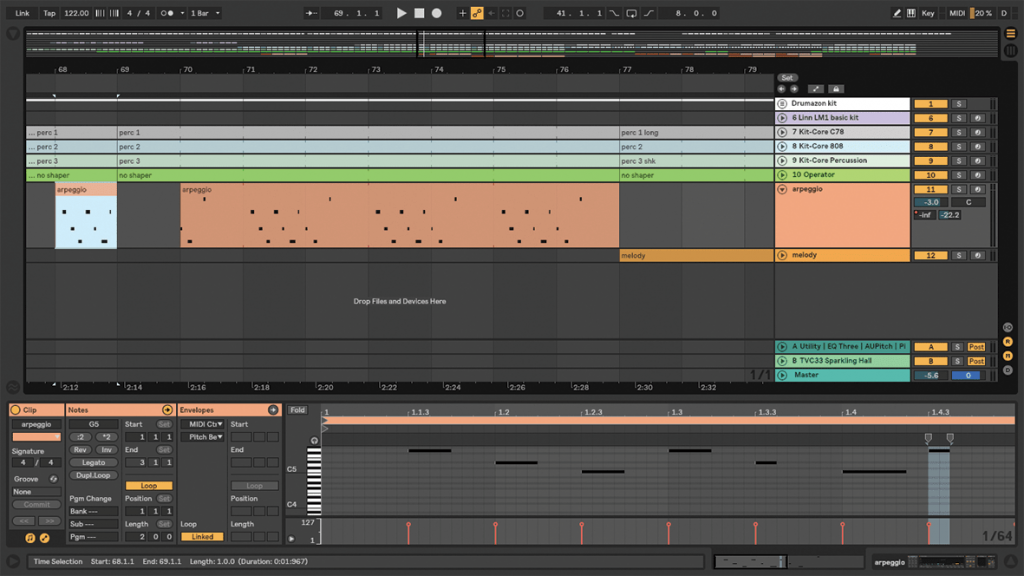
12. Timeline clips can be moved by using the computer’s left/right arrow keys, in increments according to the current grid. You can also hold down Cmd (Mac) or Alt (Windows) to move independently of the grid.
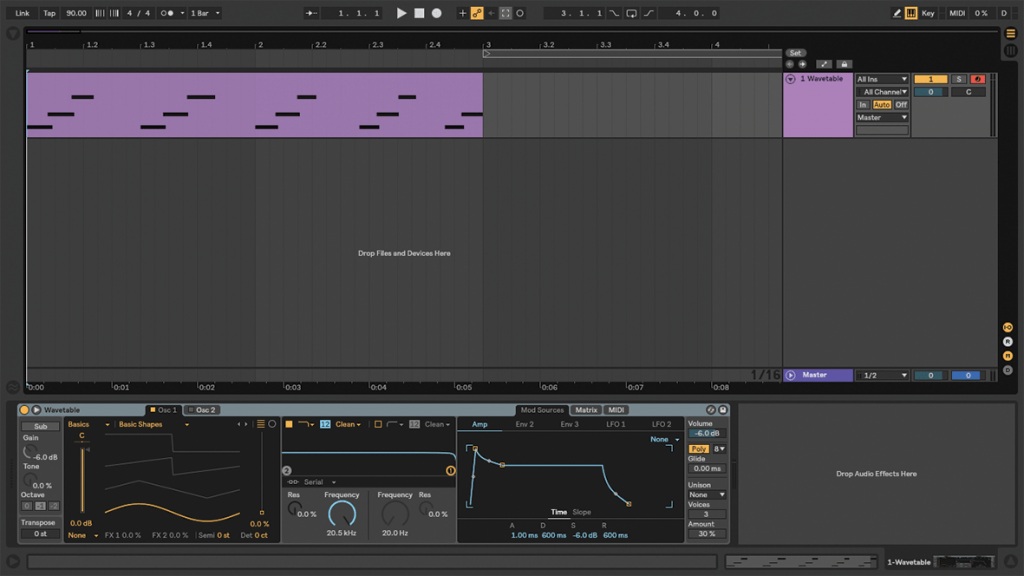
![]()
Push – It’s real good If you don’t like looking at a computer, but you like what Live does, this is a great time to jump onboard with Push. It has a more ‘standalone’ vibe, and new MIDI note layout functionality and improved visual feedback for Devices since the new update may twist your arm.
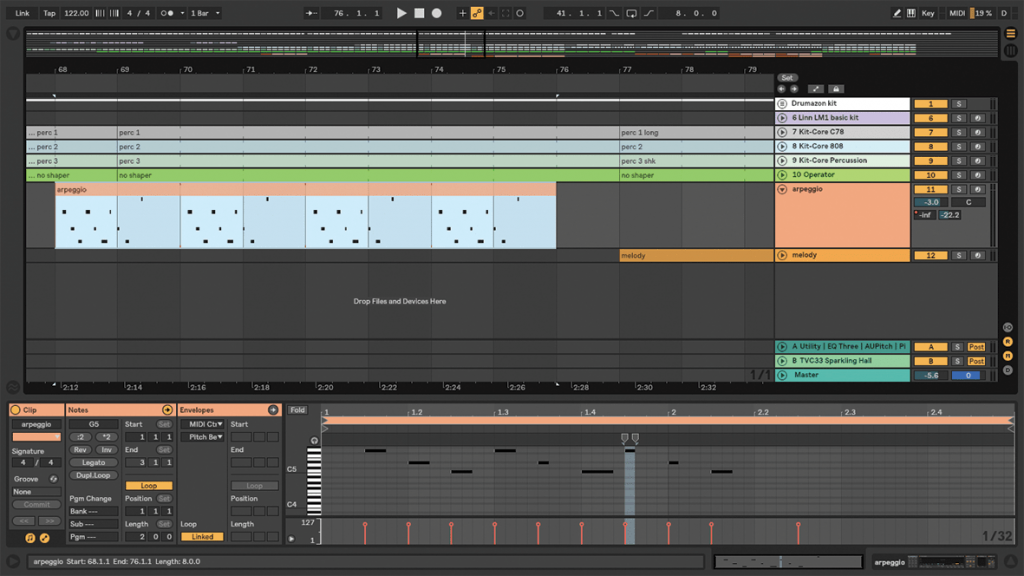
13. You can also click and drag to highlight a section of a clip, and use the arrow keys to move that part independently of the rest of the clip, without having to split it first.
14. Capture works just as well in Arrangement as in Session View. As long as your MIDI track’s armed, you can tap Shift-Cmd-C and a MIDI clip appears, containing the last phrase you played.
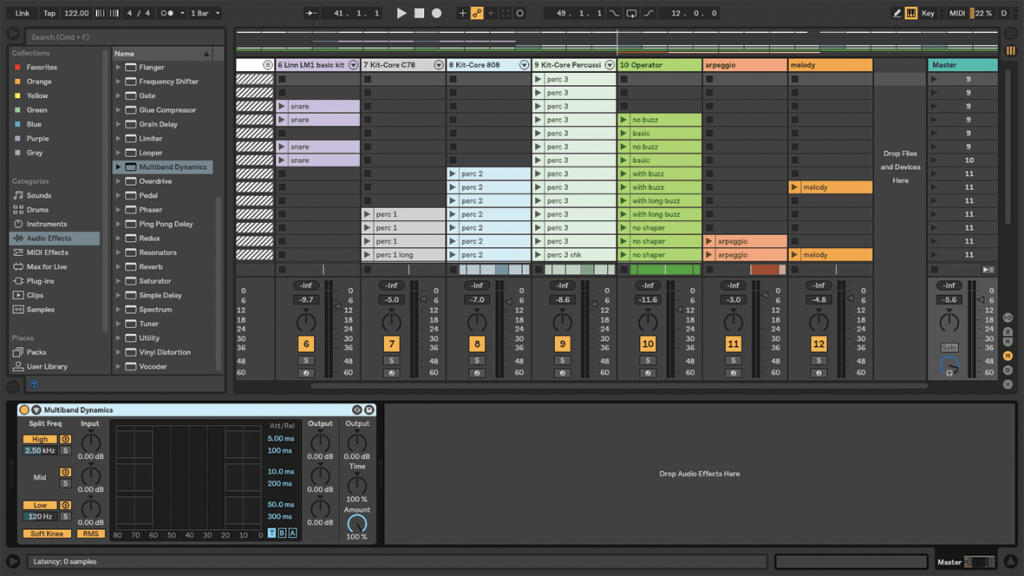
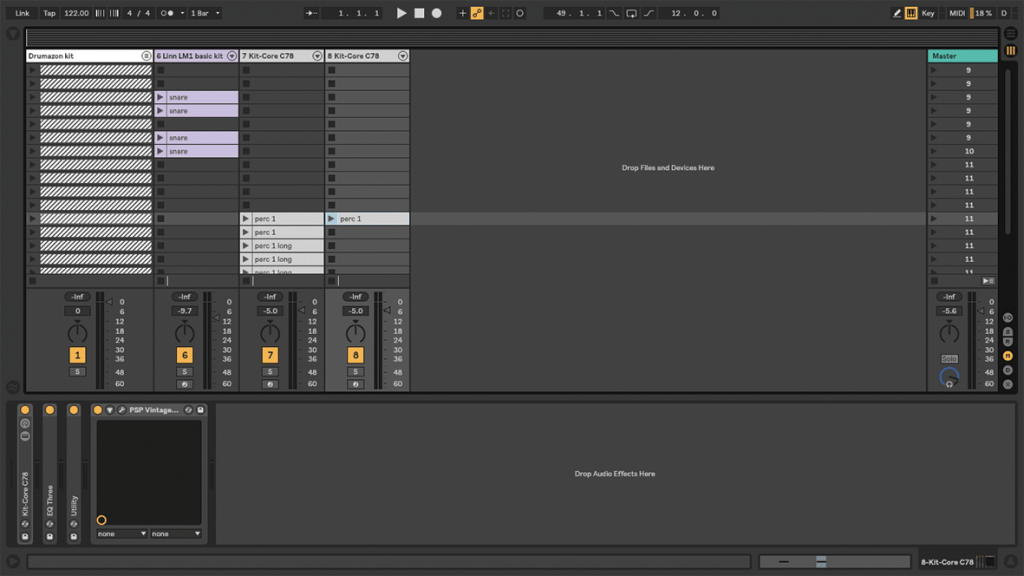
15. Back to Session View – we can finally drag audio effects onto any part of the Master track to load them, instead of just the track header. That one has frustrated many newbies over the years.
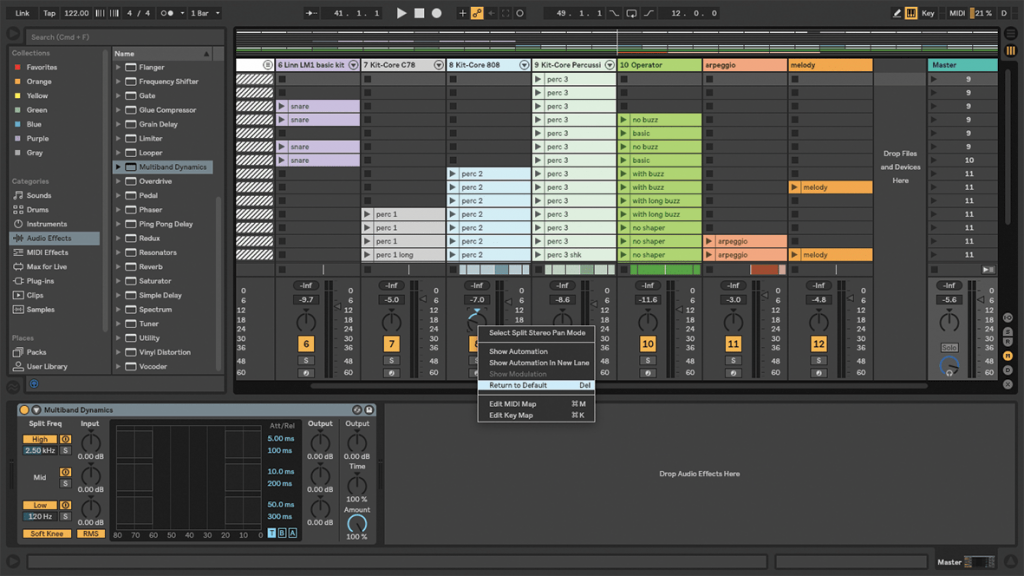
16. As well as resetting Live’s knob and fader controls to their defaults by using the Delete/Backspace key, you now have the option to simply double-click on them to reset instead.
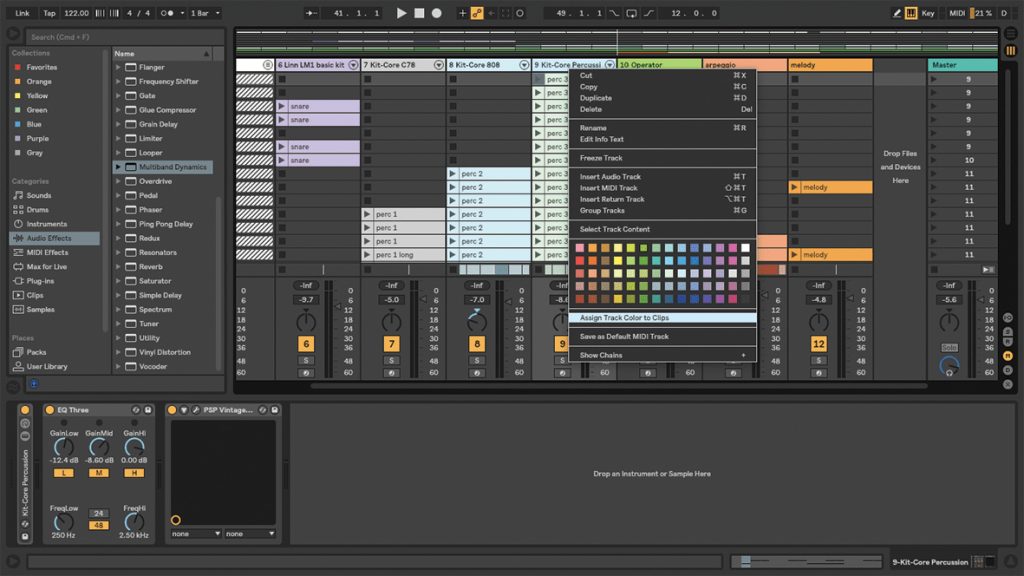
17. Right-click on a track header to invoke the Context Menu and you’ll see a new entry: ‘Assign Track Color to Clips’. This is your fast option to colour code all clips in the track.
18. If you drag a clip from an existing MIDI or audio track to the drop area, it automatically creates a new track of the right type, loading any required instrument or effect devices as well.